
Ortur LU2-10A
Instrukcja obsługi modułu laserowego Ortur LU2-10A 10000mW
Model: LU2-10A
1. Wprowadzenie
This manual provides essential information for the safe and effective use of your Ortur LU2-10A 10000mW Laser Module. Please read these instructions carefully before installation and operation. This laser module is designed for high-precision engraving and cutting with Ortur Laser Engravers.
2. Zawartość opakowania
Sprawdź, czy w Twoim opakowaniu znajdują się wszystkie wymienione poniżej elementy:

Obraz: Szczegółowy view of all components included in the Ortur LU2-10A Laser Module package, such as the laser module, laser shield, air assist, various screws, cables, and tools.
- LU2-10A Laser Module
- Tarcza laserowa
- Wspomaganie powietrzne
- Blok Wsparcia
- Suwak
- OUC2.0
- Small Coupling
- Zasilacz 24 V 2 A
- Dedicated LaserWire
- Rura powietrzna
- Łącznik rurowy
- Normal Adapter Cable
- Laser Backboard
- M3x5mm Screws*6 (Used for Slider)
- Thumb Screws*2
- M3x8mm Screws*4 (Used for OLM2S2)
- M3x12mm Screws*4 (Used for OLM2)
- Opaska kablowa*10
- M3 Gasket*1
- Klucz
- Obiektyw
- Regulator przepływu powietrza
- OLM2/S2 OUC Exclusive Adapter Cable
3. Konfiguracja i instalacja
This section guides you through the assembly and installation of the LU2-10A Laser Module onto your Ortur Laser Engraver. Ensure the engraver is powered off and disconnected from the power source before beginning installation.
3.1. Film instruktażowy dotyczący instalacji
Video: A detailed installation tutorial for the Ortur Laser Master 2 Pro S2 LU2-10A, demonstrating step-by-step assembly and connection procedures.
3.2. Laser Module Installation Steps
- Attach the laser module to the engraver's carriage.
- Secure the laser module using the provided thumbscrews.
- Insert the 5-pin terminal of the dedicated laser line into the laser module's port.
- Connect the other end of the laser line to the appropriate port on the engraver's control board.
- Install the laser shield onto the laser module to ensure eye protection during operation.
- Connect the air assist hose to the air intake port on the laser module and to an external air pump (not included).

Image: The Ortur LU2-10A Laser Module actively cutting a piece of wood, demonstrating its operational capability.
4. Instrukcja obsługi
The Ortur LU2-10A Laser Module offers powerful and precise capabilities for various materials.
4.1. Główne cechy
- Szeroka kompatybilność: Compatible with Ortur Laser Master 2, Ortur Laser Master 2 S2, Ortur Laser Master 2Pro S2, and Ortur Laser Master 3 Laser Engravers.
- Wszechstronność materiałów: Engrave and cut acrylic, metal, wood, stainless steel, glass, ceramics, leather, food, paper, fabric, and more.
- Potężne wyjście: True 10000mW laser output for effective cutting and engraving.
- Wysoka precyzja: Compressed spot size of 0.05mm x 0.1mm for detailed work.
- Wysoka wydajność: Lightweight design (235g) allows for engraving speeds up to 15000mm/min.
- Chłodzenie dwoma wentylatorami: Optimized cooling system ensures stable long-term operation without overheating.
- Stabilna praca: 24V electrical system and high-quality cables support 24 hours of uninterrupted, consistent engraving.
4.2. Możliwości grawerowania i cięcia
The LU2-10A module is capable of cutting various materials with significant thickness:
- Up to 30mm acrylic.
- Up to 20mm wood.

Image: An internal diagram illustrating how two 5.5W laser beams are combined using light combing lenses to achieve a true 10W output with a precise 0.05 x 0.1mm compressed spot.

Image: The Ortur LU2-10A Laser Module highlighting its air intake for cooling and its lightweight design (only 235g), contributing to high engraving speeds.

Obraz: Przezroczysty view of the Ortur LU2-10A Laser Module, showing the internal arrangement of two 5.5W lasers combining to form a single 10W output beam.

Image: The Ortur LU2-10A Laser Module featuring its built-in air assist system, with an example showing a cleaner cut (labeled "Ours") compared to a cut without air assist (labeled "Other").
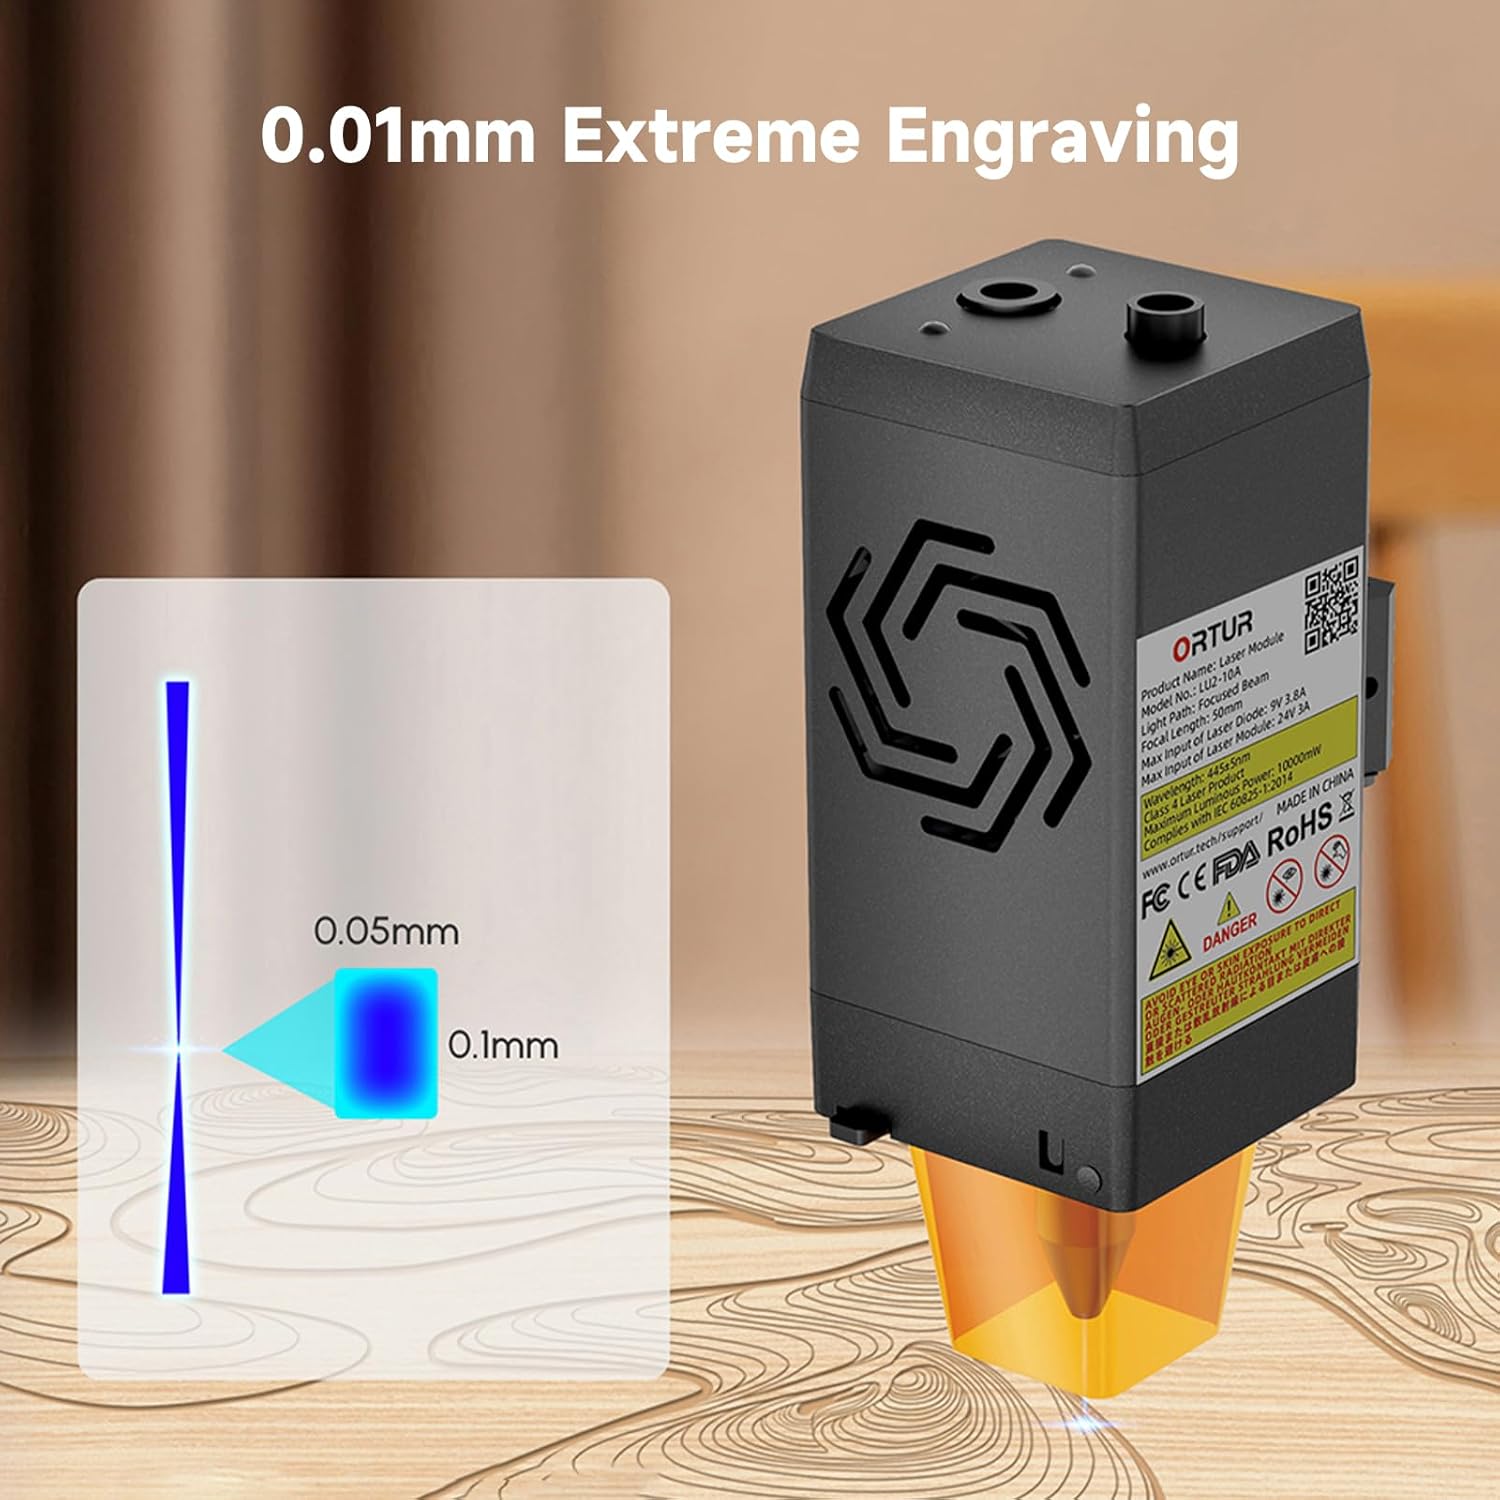
Image: A visual representation of the laser's compressed spot, showing its dimensions of 0.05mm x 0.1mm, which enables extreme precision in engraving.
5. Konserwacja
Regularna konserwacja zapewnia optymalną wydajność i wydłuża żywotność modułu laserowego.
- Czyszczenie soczewek: Periodically clean the laser lens with a soft, lint-free cloth and appropriate lens cleaning solution to prevent residue buildup that can affect laser performance.
- Dysza wspomagana powietrzem: Ensure the air assist nozzle is clear of debris to maintain effective airflow during cutting and engraving.
- Wentylatory chłodzące: Check the dual cooling fans for dust accumulation and clean them gently to ensure proper heat dissipation.
- Kontrola kabla: Regularnie sprawdzaj wszystkie kable pod kątem oznak zużycia, uszkodzeń lub luźnych połączeń.
6. Rozwiązywanie Problemów
This section addresses common issues you might encounter with your Ortur LU2-10A Laser Module.
| Problem | Możliwa przyczyna | Rozwiązanie |
|---|---|---|
| Laser nie działa lub jego moc jest słaba. |
|
|
| Inconsistent engraving/cutting results. |
|
|
| Air assist not functioning. |
|
|
7. Specyfikacje
| Funkcja | Szczegół |
|---|---|
| Wymiary produktu | 4.72 x 1.97 x 1.73 cala |
| Numer modelu przedmiotu | Ortur-LaserMaster2-ProS2 (LU2-10A variant) |
| Waga przedmiotu | 1.54 funta |
| Moc wyjściowa lasera | 10 000 mW (40 W) |
| Rozmiar skompresowanego punktu | 0.05mm x 0.1mm |
| Prędkość grawerowania | Do 10 000 mm/min |
| Układ chłodzenia | Dual Fan Cooling |
| Układ elektryczny | 24 V |
| Zgodność | Ortur Laser Master 2, 2 S2, 2Pro S2, 3 |
8. Gwarancja i wsparcie
For warranty information, technical support, or further assistance, please refer to the official Ortur webOdwiedź stronę internetową lub skontaktuj się bezpośrednio z działem obsługi klienta. Zachowaj paragon jako dowód zakupu.
Official Ortur Webstrona: www.ortur.net
Ask a question about this manual
Ask about setup, troubleshooting, compatibility, parts, safety, or missing instructions. Manuals+ will review the question and use this page’s manual context to help answer it.