
CHENSIVE 4K+1080P+1440P Dash Cam
CHENSIVE 4K 3-Channel Dash Cam User Manual
Model: 4K+1080P+1440P Dash Cam Front and Rear Inside
1. Wprowadzenie
This manual provides detailed instructions for the installation, operation, and maintenance of your CHENSIVE 4K 3-Channel Dash Cam. Please read this manual thoroughly before using the product to ensure optimal performance and safety.
2. Główne cechy
- 4K Full UHD 3-Channel Recording: Simultaneous recording from 170° front (4K), 150° cabin (1440P), and 160° rear (1080P) cameras for comprehensive coverage.
- W zestawie karta SD 64 GB: Ready to use out of the box with pre-installed storage.
- Nagrywanie w pętli: Automatycznie nadpisuje najstarsze footage, ensuring continuous recording without running out of space. Emergency locked videos are protected.
- Czujnik G: Built-in sensor detects sudden shakes or collisions, automatically locking the current video to prevent overwriting.
- Motion Detection & 24H Parking Mode: Automatically records protected video upon detecting collision or motion while parked (requires hardwire kit, sold separately, for 24-hour recording).
- Super Night Vision i WDR: f/2.0 big aperture and Wide Dynamic Range technology, coupled with 4 infrared lights for the cabin camera, ensure clear and precise footagani w dzień, ani w nocy.
- Kompaktowa konstrukcja: Three cameras integrated into a compact unit that does not obstruct your view podczas jazdy samochodem.
- Wodoodporna kamera tylna: Designed for external installation, supporting mounting in the rear window or above the license plate.

Figure 2.1: The CHENSIVE 3-channel dash cam provides wide coverage with 170° front, 150° cabin, and 160° rear camera angles.

Figure 2.2: Enhanced night vision and WDR technology ensure clear video quality in low-light conditions.
3. Co znajduje się w pudełku
- 4K Dash Cam Unit
- Przyssawka
- Tylna kamera 1080P
- Karta pamięci 64 GB (wstępnie zainstalowana)
- Kabel zasilający typu C
- 18-stopowy kabel tylnej krzywki
- Instrukcja obsługi

Figure 3.1: All components included with your CHENSIVE Dash Cam.
4. Konfiguracja i instalacja
Follow these steps to install your CHENSIVE Dash Cam. For a visual guide, please refer to the official product video below.
- Montaż kamery samochodowej: Attach the suction mount to the dash cam unit. Ensure the windshield is clean and dry. Press the suction cup firmly against the windshield and lock it into place. Position the dash cam so it does not obstruct your driving view.
- Podłączanie zasilania: Connect the Type-C power cable to the dash cam and plug the other end into your vehicle's cigarette lighter socket.
- Instalowanie kamery cofania: Connect the 18ft rear cam cable to the main dash cam unit. Route the cable neatly along the vehicle's interior trim to the rear of the car. Mount the waterproof rear camera in the desired location (e.g., rear window or above the license plate).
- Karta SD: The 64GB SD card is pre-installed. Ensure it is properly seated before first use.
Video 4.1: Official product video demonstrating the unboxing and installation process of the CHENSIVE Dash Cam, including connecting the main unit, power, and rear camera.

Figure 4.1: The CHENSIVE 4K 3-Channel Dash Cam and its main components.

Figure 4.2: The waterproof rear camera can be mounted in various locations at the back of the vehicle.
5. Instrukcja obsługi
5.1. Nagrywanie w pętli
The dash cam continuously records video in segments (e.g., 1/3/5 minutes). When the Micro SD card is full, the system automatically overwrites the earliest unlocked files. This ensures uninterrupted recording. Files locked by the G-Sensor or manually will not be overwritten.

Figure 5.1: Loop recording ensures continuous video capture by overwriting the oldest footage.
5.2. G-Sensor (Emergency Lock)
The built-in G-sensor detects sudden impacts or rapid deceleration/acceleration. When triggered, it automatically locks the current video segment, preventing it from being overwritten by loop recording. This ensures critical event footage jest zachowane.
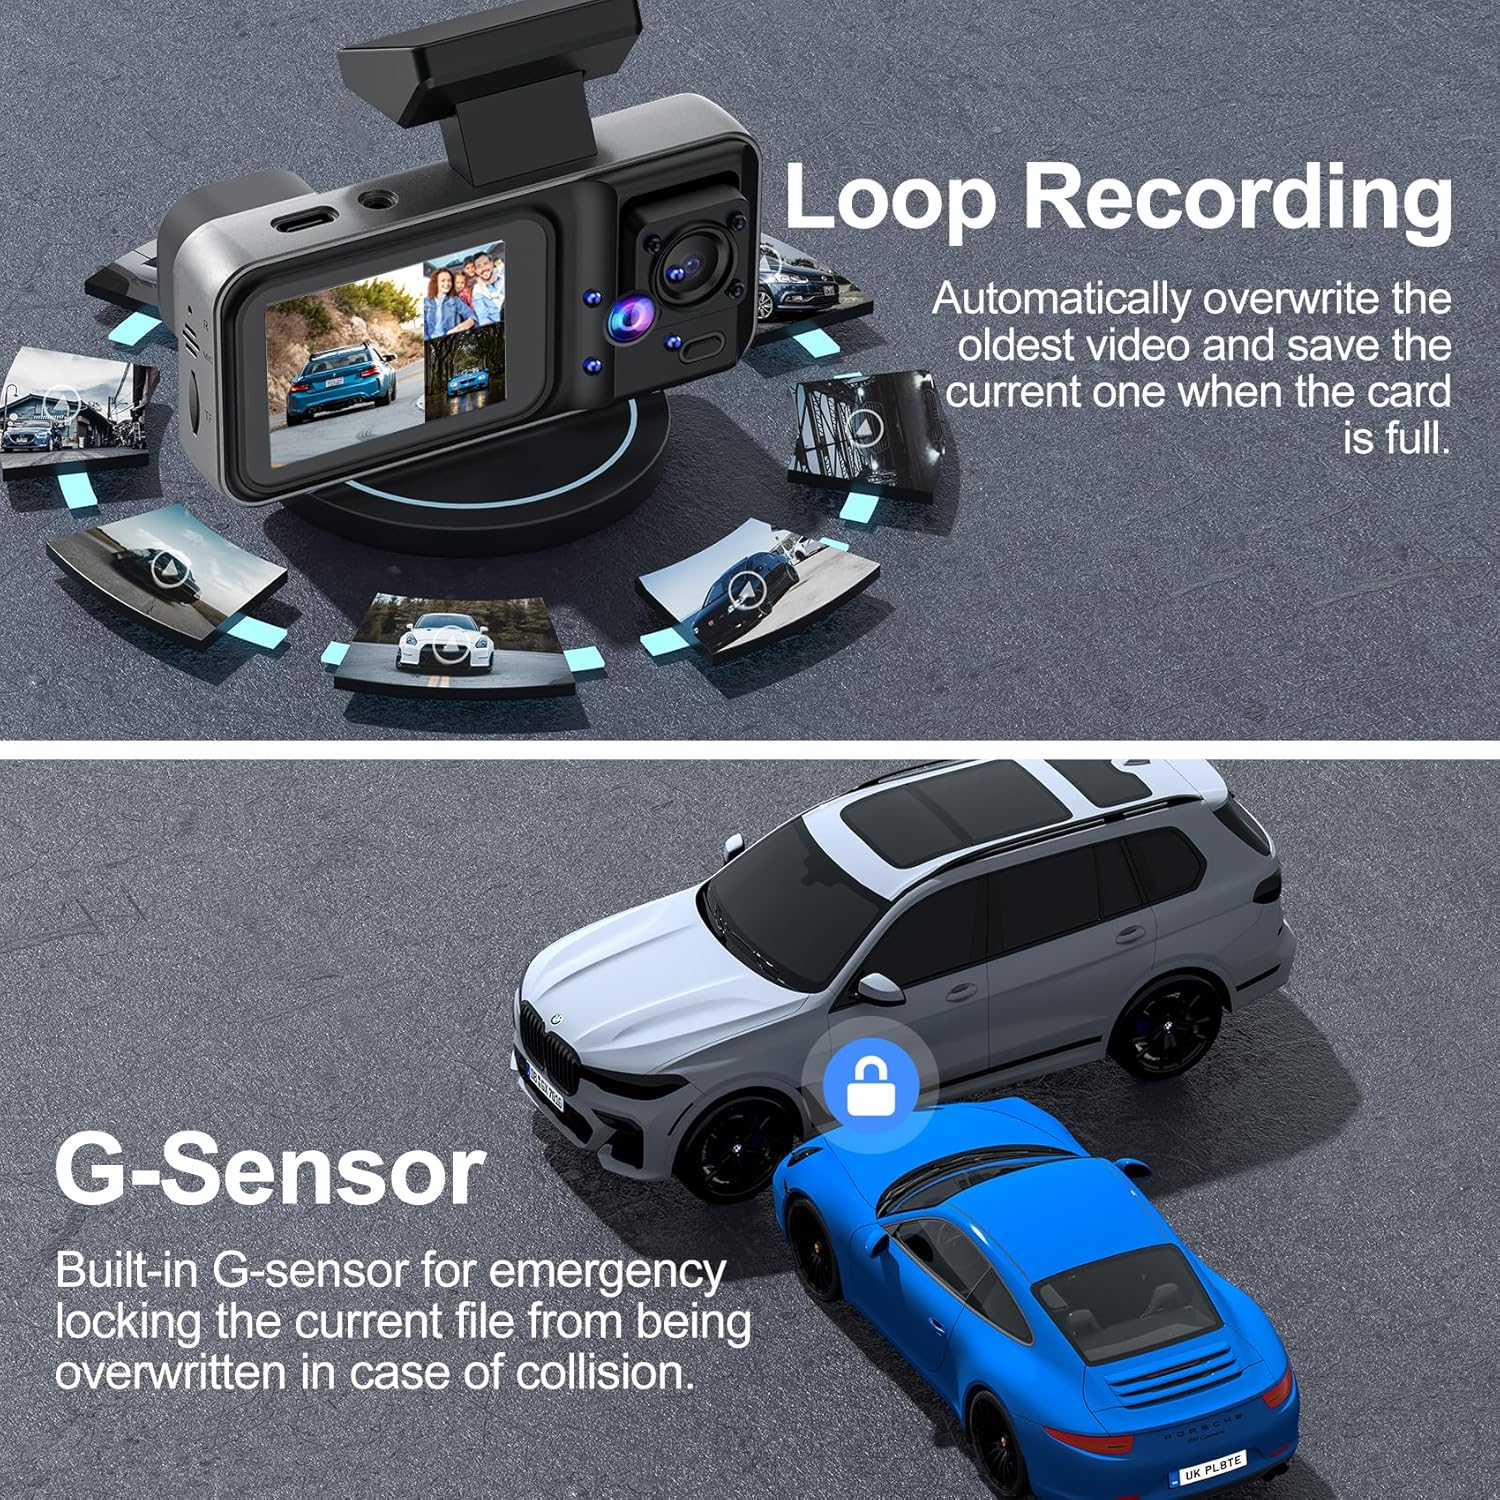
Figure 5.2: The G-Sensor automatically locks video files during collisions to prevent loss of critical evidence.
5.3. Motion Detection & 24-Hour Parking Mode
When the dash cam detects a collision or motion while parked, it will automatically turn on and record a protected video. For continuous 24-hour parking monitoring, a hardwire kit (sold separately) is required to provide constant power to the device.

Figure 5.3: The 24-hour parking mode provides continuous surveillance for your vehicle.
5.4. Parking Assistance (Rear Camera)
The rear camera provides a clear rear view and parking guidelines automatically when the reverse gear is engaged. Note: The red reverse line on the extension cable of the rear camera should be connected to the positive pole of the reverse light for this feature to function correctly.

Figure 5.4: Parking assistance with rear view and guidelines for easier maneuvering.
6. Konserwacja
- Czyszczenie: Do czyszczenia obiektywów i ekranu aparatu używaj miękkiej, suchej ściereczki. Unikaj stosowania środków czyszczących o właściwościach ściernych i rozpuszczalników.
- Zarządzanie kartami SD: Regularly format the SD card (at least once a month) to ensure optimal performance and prevent data corruption. Back up any important footage przed formatowaniem.
- Aktualizacje oprogramowania układowego: Check the official CHENSIVE webokresowo odwiedzaj tę witrynę w celu sprawdzenia dostępności aktualizacji oprogramowania sprzętowego, które poprawią wydajność i dodadzą nowe funkcje.
7. Rozwiązywanie Problemów
| Problem | Możliwa przyczyna | Rozwiązanie |
|---|---|---|
| Kamera samochodowa nie włącza się. | Brak zasilania; luźne połączenie. | Check power cable connection; ensure vehicle's power outlet is functional. |
| Nagrywanie zostaje nieoczekiwanie przerwane. | SD card full or corrupted; low battery. | Format the SD card; ensure continuous power supply. |
| Wideotage jest niewyraźne lub niejasne. | Folia ochronna na obiektywie; brudny obiektyw; nieprawidłowa ostrość. | Remove protective film; clean lenses; adjust camera angle. |
| Tylna kamera nie jest wyświetlana. | Luźne połączenie kablowe; uszkodzona kamera. | Check rear camera cable connection to main unit. |
8. Specyfikacje
- Wymiary produktu: 4.53 x 2.95 x 2.17 cala
- Waga przedmiotu: 13.4 uncji
- Technologia łączności: Bezprzewodowy
- Cechy szczególne: Night Vision, Built-In Microphone, Internal Memory, Built-In Display, Built-In Speaker, G-Sensor, Automatic Incident Detection, Loop Recording, Motion Sensor
- Rozdzielczość przechwytywania wideo: 4K Front, 1440P Cabin, 1080P Rear
- Zawartość zestawu: 4K Dash Cam, Suction Mount, 1080P Rear Camera, 64GB Memory Card, Type-C Power Cable, 18ft Rear Cam Cable, User Manual
- Producent: A98-CHENSIVE 16
- Data pierwszej dostępności: 30 listopada 2024 r.
9. Gwarancja i wsparcie
CHENSIVE is dedicated to creating high-tech products to improve convenience and driving safety. If you have any questions or encounter any issues with your dash cam, please contact our customer care team. We are committed to providing prompt assistance and resolving any arising issues quickly.
Aby uzyskać pomoc, odwiedź stronę CHENSIVE Store on Amazon.
Ask a question about this manual
Ask about setup, troubleshooting, compatibility, parts, safety, or missing instructions. Manuals+ will review the question and use this page’s manual context to help answer it.