
1. Wprowadzenie
This manual provides essential information for the installation, operation, and maintenance of your new Ftoghe 9-inch Android 13 Car Stereo Radio. Designed specifically for Honda HR-V models from 2016 to 2019, this unit integrates advanced features such as Wireless CarPlay, Android Auto, Bluetooth, WiFi, GPS Navigation, and a Backup Camera to enhance your driving experience. Please read this manual thoroughly before installation and use to ensure proper functionality and safety.
2. Zawartość opakowania
Sprawdź, czy w przesyłce znajdują się wszystkie elementy wymienione poniżej:
- 9-inch Car Stereo Unit
- Kabel zasilający
- Kable wejściowe/wyjściowe RCA
- 2 kable USB
- Kabel wejściowy kamery
- Antena GPS
- Instrukcja obsługi
- Kabel adaptera USB
- Skrzynka Canbus (jeśli dotyczy Twojego modelu pojazdu)
- Kamera cofania HD

3. Główne cechy
- Wireless CarPlay & Android Auto with Voice Control: Seamlessly integrate your smartphone for navigation, calls, music, and messaging using voice commands.
- Bluetooth & DSP & WiFi & Dual Navigation: Enjoy hands-free calling, customizable DSP surround sound, WiFi connectivity for app downloads and offline maps, and precise GPS satellite positioning.
- Potężny system Android 13: Features a 9-inch IPS Touch Screen, 2GB RAM + 32GB ROM for smooth operation, supporting various multimedia formats and steering wheel controls.
- HD Backup Camera: Equipped with a 1080P waterproof rear camera that automatically displays the rear view when reversing, aiding safe parking.
4. Instrukcja instalacji
Proper installation is crucial for optimal performance. It is recommended to seek professional assistance if you are unfamiliar with car audio system installations. Always disconnect the car battery before beginning any electrical work.
4.1. Demontaż radia fabrycznego
- Odłącz akumulator: Use a wrench to disconnect the negative terminal of your car battery.
- Open Glove Box: Open the glove box to access the panel.
- Pry Off Dashboard Panel: Carefully use a pry tool (or similar plastic tool) to unclip the large dashboard panel that covers the factory radio and air vents. Start from the passenger side and work your way around. Be gentle to avoid damaging clips.
- Disconnect Hazard Light Connector: Once the panel is loose, disconnect the electrical connector for the hazard lights.
- Odkręć fabryczne radio: Locate and remove the Phillips head screws securing the factory radio. There are typically three screws: one on each side and one deeper in the center.
- Pull Out Factory Radio: Carefully pull the factory radio unit forward.
- Disconnect Wiring Harnesses: Disconnect all wiring harnesses and the antenna cable from the back of the factory radio. Note the position of each connector.
4.2. Connecting the New Stereo
- Zidentyfikuj złącza: Refer to the wiring diagram in your instruction manual. Match the provided wiring harnesses from the new stereo to the corresponding connectors from your vehicle.
- Podłącz kabel zasilający: Connect the main power cable harness to the new stereo and then to the vehicle's power connector.
- Connect Steering Wheel Control (SWC) Cable: Connect the SWC cable to the new stereo and the vehicle's SWC connector.
- Podłącz antenę radiową: Connect the radio cable from the new stereo to the vehicle's antenna.
- Podłącz antenę GPS: Plug the GPS antenna into the designated port on the new stereo. Position the antenna in a location with a clear view nieba, zazwyczaj na desce rozdzielczej.
- Podłącz kable USB: Connect the USB cables to the new stereo. These can be routed to the glove box or center console for easy access.
- Connect Backup Camera: Connect the camera input cable to the new stereo. Route the camera cable to the rear of the vehicle and connect it to the HD backup camera. Ensure the camera's power wire is connected to the reverse light circuit.
- Connect RCA Cables (Optional): If installing external amplifiers or other audio/video accessories, connect the appropriate RCA input/output cables.
4.3. Testowanie i ponowny montaż
- Podłącz ponownie akumulator: Podłącz ponownie zacisk ujemny akumulatora samochodowego.
- Pierwsze włączenie: Turn on your vehicle's ignition. The stereo should power on and display the Android boot screen.
- Testuj podstawowe funkcje: Test the radio, volume control, Bluetooth connectivity, and backup camera functionality.
- Reinstall Dashboard Panel: Once all functions are verified, carefully push the dashboard panel back into place, ensuring all clips engage securely. Reconnect the hazard light connector.
5. Instrukcja obsługi
Your Ftoghe car stereo runs on Android 13, offering a user-friendly interface similar to a tablet. Navigate through apps and settings using the touchscreen.
5.1. Podstawowa nawigacja
- Ekran główny: Uzyskaj dostęp do często używanych aplikacji i widżetów.
- Szuflada aplikacji: Przesuń palcem w górę lub dotknij ikony aplikacji, aby view wszystkie zainstalowane aplikacje.
- Ustawienia: Access system settings for network, display, sound, general, original car settings, reverse camera, voice control, and personal preferences.
6. Connectivity (CarPlay, Android Auto, Bluetooth, WiFi)
6.1. Bezprzewodowy CarPlay i Android Auto
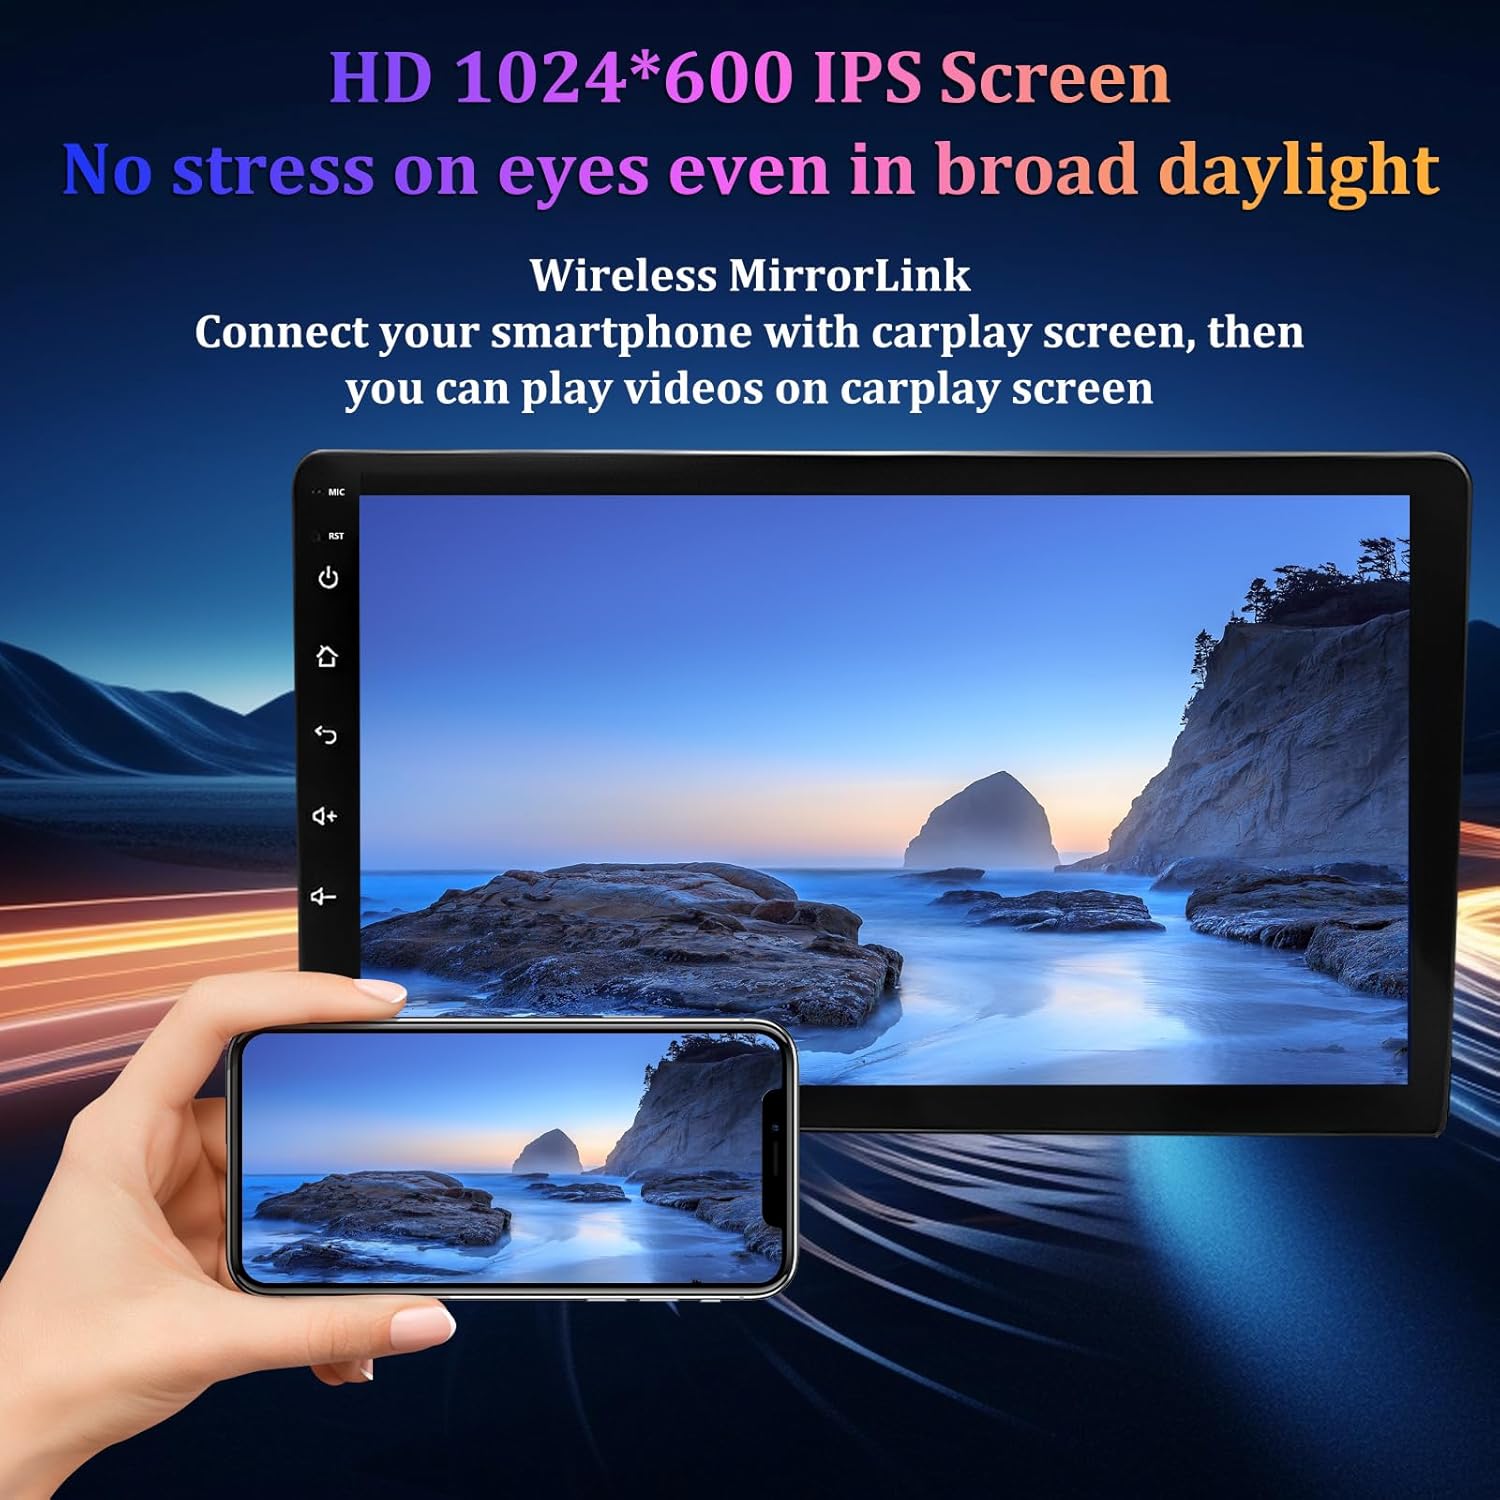
Connect your smartphone wirelessly to access apps, maps, calls, and music directly from the stereo's touchscreen. Voice control is supported for safer operation.
- Połączenie Bluetooth: Ensure your phone's Bluetooth is on and paired with the car stereo.
- Połączenie ZLINK: Open the 'ZLINK' app on the stereo. Follow the on-screen prompts to connect your smartphone.
- Manual WiFi Connection (if needed): If the ZLINK connection is unsuccessful, manually connect the stereo to your phone's WiFi hotspot. After connecting, delete the WiFi history record on the stereo and try ZLINK again.
6.2. Bluetooth
For hands-free calling and audio streaming, pair your phone via Bluetooth:
- Go to 'Settings' > 'Bluetooth' on the stereo.
- Włącz Bluetooth w swoim smartfonie i wyszukaj „CarBT”.
- Pair your phone using the default PIN '0000' (if prompted).
6.3. Wi-Fi
Connect to a WiFi network or your phone's hotspot to download apps, stream content, and update maps.
- Go to 'Settings' > 'Network' > 'WiFi'.
- Enable WiFi and select your desired network. Enter the password if required.
7. Nawigacja GPS
The stereo supports both online and offline GPS navigation. The included GPS antenna ensures precise satellite positioning.
- Use pre-installed navigation apps or download your preferred app from the Play Store.
- Download offline maps for navigation without an internet connection.
- Voice control can be used to set destinations and get directions.

8. Kamera cofania
Dołączona kamera cofania HD zapewnia wyraźny obraz view of the area behind your vehicle, automatically activating when you shift into reverse.
- The camera features a 1080P resolution and IP67 waterproofing for durability.
- Adjustable parking assistance lines are displayed on the screen to guide you.

9. Ustawienia dźwięku
Customize your audio experience with the built-in DSP Equalizer and FM radio.
- Korektor DSP: Utilize the 9-band audio customization to fine-tune sound output for different seating positions and music genres.
- Tuner FM: Access a triple FM tuner (87.5-108MHz) for clear radio reception.
- Supported audio formats include FLAC, APE, WAV, MP3, and AAC.

10. Konserwacja
Aby zapewnić długą żywotność i optymalną pracę radia samochodowego, należy przestrzegać poniższych wskazówek dotyczących konserwacji:
- Czyszczenie ekranu: Delikatnie przetrzyj ekran dotykowy miękką, niepozostawiającą włókien ściereczką. W przypadku uporczywych plam delikatnie przetrzyj.ampPrzetrzyj ściereczkę wodą lub środkiem do czyszczenia ekranów. Unikaj silnych środków chemicznych.
- Aktualizacje oprogramowania: Periodically check for software updates via WiFi to ensure you have the latest features and bug fixes.
- Połączenia kablowe: Sprawdź, czy wszystkie kable są solidnie podłączone i nie są ściśnięte ani uszkodzone.
- Warunki środowiskowe: Unikaj wystawiania urządzenia na działanie ekstremalnych temperatur, długotrwałego bezpośredniego światła słonecznego i nadmiernej wilgoci.
11. Rozwiązywanie Problemów
Jeśli masz problemy z radiem samochodowym, zapoznaj się z poniższymi typowymi procedurami rozwiązywania problemów:
- Brak zasilania: Check battery connections and ensure the stereo's power cable is properly connected. Verify vehicle fuses.
- Brak dźwięku: Sprawdź połączenia głośników, poziomy głośności i ustawienia DSP. Upewnij się, że wybrano prawidłowe źródło dźwięku.
- Brak połączenia Bluetooth: Ensure Bluetooth is enabled on both devices. Try unpairing and re-pairing. Clear Bluetooth history on the stereo if necessary.
- Problemy z CarPlay/Android Auto: Verify strong WiFi and Bluetooth connections. Ensure the ZLINK app is updated. Try restarting both the phone and the stereo.
- Kamera cofania nie jest wyświetlana: Check the camera input cable connection at the stereo and the camera itself. Ensure the camera's power is correctly wired to the reverse light.
- Utrata sygnału GPS: Upewnij się, że antena GPS jest bezpiecznie podłączona i umieszczona w miejscu zapewniającym swobodny dostęp. view nieba.
- Brak reakcji ekranu dotykowego: Try restarting the stereo. If the issue persists, a factory reset might be necessary (refer to settings).
12. Specyfikacje
| Funkcja | Szczegół |
|---|---|
| Waga przedmiotu | 3.97 funta |
| Wymiary opakowania | 14.96 x 9.45 x 5.51 cala |
| Rozmiar wyświetlacza | 9 cali |
| Polecenie głosowe | Ekran dotykowy |
| System operacyjny | Android 13 |
| BARAN | 2 GB |
| ROM | 32 GB |
| Technologia łączności | Bluetooth, WiFi |
| Cechy specjalne | Bluetooth, Touchscreen, Wireless CarPlay and Android Auto, DSP Equalizer, GPS Navigation, HD Backup Camera |
| Typ serwisu pojazdu | Car (Honda HR-V 2016-2019) |
| Tryb wyjścia audio | Stereofoniczny |
| Typ montażu | Montaż na desce rozdzielczej |
13. Gwarancja i wsparcie
For warranty information and technical support, please refer to the warranty card included in your package or contact Ftoghe customer service directly. Keep your purchase receipt as proof of purchase.
Zasoby internetowe i odpowiedzi na często zadawane pytania mogą być również dostępne na stronie producenta. webstrona.