
Hoestr A32
Instrukcja obsługi kamery Hoestr A32
Portable Body Cam with 180° Rotatable Lens and Motion Detection
Wstęp
Thank you for choosing the Hoestr A32 Body Camera. This compact and versatile device is designed for various recording needs, from personal security to outdoor sports and professional use. Featuring a 180° rotatable lens, motion detection, and high-definition video recording, the A32 ensures you capture every important moment. Please read this manual carefully to understand the camera's functions and ensure proper operation.

Figure 1: Hoestr A32 Body Camera and 64GB TF Card
Co jest w pudełku
- 1 x Hoestr A32 Body Camera
- 1 x karta TF o pojemności 64 GB (wstępnie zainstalowana lub osobna)
- 1 x kabel USB-C
- 1 x Instrukcja obsługi
Produkt ponadview
Familiarize yourself with the various components and controls of your A32 Body Camera.

Figure 2: A32 Body Camera Components and Controls
- Camera (180° Rotatable Lens): Captures video and photos. Can be rotated for various angles.
- Otwór na smycz: Do przymocowania paska na nadgarstek lub smyczy.
- Record/Save Video Button: Slide up to start/stop video recording.
- Power On/Off; Play Button: Long press to power on/off. Short press to play/pause in playback mode.
- Przycisk Pre: Navigation button for menu and playback.
- Następny przycisk: Navigation button for menu and playback. Also used to mark/protect files podczas nagrywania.
- Przyciski Vol+ / Vol-: Adjust volume during playback.
- Record/Save Audio Button: Slide up to start/stop audio recording.
- Zresetuj otwór: Aby przywrócić ustawienia fabryczne (użyj kodu PIN).
- Przycisk menu: Access camera settings and options.
- Przycisk powrotu: Go back in menu or exit playback.
- Gniazdo Micro SD: For inserting the TF (Micro SD) card. Supports up to 128GB (FAT32 format).
- Port USB typu C: Do ładowania i przesyłania danych.

Figure 3: 180° Rotatable Lens Design
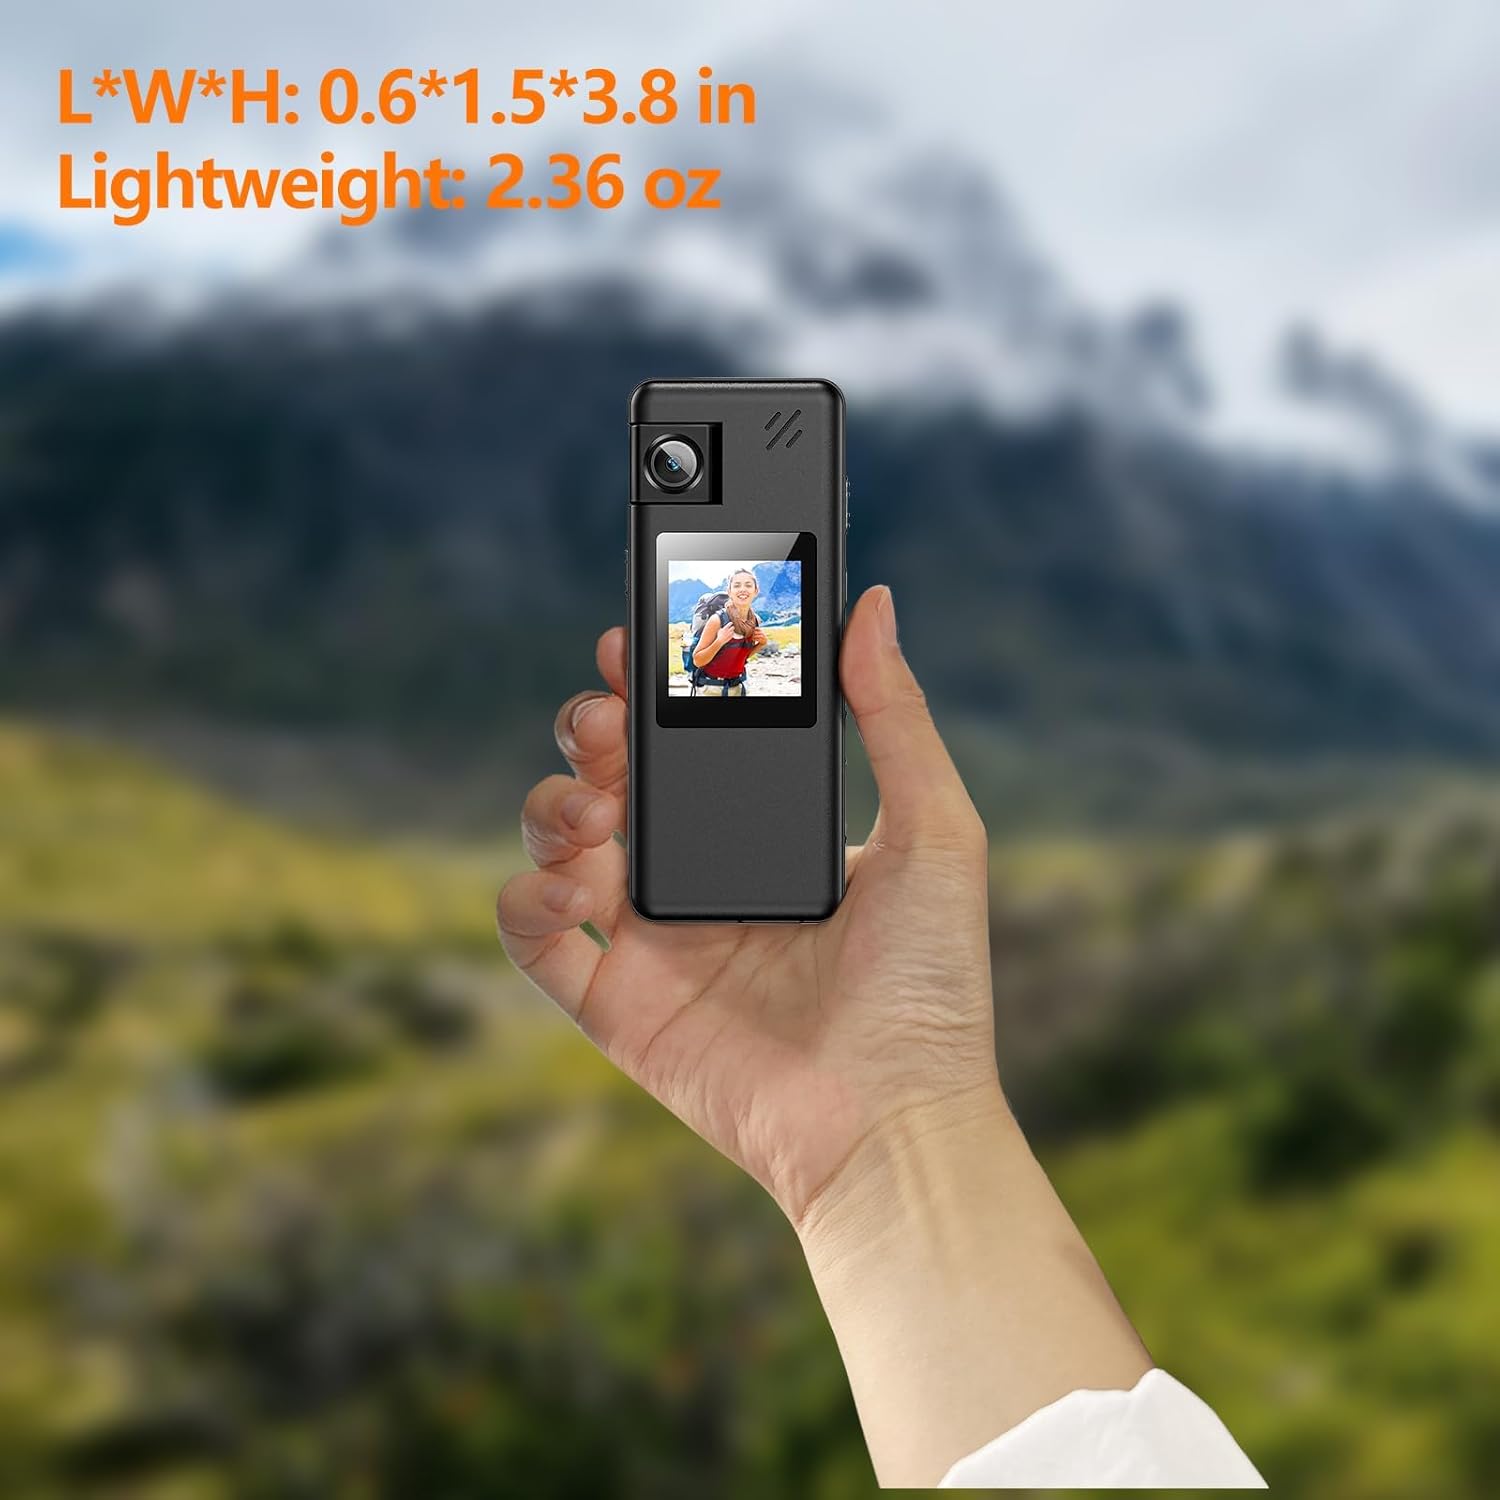
Figure 4: Compact Size and Lightweight Design
Organizować coś
1. Wkładanie karty TF
The A32 Body Camera comes with a 64GB TF card. Ensure it is properly inserted before use.
- Locate the Micro SD slot on the side of the camera.
- Gently push the TF card into the slot until it clicks into place. Ensure the gold contacts are facing the correct direction (usually towards the screen).
- Aby wyjąć kartę, wciśnij ją ponownie, aż usłyszysz kliknięcie, a następnie puść, a karta wyskoczy.

Figure 5: Quick Operation Help - Step 1: Insert TF Card
2. Ładowanie akumulatora
The camera has a built-in 1800mAh rechargeable lithium battery. Fully charge the camera before first use.
- Connect the provided USB-C cable to the camera's USB Type-C port.
- Podłącz drugi koniec kabla do zasilacza USB (nie ma go w zestawie) lub do portu USB komputera.
- Kontrolka ładowania pokaże stan naładowania. Pełne naładowanie trwa zazwyczaj około 3 godzin.

Figure 6: Battery Information and Charging
Instrukcja obsługi
1. Włączanie/wyłączanie zasilania
- Włączanie: Long press the 'Power On/Off; Play' button until the screen lights up.
- Wyłączone: Long press the 'Power On/Off; Play' button until the screen turns off.
2. Nagrywanie wideo
- Slide the 'Record/Save Video' button upwards to start video recording. The recording indicator will flash.
- Slide the 'Record/Save Video' button downwards to stop and save the video.
- During recording, you can press the 'Next' button to mark and protect important files przed przypadkowym usunięciem.

Figure 7: One-Touch Recording
3. Nagrywanie dźwięku
- Slide the 'Record/Save Audio' button upwards to start audio recording.
- Slide the 'Record/Save Audio' button downwards to stop and save the audio file.
4. Robienie zdjęć
- From the main interface, press the 'Menu' button to switch to photo mode.
- Press the 'Play' button to take a snapshot.
5. Odtwarzanie
- In standby mode, short press the 'Power On/Off; Play' button to enter playback mode.
- Use the 'Pre' and 'Next' buttons to navigate through recorded files.
- Press the 'Power On/Off; Play' button to play/pause the selected file.
- Use 'Vol+' and 'Vol-' buttons to adjust playback volume.
- Press the 'Return' button to exit playback mode.
6. Detekcja ruchu
Activate motion detection in the camera settings. When enabled, the camera will automatically start recording when motion is detected.
7. Nagrywanie w pętli
The camera supports loop recording, automatically saving files every 10 minutes to prevent loss due to excessively large files. When the memory card is full, the oldest filezostaną nadpisane przez nowe nagrania.
8. File Management (Connecting to Computer)
You can manage your recorded files by connecting the camera to a computer.
- Connect the camera to your Windows/Mac computer using the provided USB-C cable.
- The camera will appear as a removable disk.
- Możesz view, play, delete, or rename video, audio, and photo filebezpośrednio na Twoim komputerze.
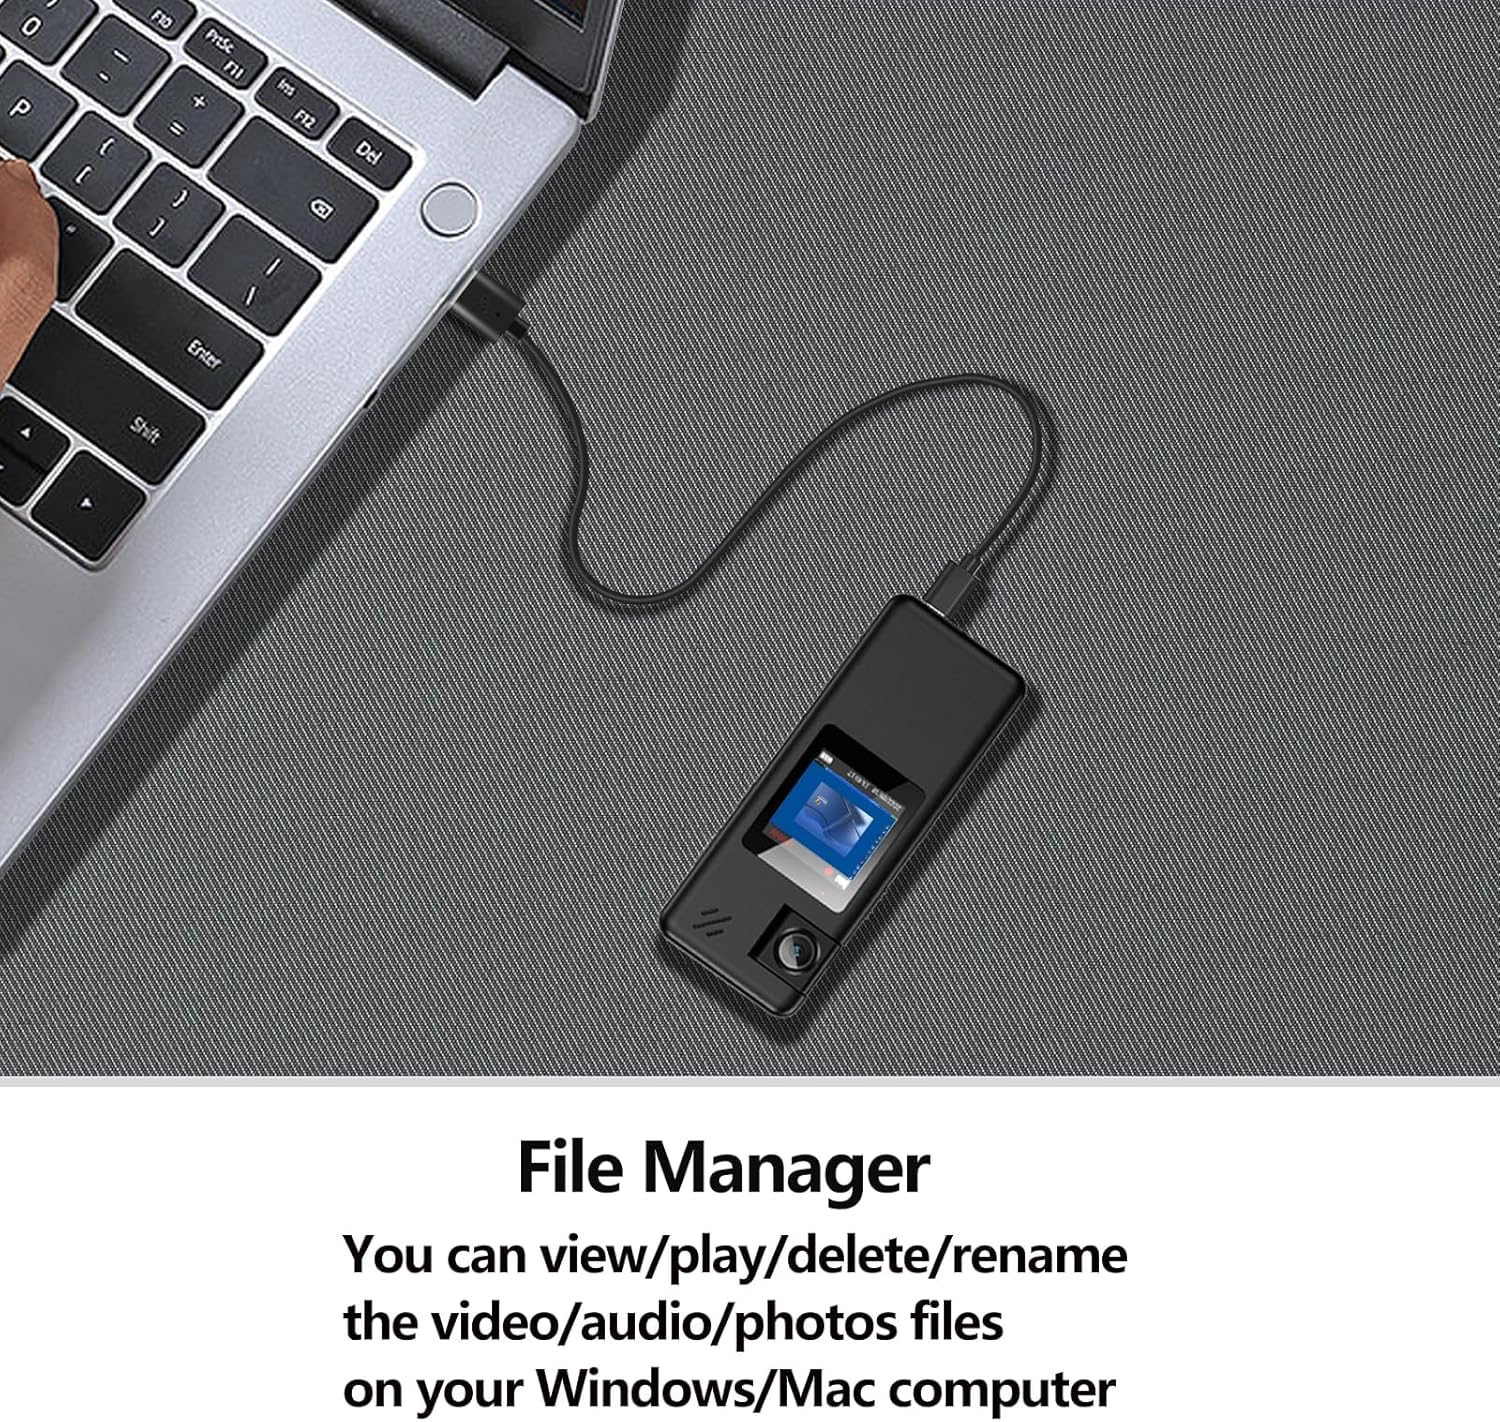
Figure 8: Connecting to Computer for File Kierownictwo
9 Oficjalna demonstracja wideo produktu
Watch the official product video for a visual guide on the A32 Body Camera's features and operation.
Video 1: A32 128GB Body Camera Demonstration. This video showcases the camera's design, rotatable lens, ease of use, and various recording capabilities.
Konserwacja
- Utrzymuj aparat w czystości. Do czyszczenia obiektywu i korpusu używaj miękkiej, suchej ściereczki.
- Unikaj wystawiania aparatu na działanie ekstremalnych temperatur, bezpośredniego światła słonecznego i wysokiej wilgotności.
- Do not disassemble the camera, as this will void the warranty.
- Kiedy aparat nie jest używany, przechowuj go w chłodnym i suchym miejscu.
Rozwiązywanie problemów
| Problem | Możliwa przyczyna | Rozwiązanie |
|---|---|---|
| Kamera się nie włącza. | Niski poziom naładowania baterii; Awaria systemu. | Charge the camera fully. Insert a pin into the reset hole to restart the device. |
| Nie można nagrywać obrazu/dźwięku. | TF card full; TF card not inserted or faulty; Incorrect mode. | Usuń stare files or replace TF card. Ensure TF card is properly inserted. Check recording mode. |
| Słaba jakość obrazu i dźwięku. | Lens dirty; Low light conditions; Microphone obstructed. | Clean the lens. Ensure adequate lighting. Check microphone for obstructions. |
| Kamera zawiesza się. | Problem z oprogramowaniem. | Insert a pin into the reset hole to restart the device. |
Specyfikacje
| Funkcja | Szczegół |
|---|---|
| Model | A32 |
| Rozdzielczość przechwytywania wideo | 1080FHD/1080P/720P |
| Obrót obiektywu | 180° |
| Szeroki kąt | Około 130° |
| Ekran wyświetlacza | 1.3-calowy wyświetlacz LCD |
| Pojemność baterii | 1800 mAh litowo-jonowy |
| Czas nagrywania wideo | 8-10 hours (screen off) |
| Audio Recording Time | 14 hours (screen off) |
| Czas ładowania | Około 3 godzin |
| Składowanie | Supports Micro SD (TF) card up to 128GB (FAT32 format) |
| Wymiary (dł.*szer.*wys.) | 3.8 x 0.6 x 1.5 cala |
| Waga | 2.36 uncji |
| Łączność | USB typu C |
| Format przechwytywania wideo | Ruch |
| Obsługiwany format audio | MP3, WAV |
Gwarancja i wsparcie
Hoestr provides a 2-letnia gwarancja from the date of purchase. If you encounter any non-human quality problems with your product within this period, please contact our after-sales team through the backend channel. We are committed to providing a money-back or new product replacement within 24 hours on working days.
For further assistance or inquiries, please refer to the contact information provided with your purchase or visit the official Hoestr store on Amazon.
Hoestr Store Link: Visit the Hoestr Store
Ask a question about this manual
Ask about setup, troubleshooting, compatibility, parts, safety, or missing instructions. Manuals+ will review the question and use this page’s manual context to help answer it.