
1. Wprowadzenie
This manual provides detailed instructions for the installation, operation, and maintenance of your USKI 24V 150W Automatic Pressure Regulator Water Booster Pump. This device is designed to effectively boost water pressure for various household applications, including water heaters and general home water supply, especially in low-pressure environments. Please read this manual thoroughly before installation and use to ensure safe and efficient operation.
2. Informacje dotyczące bezpieczeństwa
Aby zapobiec obrażeniom ciała lub uszkodzeniu produktu, należy zawsze przestrzegać poniższych środków ostrożności.
- Upewnij się, że zasilanie jest zgodne ze specyfikacją pompy (24 V).
- Nie należy używać pompy, jeśli przewód lub wtyczka są uszkodzone.
- Trzymaj pompę z dala od materiałów łatwopalnych.
- Przed przystąpieniem do prac konserwacyjnych lub instalacyjnych należy odłączyć zasilanie.
- Jeśli nie masz pewności, instalację powinien wykonać wykwalifikowany specjalista.
- The pump is designed for water boosting; do not use it for other liquids without consulting the manufacturer.
- Podczas pracy pompy należy zapewnić odpowiednią wentylację wokół niej.
3. Koniec produktuview i funkcje
The USKI Water Booster Pump is a compact and efficient solution for improving water pressure in your home. It features both automatic and manual operation modes.
Główne cechy:
- Struktura: Pompa wspomagająca
- Moc: Elektryczny (24 V)
- Funkcjonować: Manual and automatic operation in one unit
- Ciśnienie: Designed for low-pressure water systems
- Aplikacja: Water boosting for domestic use, including water heaters, showers, and faucets.
- Odporność na temperaturę: Up to 90 degrees Celsius
- Klasa ochrony: IP56
Produkt Views:
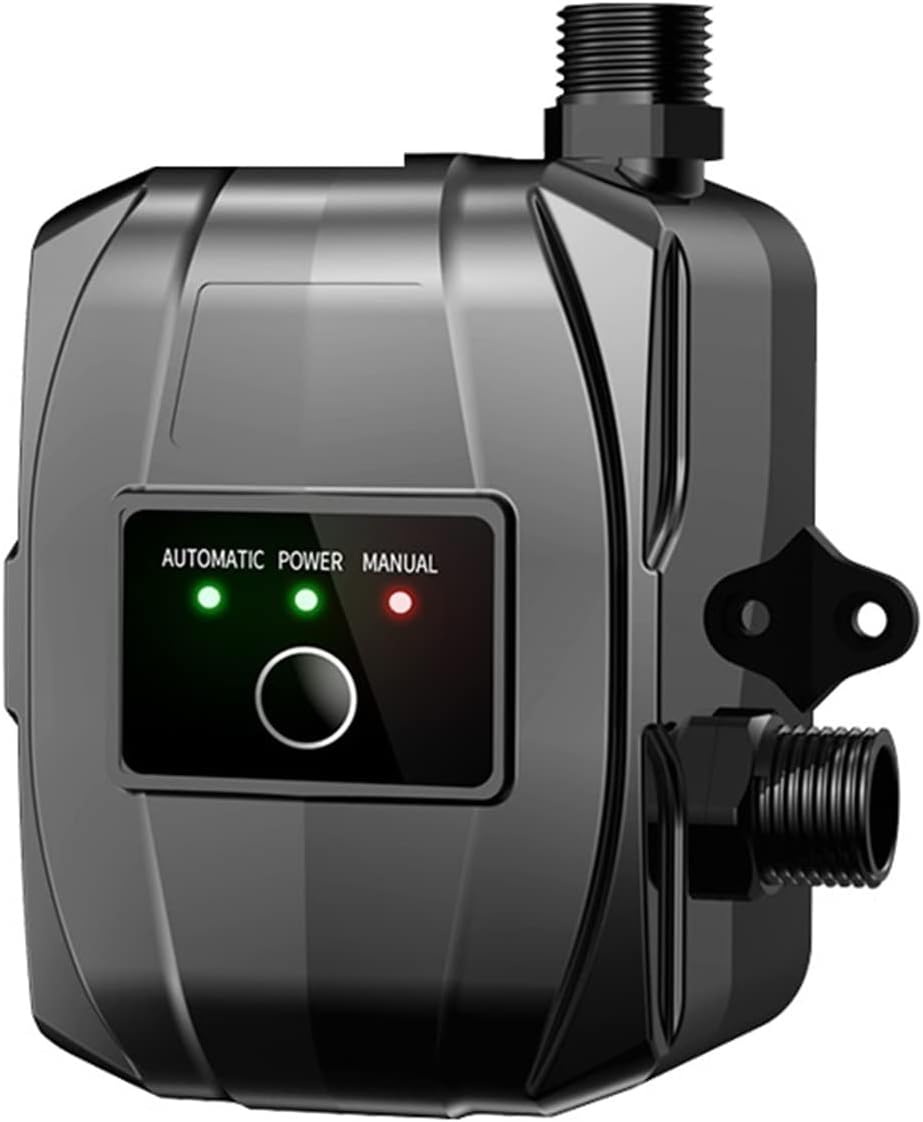
Rycina 3.1: Przód view of the USKI water booster pump, showing the control panel with automatic and manual mode indicators.

Figure 3.2: The USKI water booster pump, indicating the 100W power variant.

Figure 3.3: Comparison of pump characteristics, highlighting automatic and manual control options.
4. Specyfikacje
| Specyfikacja | Value (100W Model) |
|---|---|
| Nazwa produktu | Household Booster Pump |
| Funkcjonować | Manual and Automatic in one |
| Moc | 100W (also available in 120W/150W variants) |
| Przepływ | 28L/min (for 100W model, 30L/32L/min for others) |
| Głowa | 16m (for 100W model, 20m/22m for others) |
| Aktualny | 3A (for 100W model, 3.5A/4A for others) |
| Odporność na temperaturę | 90 stopni Celsjusza |
| Pipe Inner Diameter | 15 mm |
| Klasa ochrony | IP56 |
| Teoria | Rotary pump |
| Producent | USKI |
| Numer modelu przedmiotu | 1005004225425877 |
| Waga przedmiotu | 500 gramów |
5. Konfiguracja i instalacja
Proper installation is crucial for the optimal performance and longevity of your booster pump. Ensure all connections are secure and leak-free.
Kroki instalacji:
- Wybierz lokacje: Select a dry, well-ventilated location near your water supply and the appliance requiring boosted pressure (e.g., water heater, shower). Ensure it's easily accessible for maintenance.
- Przygotuj instalację wodno-kanalizacyjną: Turn off the main water supply. Drain the pipes. Cut into the existing water line where the pump will be installed. The pump is typically installed on the cold water inlet line to the appliance or main water line for whole-house boosting.
- Podłącz wejście/wyjście: Connect the inlet of the pump to the low-pressure water source and the outlet to the appliance/system requiring boosted pressure. Use appropriate fittings and ensure all connections are watertight. The pipe inner diameter for connection is 15mm.
- Zabezpiecz pompę: Mount the pump securely using the provided mounting points. Ensure it is stable and level to minimize vibration.
- Podłączenie elektryczne: Connect the pump to a 24V power supply. Ensure the power adapter is suitable for your region (e.g., European, US, UK plugs are supported).
- Przywrócenie dostaw wody: Powoli odkręć główny dopływ wody i sprawdź, czy na przyłączach nie ma przecieków.
- Odpowietrzanie: Open a faucet downstream from the pump to allow any trapped air to escape the system. Run water until it flows smoothly without sputtering.
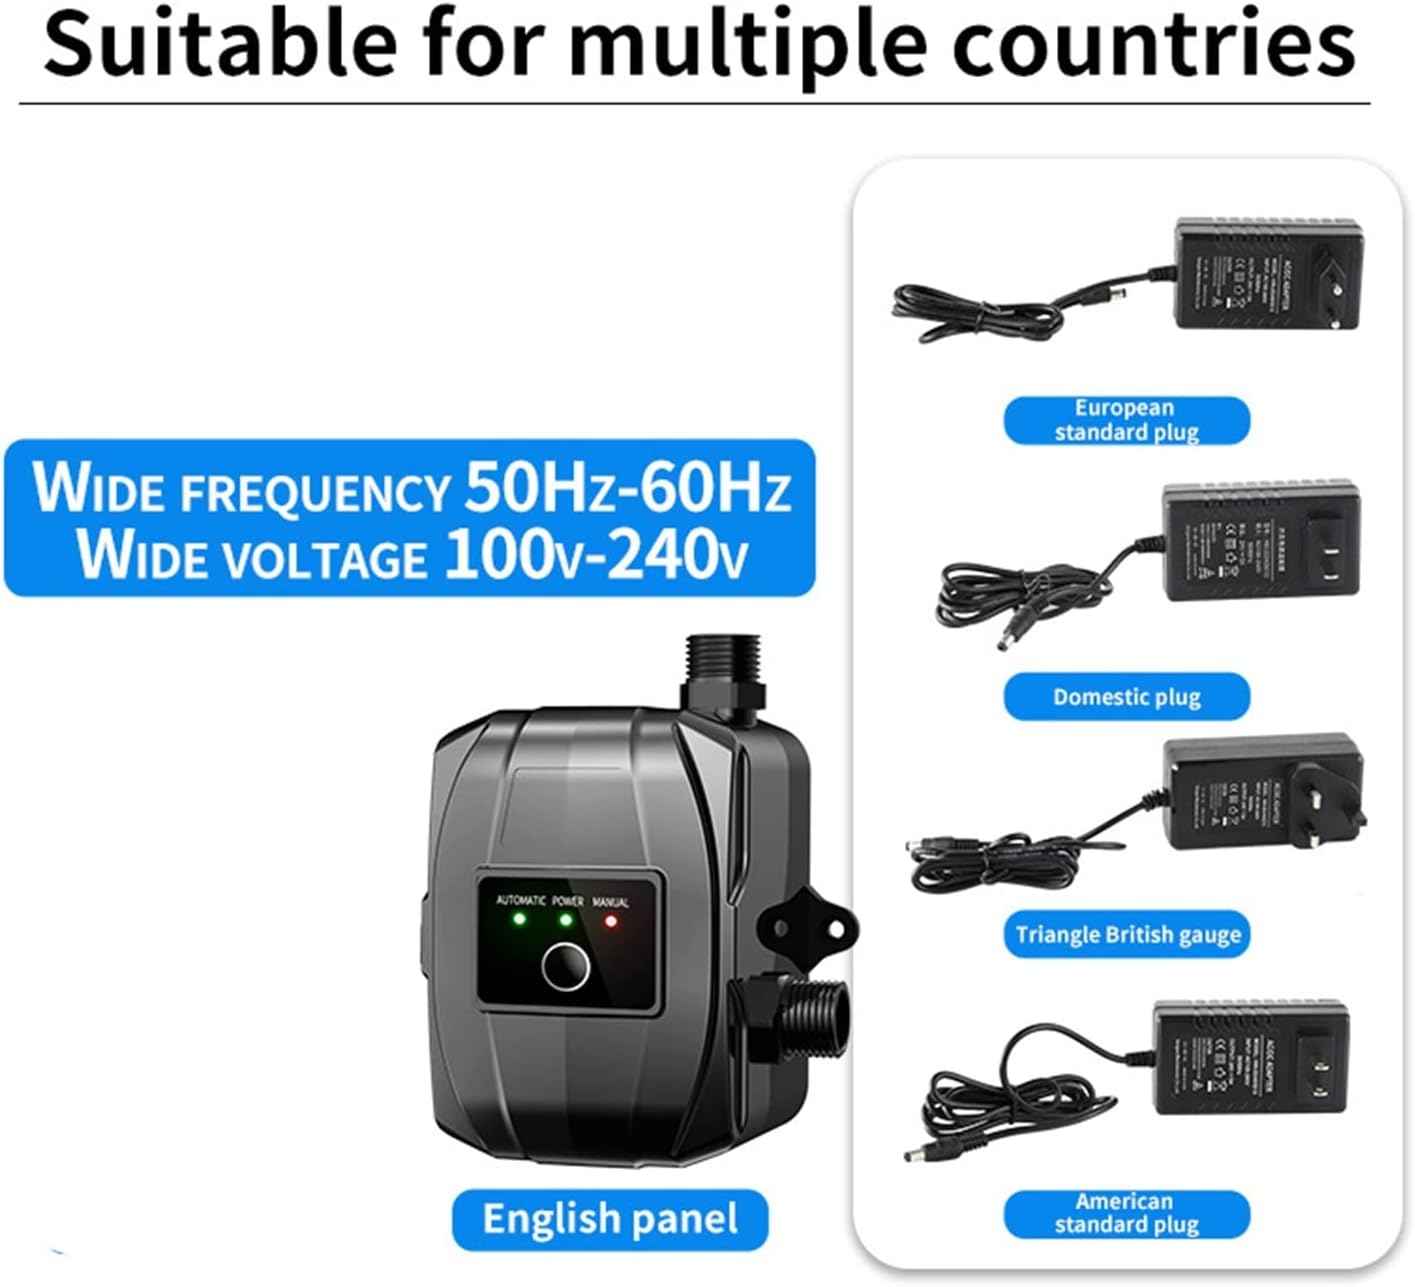
Figure 5.1: Power adapter compatibility for various regions.

Rysunek 5.2: Examples of typical installation scenarios for the booster pump.
6. Instrukcja obsługi
The pump offers both automatic and manual operation modes.
Tryby pracy:
- Tryb automatyczny: In this mode, the pump will automatically detect water flow and pressure changes. It will start when water is drawn (e.g., faucet opened) and stop when the flow ceases. This is the recommended mode for most household applications. The green indicator light on the control panel will illuminate when in automatic mode.
- Tryb ręczny: In manual mode, the pump will run continuously regardless of water flow. This mode is typically used for specific tasks or troubleshooting. The red indicator light on the control panel will illuminate when in manual mode. Use this mode sparingly to avoid dry running the pump.
To switch between modes, press the button on the control panel. Observe the indicator lights to confirm the selected mode.

Rysunek 6.1: Example of the pump boosting shower water pressure.
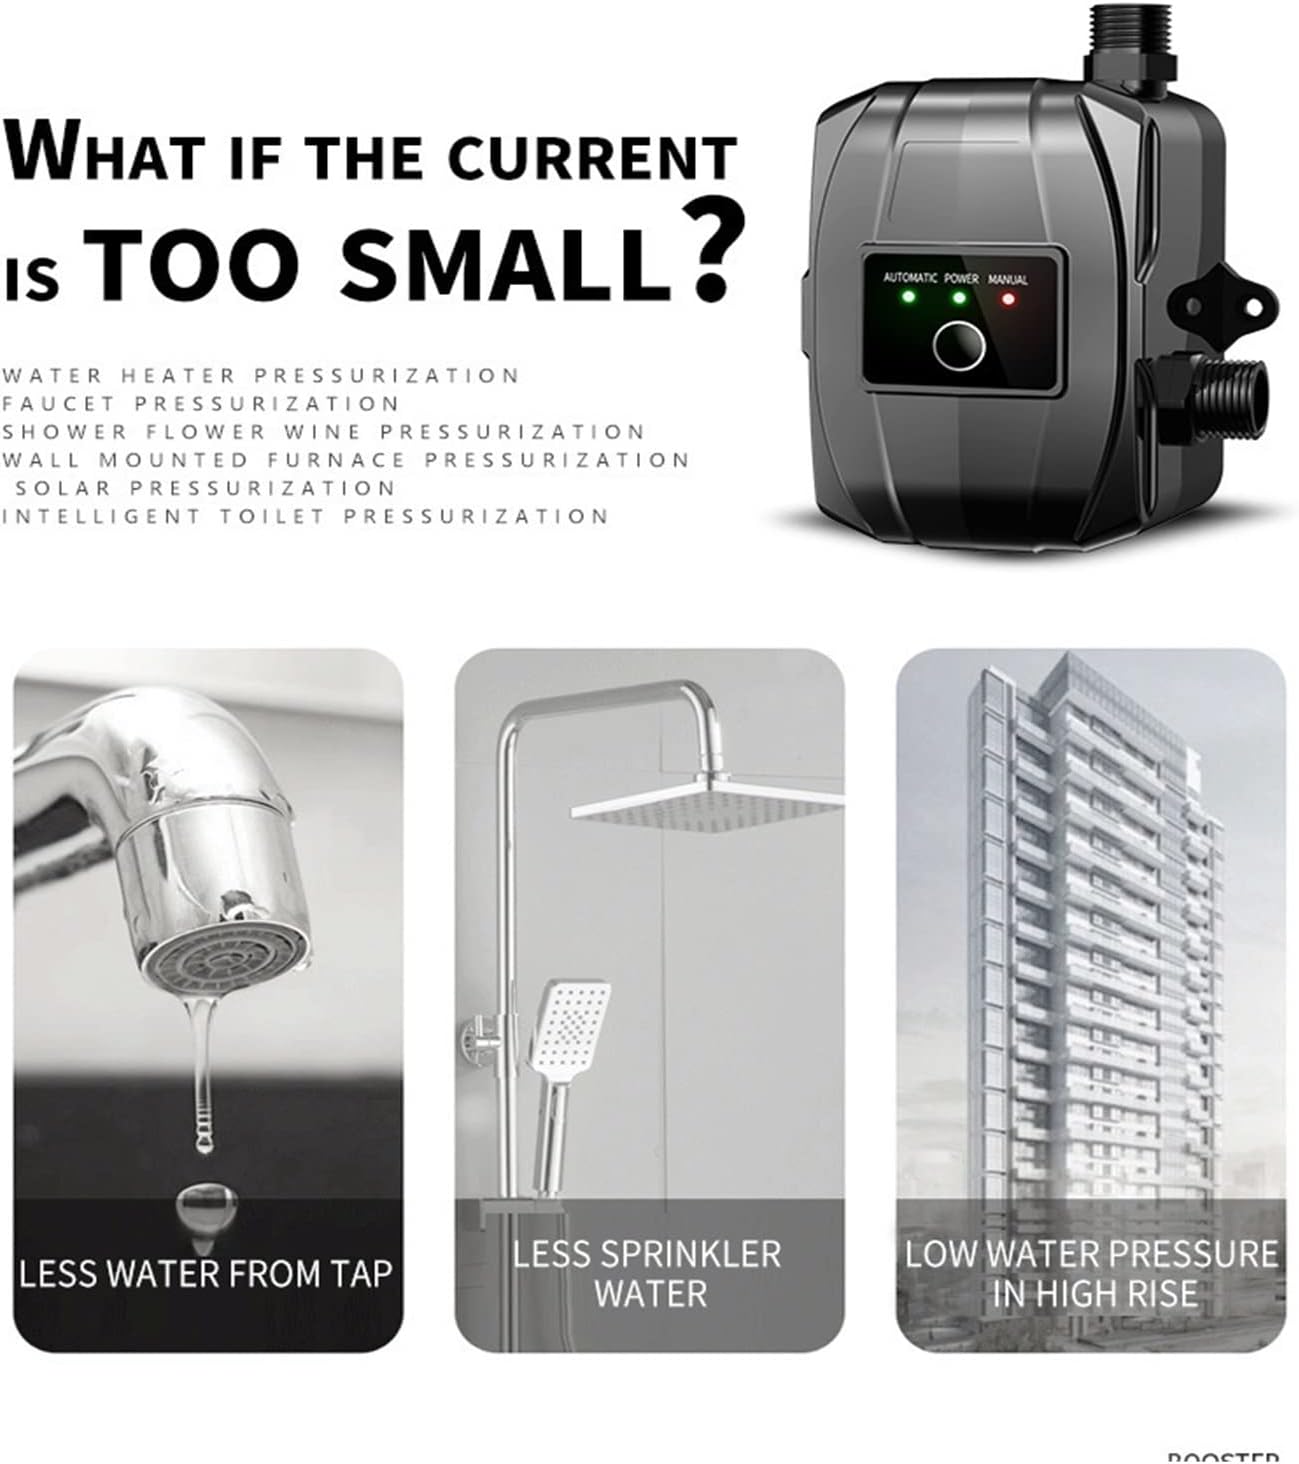
Figure 6.2: Common scenarios where the booster pump improves water flow and pressure.
Oficjalne filmy produktowe:
W chwili obecnej nie są dostępne żadne oficjalne filmy produktu od sprzedawcy.
7. Konserwacja
Regular maintenance ensures the longevity and efficient operation of your booster pump.
- Regularna kontrola: Periodically check for any signs of leaks, corrosion, or damage to the pump body or connections.
- Czysty wygląd zewnętrzny: Przetrzyj zewnętrzną część pompy środkiem reklamowymamp szmatką do usunięcia kurzu i brudu. Nie używaj ściernych środków czyszczących ani rozpuszczalników.
- Sprawdź połączenia: Ensure all plumbing and electrical connections remain tight and secure.
- Zimowanie (jeśli dotyczy): If the pump is installed in an area subject to freezing temperatures, drain the pump and associated pipes to prevent damage from ice expansion.
8. Rozwiązywanie Problemów
If you encounter issues with your booster pump, refer to the following common problems and solutions:
| Problem | Możliwa przyczyna | Rozwiązanie |
|---|---|---|
| Pompa nie uruchamia się | No power; tripped circuit breaker; faulty wiring; pump in manual mode but no flow. | Check power connection and outlet; reset breaker; inspect wiring (call professional if unsure); switch to automatic mode or ensure water flow in manual mode. |
| Low water pressure after pump installation | Air in the system; clogged filter; incorrect installation direction; pump too small for demand. | Bleed air from pipes; clean any inline filters; verify inlet/outlet connections; consider a higher power model if demand is too high. |
| Pump runs continuously (in automatic mode) | Leak in the system; faulty flow sensor; small continuous drip. | Check all plumbing for leaks; contact support if flow sensor is suspected to be faulty. |
| Nietypowy hałas lub wibracje | Loose mounting; air in pump; debris in impeller. | Tighten mounting bolts; bleed air; disconnect power and inspect impeller for obstructions (if safe to do so). |
9. Gwarancja i wsparcie
For warranty information, please refer to the documentation provided with your purchase or contact the seller directly. If you require technical support or have questions not covered in this manual, please reach out to USKI customer service or your retailer.
Producent: USKI
Numer modelu przedmiotu: 1005004225425877
ASIN: B0DNQ8P7NM