
1. Wprowadzenie
Thank you for choosing the Cangaroo Cai 2-in-1 Sterilizer and Dryer. This appliance is designed to sterilize and dry baby bottles and accessories, ensuring a hygienic environment for your baby's feeding items. It can sterilize up to six standard bottles simultaneously and is also suitable for smaller items like pacifiers and teats. This multifunctional device features an LCD display and touchscreen controls for ease of use. Please read this manual carefully before use and keep it for future reference.
2. Ważne instrukcje bezpieczeństwa
- Przed użyciem urządzenia należy przeczytać całą instrukcję.
- Nie zanurzaj urządzenia, przewodu ani wtyczki w wodzie lub innych płynach.
- Przechowywać poza zasięgiem dzieci. To urządzenie nie jest zabawką.
- Urządzenie należy zawsze umieszczać na stabilnej, odpornej na ciepło powierzchni.
- Nie należy używać urządzenia, jeśli przewód lub wtyczka są uszkodzone lub jeśli urządzenie działa nieprawidłowo albo zostało w jakikolwiek sposób uszkodzone.
- Use only distilled water for sterilization to prevent limescale buildup.
- Do not open the lid during operation as hot steam will escape.
- Przed czyszczeniem lub przechowywaniem pozwól urządzeniu całkowicie ostygnąć.
- Odłączaj urządzenie od gniazdka, gdy nie jest używane oraz przed czyszczeniem.
- Upewnij się, że objętośćtage podana na urządzeniu odpowiada lokalnej objętości sieci zasilającejtage.
- To urządzenie jest przeznaczone wyłącznie do użytku domowego. Nie używać na zewnątrz.
3. Składniki produktu
Familiarize yourself with the parts of your Cangaroo Cai Sterilizer and Dryer:
- Main Unit (Base with heating plate and control panel)
- Stojak na butelki
- Taca na akcesoria
- Pokrywa
- Tongs (for hygienic handling of hot items)
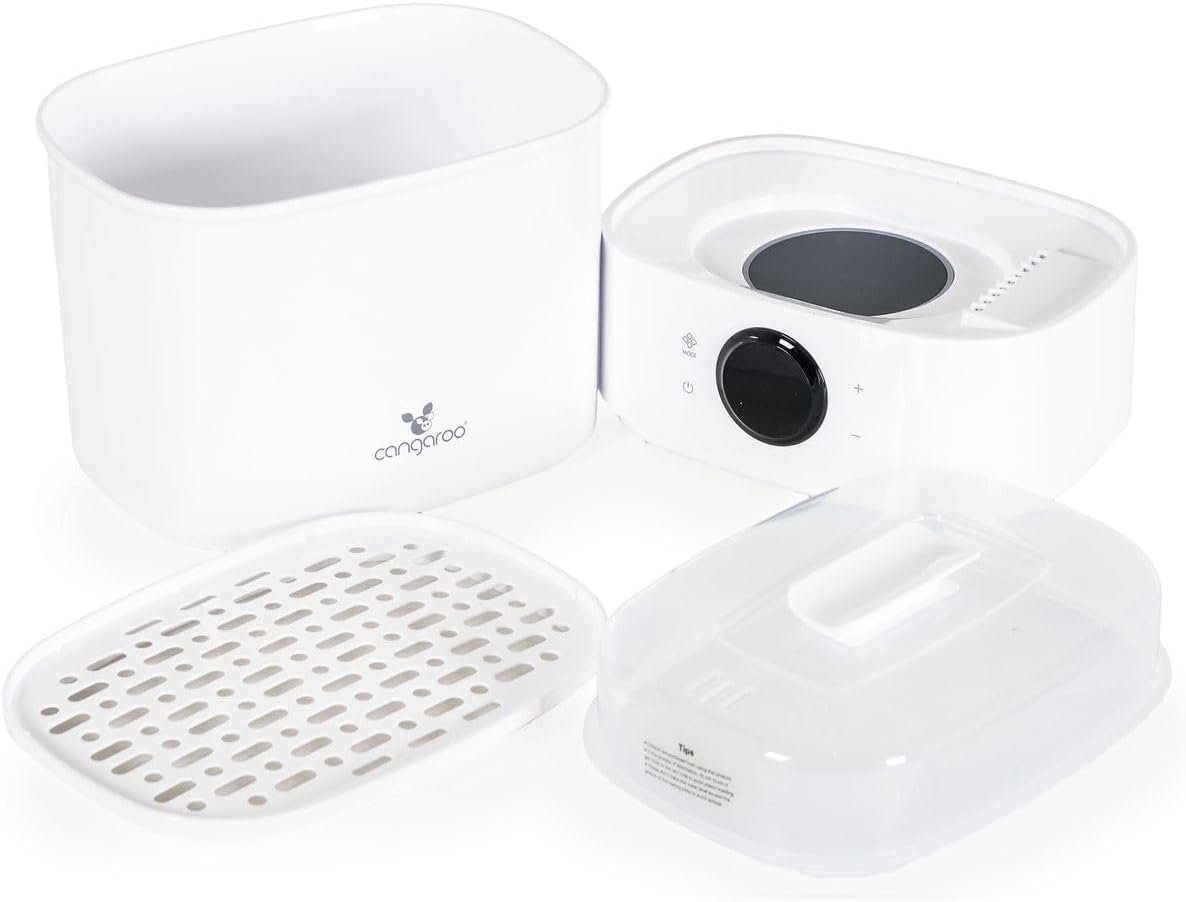
Obraz 3.1: All components of the Cangaroo Cai 2-in-1 Sterilizer and Dryer, including the main unit, bottle rack, accessory tray, and lid.

Obraz 3.2: The Cangaroo Cai 2-in-1 Sterilizer and Dryer shown with the included tongs for hygienic handling of sterilized items.
4. Konfiguracja i pierwsze użycie
- Rozpakować: Ostrożnie wyjąć wszystkie elementy z opakowania.
- Czysty: Wash all removable parts (bottle rack, accessory tray, lid, tongs) in warm soapy water, rinse thoroughly, and dry. Wipe the main unit with a damp płótno.
- Gromadzić się: Place the main unit on a clean, flat, heat-resistant surface.
- Dodaj wodę: Using a measuring cup (not included, typically 70-100ml is sufficient), pour the recommended amount of distilled water onto the heating plate of the main unit. Do not overfill.
- Załaduj elementy:
- Place bottles upside down on the bottle rack.
- Place smaller items like teats, pacifiers, or bottle caps on the accessory tray.
- Okładka: Dokładnie zamknij pokrywę na zmontowanym urządzeniu.
- Łączyć: Podłącz przewód zasilający do odpowiedniego gniazdka elektrycznego.

Obraz 4.1: The Cangaroo Cai 2-in-1 Sterilizer loaded with baby bottles and accessories, ready for operation.
5. Instrukcja obsługi
The Cangaroo Cai Sterilizer features an LCD display and touchscreen controls for easy operation.
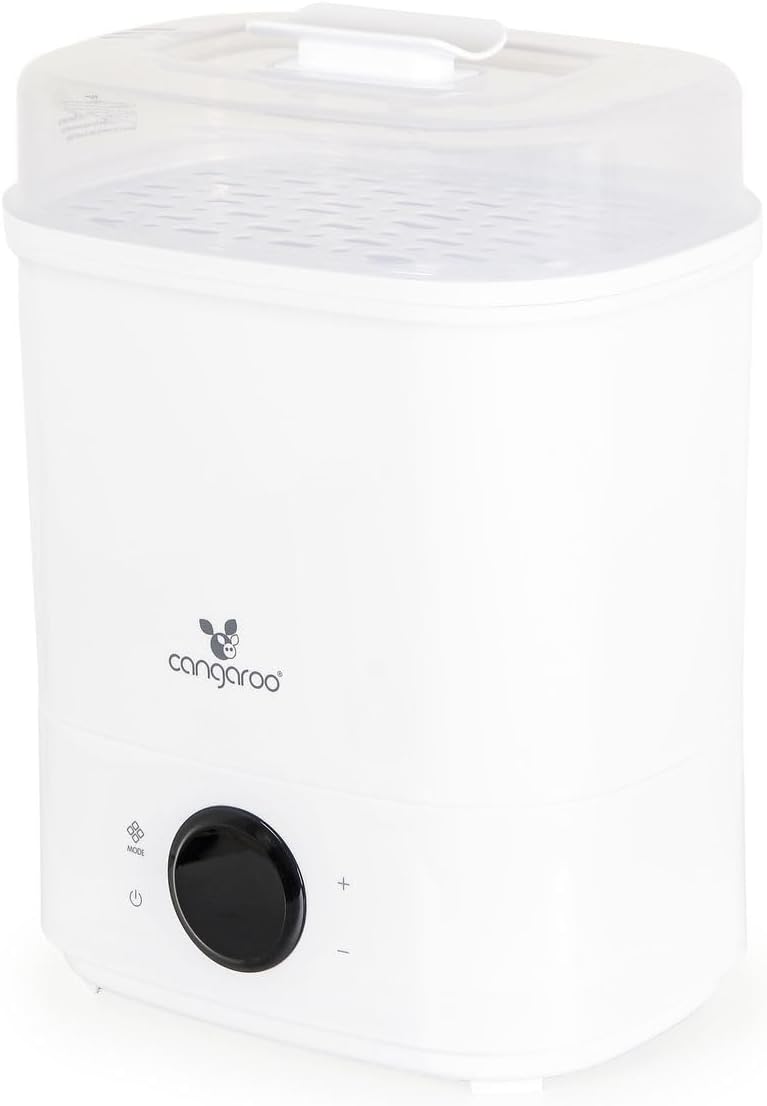
Obraz 5.1: Close-up of the Cangaroo Cai 2-in-1 Sterilizer's control panel, showing the LCD display, 'Mode' button, power button, and '+' / '-' buttons.
5.1. Włączanie/wyłączanie zasilania
- Naciśnij Przycisk zasilania (
 ) to turn the appliance on or off. The LCD display will illuminate.
5.2. Wybór trybu
The appliance offers a 2-in-1 function: Sterilization and Drying.
- Naciśnij Przycisk TRYB (
 ) to cycle through available operating modes. The display will show the selected mode.
 - Tryb automatyczny: This mode sterilizes for 10 minutes and then dries for 50 minutes. This is the recommended default for a complete cycle.
- Other modes (e.g., Sterilize Only, Dry Only) may be available. Refer to the display for current selection.
5.3. Adjusting Time (if applicable)
If the selected mode allows for time adjustment (e.g., drying time), use the '+' I '-' buttons on the touchscreen to increase or decrease the duration.
5.4. Rozpoczęcie działania
- Once the desired mode is selected, the appliance will typically start automatically after a few seconds, or you may need to press the Power button again to confirm and start.
- The light indicator will show that the appliance is operating.
- During operation, hot steam will be generated. Do not open the lid.
5.5. Po operacji
- The appliance will automatically shut off when the cycle is complete.
- Odłącz urządzenie od gniazdka elektrycznego.
- Allow the unit to cool down for at least 10 minutes before carefully removing the lid. Use the provided tongs to remove sterilized items to maintain hygiene and avoid burns.
6. Czyszczenie i konserwacja
Regular cleaning ensures optimal performance and extends the lifespan of your sterilizer.
- Odłącz i ostudź: Zawsze odłączaj urządzenie i pozwól mu całkowicie ostygnąć przed czyszczeniem.
- Czysta płyta grzewcza:
- Over time, mineral deposits (limescale) may build up on the heating plate, especially if tap water is used. This can reduce efficiency.
- To descale, mix 50ml of white vinegar with 100ml of water and pour it onto the heating plate. Let it soak for 30 minutes to an hour, or until the deposits loosen.
- Do not turn on the appliance with the descaling solution.
- Wylej roztwór i przetrzyj płytę grzewczą wodą.amp cloth. Rinse thoroughly with clean water.
- Alternatively, use a commercial descaling solution suitable for baby appliances, following the manufacturer's instructions.
- Clean Other Parts: Wash the bottle rack, accessory tray, lid, and tongs in warm soapy water. Rinse thoroughly and dry. These parts are generally not dishwasher safe unless specified.
- Wyczyść jednostkę główną: Wytrzyj zewnętrzną część jednostki głównej za pomocąamp ściereczką. Nie używaj środków czyszczących o właściwościach ściernych ani nie zanurzaj jednostki głównej w wodzie.
- Składowanie: Przechowuj czyste i suche urządzenie w chłodnym, suchym miejscu, z dala od bezpośredniego światła słonecznego.
7. Rozwiązywanie Problemów
| Problem | Możliwa przyczyna | Rozwiązanie |
|---|---|---|
| Urządzenie nie włącza się. | Niepodłączony; gniazdko elektryczne uszkodzone; urządzenie uszkodzone. | Check power cord connection. Test outlet with another appliance. If still not working, contact customer support. |
| Sterilization cycle takes too long or is ineffective. | Insufficient water; excessive limescale buildup on heating plate. | Ensure correct amount of distilled water is used. Descale the heating plate as per maintenance instructions. |
| Items are not dry after drying cycle. | Overloaded appliance; drying vents blocked; ambient humidity too high. | Do not overload the sterilizer. Ensure items are placed to allow air circulation. Check if drying vents are clear. Consider running a longer drying cycle if available. |
| Biało-brązowy osad na płycie grzewczej. | Limescale buildup from minerals in water. | Descale the heating plate regularly using vinegar or a descaling solution. Always use distilled water. |
| Wyciek pary z pokrywy. | Pokrywa nie jest prawidłowo założona; uszczelka pokrywy jest uszkodzona. | Ensure the lid is securely placed. Check the lid seal for any damage or wear. |
8. Specyfikacje techniczne
| Numer modelu | 111782 |
| Znamionowa objętośćtage | 220 V |
| Częstotliwość znamionowa | 50 Hz |
| Pobór mocy | 550 W |
| Wymiary produktu (dł. x szer. x wys.) | 18.9 x 25.5 x 35 cm (ok. 18 x 25 x 35 cm) |
| Waga produktu | 1.6 kilogramów |
| Pojemność | Up to 6 standard bottles |
| Producent | Kangur |
9. Gwarancja i wsparcie
Aby uzyskać informacje dotyczące gwarancji i obsługi klienta, zapoznaj się z kartą gwarancyjną dołączoną do produktu lub odwiedź oficjalną stronę internetową Cangaroo webZachowaj paragon jako dowód zakupu.
If you experience any issues not covered in the troubleshooting section, please contact Cangaroo customer service for assistance.