
1. Wprowadzenie
This manual provides important information regarding the installation, operation, and maintenance of your GBC iSnatch Carbon Monoxide (CO) Detector. Please read this manual thoroughly before using the device and retain it for future reference.
Carbon monoxide is a colorless, odorless, and tasteless gas that can be fatal. This detector is designed to monitor CO levels and alert you to potentially dangerous concentrations, helping to protect your household.
This CO detector complies with the EN50291-1 standard, ensuring its suitability for household use.
2. Informacje i ostrzeżenia dotyczące bezpieczeństwa
Ważny: This device is designed to detect carbon monoxide gas. It is not designed to detect smoke, fire, or other gases. It is not a substitute for proper maintenance of fuel-burning appliances, including ventilation and exhaust systems.
- Do not paint the detector. Paint can clog the sensor openings and interfere with the detector's ability to detect CO.
- Nie należy blokować otworów wentylacyjnych detektora.
- Test the detector regularly using the test button.
- Wymień baterie bezzwłocznie, gdy pojawi się ostrzeżenie o niskim poziomie naładowania baterii.
- Nie należy instalować urządzenia w miejscach o dużej wilgotności, ekstremalnych temperaturach lub nadmiernym zapyleniu.
- Przechowywać w miejscu niedostępnym dla dzieci.
3. Zawartość opakowania
Sprawdź, czy w opakowaniu znajdują się wszystkie elementy:
- GBC iSnatch Carbon Monoxide Detector (Model 64051105)
- Instrukcja obsługi
4. Koniec produktuview
The GBC iSnatch Carbon Monoxide Detector features a compact design with an integrated LCD display and indicator lights for easy monitoring.
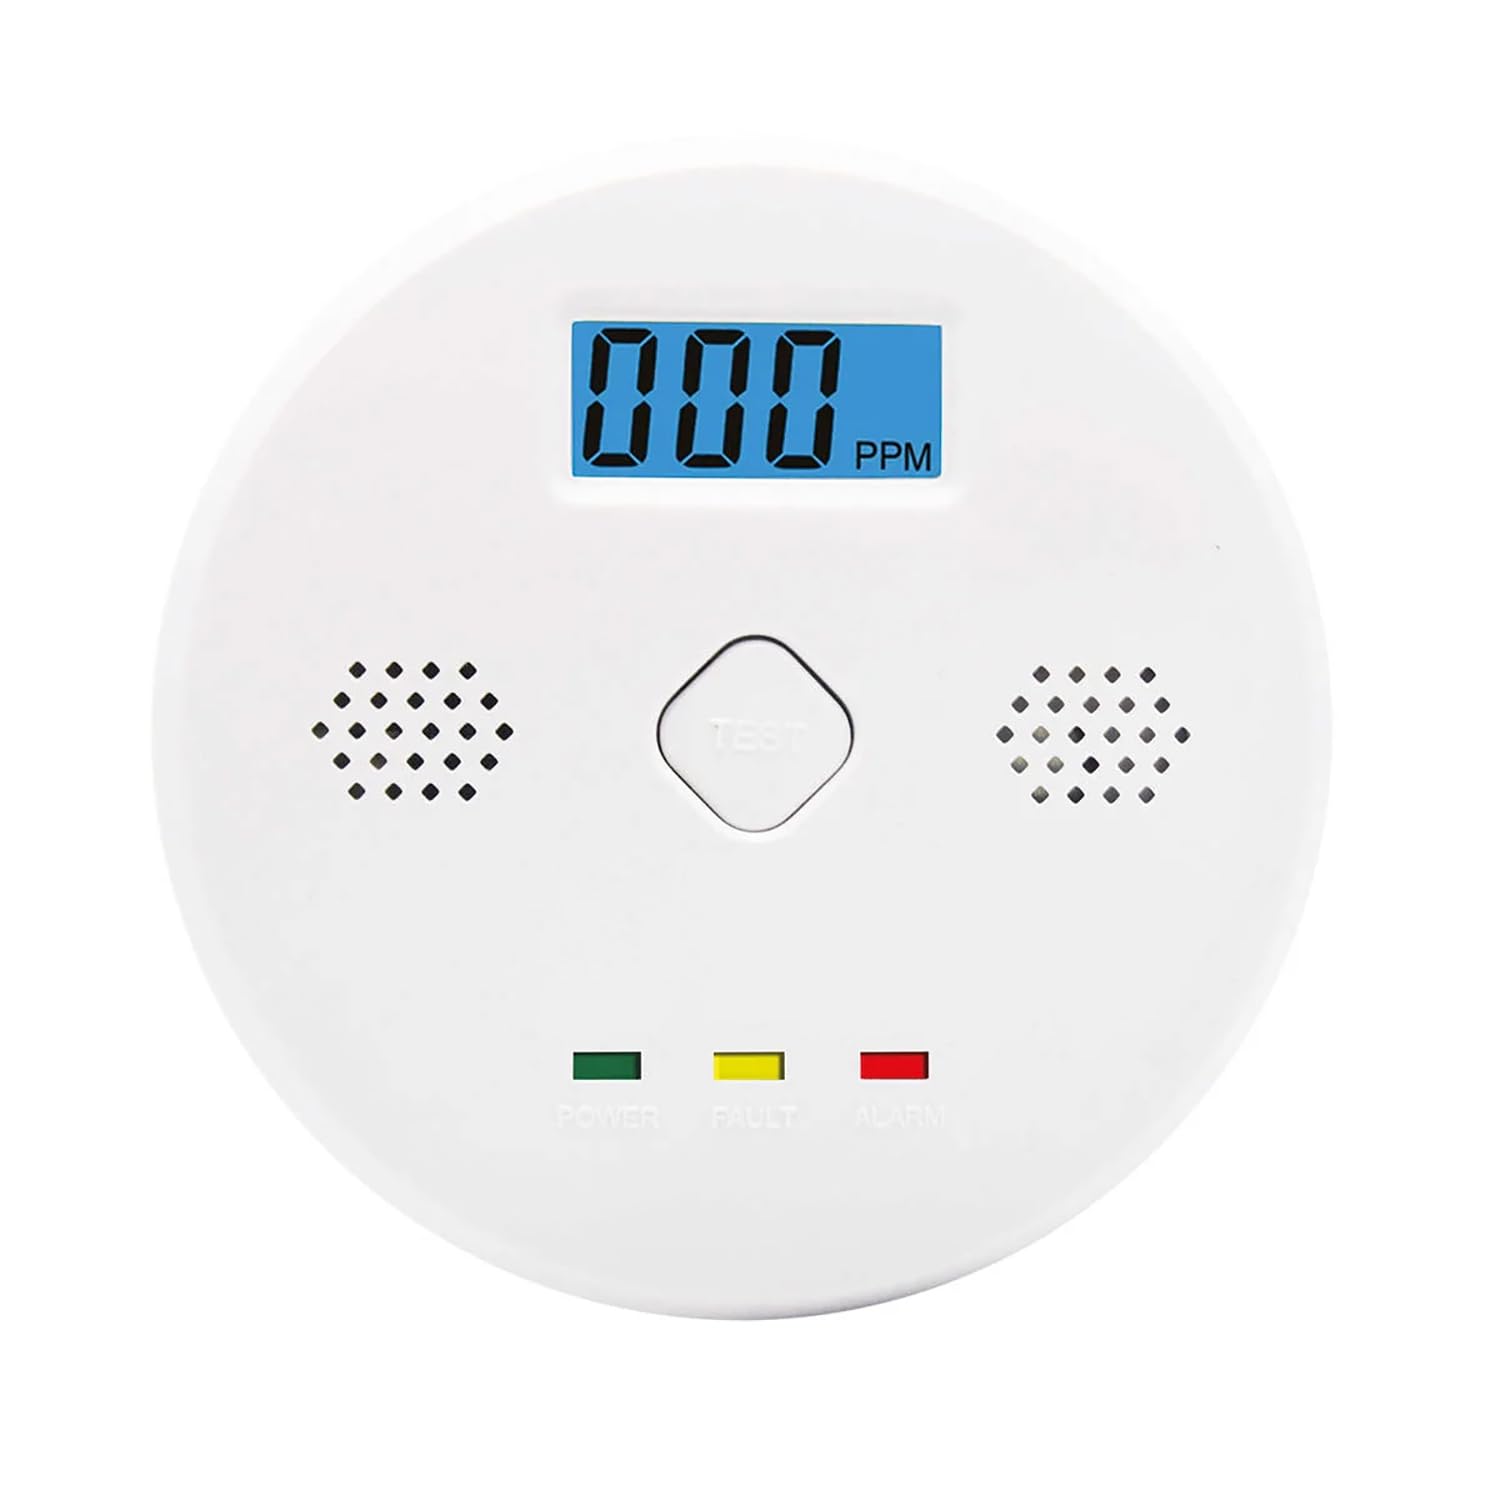
Rysunek 1: Przód view of the GBC iSnatch Carbon Monoxide Detector. It features a central digital display showing PPM (parts per million) of CO, a 'TEST' button, and three indicator lights at the bottom: 'POWER' (green), 'FAULT' (yellow), and 'ALARM' (red). Speaker grilles are visible on both sides of the display.
- Wyświetlacz LCD: Shows real-time CO concentration in PPM (Parts Per Million).
- Przycisk testowy: Used to verify the sensor and alarm functionality.
- Wskaźnik zasilania (zielona dioda LED): Illuminates when the device is powered on and functioning correctly.
- Fault Indicator (Yellow LED): Illuminates to indicate a fault or low battery condition.
- Wskaźnik alarmu (czerwona dioda LED): Flashes when a CO alarm condition is detected.
- 85 dB Siren: Emits a loud audible alarm during a CO event.
5. Konfiguracja i instalacja
5.1 Instalacja baterii
The detector operates on 1 x 9V battery (not included). Ensure the battery is installed correctly before use.
- Locate the battery compartment cover on the back of the detector.
- Otwórz komorę baterii.
- Insert one 9V battery, observing the correct polarity (+/-).
- Dokładnie zamknij pokrywę komory baterii.
- Upon successful battery installation, the detector will perform a self-test, and the green POWER LED should illuminate.
5.2 Wybór miejsca instalacji
Aby zapewnić optymalną wydajność i bezpieczeństwo, przy wyborze lokalizacji należy wziąć pod uwagę następujące kwestie:
- Install at least one CO detector on each level of your home, especially near sleeping areas.
- Place the detector at a height where it can be easily seen and heard, typically at eye level or higher.
- Avoid installing near fuel-burning appliances (furnaces, water heaters, stoves) to prevent nuisance alarms from normal operation.
- Do not install in direct sunlight, near windows or doors, or in areas with strong drafts, as this can affect sensor accuracy.
- Maintain a distance of at least 1.5 meters (5 feet) from any cooking or heating appliance.
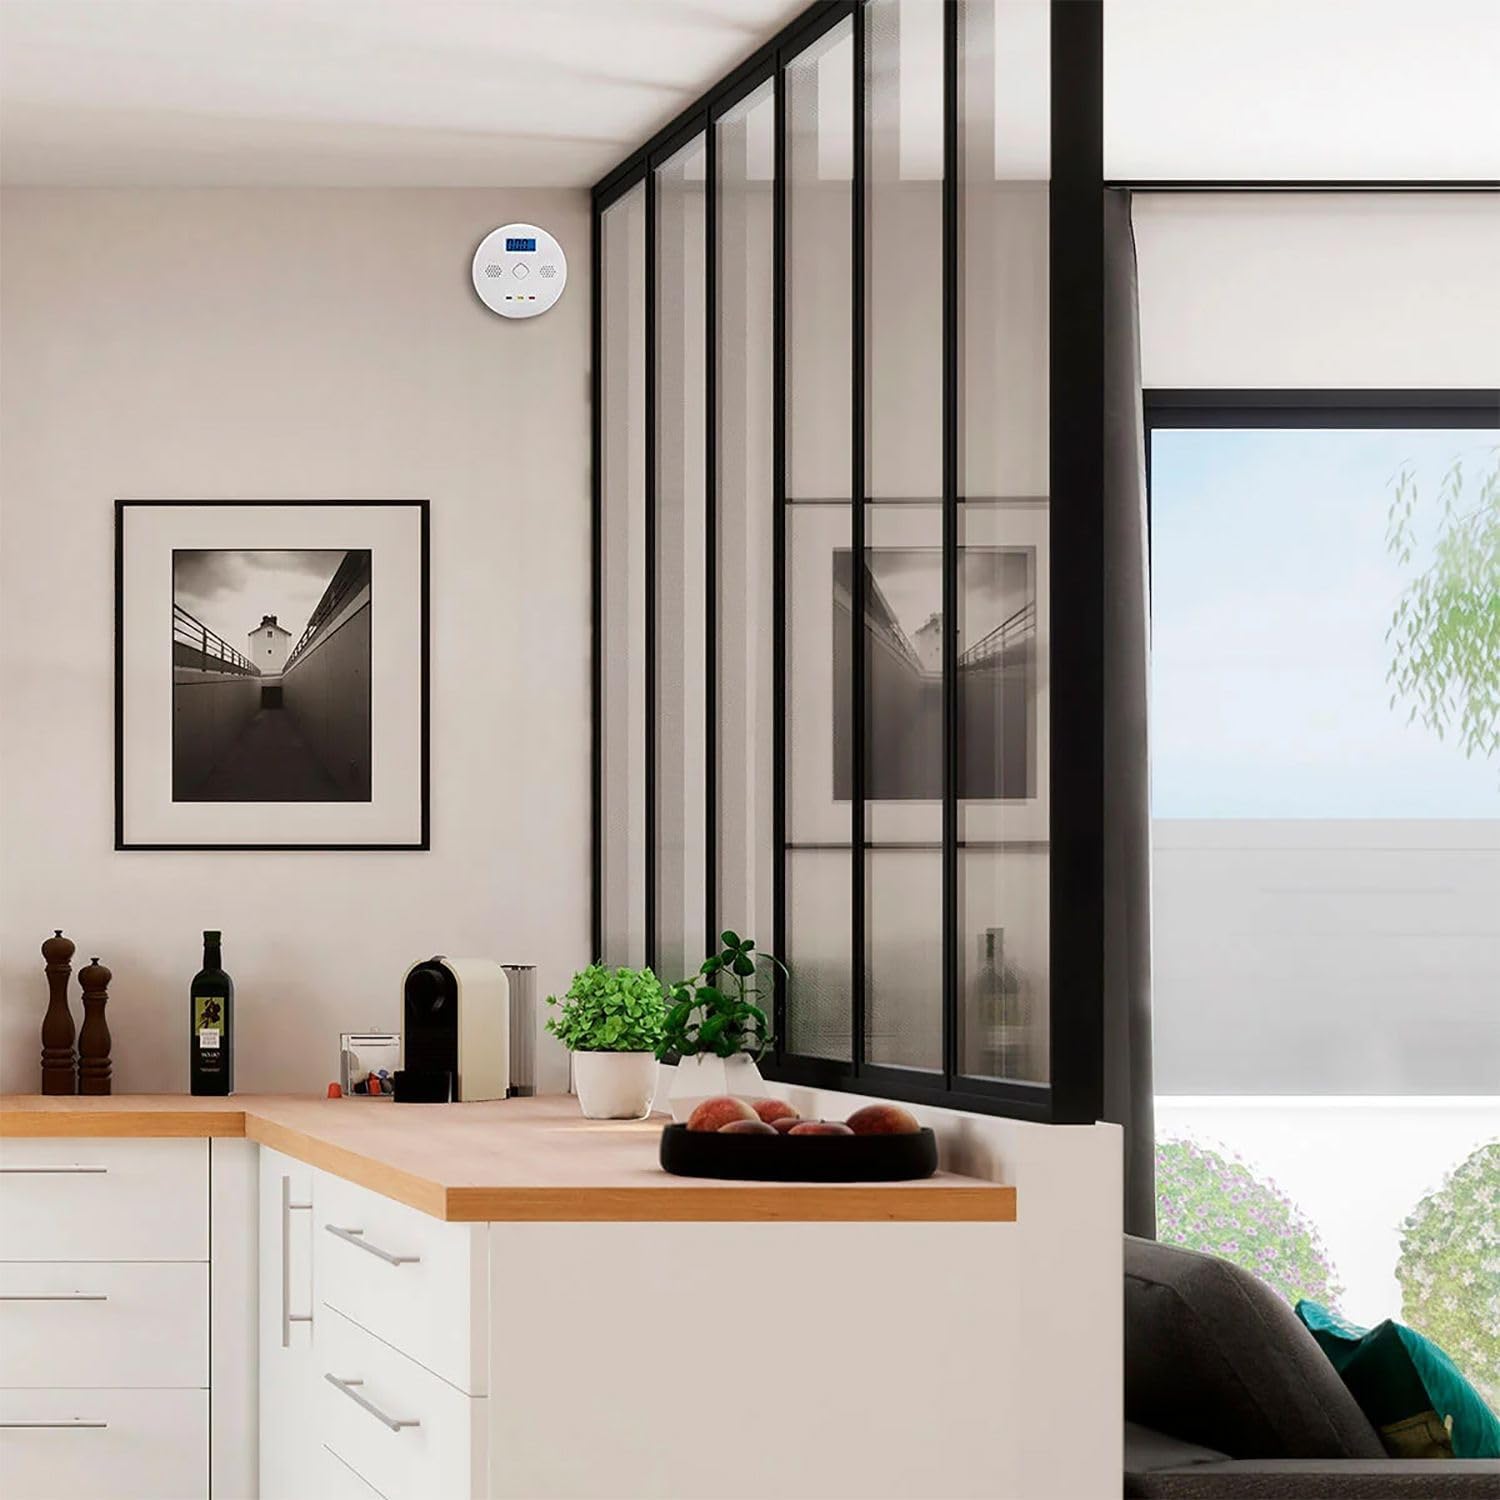
Rysunek 2: Example installation of the CO detector on a wall in a kitchen area, demonstrating a suitable mounting height.
5.3 Montaż detektora
Once you have selected an appropriate location:
- Zaznacz na ścianie żądane miejsce montażu.
- Wywierć dwa otwory w zaznaczonych miejscach.
- W razie potrzeby włóż kołki rozporowe do wywierconych otworów.
- Screw the mounting screws into the wall, leaving a small gap for the detector to hang.
- Align the mounting slots on the back of the detector with the screws and slide the detector down to secure it.
- Sprawdź, czy czujnik jest solidnie przymocowany do ściany.
6. Instrukcja obsługi
6.1 Włączanie
After battery installation, the detector will automatically power on. The green POWER LED will light up, and the LCD display will show "0 PPM" or cycle through a brief startup sequence.
6.2 Normalna praca
During normal operation, the green POWER LED will remain steadily lit, and the LCD display will show "0 PPM" if no CO is detected, or the current CO concentration if present.
6.3 Funkcja testowa
Zaleca się cotygodniowe testowanie detektora w celu zapewnienia jego prawidłowego działania.
- Press and hold the "TEST" button located on the front of the detector.
- The detector will emit a series of loud beeps (85 dB siren), and the red ALARM LED will flash. The LCD display may show a test value.
- Release the button. The detector should return to normal operation.
- If the detector does not respond as described, refer to the Troubleshooting section.
7. Alarm Conditions and Actions
The detector is designed to alarm at specific CO concentrations and durations as per EN50291-1:
- 50 str./min: Alarm within 60-90 minutes.
- 100 str./min: Alarm within 10-40 minutes.
- 300 str./min: Alarm within 3 minutes.
When a CO alarm occurs:
- The 85 dB siren will sound repeatedly.
- The red ALARM LED will flash rapidly.
- The LCD display will show the detected CO concentration in PPM.
Co zrobić, gdy włączy się alarm:
- Natychmiast ewakuować się: Wyprowadź wszystkich, łącznie ze zwierzętami, na świeże powietrze.
- Nie wchodź ponownie: Nie należy ponownie wchodzić do pomieszczenia, dopóki źródło tlenku węgla nie zostanie zidentyfikowane i usunięte, a pomieszczenie nie zostanie dokładnie przewietrzone.
- Zadzwoń pod numer alarmowy: Contact your local emergency services or fire department.
- Zidentyfikuj źródło: After the area is safe, have a qualified technician inspect all fuel-burning appliances and chimneys for proper operation and ventilation.
8. Konserwacja
8.1 Regularne testowanie
Test the detector weekly by pressing the "TEST" button as described in Section 6.3.
8.2 Wymiana baterii
The detector will indicate a low battery condition by flashing the yellow FAULT LED and possibly emitting a chirp sound. Replace the 9V battery immediately when this occurs. Refer to Section 5.1 for battery installation instructions.
8.3 Czyszczenie
Clean the detector regularly to prevent dust buildup from affecting its performance.
- Użyj miękkiego, damp ściereczka do wycierania zewnętrznej części detektora.
- Do not use cleaning agents, solvents, or abrasive materials.
- Do not spray air fresheners, hairspray, or other aerosols near the detector.
- Gently vacuum around the sensor openings to remove dust.
9. Rozwiązywanie Problemów
| Problem | Możliwa przyczyna | Rozwiązanie |
|---|---|---|
| Detektor nie włącza się. | Brak baterii lub nieprawidłowa instalacja baterii. | Install a fresh 9V battery, ensuring correct polarity. |
| Yellow FAULT LED flashes / Chirping sound. | Niski poziom naładowania baterii. | Natychmiast wymień baterię 9V. |
| Alarm sounds without visible CO source. | False alarm due to interference or sensor issue. | Ventilate the area. If alarm persists, evacuate and contact emergency services. Ensure detector is not near sources of fumes or high humidity. |
| Test button does not activate alarm. | Faulty sensor or internal malfunction. | Ensure battery is fresh. If problem persists, the unit may need replacement. |
10. Specyfikacje
| Numer modelu | 64051105 |
| Marka | GBC |
| Typ czujnika | Elektrochemiczny tlenek węgla |
| Źródło zasilania | Bateria 1 x 9V |
| Głośność alarmu | 85 dB w odległości 1 metra |
| Alarm Thresholds (PPM) | 50 PPM (60-90 min), 100 PPM (10-40 min), 300 PPM (within 3 min) |
| Wyświetlacz | LCD, real-time CO concentration |
| Wymiary produktu | 9.6 x 9.6 x 3.5 cm (3.78 x 3.78 x 1.38 cala) |
| Waga | 200 g (0.44 funta) |
| Zgodność | PN-EN50291-1 |
| Tworzywo | Plastikowy |
11. Gwarancja i wsparcie
Aby uzyskać informacje dotyczące gwarancji lub pomocy technicznej, skorzystaj z danych kontaktowych podanych przez sprzedawcę lub oficjalnego przedstawiciela producenta. webZachowaj paragon jako dowód zakupu.
This product is designed for a specific lifespan. It is recommended to replace the CO detector after 7-10 years from the manufacturing date, or as indicated by the device's end-of-life signal, to ensure continued accuracy and reliability.