
1. Wprowadzenie
Thank you for choosing the Hivento Smart Tower Fan AT-932. This intelligent tower fan is designed to provide efficient and comfortable air circulation with its WiFi connectivity, multiple speed and mode settings, oscillation, and convenient timer function. Please read this manual carefully before use to ensure proper operation and maintenance.
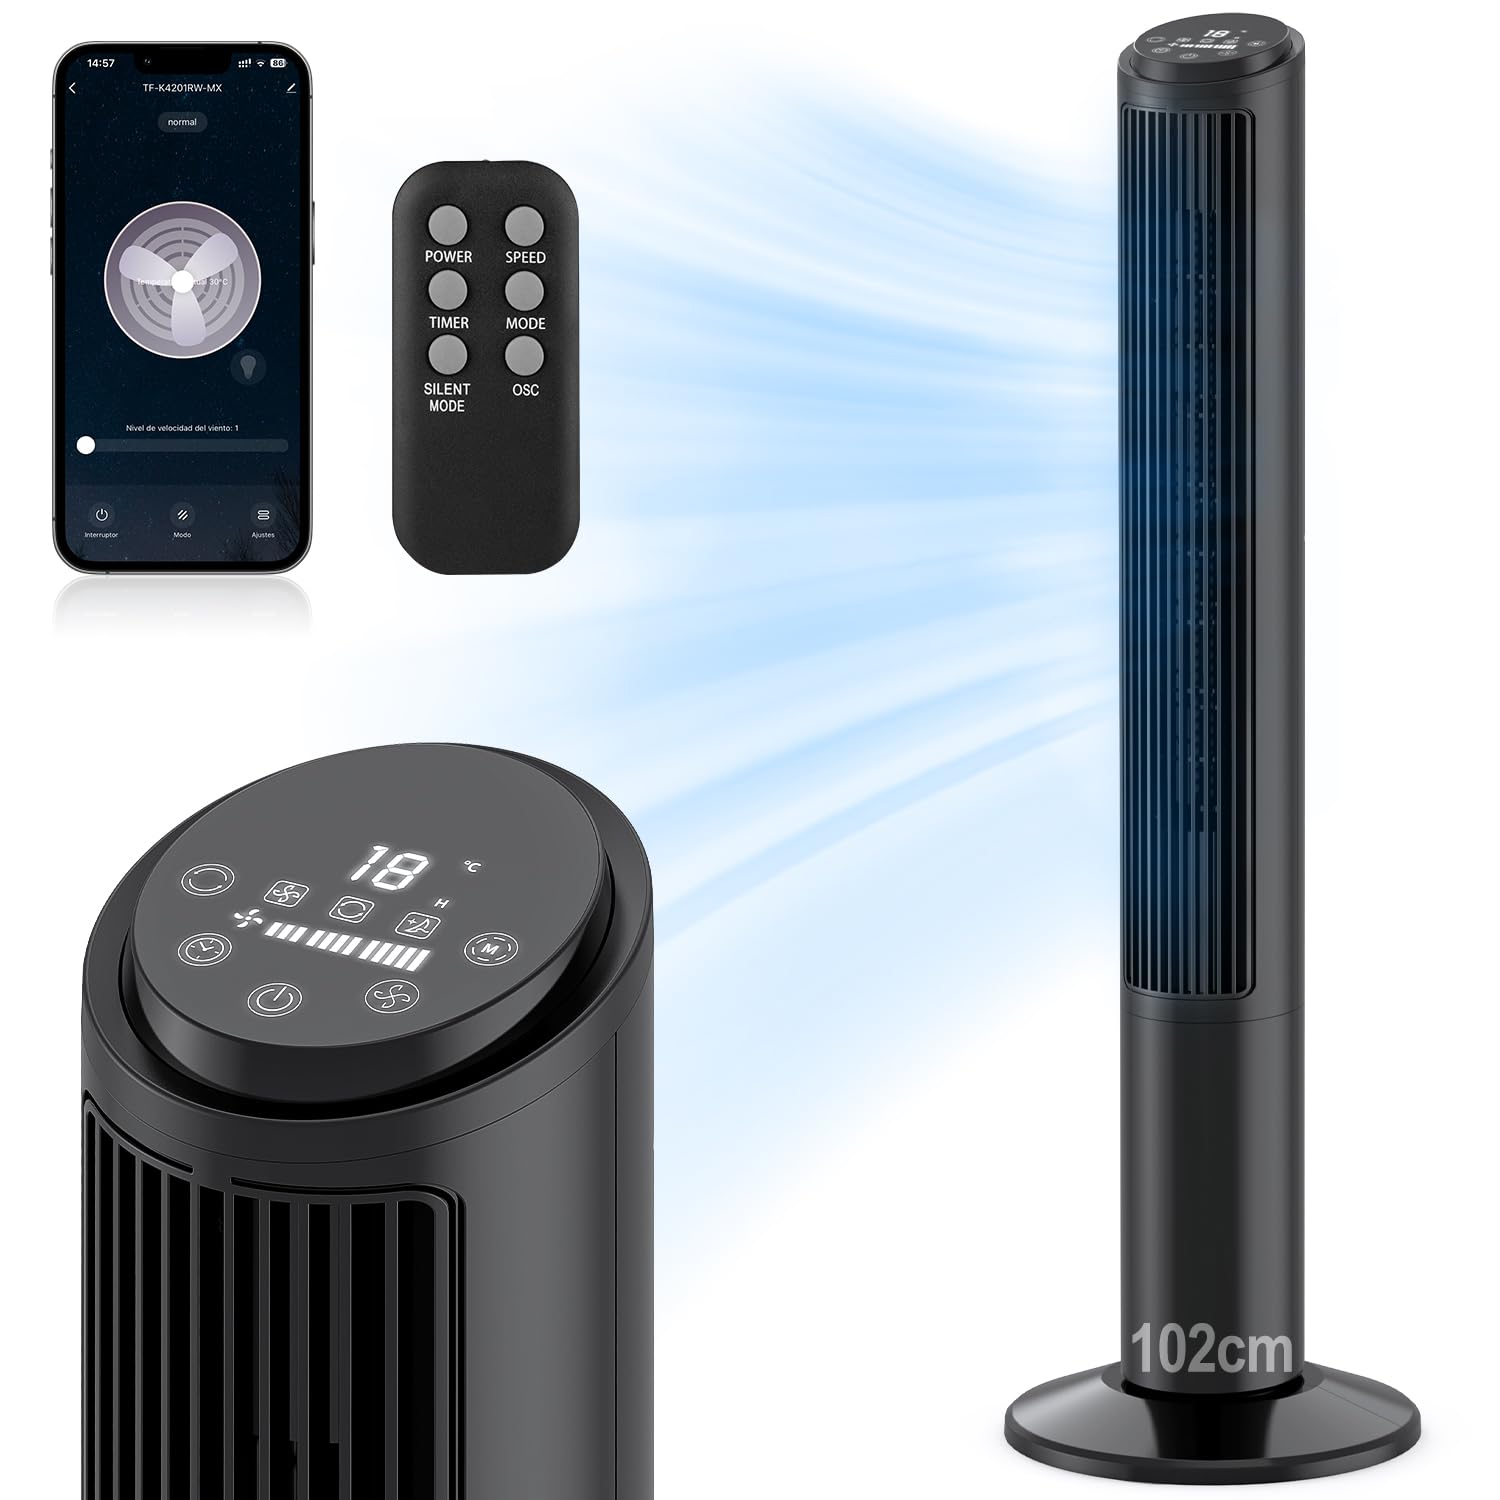
Image: Hivento Smart Tower Fan AT-932, showcasindzięki eleganckiemu, czarnemu wzornictwu.
2. Instrukcje bezpieczeństwa
Aby zmniejszyć ryzyko pożaru, porażenia prądem lub obrażeń ciała, należy przestrzegać następujących środków ostrożności:
- Zawsze odłączaj wentylator od zasilania przed czyszczeniem lub jakąkolwiek konserwacją.
- Nie uruchamiaj wentylatora z uszkodzonym przewodem lub wtyczką.
- Keep fingers and other objects away from the fan grille when in operation.
- Aby zapobiec przewróceniu się wentylatora, należy ustawić go na stabilnej i równej powierzchni.
- Nie używaj wentylatora w mokrym lub damp środowiska.
- This fan features a bladeless design for enhanced safety, especially around children and pets. It also includes a child lock function.

Image: Bladeless design of the fan, highlighting safety features like a safety plug and child lock, with a child nearby.
3. Zawartość opakowania
Proszę sprawdzić, czy w paczce znajdują się następujące elementy:
- Hivento Tower Fan (x1)
- Installation Accessories (Base parts) (x1 set)
- Pilot zdalnego sterowania (x1)
- Instrukcja obsługi (x1)
4. Konfiguracja
4.1 Zespół podstawy
The tower fan requires minimal assembly. The base consists of two identical parts. Simply cross these two parts and attach them to the bottom of the fan unit. Ensure they are securely fastened.
4.2 Połączenie zasilania
Podłącz przewód zasilający do standardowego gniazdka elektrycznego 120 V AC.
4.3 Pierwsze włączenie zasilania
Press the power button on the control panel or remote control to turn on the fan. The LED display will illuminate.
4.4 WiFi Setup (App Control)
To use the smart features, download the Tuya Smart app on your smartphone. Follow the in-app instructions to pair your fan:
- Download and open the Tuya Smart app.
- Zarejestruj się lub zaloguj na swoje konto.
- Tap 'Add Device' or the '+' icon.
- Select the fan from the device list or use auto-scan.
- Follow the app's prompts to connect the fan to your 2.4GHz WiFi network. This usually involves resetting the device by pressing and holding the power button until the indicator light flashes.
- Once connected, you can control the fan via the app.

Image: Step-by-step guide on a smartphone screen demonstrating how to pair the Hivento Smart Tower Fan with the Tuya Smart app.
5. Instrukcja obsługi
5.1 Panel sterowania i wyświetlacz LED
The fan features an intuitive LED display and touch controls on the top. The display shows ambient temperature, current speed, mode, and timer settings.
- Przycisk zasilania: Włącza/wyłącza wentylator.
- Przycisk prędkości: Dostosowuje prędkość wentylatora (niska, średnia, wysoka).
- Przycisk trybu: Przełącza między trybami pracy (Normalny, Naturalny, Uśpiony).
- Przycisk timera: Ustawia timer automatycznego wyłączania.
- Przycisk oscylacji: Włącza/wyłącza oscylację.

Image: Close-up of the fan's LED display and touch control panel, along with the remote control, indicating various functions.
5.2 Pilot zdalnego sterowania
The included remote control allows convenient operation from a distance. It duplicates all functions available on the control panel.
- MOC: Włącza/wyłącza wentylator.
- PRĘDKOŚĆ: Reguluje prędkość wentylatora.
- REGULATOR CZASOWY: Ustawia timer automatycznego wyłączania.
- Sposób użycia: Przełącza między trybami pracy.
- TRYB CICHY: Activates a quiet operation mode (often the Sleep mode).
- OSC: Włącza/wyłącza oscylację.

Image: The Hivento Smart Tower Fan oscillating, with a remote control shown in the foreground, illustrating remote operation.
5.3 Smart Control (WiFi & Voice)
After successful WiFi setup, you can control your fan from anywhere using the Tuya Smart app. The fan is also compatible with voice assistants like Amazon Alexa and Google Assistant for hands-free operation.
- Kontrola aplikacji: Adjust settings, change modes, set timers, and monitor the fan remotely via your smartphone.
- Sterowanie głosowe: Integrate with Alexa or Google Assistant to control the fan with voice commands (e.g., "Alexa, turn on the fan," "Hey Google, set fan speed to medium").
5.4 Modes and Speeds
The fan offers 3 speed settings and 2 operating modes:
- Prędkości: Low, Medium, High. Select the desired airflow intensity.
- Tryb naturalny: Imituje naturalny wiatr poprzez zmianę prędkości wentylatora.
- Tryb uśpienia: Operates at a low, quiet speed for minimal disturbance during sleep, with a noise level of less than 30 dB.

Image: Graphic illustrating the fan's 2 modes (Natural, Sleep) and 3 speeds (Low, Medium, High), along with 70° oscillation and 6 m/s airflow.
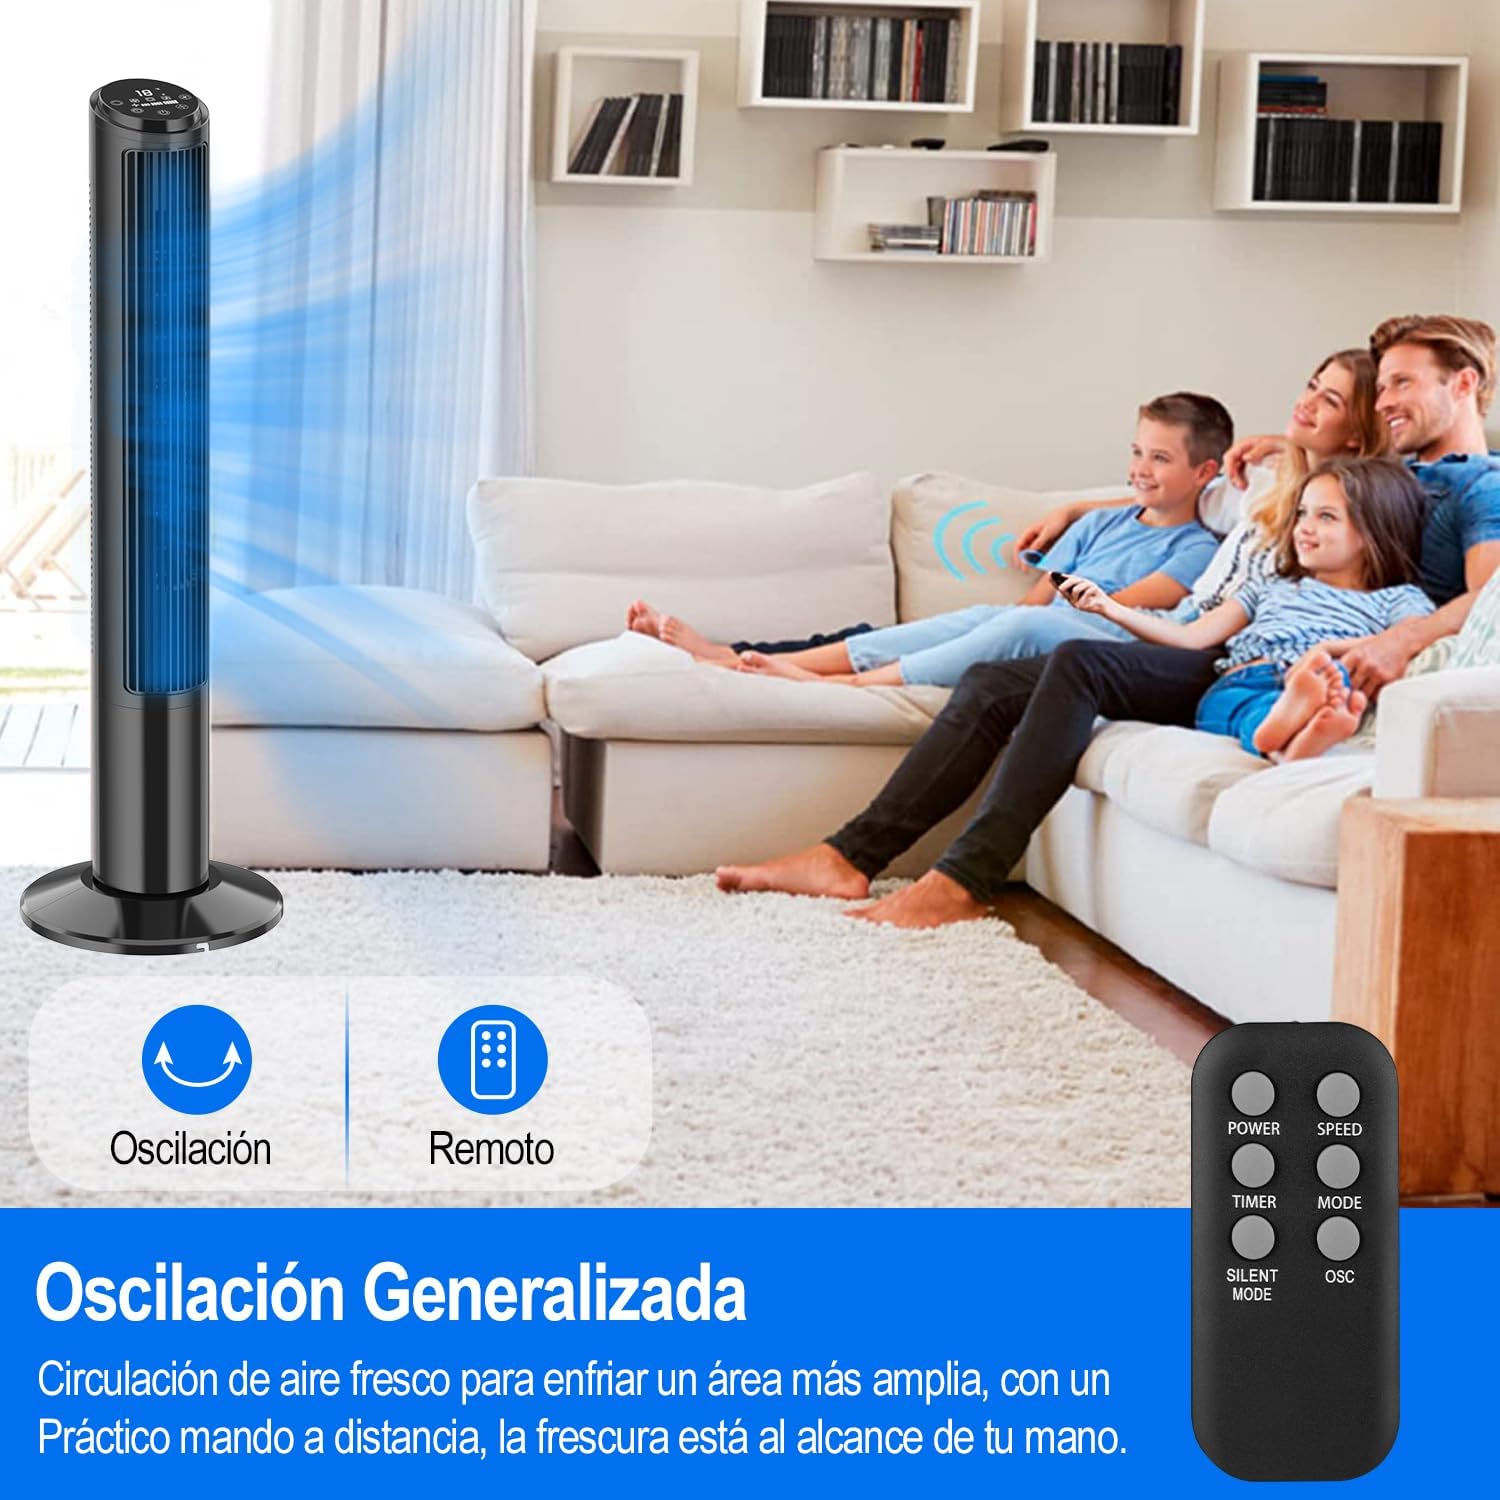
Image: A person sleeping peacefully with the Hivento Smart Tower Fan operating quietly in the background, demonstrating its low noise level for sleep.
5.5 Funkcja oscylacji
Activate the oscillation function to distribute airflow across a wider area. The fan oscillates up to 70 degrees.
5.6 Funkcja timera
Set the fan to automatically turn off after a specified period, from 0 to 15 hours. This is useful for energy saving or for use during sleep.

Image: Graphic showing the fan's timer function, allowing settings from 0 to 15 hours.
6. Konserwacja
Regularne czyszczenie pomaga zachować wydajność wentylatora i wydłuża jego żywotność.
- Czyszczenie powierzchni zewnętrznej: Przetrzyj zewnętrzne powierzchnie miękką, damp ściereczka. Nie należy używać środków czyszczących o właściwościach ściernych ani rozpuszczalników.
- Czyszczenie wlotu/wylotu powietrza: Use a soft brush or vacuum cleaner with a brush attachment to remove dust from the air inlet and outlet grilles.
- Składowanie: Jeśli wentylator nie będzie używany przez dłuższy czas, należy odłączyć go od zasilania i przechowywać w chłodnym, suchym miejscu.
Ostrożność: Nie zanurzaj wentylatora w wodzie ani nie pozwól, aby woda kapała do obudowy silnika.
7. Rozwiązywanie Problemów
| Problem | Możliwa przyczyna | Rozwiązanie |
|---|---|---|
| Wentylator się nie włącza. | Brak zasilania; Przewód zasilający nie jest prawidłowo podłączony. | Ensure the fan is plugged into a working outlet; Check the power cord connection. |
| Wentylator niespodziewanie się zatrzymuje. | Timer function activated; Overheating. | Check if the timer is set; Unplug and allow the fan to cool down before restarting. |
| Pilot nie działa. | Baterie są rozładowane lub nieprawidłowo włożone; Przeszkoda między pilotem a wentylatorem. | Wymień baterie. Upewnij się, że odbiornik wentylatora jest wyraźnie widoczny. |
| Połączenie WiFi nie działa. | Nieprawidłowe hasło WiFi; Router jest za daleko; Dostępne jest tylko WiFi 5 GHz. | Verify WiFi password; Move fan closer to router; Ensure you are connecting to a 2.4GHz network. |
8. Specyfikacje
| Funkcja | Szczegół |
|---|---|
| Marka | Hivento |
| Nazwa modelu | Hivento Tower Fan AT-932 |
| Numer modelu | AT-932 |
| Kolor | Czarny |
| Wymiary (DxSxW) | 20 x 20 x 102 cm (7.87 x 7.87 x 40.16 cala) |
| Źródło zasilania | Prąd zmienny (120 V) |
| Pobór mocy | 50 watów |
| Liczba prędkości | 3 |
| Tryby pracy | 2 (Natural, Sleep) |
| Oscylacja | 70° |
| Regulator czasowy | Do 15 godzin |
| Poziom hałasu | Minimum 30 Decibels |
| Typ sterowania | App Control, Remote Control, Touch |
| Cechy specjalne | WiFi Function, Bladeless Design, LED Display, Child Lock |
| Tworzywo | Plastikowy |

Image: The Hivento Smart Tower Fan with its dimensions (102cm height, 32cm base diameter) highlighted, demonstrating its compact and portable design.
9. Gwarancja i wsparcie
Specific warranty information is not provided in the product data. For warranty details, technical support, or any product-related inquiries, please contact Hivento customer service through the retailer's platform or the official brand webstrona.
You can visit the Hivento store for more information: Hivento Store


