1. Wprowadzenie
Thank you for choosing the MOUNTUP Dual Monitor Arm MU8012-W-07. This instruction manual provides essential information for the safe and correct installation, operation, and maintenance of your new monitor arm. Please read this manual thoroughly before installation and keep it for future reference.
Środki ostrożności
- Przed montażem upewnij się, że wszystkie elementy są kompletne i nieuszkodzone. Nie używaj, jeśli brakuje którejkolwiek części lub jest ona uszkodzona.
- Verify that your desk surface is strong enough to support the combined weight of the monitor arm and your monitors.
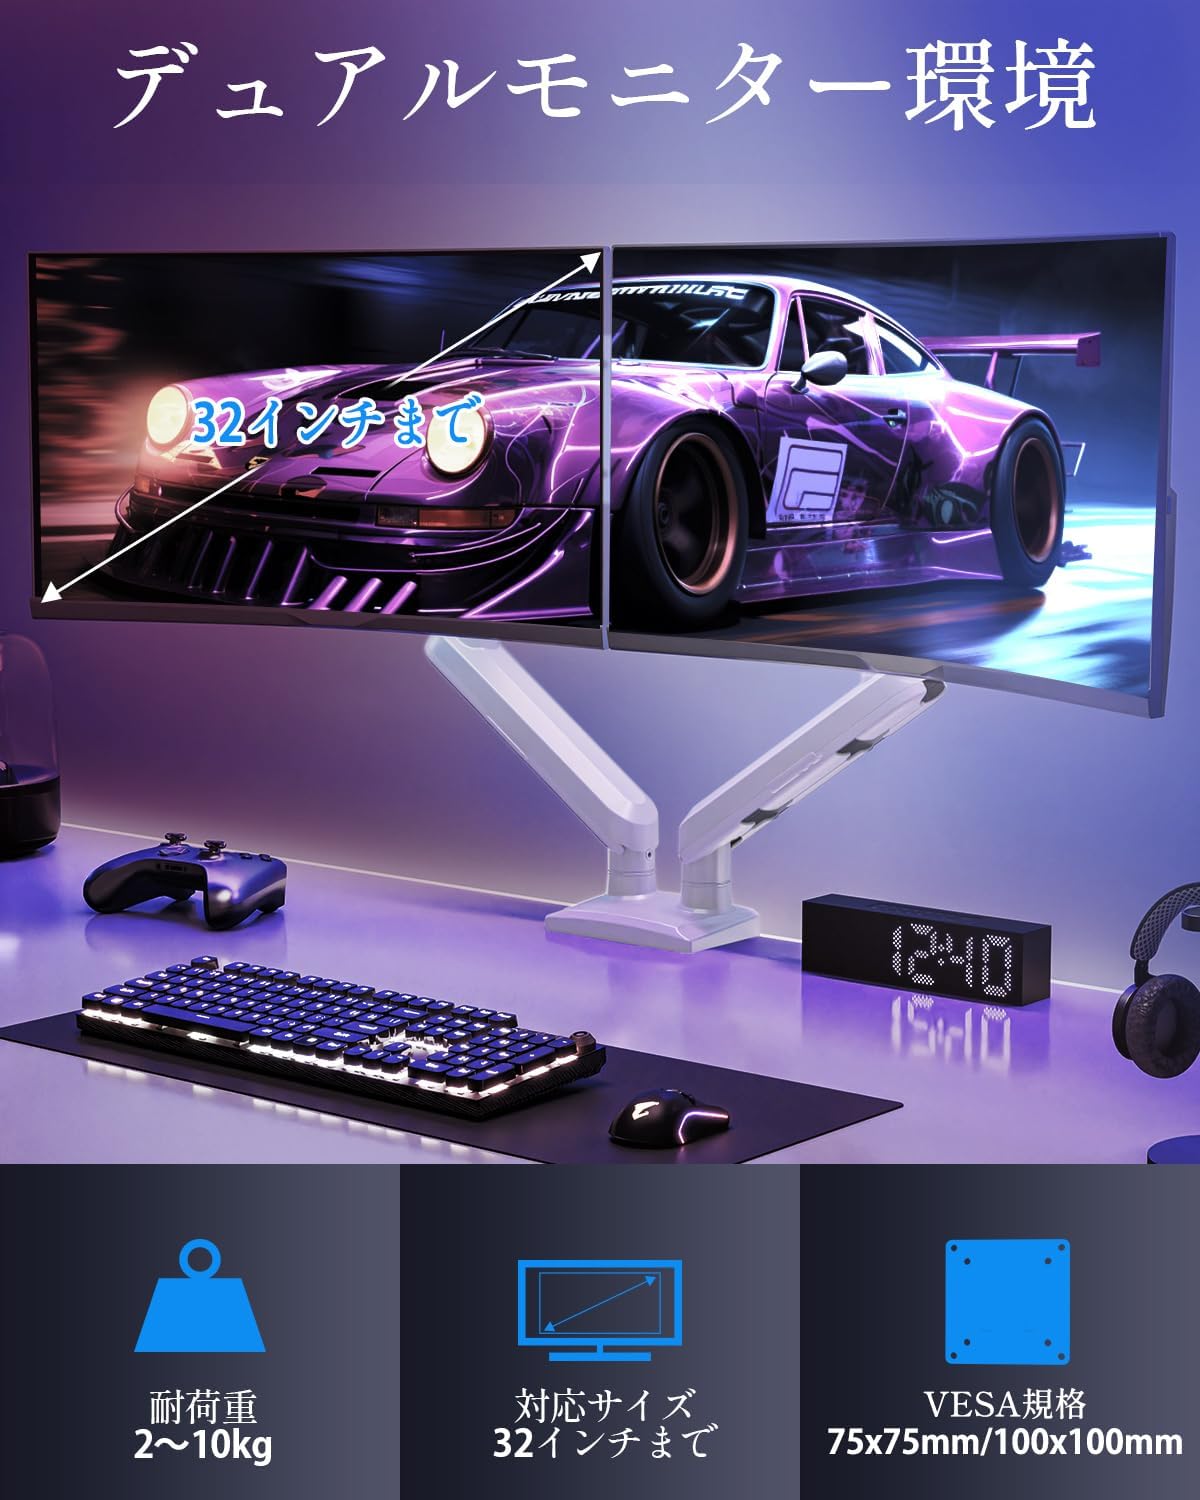
- Do not exceed the maximum weight capacity of 10kg (22 lbs) per arm.
- Always follow the installation steps carefully. Improper installation may result in product damage or personal injury.
- Keep children away from the product during assembly. Small parts may be a choking hazard.
2. Zawartość opakowania
Sprawdź, czy w opakowaniu znajdują się wszystkie poniższe elementy:
- Monitor Arm Assembly (x1)
- Płyta VESA (x2)
- Biurko Clamp Podstawa (x1)
- Grommet Base (x1)
- Zestaw elementów montażowych (śruby, podkładki, dystanse)
- Klucze imbusowe (różne rozmiary)
- Instrukcja obsługi (x1)
3. Specyfikacje
| Funkcja | Specyfikacja |
|---|---|
| Model | MU8012-W-07 |
| Tworzywo | Stal stopowa |
| Kolor | Biały |
| Kompatybilność z rozmiarem ekranu | 13 - 32 cali |
| Nośność (na ramię) | 2 - 10 kg (4.4 - 22 funtów) |
| Zgodność ze standardem VESA | 75x75mm, 100x100mm |
| Opcje montażu | ClampPrzelotka |
| Zakres pochylenia | +85° do -45° |
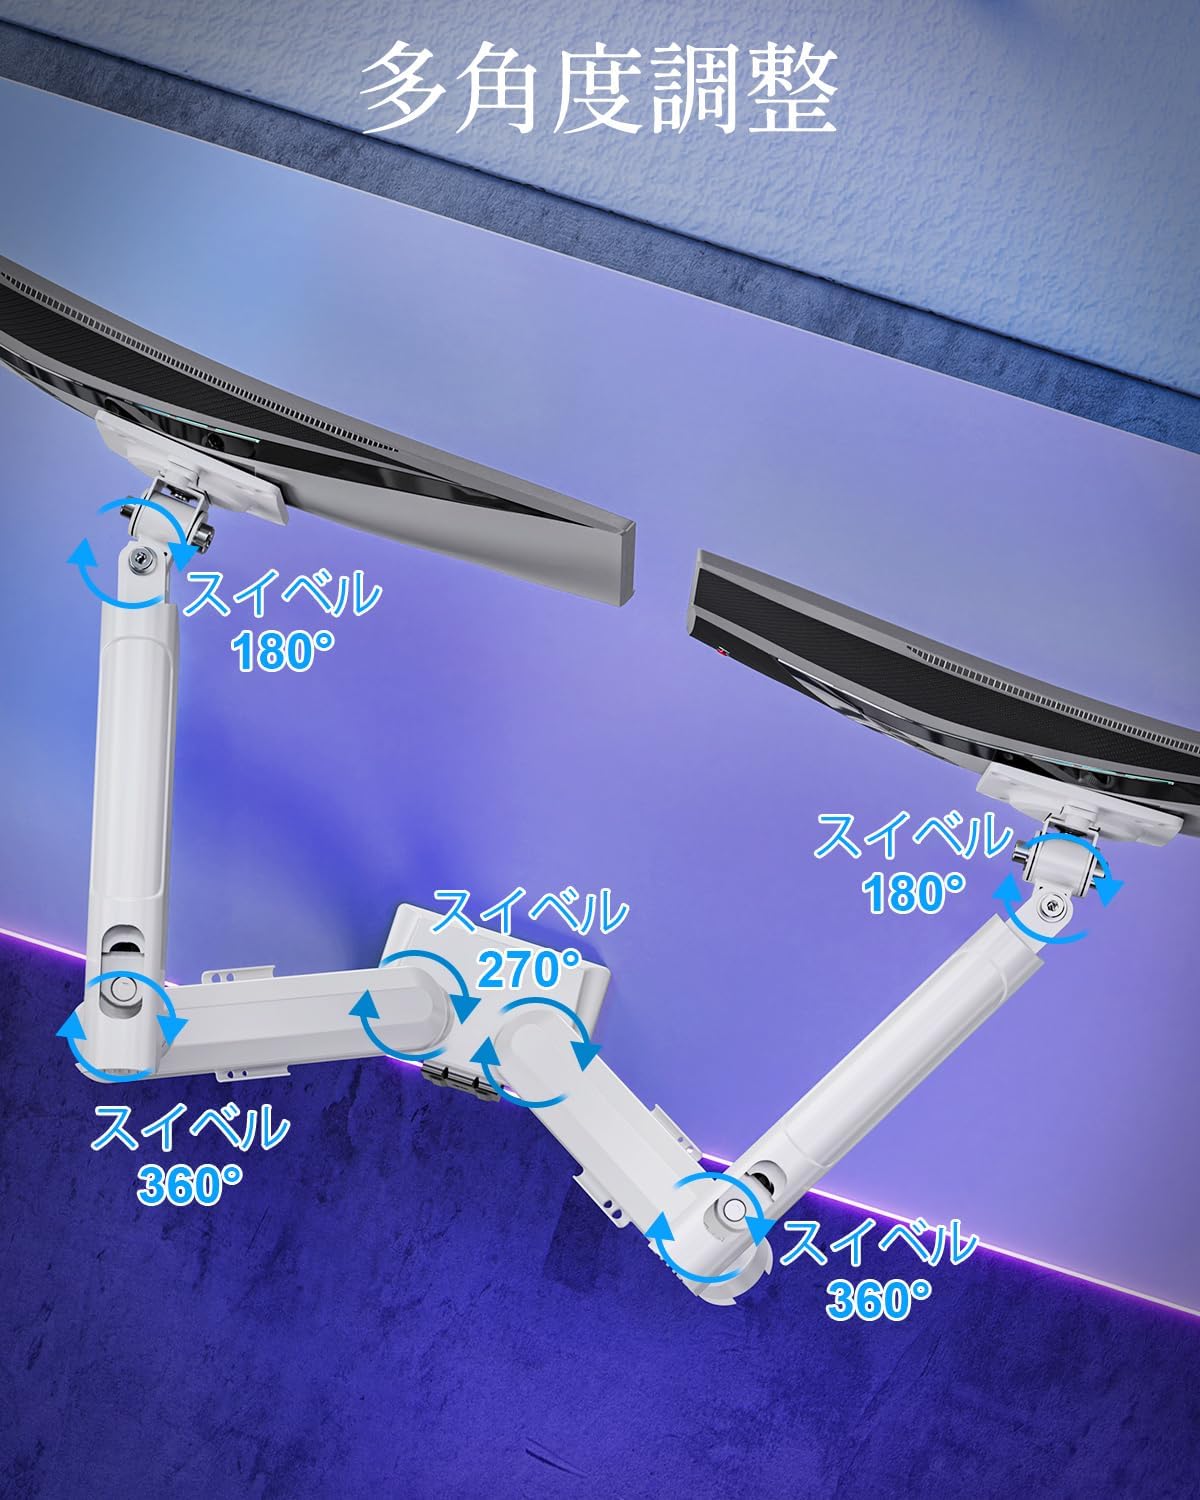
| Zakres obrotu | 180° (monitor plate), 270° (middle joint), 360° (base) |
| Obrót (oś obrotu) | 360° |
| Maksymalna regulacja wysokości | 44 cm (17.3 cala) |
| Maksymalne wydłużenie ramienia | 50 cm (19.7 cala) |
| Waga produktu | 3.1 kg (6.8 funta) |

4. Konfiguracja i instalacja
Krok 1: Wybierz metodę montażu
The MOUNTUP Dual Monitor Arm supports two installation methods: Clamp Mount and Grommet Mount. Choose the method that best suits your desk.

Clamp Montaż instalacji
- Podłącz clamp base to the main pole of the monitor arm.
- Umieść klamp onto the edge of your desk. Ensure the desk thickness is between 10-70mm (0.4-2.7 inches).
- Dokręć clamp screw until the arm is securely fastened to the desk. Ensure it is stable and does not wobble.

Instalacja do montażu przelotki
- If your desk has a grommet hole, ensure its diameter is between 10-60mm (0.4-2.4 inches) and the desk thickness is between 10-70mm (0.4-2.7 inches).
- Attach the grommet base to the main pole.
- Insert the grommet bolt through the desk hole and secure it from underneath with the provided plate and nut.
- Tighten the nut until the arm is firmly attached to the desk.
Krok 2: Przymocuj płytki VESA do monitorów
- Carefully lay your monitor face down on a soft, clean surface.
- Dopasuj płytkę VESA do otworów montażowych znajdujących się z tyłu monitora.
- Use the appropriate screws (M4 or M5) and washers from the hardware kit to secure the VESA plate to the monitor. Do not overtighten.
Step 3: Mount Monitors to Arms
- Slide the monitor (with the attached VESA plate) onto the VESA head of the monitor arm.
- Ensure the monitor clicks into place or is securely fastened by the quick-release mechanism.
- Powtórz dla drugiego monitora.

Krok 4: Zarządzanie kablami
Route your monitor cables through the integrated cable management clips on the underside of the arms. This helps maintain a tidy workspace.

5. Obsługa i regulacje
The MOUNTUP Dual Monitor Arm offers flexible adjustments to optimize your viewzdobywania doświadczenia.

Adjusting Arm Tension (Gas Spring)
The gas spring mechanism allows for smooth height adjustments. If your monitor sags or is difficult to move, you may need to adjust the tension.

- To increase tension (if monitor sags): Use the provided hex wrench to turn the adjustment screw clockwise.
- To decrease tension (if arm is too stiff): Turn the adjustment screw counter-clockwise.
- Always adjust tension with the arm held horizontally. Test the movement after each small adjustment until the monitor holds its position freely.
Regulacje monitora
- Regulacja wysokości: Gently push or pull the monitor up or down to your desired height. The gas spring will assist in holding the position. Max height is 44cm (17.3 inches).
- Regulacja nachylenia: Tilt the monitor screen up to +85° or down to -45° to reduce glare and optimize viewing angles. Loosen the tilt bolt, adjust, then re-tighten.
- Regulacja obrotu: The arm allows for 180° swivel at the monitor plate, 270° at the middle joint, and 360° at the base, providing wide range of motion.
- Rotation (Pivot): Obróć monitor o 360°, aby przełączać się między orientacją poziomą i pionową.

6. Konserwacja
- Czyszczenie: Przetrzyj ramię monitora miękką ściereczką.amp szmatką. Unikaj środków czyszczących o działaniu ściernym i rozpuszczalników, które mogą uszkodzić wykończenie.
- Kontrole okresowe: Okresowo sprawdzaj wszystkie śruby i połączenia, aby upewnić się, że są dobrze dokręcone i zabezpieczone. W razie potrzeby dokręć je ponownie.
- Gas Spring Longevity: The high-quality gas spring is tested for over 20,000 cycles. Proper tension adjustment will help maintain its performance over time.

7. Rozwiązywanie Problemów
- Monitor opada lub nie utrzymuje się na swoim miejscu: The gas spring tension is too low. Refer to the "Adjusting Arm Tension" section and turn the adjustment screw clockwise to increase tension.
- Arm is Too Stiff or Difficult to Move: The gas spring tension is too high. Refer to the "Adjusting Arm Tension" section and turn the adjustment screw counter-clockwise to decrease tension.
- Monitor chwieje się: Ensure all mounting screws (VESA plate to monitor, arm to desk) are securely tightened. Check that the desk clamp or grommet mount is firm.
- Monitor Tilt Angle Won't Hold: The tilt bolt may be loose. Tighten the tilt bolt on the VESA head.
8. Gwarancja i wsparcie
MOUNTUP provides a 2-letnia gwarancja jakości Gwarancja obowiązuje od daty zakupu tego produktu. Niniejsza gwarancja obejmuje wady produkcyjne i problemy wynikające z normalnego użytkowania.
If you encounter any problems with your MOUNTUP Dual Monitor Arm, or if you have questions regarding installation or operation, please contact our customer support. You can typically find seller contact information through your purchase history on the platform where you bought the product (e.g., Amazon order details).
Please have your model number (MU8012-W-07) and purchase date ready when contacting support to ensure a swift resolution.