
1. Wprowadzenie
This manual provides detailed instructions for the installation, operation, maintenance, and troubleshooting of your Jelkuz 10.26-inch Wireless Carplay Screen. Please read this manual thoroughly before using the product to ensure proper functionality and safety.
2. Koniec produktuview
2.1. Co znajduje się w pudełku
- Bezprzewodowy ekran Carplay
- Ładowarka samochodowa
- Wspornik przyssawki
- Kamera tylna
- Kabel AUX
- 6-metrowy kabel do kamery
- Instrukcja obsługi
2.2. Główne cechy
- Wireless Apple Carplay and Android Auto support
- Customized bracket for stable mounting
- Mirror Link functionality for smartphone content projection
- Integrated GPS navigation
- Voice control compatibility (Siri/Google Assistant)
- Multiple audio output options: Bluetooth, FM, AUX, Built-in Speaker
- 10.26-inch 2.5D Curved HD IPS Touch Screen (1600x600P)
- Auto Light Sensor Function for brightness adjustment
- Reverse assistance with included backup camera (IP68 waterproof, 140° wide angle, night vision, parking lines)
- Dual Bluetooth 5.0 for stable transmission

Obraz 2.1: Koniecview of the Jelkuz 10.26-inch Wireless Carplay Screen.
3. Konfiguracja i instalacja
3.1. Montaż ekranu
The device offers two primary mounting options: a customized bracket for console integration and a suction cup bracket for flexible placement.
3.1.1. Customized Bracket Installation
The customized bracket is designed to integrate seamlessly with your car's center console, providing a stable and aesthetically pleasing installation. This bracket increases the contact area, enhancing stability and reducing the risk of detachment compared to traditional adhesive mounts. Ensure the bracket is securely fastened to the console.
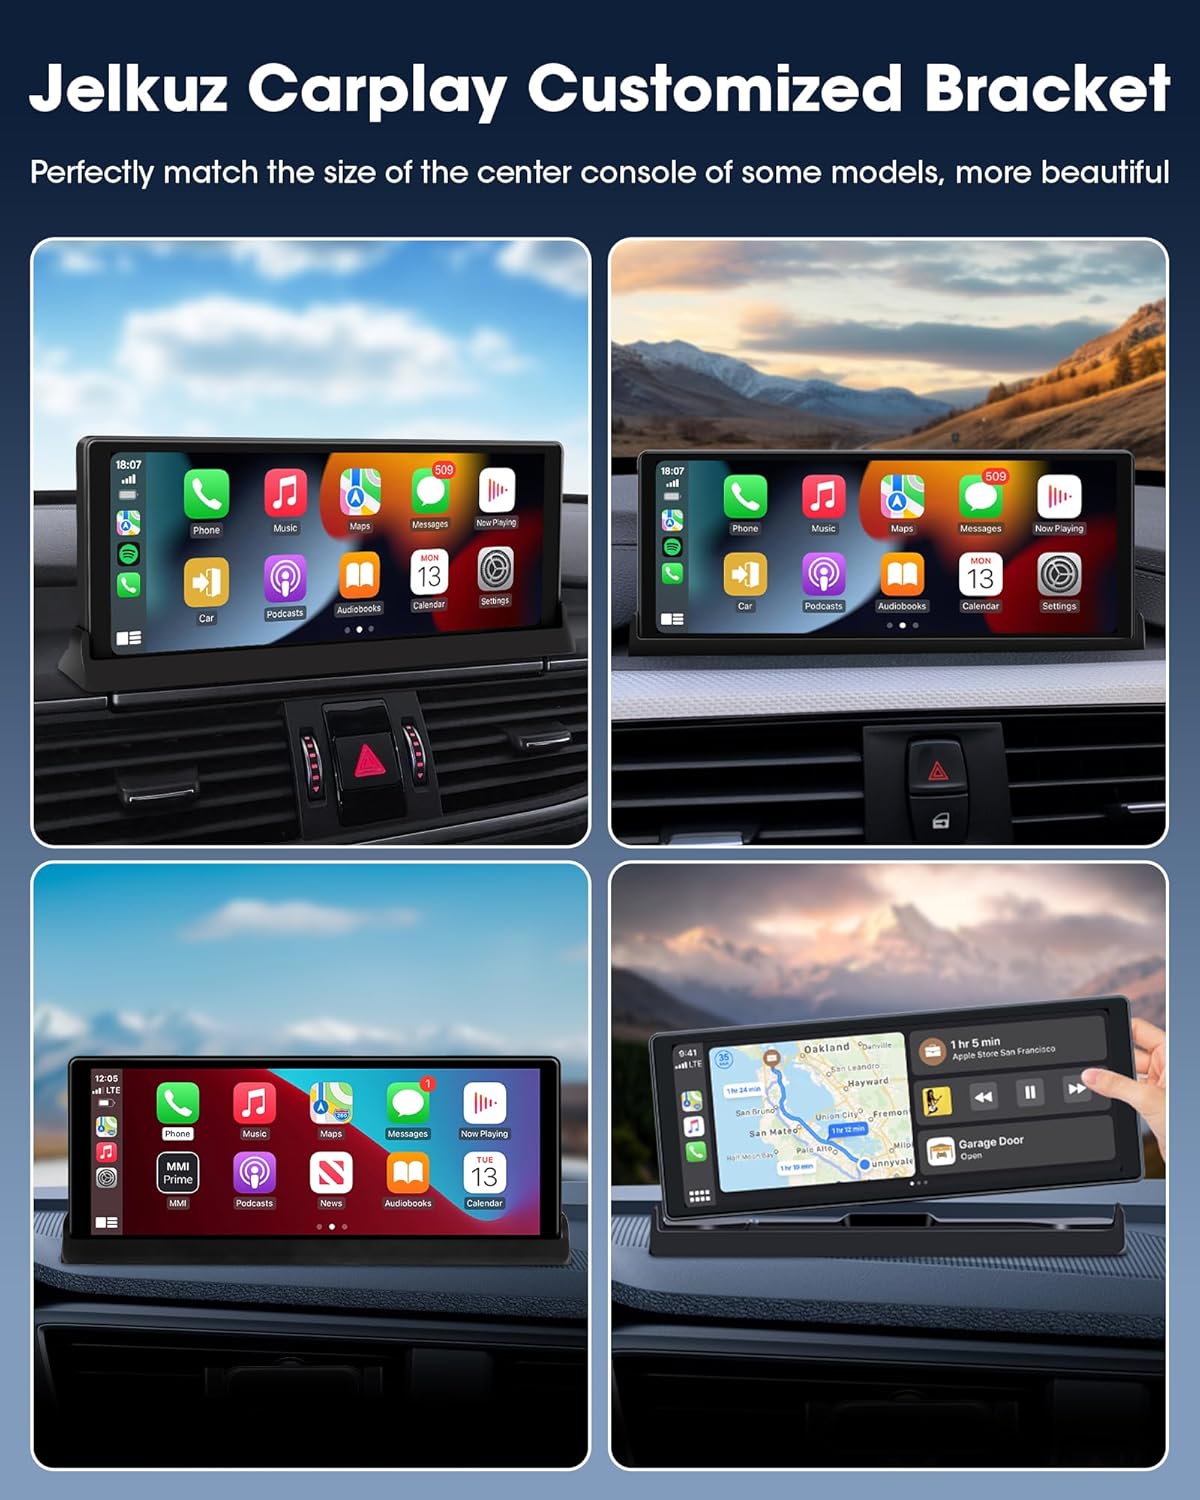
Obraz 3.1: Examples of the customized bracket installation in different vehicle interiors.
3.1.2. Suction Cup Bracket Installation
For a more flexible mounting solution, use the provided suction cup bracket. This allows for placement on the dashboard or windshield. Ensure the surface is clean and dry before attaching the suction cup for maximum adhesion. The bracket offers 360-degree rotation and 270-degree tilt for optimal viewkąty.

Image 3.2: Suction cup bracket features and installation options.
3.2. Podłączenie zasilania
Connect the device to your vehicle's power outlet using the provided car charger. Ensure the connection is secure to prevent power interruptions.
3.3. Instalacja kamery cofania
Install the rear camera at the back of your vehicle, ensuring it has a clear view. Connect the camera to the main unit using the 6-meter cable. The camera is IP68 waterproof, features a 140° wide angle, night vision, and displays parking lines to assist with reversing.

Image 3.3: Backup camera features and reversing view.
4. Instrukcja obsługi
4.1. Włączanie/wyłączanie zasilania
The device will typically power on automatically when the vehicle's ignition is turned on. To power off, turn off the vehicle's ignition or disconnect the power supply.
4.2. Wireless Apple Carplay & Android Auto Connection
Aby połączyć smartfon bezprzewodowo:
- Upewnij się, że w smartfonie są włączone Bluetooth i Wi-Fi.
- On the Carplay screen, navigate to the Carplay or Android Auto interface.
- Szukaj the device's Bluetooth name on your phone and pair.
- Confirm the pairing on both devices. The system will then establish a Wi-Fi connection for full Carplay/Android Auto functionality.
Once connected, you can access your phone's compatible apps, music, and navigation directly on the Carplay screen.
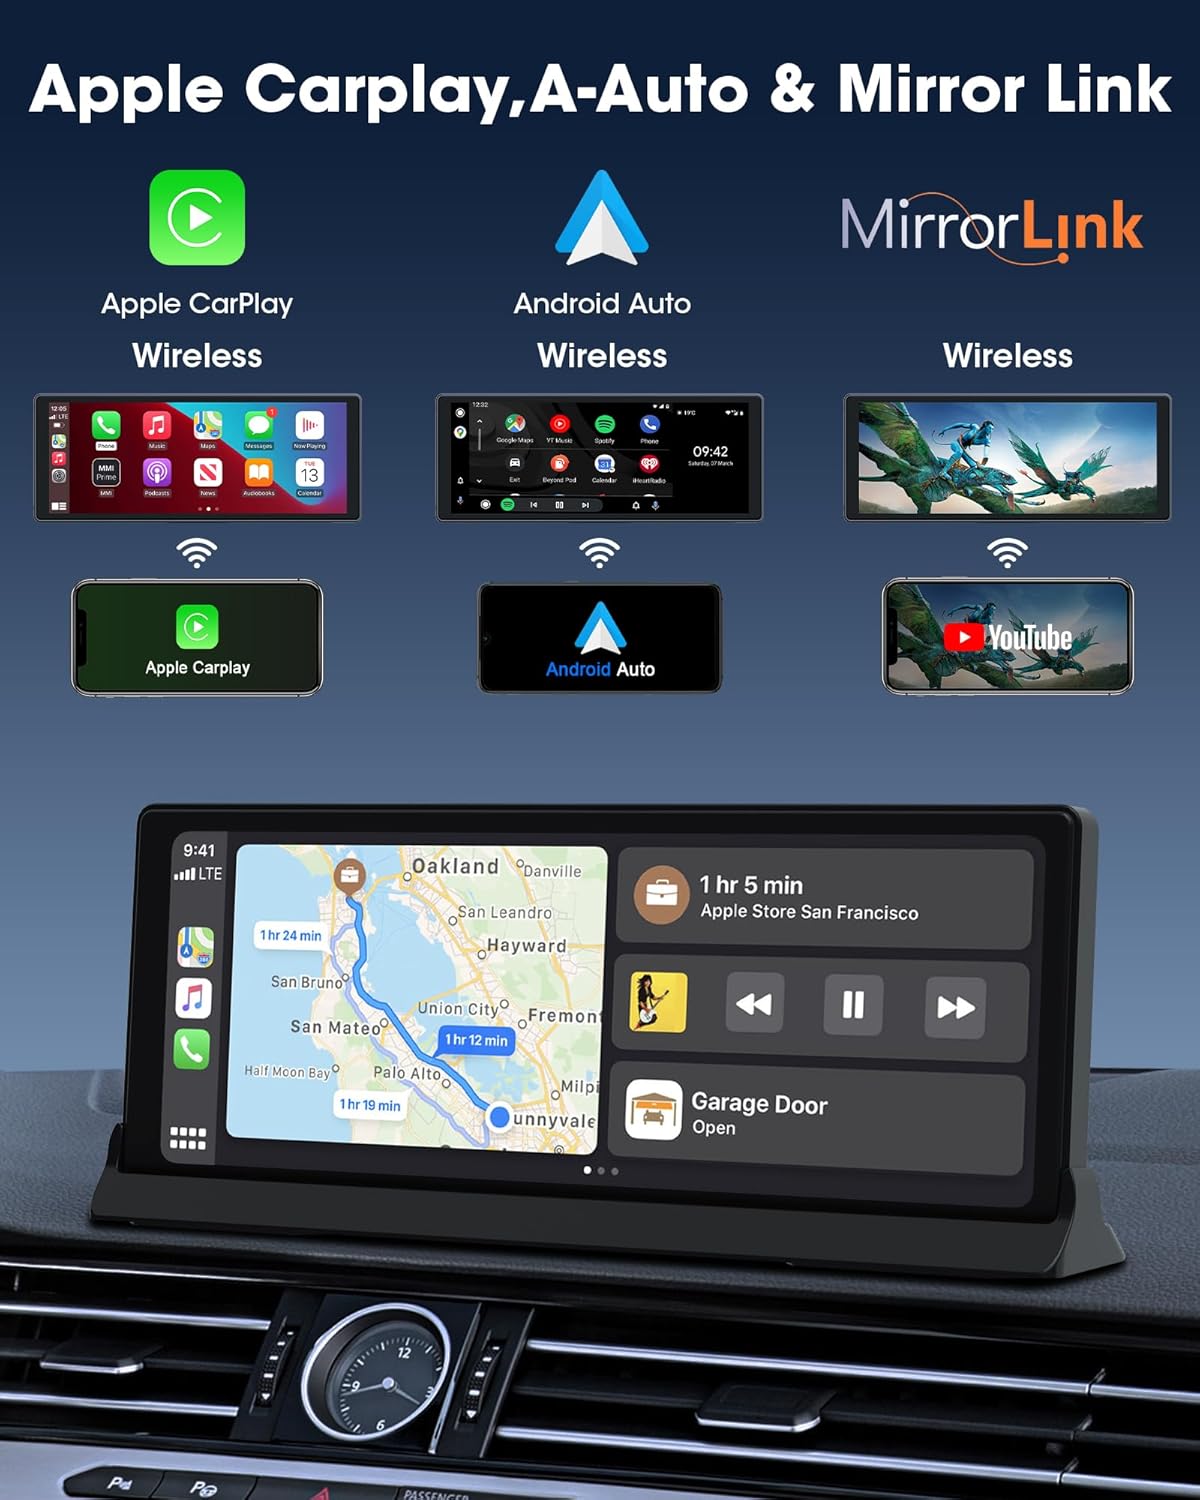
Image 4.1: Wireless Apple Carplay, Android Auto, and Mirror Link interfaces.
4.3. Łącze lustrzane
The Mirror Link feature allows you to project your smartphone's screen content onto the Carplay display. This is compatible with Apple Airplay and Android Cast. Follow your phone's instructions for screen mirroring and select the Carplay device.

Image 4.2: Wireless Mirror Link in operation.
4.4. Sterowanie głosowe
Utilize voice commands to interact with Siri (for Apple Carplay) or Google Assistant (for Android Auto). This allows for hands-free operation of functions such as making calls, playing music, or navigating. Activate voice control by saying the wake word (e.g., "Hey Siri" or "Hey Google") or by pressing the voice command button on the screen.
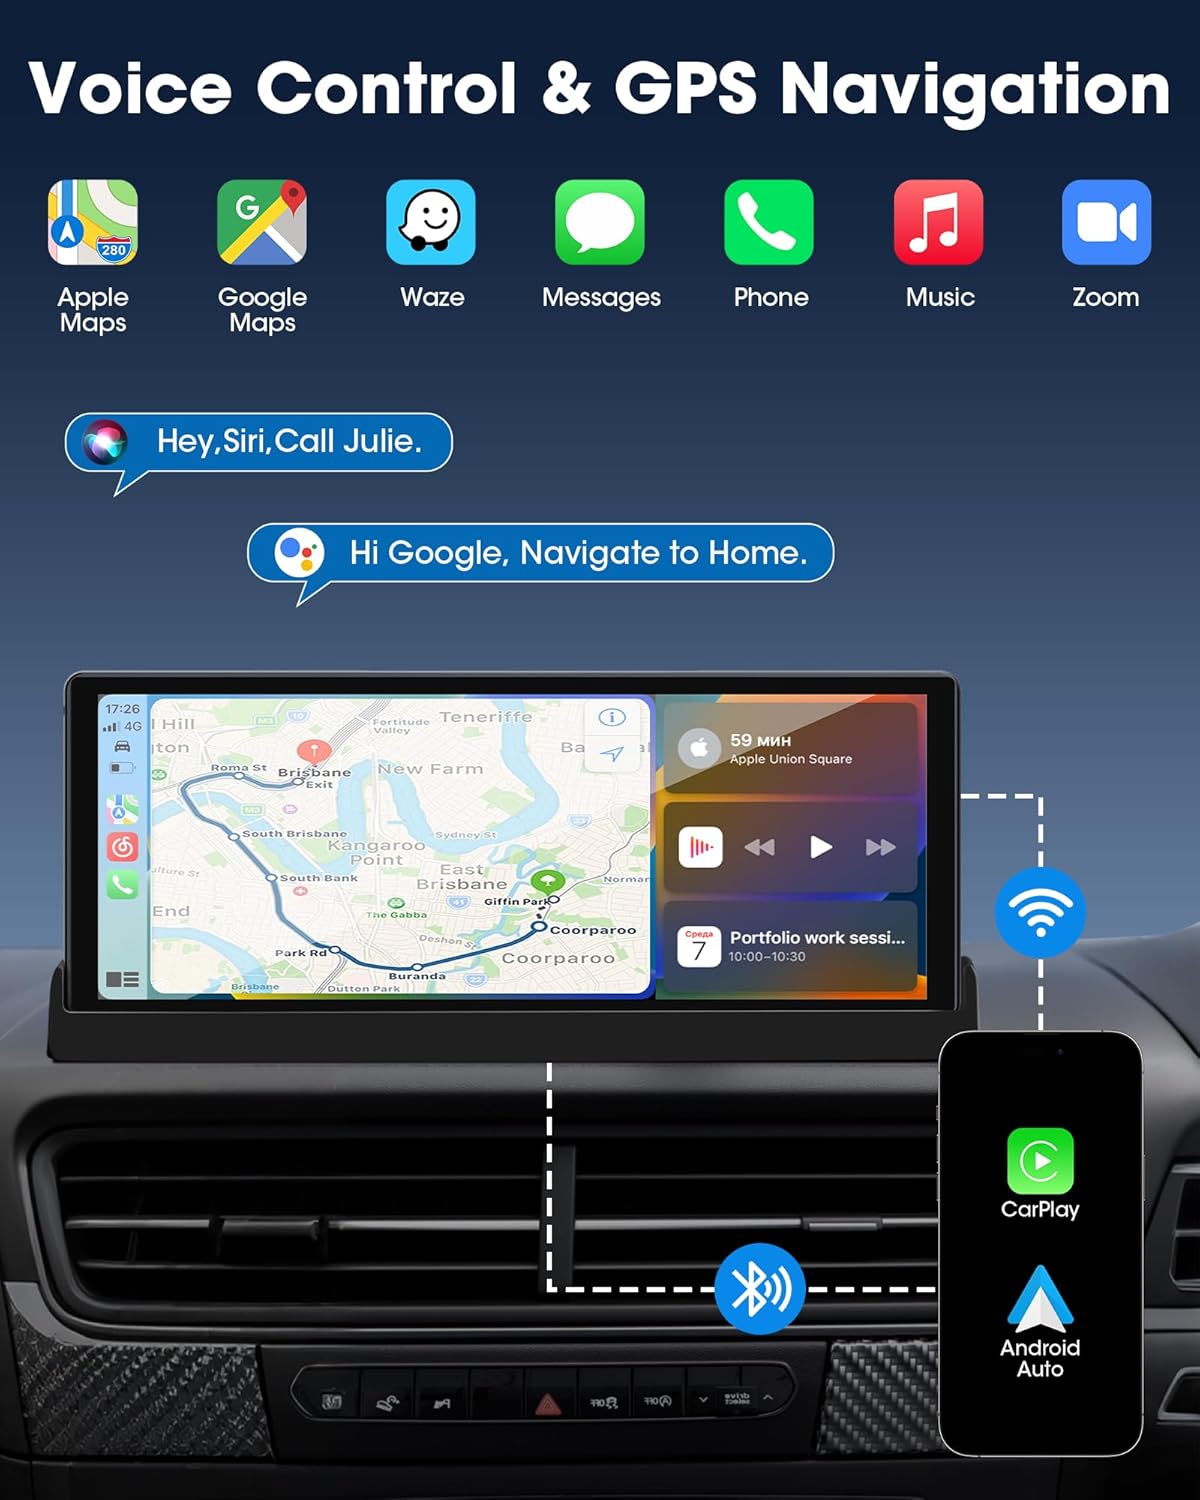
Image 4.3: Voice control and GPS navigation capabilities.
4.5. Nawigacja GPS
The device supports GPS navigation through connected Carplay or Android Auto applications. It provides accurate location services without requiring frequent map updates or additional fees. Ensure your smartphone's GPS is active for optimal performance.
4.6. Opcje wyjścia audio
The Carplay screen offers several methods for audio output:
- Wbudowane głośniki: The device has integrated speakers for direct audio playback.
- Bluetooth: Connect to your car's audio system via Bluetooth for higher quality stereo sound.
- Nadajnik FM: Tune your car's FM radio to a specific frequency to receive audio from the Carplay screen.
- Wyjście AUX: Use the provided AUX cable to connect the Carplay screen to your car's AUX input for a wired audio connection.

Image 4.4: Available audio output methods.
4.7. Regulacja jasności ekranu
The 10.26-inch HD IPS display features an auto light sensor function. You can manually adjust the screen brightness to your preference. The device will retain this setting, helping to reduce eye strain and ensure clear visibility during various lighting conditions.
5. Konserwacja
- Czyszczenie: Use a soft, dry cloth to clean the screen and device surface. Avoid abrasive cleaners or solvents.
- Folia ochronna: The product surface may have a removable protective film. If scratches or dirt appear, you can carefully peel off the outer layer of this film.
- Składowanie: Jeśli urządzenie nie będzie używane przez dłuższy czas, należy je przechowywać w chłodnym i suchym miejscu, z dala od bezpośredniego światła słonecznego i ekstremalnych temperatur.
6. Rozwiązywanie Problemów
- Urządzenie nie włącza się: Ensure the car charger is securely connected to both the device and the vehicle's power outlet. Check the vehicle's power outlet for functionality.
- Difficulty Pairing with Phone: Ensure Bluetooth and Wi-Fi are enabled on your phone and the Carplay screen. Try restarting both devices. If issues persist, refer to your phone's Bluetooth settings to forget the device and attempt pairing again.
- Brak wyjścia audio: Verify the selected audio output method (Bluetooth, FM, AUX, Built-in Speaker) is correctly configured. If using FM, ensure your car radio is tuned to the correct frequency. If using AUX, ensure the cable is properly connected.
- Ekran nie reaguje: If the touch screen is unresponsive, try restarting the device by disconnecting and reconnecting the power.
- Customized Boot Icon Service: If you require a customized boot icon, please refer to the contact information provided in the instruction manual for after-sale support.
7. Specyfikacje
| Funkcja | Szczegół |
|---|---|
| Marka | Jelkuz |
| Numer modelu | T360S+Z025 |
| Rozmiar ekranu | 10.26 cali |
| Typ wyświetlacza | FHD IPS Touch Screen (1600x600P) |
| Technologia łączności | Bluetooth 5.0, Wi-Fi |
| Kompatybilne urządzenia | Smartphone (Apple Carplay, Android Auto, Mirror Link) |
| Cechy specjalne | Auto Light Sensor, Customized Bracket, Reverse Assistance, Voice Control |
| Tryb wyjścia audio | Stereo (Built-in Speaker, Bluetooth, FM, AUX) |
| Typ złącza | USB typu C |
| Waga przedmiotu | 2.31 funta |
| Wymiary opakowania | 11.34 x 5.63 x 4.41 cala |
| Kolor | Czarny |

Image 7.1: Display resolution comparison and compatible vehicle types.
8. Gwarancja i wsparcie
Jelkuz provides a one-year after-sales warranty for this product. We also offer 24/7 customer service response to assist with any inquiries or issues you may encounter. For support, please refer to the contact information provided in your product packaging or the original purchase documentation.
Jelkuz is committed to empowering drivers with intelligent, adaptive Carplay solutions that enhance safety, entertainment, and productivity. We prioritize user feedback to refine features, ensure cross-device compatibility, and maintain rigorous quality standards for reliability.