
Wstęp
Thank you for choosing the Bairth 6-Light Black Chandelier. This modern farmhouse light fixture is designed to provide ample illumination and enhance the aesthetic of various indoor spaces such as dining rooms, kitchens, entryways, hallways, living rooms, and bedrooms. This manual provides essential information for safe installation, operation, and maintenance of your new chandelier. Please read these instructions carefully before assembly and retain them for future reference.
Informacje dotyczące bezpieczeństwa
- OSTRZEŻENIE: To avoid the risk of electrical shock, always disconnect power at the main circuit breaker or fuse box before beginning installation or performing any maintenance.
- Wszystkie połączenia elektryczne muszą być zgodne z lokalnymi przepisami, rozporządzeniami lub Krajowym Kodeksem Elektrycznym (NEC). Jeśli nie masz doświadczenia w okablowaniu elektrycznym, skonsultuj się z wykwalifikowanym elektrykiem.
- Stosuj wyłącznie żarówki z trzonkiem E12 o maksymalnej mocytage 40 W na żarówkę. Przekroczenie zalecanej mocytagMoże to spowodować przegrzanie i uszkodzenie urządzenia.
- Ensure the fixture is securely mounted to a structural ceiling component capable of supporting its weight.
- Nie podłączaj tego urządzenia do nieuziemionego układu elektrycznego.
- Handle the fixture with care to prevent damage to the components.
- Trzymaj materiały łatwopalne z dala od żarówek.
Zawartość opakowania
Verify that all components are present before beginning installation. If any parts are missing or damaged, contact customer support.
- Chandelier Frame (with 6 E12 lamp (gniazda)
- Adjustable Rods (various lengths for height customization)
- Daszek montażowy
- Sprzęt montażowy (śruby, nakrętki, uchwyt montażowy)
- Instrukcja obsługi

Figure 1: Chandelier Components Overview
Specyfikacje
| Marka | Bairth |
| Numer modelu | D3201-06-BK |
| Kolor | Czarny |
| Tworzywo | Metal |
| Styl | Modern Farmhouse, Industrial |
| Formularz oprawy oświetleniowej | Żyrandol |
| Liczba źródeł światła | 6 |
| Podstawa żarówki | E12 |
| Maksymalna moctage Na żarówkę | 40 watów |
| Tomtage | 120 wolty |
| Zakres regulacji wysokości | 20.5 cala do 61.8 cala |
| Wymiary (dł. x szer. x wys.) | 21.3"L x 21.3"W x 61.8"H (Max Height) |
| Typ montażu | Ceiling Mount (Flat, Sloped, Arched compatible) |
| Zastosowanie wewnątrz/na zewnątrz | Wnętrz |

Figure 2: Product Dimensions and Adjustable Height
Konfiguracja i instalacja
Installation typically takes less than 20 minutes. However, if you lack wiring experience, it is recommended to consult a licensed electrician for safety.
Wymagane narzędzia (nie dołączone):
- Śrubokręt krzyżakowy
- Ściągacze izolacji
- Taśma izolacyjna
- Okulary ochronne
- Drabina
Kroki instalacji:
- Wyłącz zasilanie: Before starting, ensure the power to the circuit at the main breaker panel is completely off to prevent electrical shock.
- Przygotuj uchwyt montażowy: Attach the mounting bracket to the junction box in your ceiling. Ensure it is securely fastened.
- Assemble Chandelier Frame: The chandelier frame may require minor assembly. Secure the arms to the central hub as instructed in the included accessory guide. Connect the internal wires of the arms to the main wires, ensuring all connections are tight.
- Określ wysokość zawieszenia: Select the appropriate number of adjustable rods to achieve your desired hanging height. The chandelier can be adjusted from 20.5 inches to 61.8 inches. Thread the fixture wires through the chosen rods and the canopy.
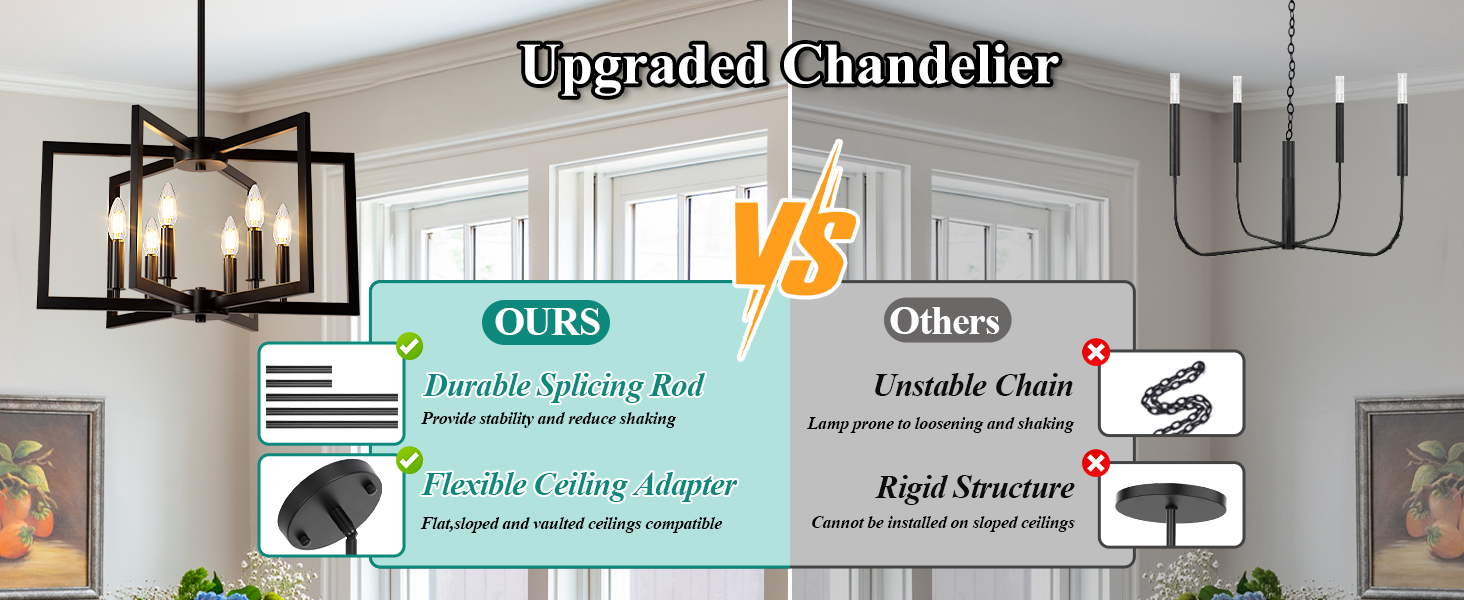
Figure 3: Customizing Chandelier Height
- Połączenia przewodowe: Connect the fixture wires to the house wires using wire nuts. Connect the black wire from the fixture to the black (live) wire from the ceiling, the white wire from the fixture to the white (neutral) wire from the ceiling, and the ground wire from the fixture to the ground wire from the ceiling. Secure connections with electrical tape.
- Góra Canopy: Carefully push the canopy up to the ceiling, covering the junction box, and secure it to the mounting bracket with the provided screws.
- Zainstaluj żarówki: Screw E12 base bulbs (not included, max 40W each) into the lamp gniazda.
- Przywróć zasilanie: Po zakończeniu instalacji należy włączyć zasilanie za pomocą głównego wyłącznika.

Figure 4: Ceiling Type Compatibility
Video 1: Bairth 6 Lights Modern Geometric Chandelier Product Overview. Ten film przedstawia wizualny przeglądview of the chandelier, its design, and features. While not a step-by-step installation guide, it offers context for the product.
Instrukcja obsługi
Once installed and powered, the chandelier operates like any standard light fixture controlled by a wall switch. For enhanced functionality, consider the following:
- Funkcja ściemniania: This chandelier is fully dimmable when used with dimmable E12 bulbs and a compatible dimmer switch (both not included). Install a dimmer switch according to its manufacturer's instructions to control light intensity.
- Wybór żarówki: The fixture supports various E12 base bulbs including LED, CFL, and Incandescent, up to 40W per socket. Choose bulbs that match your desired light color and brightness.

Figure 5: Dimmable Feature Overview

Figure 6: Daylight White vs. Warm White Bulb Effect
Konserwacja
Regularna konserwacja gwarantuje długowieczność i optymalną wydajność żyrandola.
- Czyszczenie: Always turn off the power before cleaning. Use a soft, dry cloth to wipe the fixture. Avoid using harsh chemicals, abrasive cleaners, or polishes as they may damage the finish.
- Wymiana żarówki: Ensure the power is off and bulbs have cooled before attempting to replace them. Unscrew the old bulb and screw in a new E12 base bulb (max 40W).
- Kontrola: Okresowo sprawdzaj wszystkie połączenia i elementy montażowe, aby mieć pewność, że są bezpieczne.
Rozwiązywanie problemów
Jeśli masz problemy z żyrandolem, zapoznaj się z poniższymi, często spotykanymi problemami i ich rozwiązaniami:
| Problem | Możliwa przyczyna | Rozwiązanie |
|---|---|---|
| Światło się nie włącza | 1. Zasilanie jest wyłączone 2. Luźne połączenie przewodów 3. Wadliwa żarówka | 1. Sprawdź wyłącznik/bezpiecznik. 2. Verify all wire connections are secure (ensure power is off first). 3. Replace bulb with a new, working one. |
| Migotanie światła | 1. Luźna żarówka 2. Incompatible dimmer switch/bulb 3. Luźne okablowanie | 1. Dokręć żarówkę. 2. Ensure dimmable bulbs are used with a compatible dimmer switch. 3. Check wiring connections (ensure power is off first). |
| Fixture hums | 1. Incompatible dimmer switch/bulb 2. Luźne elementy | 1. Ensure dimmable bulbs are used with a compatible dimmer switch. 2. Sprawdź, czy nie ma luźnych części i dokręć je. |
Jeśli po wypróbowaniu tych rozwiązań problem nadal występuje, skontaktuj się z obsługą klienta.
Gwarancja i wsparcie
This Bairth chandelier comes with a 1-roczna ograniczona gwarancja from the date of purchase. This warranty covers defects in materials and workmanship under normal use. If your lamp has any defects or stops working within this period, we will troubleshoot or send a replacement.
For warranty claims, technical assistance, or any questions regarding your product, please contact the seller, BrightHome USA, through your Amazon order details page. Please have your model number (D3201-06-BK) and purchase date available when contacting support.