
VIRTAVO LJH10
VIRTAVO VistaFlask Wireless Outdoor Security Camera User Manual
Model: LJH10
1. Wprowadzenie
This manual provides instructions for the installation, operation, and maintenance of your VIRTAVO VistaFlask Wireless Outdoor Security Camera (Model: LJH10). Please read this manual thoroughly before using the product to ensure proper function and safety. Keep this manual for future reference.
2. Zawartość opakowania
Sprawdź, czy w przesyłce znajdują się wszystkie wymienione poniżej elementy:
- VIRTAVO VistaFlask Wireless Outdoor Security Camera (LJH10)
- Uchwyt montażowy
- Śruby montażowe i kotwy ścienne
- Kabel ładujący USB
- Instrukcja obsługi (ten dokument)
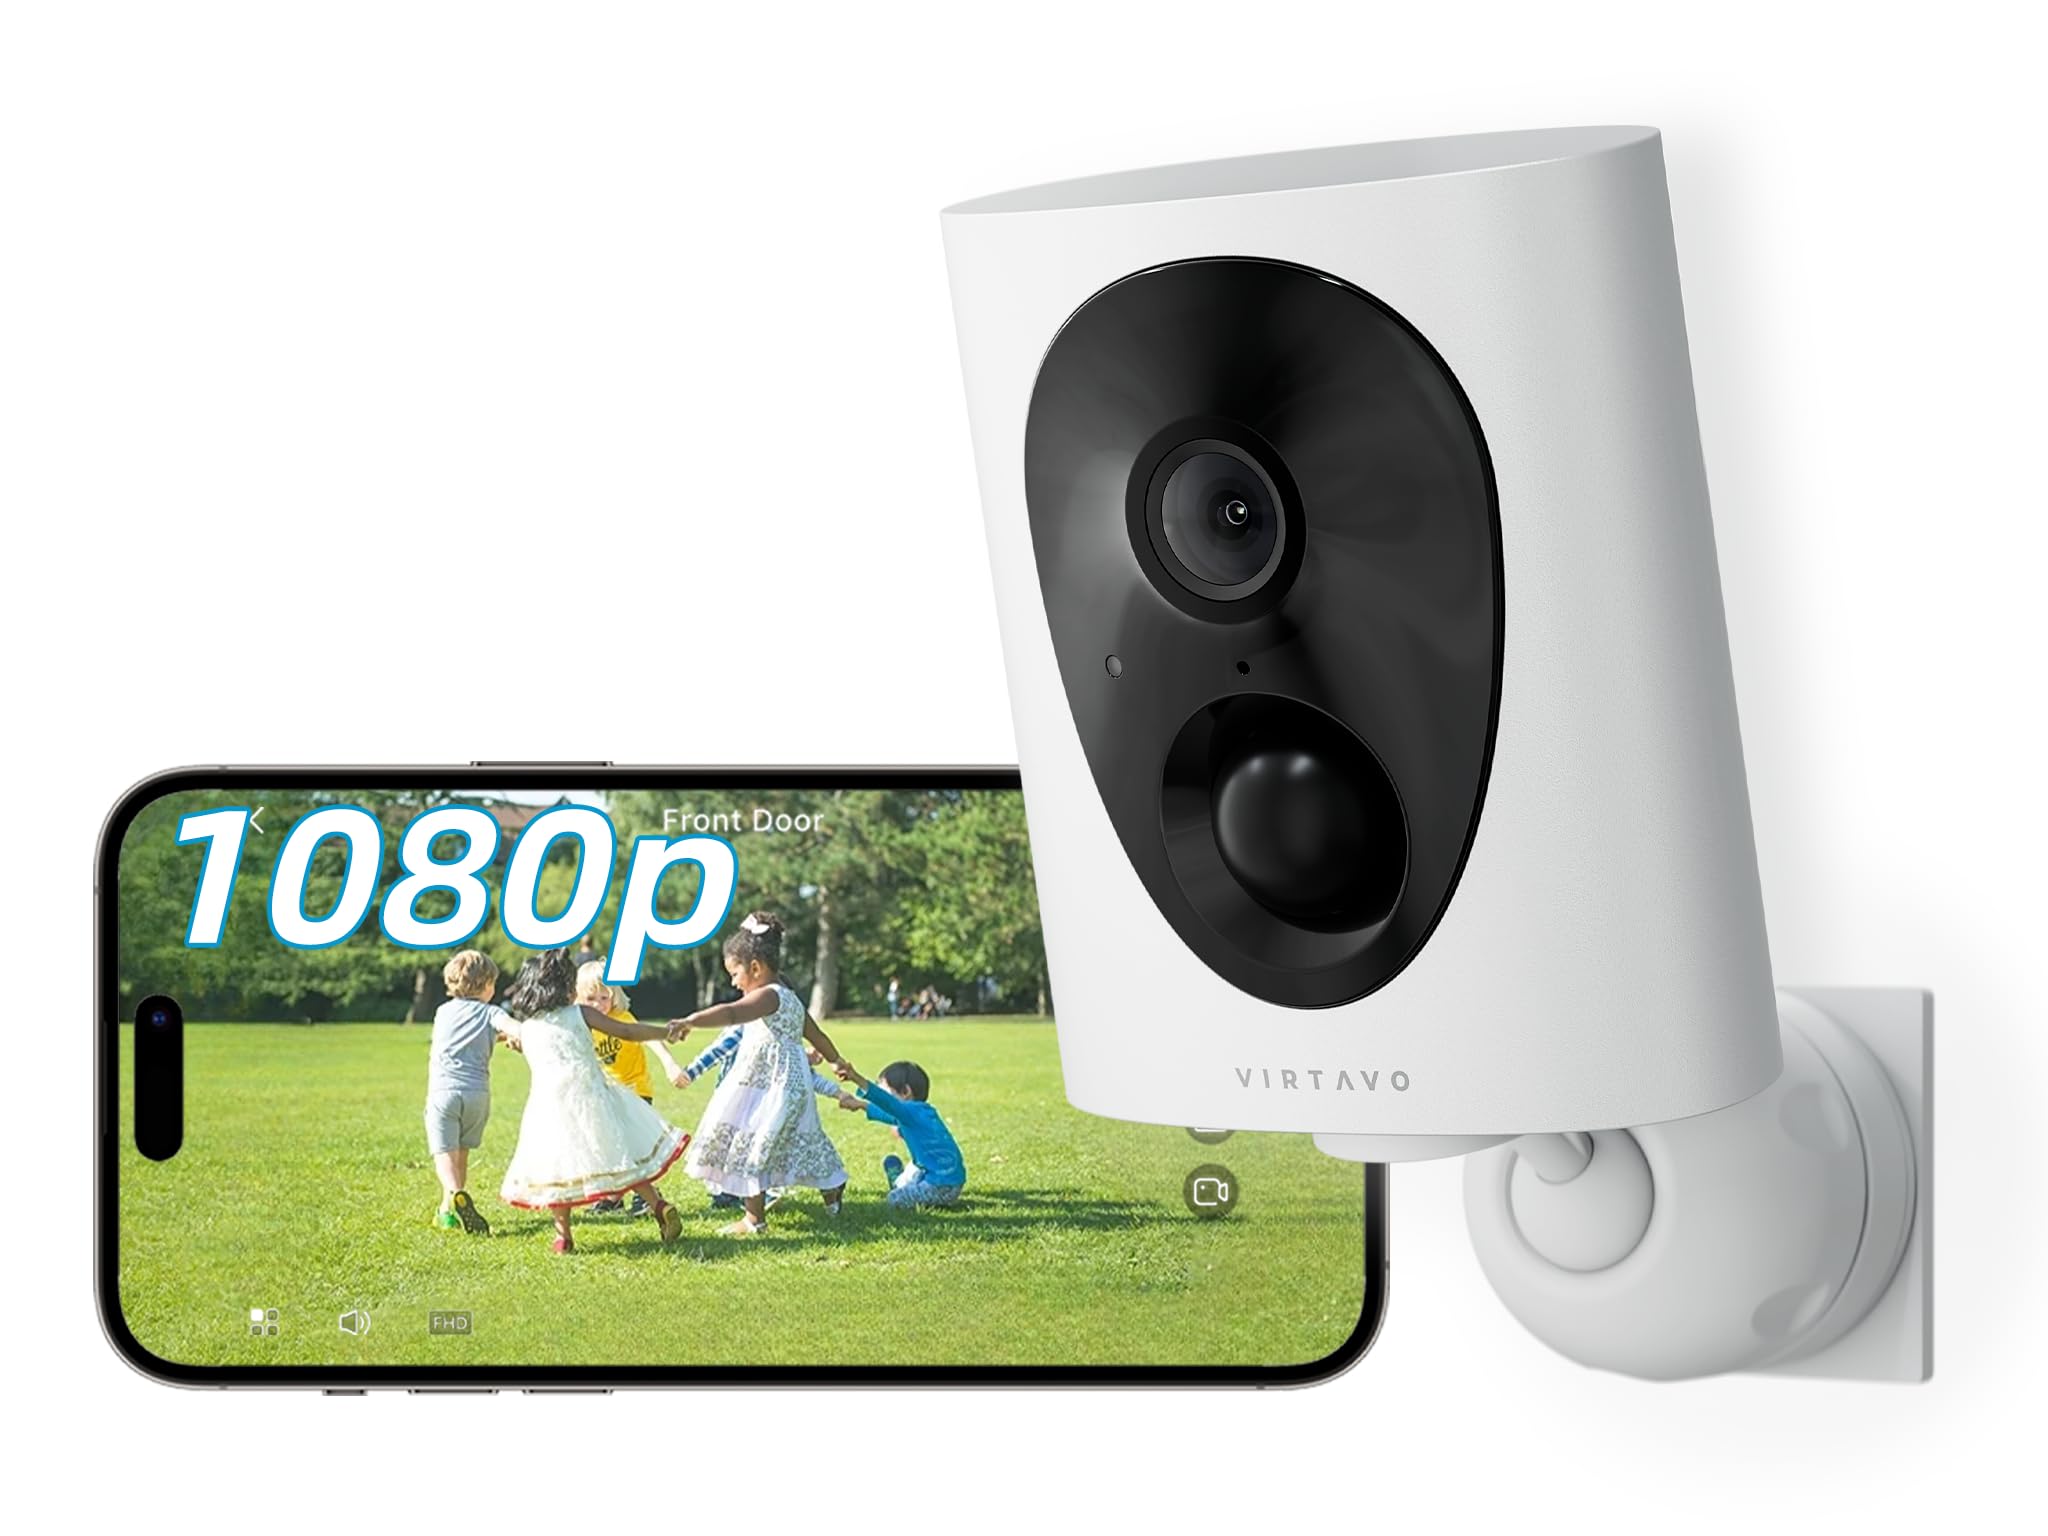
Image 1: VIRTAVO VistaFlask Camera and included accessories. The image shows the camera unit, a mounting bracket, screws, and a charging cable.
3. Koniec produktuview
Familiarize yourself with the components of your VIRTAVO VistaFlask camera.
Obraz 2: Przód i bok view of the VIRTAVO VistaFlask camera. Key components include the lens, IR LEDs, PIR sensor, microphone, speaker, and charging port.
- Obiektyw aparatu: Captures 1080P FHD video.
- Czujnik światła gwiazd: Enables color-rich night vision in low-light conditions.
- IR LEDs (x2): Provides infrared illumination for clear night vision.
- Czujnik ruchu PIR: Wykrywa pasywne zmiany podczerwieni w celu wykrycia ruchu.
- Mikrofon: Nagrywa dźwięk w celu umożliwienia dwukierunkowej komunikacji.
- Głośnik: Wysyła dźwięk umożliwiający dwukierunkową komunikację i powiadomienia.
- Kontrolka stanu: Displays camera status (e.g., charging, connected, recording).
- Przycisk resetowania: Służy do przywracania ustawień fabrycznych aparatu.
- Gniazdo kart Micro SD: Supports local storage (32GB to 256GB, not included).
- Port ładowania USB: Do ładowania wewnętrznego akumulatora.
4. Konfiguracja
4.1 Ładowanie kamery
Before initial use, fully charge the camera's internal 4400mAh battery. Connect the provided USB charging cable to the camera's charging port and a standard 5V/1A USB power adapter (not included). The status indicator light will show charging status and turn off when fully charged. A full charge typically takes 6-8 hours.
4.2 Installing the 'HOME V' App
The VIRTAVO VistaFlask camera operates via the 'HOME V' mobile application.
- Scan the QR code below or search for "HOME V" in your device's app store (App Store for iOS, Google Play Store for Android).
- Pobierz i zainstaluj aplikację.
- Zarejestruj nowe konto lub zaloguj się, jeśli już je posiadasz.
Image 3: Placeholder QR code for downloading the 'HOME V' application. Scan this code with your smartphone to quickly find and install the app.
4.3 Podłączanie kamery do sieci Wi-Fi
Aby podłączyć kamerę do domowej sieci Wi-Fi, wykonaj następujące czynności:
- Upewnij się, że Twój smartfon jest połączony z siecią Wi-Fi 2.4 GHz. Aparat nie obsługuje Wi-Fi 5 GHz.
- Open the 'HOME V' app and tap "Add Device" or the "+" icon.
- Wybierz „Aparat bateryjny” lub odpowiedni typ aparatu.
- Power on the camera. The status indicator light should blink blue, indicating it's ready for pairing. If not, press and hold the reset button for 5 seconds until it blinks.
- Follow the in-app instructions to enter your Wi-Fi network name (SSID) and password.
- The app will generate a QR code. Hold your phone approximately 6-8 inches (15-20 cm) in front of the camera lens until you hear a confirmation sound.
- Once connected, the status indicator light will turn solid blue, and the camera will appear in your 'HOME V' app.
4.4 Montaż kamery
Choose a suitable location for mounting, ensuring good Wi-Fi signal strength and an unobstructed view. The camera is weatherproof for outdoor use.
- Mark the desired drilling spots using the mounting bracket as a template.
- W przypadku montażu na murze lub płycie gipsowo-kartonowej wywierć otwory wstępne i włóż kołki rozporowe.
- Przymocuj uchwyt montażowy do ściany lub sufitu za pomocą dołączonych śrub.
- Zamontuj kamerę w uchwycie montażowym i dostosuj kąt, aby uzyskać optymalny zasięg.
Image 4: Illustrative diagram of the camera mounting process. It depicts marking drill points, securing the bracket, and attaching the camera.
5. Instrukcja obsługi
5.1 Na żywo View i odtwarzanie
Access the 'HOME V' app to view żyćtage lub review zarejestrowane wydarzenia.
- Open the 'HOME V' app and select your camera from the device list.
- Tap on the camera feed to enter live view.
- Do view nagrano footage, tap the "Playback" or "History" icon within the live view interfejs.
5.2 Dźwięk dwukierunkowy
Kamera obsługuje dwukierunkową komunikację audio.
- Na żywo view, dotknij ikony mikrofonu, aby mówić przez głośnik kamery.
- Kliknij ikonę głośnika, aby słuchać dźwięku z mikrofonu kamery.
5.3 Detekcja ruchu i alerty
The camera uses PIR motion detection to trigger recordings and send alerts.
- Enable or disable motion detection in the camera settings within the 'HOME V' app.
- Dostosuj poziomy czułości, aby zminimalizować liczbę fałszywych alarmów.
- Otrzymuj natychmiastowe powiadomienia push na swój smartfon po wykryciu ruchu.
5.4 Widzenie nocne
The camera automatically switches to night vision mode in low-light conditions, utilizing its Starlight lens and IR LEDs for clear imaging up to 30 feet.
- The camera will automatically activate IR LEDs for black and white night vision.
- The Starlight lens provides color-rich images in very low ambient light before IR activation.
5.5 Opcje przechowywania
The camera supports both local Micro SD card storage and optional cloud storage.
- Karta micro sd: Insert a Micro SD card (32GB-256GB, Class 10 or higher) into the designated slot. The camera will automatically begin recording motion-triggered events to the card.
- Przechowywanie w chmurze: Subscribe to the optional cloud storage service via the 'HOME V' app for additional features and secure off-site storage.
6. Konserwacja
6.1 Czyszczenie aparatu
To ensure optimal performance, periodically clean the camera lens and housing.
- Do czyszczenia korpusu aparatu należy używać miękkiej, suchej ściereczki.
- Do czyszczenia soczewek należy używać ściereczki do czyszczenia soczewek i, w razie potrzeby, specjalnego płynu do czyszczenia soczewek. Unikać materiałów ściernych.
6.2 Zarządzanie baterią
The camera's 4400mAh rechargeable battery provides 1-3 months of operation depending on usage and motion detection frequency.
- Recharge the battery when the app indicates a low battery level.
- Use the provided USB cable and a 5V/1A power adapter for charging.
- Avoid exposing the camera to extreme temperatures during charging or operation, as this can affect battery life.
6.3 aktualizacji oprogramowania sprzętowego
Periodically check the 'HOME V' app for available firmware updates. Updates can improve performance, add new features, and enhance security.
- Follow the in-app instructions to download and install firmware updates.
- Przed rozpoczęciem aktualizacji upewnij się, że bateria aparatu jest wystarczająco naładowana.
7. Rozwiązywanie Problemów
| Problem | Możliwa przyczyna | Rozwiązanie |
|---|---|---|
| Kamera nie łączy się z siecią Wi-Fi. | Incorrect Wi-Fi password; 5GHz Wi-Fi network; weak Wi-Fi signal; camera too far from router. |
|
| Brak alertów o wykryciu ruchu. | Motion detection disabled; low sensitivity; app notifications blocked; camera offline. |
|
| Słaba jakość widzenia nocnego. | Dirty lens; obstructions near IR LEDs; insufficient ambient light for Starlight vision. |
|
| Bateria szybko się rozładowuje. | Frequent motion detection; live view accessed often; extreme temperatures. |
|
8. Specyfikacje
| Funkcja | Szczegół |
|---|---|
| Model | LJH10 |
| Rezolucja | 1080P FHD |
| Pole View | 130 stopni |
| Wizja nocna | Starlight Color Night Vision, 2x IR LEDs (up to 30 feet) |
| Audio | Dwukierunkowy dźwięk |
| Wykrywanie ruchu | PIR (Passive Infrared), 30-foot range |
| Łączność | Wi-Fi 2.4 GHz (IEEE 802.11b/g/n) |
| Źródło zasilania | Akumulator 4400 XNUMX mAh |
| Składowanie | Micro SD Card (32GB-256GB), Cloud Storage (optional) |
| Odporność na warunki atmosferyczne | Odporny na warunki atmosferyczne |
| Zgodność aplikacji | 'HOME V' (iOS, Android) |
| Wymiary | 2.7 x 1.3 x 3.2 cala |
| Waga | 11.2 uncji |
9. Gwarancja i wsparcie
VIRTAVO products come with a limited warranty. For detailed warranty information, please refer to the warranty card included in your package or visit the official VIRTAVO webstrona.
For technical support, troubleshooting assistance, or customer service inquiries, please contact VIRTAVO support through the 'HOME V' app or visit our webstrona.
- Wsparcie online: VIRTAVO Official Store
- Wsparcie e-mailowe: Refer to the 'HOME V' app or product packaging for contact details.
Ask a question about this manual
Ask about setup, troubleshooting, compatibility, parts, safety, or missing instructions. Manuals+ will review the question and use this page’s manual context to help answer it.