Wstęp
This manual provides essential information for the safe and efficient installation, operation, and maintenance of your GIGABYTE AORUS Elite P1000W Ice Power Supply. Please read this manual thoroughly before using the product and retain it for future reference.

Rysunek 1: Kątowy view of the GIGABYTE AORUS Elite P1000W Ice Power Supply, highlighting the 1000W rating.
Informacje dotyczące bezpieczeństwa
Aby zapobiec obrażeniom ciała i uszkodzeniom sprzętu, należy zawsze przestrzegać następujących środków ostrożności:
- Przed instalacją lub jakąkolwiek czynnością należy upewnić się, że zasilacz jest odłączony od gniazdka sieciowego.
- Nie otwierać zasilacza. Wysokie napięcietagWewnątrz znajdują się wszystkie niezbędne elementy i nie ma w nim żadnych części, które mogłyby być naprawiane przez użytkownika.
- Zasilacz należy zainstalować w dobrze wentylowanym pomieszczeniu, z dala od źródeł ciepła i bezpośredniego światła słonecznego.
- Używaj wyłącznie kabli modułowych dostarczonych wraz z zasilaczem. Użycie niekompatybilnych kabli może spowodować uszkodzenie.
- Unikaj narażania zasilacza na działanie wilgoci i ekstremalnych temperatur.
Zawartość opakowania
Sprawdź, czy w opakowaniu znajdują się wszystkie elementy:
- GIGABYTE AORUS Elite P1000W Ice Power Supply Unit
- Modular Cable Set (including ATX 24-pin, EPS/CPU 8-pin, PCIe 6+2-pin, 12VHPWR, SATA, Peripheral)
- AC Power Cord (EU Plug)
- Śruby montażowe
- Instrukcja obsługi (ten dokument)
Cechy produktu
- ATX 3.0 and PCIe Gen 5.0 ready (ATX 3.1 compatible)
- Certified 80 PLUS Platinum efficiency
- 100% Japanese Capacitors for enhanced reliability
- 120mm Dynamic Fluid Ball Bearing (FDB) Fan for quiet and efficient cooling
- Compact design for easier installation
- Fully modular design for improved cable management
- Powerful single rail +12V output
- Comprehensive protection features: OVP (Over Voltage Protection), OPP (Over Power Protection), SCP (Short Circuit Protection), UVP (Under VoltagOchrona przed przeciążeniem prądowym (e), OCP (zabezpieczenie przed przeciążeniem prądowym), OTP (zabezpieczenie przed przegrzaniem)
Konfiguracja i instalacja
Aby zainstalować zasilacz, wykonaj następujące czynności:
- Przygotuj swój system: Ensure your computer case is open and all existing power supply cables are disconnected.
- Montaż zasilacza: Carefully place the GIGABYTE AORUS Elite P1000W into the power supply bay of your computer case. Secure it with the provided mounting screws.

Rysunek 2: Ogólnie view of the GIGABYTE AORUS Elite P1000W Ice Power Supply. This image shows the main unit with its fan grill and modular cable ports.
- Podłącz kable modułowe: Identify the necessary cables for your motherboard and components (CPU, GPU, storage drives). Connect the appropriate modular cables to the power supply's output ports.

Rysunek 3: Szczegółowy view of the modular cable connectors on the GIGABYTE AORUS Elite P1000W Ice Power Supply. This image illustrates the clearly labeled ports for M/B, CPU/PCI-E, Peripheral, and 12VHPWR connections.
- Kabel ATX 24-pinowy: Podłącz do głównego złącza zasilania płyty głównej.
- 8-pin EPS/CPU Cable: Connect to the motherboard's CPU power connector.
- PCIe 6+2-pin Cables: Connect to your graphics card(s) if they require additional power.
- 12VHPWR Cable: Connect to PCIe Gen 5.0 graphics cards that utilize this connector.
- Kable SATA: Podłącz do dysków SSD, HDD i napędów optycznych.
- Kable peryferyjne (Molex): Connect to other components requiring Molex power.
- Połącz z komponentami: Route the connected modular cables neatly to their respective components and plug them in securely.
- Podłącz zasilanie sieciowe: Ensure the power supply's main switch is in the OFF (0) position. Connect the AC power cord to the power supply and then to a wall outlet.
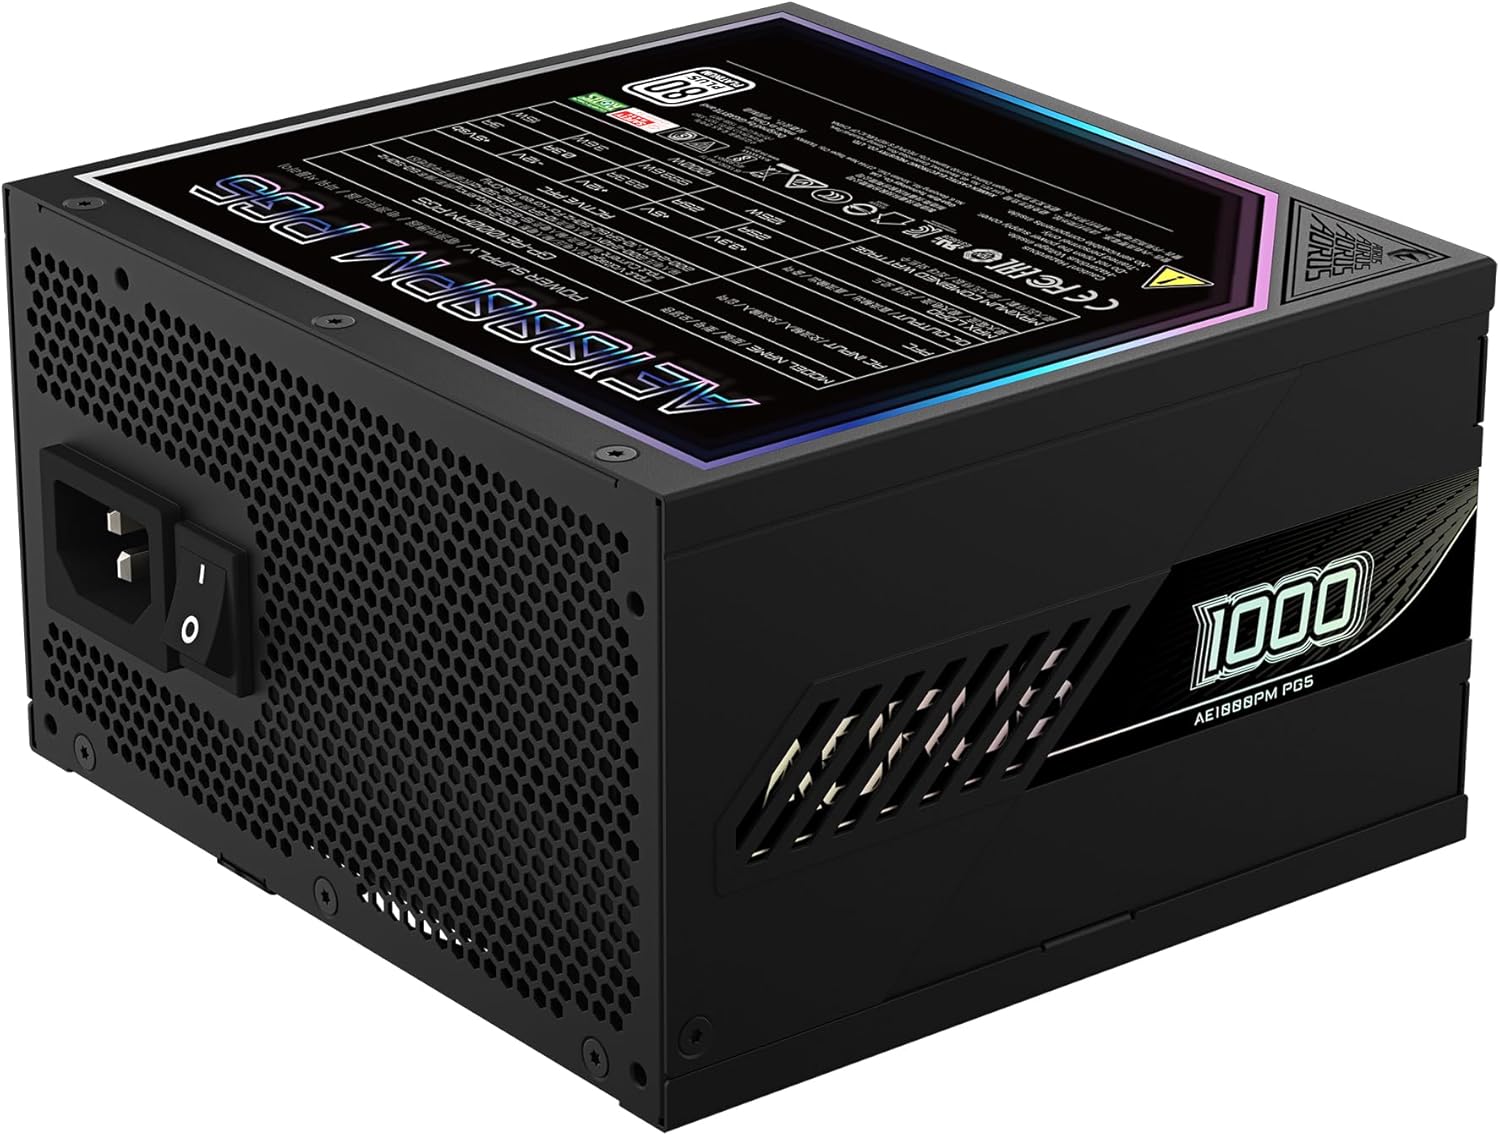
Figure 4: Rear panel of the GIGABYTE AORUS Elite P1000W Ice Power Supply, showing the AC power input and power switch. Ensure the switch is set to '0' before connecting the AC cord.
Instrukcja obsługi
After installation, follow these steps to power on your system:
- Włączanie: Przełącz główny wyłącznik zasilania znajdujący się z tyłu zasilacza na pozycję WŁ. (I).
- Rozruch systemu: Naciśnij przycisk zasilania na obudowie komputera, aby uruchomić system.
- Wyłączone: To shut down your system, perform a proper shutdown through your operating system. Once the system is off, you may flip the power supply's main switch to the OFF (0) position for complete power disconnection.

Rysunek 5: Widok z góry na dół view of the 120mm fan with the AORUS logo on the GIGABYTE AORUS Elite P1000W Ice Power Supply. The fan provides active cooling during operation.
Konserwacja
Regularna konserwacja pomaga zapewnić długowieczność i optymalną wydajność zasilacza:
- Czyszczenie kurzu: Periodically clean dust from the power supply's fan grill and vents using compressed air. Ensure the power supply is turned off and unplugged before cleaning.
- Zarządzanie kablami: Upewnij się, że kable są starannie poprowadzone i nie utrudniają przepływu powietrza wewnątrz obudowy komputera.
- Warunki środowiskowe: Maintain a cool, dry, and well-ventilated environment for your computer system.
Rozwiązywanie problemów
Jeśli napotkasz problemy, zapoznaj się z poniższymi typowymi krokami rozwiązywania problemów:
- Brak zasilania:
- Sprawdź, czy przewód zasilający jest prawidłowo podłączony do zasilacza i gniazdka ściennego.
- Upewnij się, że główny wyłącznik zasilacza jest w pozycji włączonej (I).
- Verify that all modular cables are correctly seated in both the power supply and the components.
- Sprawdź, czy gniazdko ścienne ma zasilanie, podłączając do niego inne urządzenie.
- System niespodziewanie się wyłącza:
- This could indicate an overload or overheating. Ensure your system's power requirements do not exceed the PSU's 1000W capacity.
- Check for proper ventilation and clear any dust buildup.
- Sprawdź, czy wszystkie połączenia zasilania są bezpieczne.
- Nietypowe dźwięki:
- A clicking sound might indicate a protective mechanism engaging. Disconnect power and recheck all connections.
- If the fan is making excessive noise, ensure it is free from obstructions.
If issues persist after following these steps, contact GIGABYTE customer support.
Specyfikacje

Figure 6: Product label on the GIGABYTE AORUS Elite P1000W Ice Power Supply, displaying electrical specifications and certifications. Refer to this label for detailed electrical ratings.
| Funkcja | Szczegół |
|---|---|
| Nazwa modelu | AORUS ELITE P1000W |
| Numer modelu przedmiotu | GP-AE1000PM PG5 EU |
| Moc wyjściowatage | 1000 watów |
| Certyfikat 80 PLUS | Platyna |
| Współczynnik kształtu | ATX |
| ATX Version Compatibility | ATX 3.0 (ATX 3.1 compatible) |
| PCIe Version Compatibility | PCIe gen. 5.0 |
| Rozmiar wentylatora | 120mm |
| Typ wentylatora | Dynamic Fluid Ball Bearing (FDB) |
| Kondensatory | Kondensatory 100% japońskie |
| Projekt modułowy | W pełni modułowy |
| Ochrona | OVP, OPP, SCP, UVP, OCP, OTP |
| Wymiary produktu (dł. x szer. x wys.) | 5.51 x 5.91 x 3.39 cala |
| Waga przedmiotu | 6.79 funta (3080 gramów) |
Informacje o gwarancji
The GIGABYTE AORUS Elite P1000W Ice Power Supply comes with a 10-letnia gwarancja from the date of purchase. This warranty covers defects in materials and workmanship under normal use. Please retain your proof of purchase for warranty claims. For full warranty terms and conditions, refer to the official GIGABYTE webodwiedź witrynę lub skontaktuj się z działem obsługi klienta.
Wsparcie
For technical assistance, troubleshooting beyond this manual, or warranty inquiries, please visit the official GIGABYTE support website or contact their customer service department. You can typically find contact information on the GIGABYTE webmiejscu lub na opakowaniu produktu.
Oficjalny GIGABYTE Webstrona: www.gigabyte.com