
Wstęp
Thank you for choosing the aqxreight Portable Air Compressor. This device is designed for efficient and convenient inflation of various items, including car tires, bike tires, and sports balls. It features an auto shut-off function to prevent over-inflation and a powerful 7500mAh battery for long-lasting performance. Please read this manual thoroughly before use to ensure proper operation and maintenance.
Zawartość opakowania
Before using the air compressor, please verify that all items are present in the package:
- 1 x Pompka do opon
- 4 x Dysze
- 1 x kabel USB
- 1 x Instrukcja obsługi (ten dokument)
- 1 x Torba do przechowywania

Image: The portable air compressor unit shown with its accessories, including various nozzles, a USB cable, and a storage bag.
Składniki produktu
Familiarize yourself with the main components and controls of the air compressor:

Image: Labeled diagram of the air compressor's control panel and display, indicating the function of each button and indicator.
- Ikona trybu: Indicates the current inflation mode (e.g., car, bike, ball).
- Wyświetlacz ciśnienia w oponach: Pokazuje aktualne i docelowe ciśnienie.
- Wyświetlacz baterii: Wskazuje poziom naładowania baterii.
- Ikona jednostki ciśnienia w oponach: Displays the selected pressure unit (PSI, BAR, KPA, KG/CM²).
- Przycisk Start/Pauza: Initiates or pauses the inflation process.
- Decrease Tire Pressure Button (-): Reduces the target pressure setting.
- Increase Tire Pressure Button (+): Increases the target pressure setting.
- Klawisz trybu:
- Short press to toggle between preset inflation modes.
- Long press to toggle between pressure units (PSI, BAR, KPA, KG/CM²).
- Illumination Key: Turns the built-in LED light on or off, and switches illumination modes (e.g., steady light, flashing).
Organizować coś
1. Charging the Air Compressor
Before first use, fully charge the air compressor. Connect the provided USB cable to the charging port on the device and to a compatible USB power adapter (not included). The battery display will indicate charging status. A full charge ensures optimal performance.
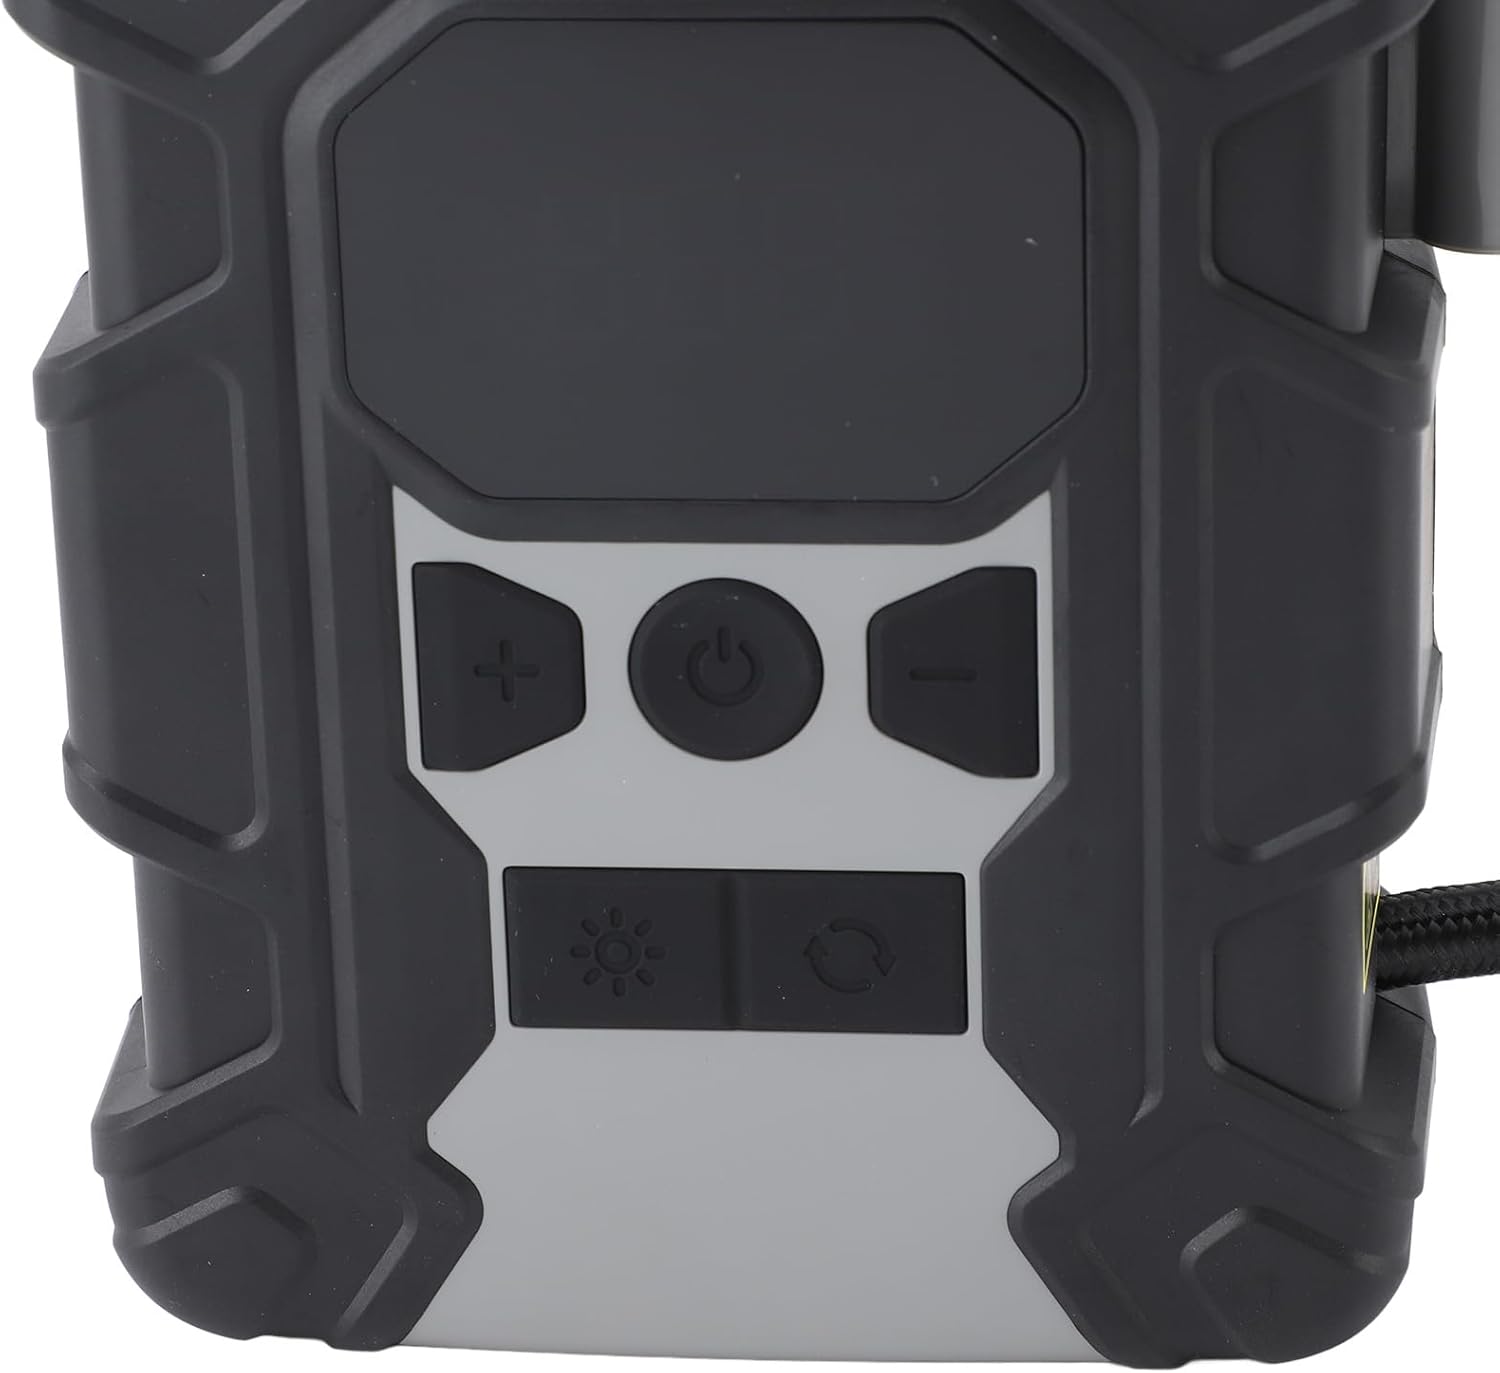
Image: Detail of the USB charging ports located on the side of the air compressor.
2. Attaching the Air Hose and Nozzle
- Uncoil the air hose from its storage slot on the device.
- Screw the air hose securely onto the air outlet port of the compressor.
- Wybierz odpowiednią dyszę do przedmiotu, który chcesz napompować.
- Attach the selected nozzle to the end of the air hose. For Schrader valves (common on car and bike tires), simply press the nozzle onto the valve stem and lock the lever. For other items, screw on the appropriate adapter.
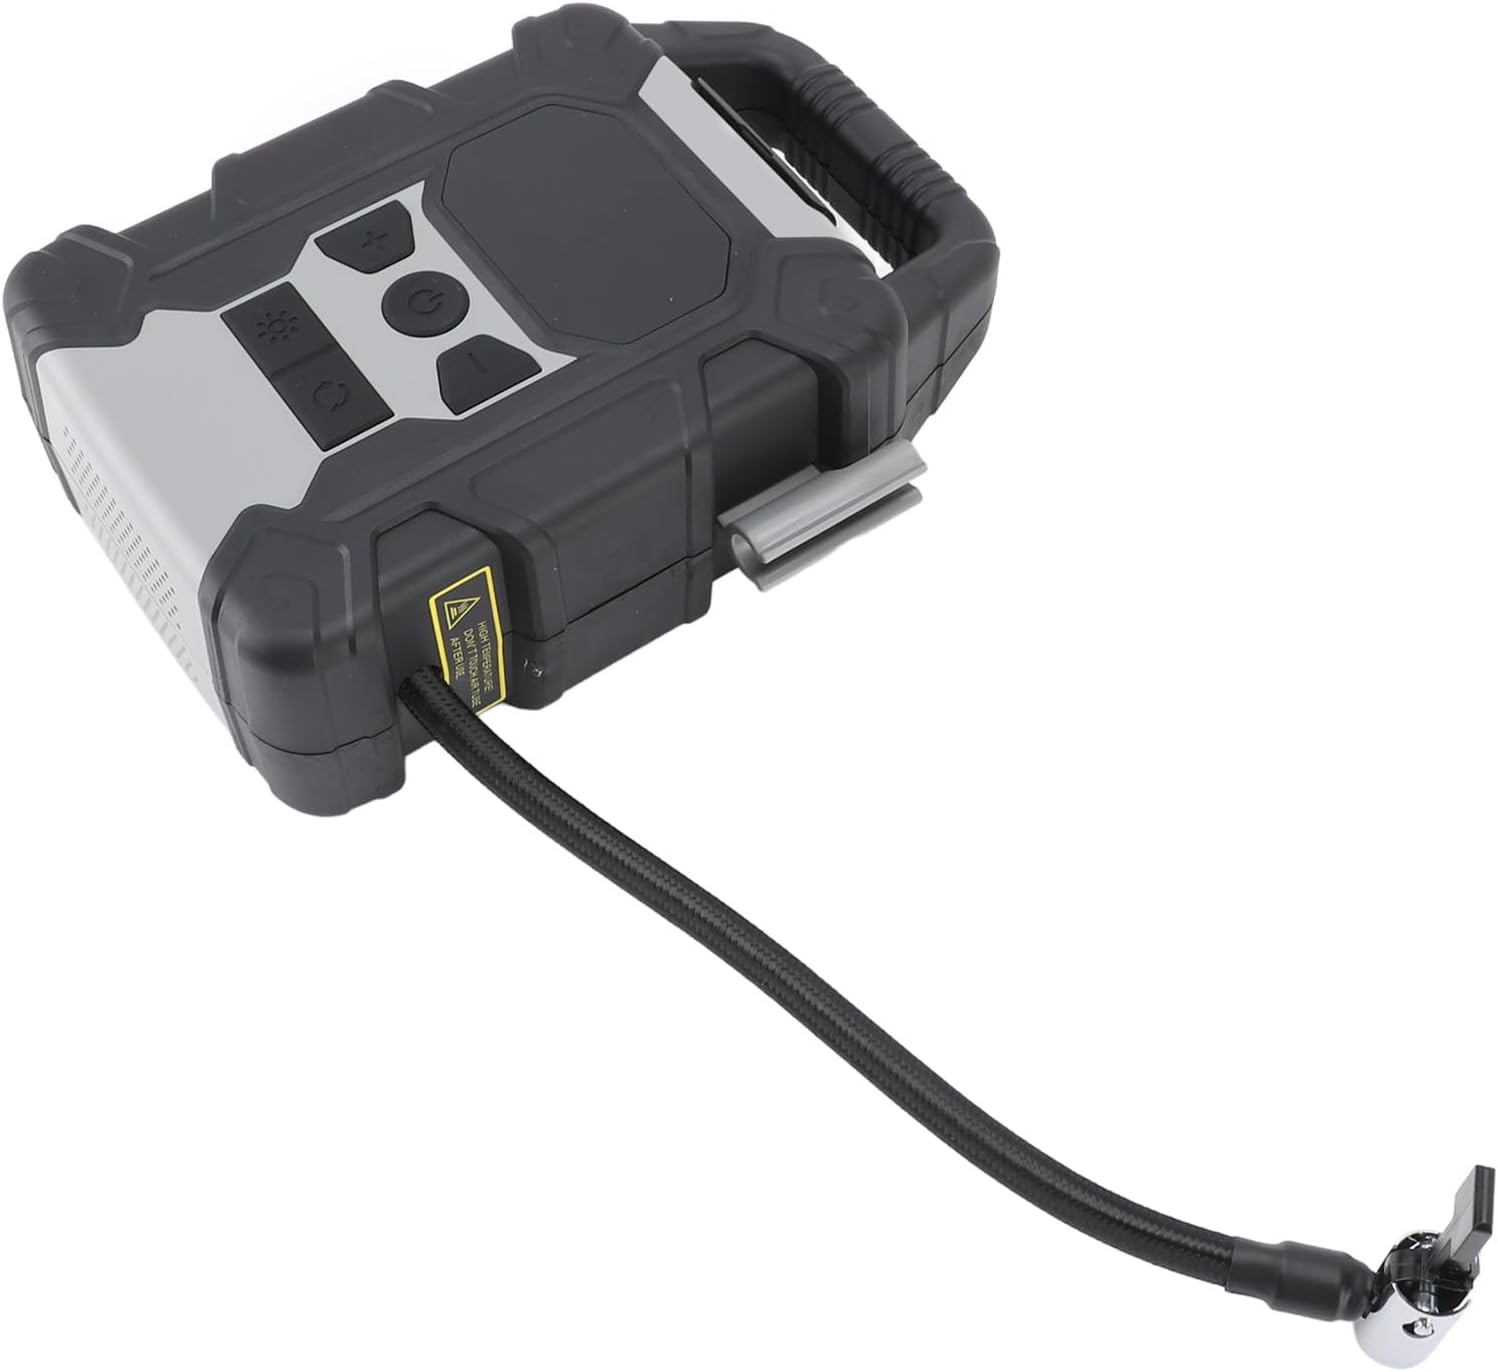
Image: The portable air compressor with its flexible air hose and valve connector attached.
Instrukcja obsługi
1. Włączanie/wyłączanie zasilania
- Aby włączyć, naciśnij i przytrzymaj Przycisk Start/Pauza (power symbol) for a few seconds until the display illuminates.
- Aby wyłączyć, naciśnij i przytrzymaj Przycisk Start/Pauza again until the display turns off. The device will also automatically power off after a period of inactivity.
2. Selecting Mode and Pressure Unit
- Wybór trybu: Naciśnij krótko Klawisz trybu (circular arrow icon) to cycle through different inflation modes (e.g., car, motorcycle, bicycle, ball). Each mode may have a default pressure setting.
- Wybór jednostki: Naciśnij i przytrzymaj Klawisz trybu to switch between pressure units: PSI, BAR, KPA, and KG/CM².
3. Ustawianie ciśnienia docelowego
- After selecting the desired mode and unit, use the Zwiększ (+) I Zmniejszenie (-) buttons to adjust the target pressure. The digital display will show the set pressure.
- Refer to your item's manufacturer recommendations for correct inflation pressure.
4. Rozpoczęcie i zatrzymanie inflacji
- Connect the nozzle securely to the item's valve. The display will show the current pressure of the item.
- Naciśnij Przycisk Start/Pauza to begin inflation. The compressor will operate, and the display will show the increasinciśnienie g.
- The compressor will automatically stop once the target pressure is reached. This auto shut-off feature prevents over-inflation.
- Aby w dowolnym momencie ręcznie zatrzymać pompowanie, naciśnij przycisk Przycisk Start/Pauza Ponownie.
- Carefully disconnect the nozzle from the item's valve.
5. Using the Illumination Light
- Naciśnij Illumination Key (sun icon) to turn on the LED light.
- Press again to cycle through different light modes (e.g., steady light, flashing, SOS).
- Naciśnij trzeci raz, aby wyłączyć światło.
Konserwacja
- Czyszczenie: Przetrzyj zewnętrzną część sprężarki miękką,amp Ściereczką. Nie używaj silnych środków chemicznych ani ściernych środków czyszczących. Przed czyszczeniem upewnij się, że urządzenie jest wyłączone i odłączone od źródła zasilania.
- Składowanie: Store the air compressor in a cool, dry place, away from direct sunlight and extreme temperatures. Use the provided storage bag to protect it from dust and damage.
- Pielęgnacja baterii: To prolong battery life, charge the device regularly, even if not in frequent use. Avoid completely draining the battery before recharging. Do not store the device with a fully depleted battery for extended periods.
- Wąż i dysze: Inspect the air hose and nozzles regularly for any signs of wear, cracks, or damage. Replace if necessary to ensure proper sealing and inflation.
Rozwiązywanie problemów
| Problem | Możliwa przyczyna | Rozwiązanie |
|---|---|---|
| Kompresor się nie włącza. | Bateria jest rozładowana. | Charge the compressor using the USB cable. |
| Compressor inflates slowly or not at all. |
|
|
| Compressor stops before reaching target pressure. |
|
|
| Niedokładny odczyt ciśnienia. | Nozzle not properly sealed to valve. | Ensure a tight seal between the nozzle and the item's valve. |
Specyfikacje
| Funkcja | Szczegół |
|---|---|
| Numer modelu | aqxreightwmask8gry2 |
| Moc | 120 W |
| Pojemność baterii | 7500mAh Polimerowa bateria litowa |
| Maksymalne ciśnienie inflacji | ≤150 PSI |
| Przepływ powietrza | 25 l/min |
| Jednostki ciśnienia | PSI, Bar, Kpa, Kg/cm² |
| Wejście ładowania | 5V 2A, 9V 2A |
| Wyjście banku mocy | 5V 2A |
| Waga przedmiotu | 2.33 pounds (Approx. 1058g) |
| Wymiary opakowania | 8.27 x 6.3 x 2.76 cala |
Informacje o gwarancji
Specific warranty details for the aqxreight Portable Air Compressor are typically provided at the point of purchase or within separate documentation included with the product. Please retain your proof of purchase for warranty claims. For detailed warranty terms and conditions, contact the seller or manufacturer directly.
Obsługa klienta
If you encounter any issues or have questions regarding the aqxreight Portable Air Compressor that are not addressed in this manual, please contact the seller through the platform where you purchased the product. You may also visit the official aqxreight store on Amazon for additional information and support resources: aqxreight Amazon Store.