
1. Wprowadzenie
The FLIPSKY MINI FSESC6.8 60V 100A is a compact and powerful Electronic Speed Controller (ESC) designed for various DIY electric vehicle applications, including e-boards, scooters, e-bikes, go-karts, and robotics. Based on VESC6 architecture, it offers advanced programmability via VESC_TOOL, supporting real-time data monitoring and multiple control modes. Its integrated aluminum heatsink ensures efficient cooling and extended lifespan.
Główne cechy:
- Oprogramowanie sprzętowe: VESC_TOOL 5.2 (supports firmware upgrade).
- Tomtage Zakres: 14V-60V (4-13S, safe for 4S to 12S; voltage spikes must not exceed 60V).
- Prąd ciągły: 100A (dependent on mounting and ambient temperature).
- Prąd chwilowy: 150A.
- BEC: 5 V przy 1.5 A.
- ERPM: 150000.
- Obsługiwane czujniki: Sensorless control only (no Hall serial port).
- Obsługiwane tryby: BLDC, FOC (sinusoidal).
- Control Interface Ports: USB, CAN, UART, IIC.
- Input Set Support: PPM, ADC, NRF, UART.
- Funkcje ochronne: Niska objętośćtage, duża objętośćtage, over-current, temperature abnormality, MOSFET over-temperature.
- IMU Module Support: Compatible with MPU9250, MPU9150, MPU6050, LSM6DS3, BMI160 via IIC interface for balancing car functionality.
- Rozpraszanie ciepła: Integrated aluminum heatsink.
2. Wytyczne bezpieczeństwa
Always prioritize safety when working with electronic components and high-power systems. Failure to follow these guidelines may result in injury, damage to equipment, or fire.
- Tomtage Limity: Nie przekraczaj maksymalnej objętościtage of 60V. Ensure your battery configuration (4S-12S) is within the safe operating range.
- Obecne ograniczenia: While the continuous current is 100A, sustained operation at high currents depends on adequate cooling. Monitor temperatures to prevent overheating.
- Prawidłowe okablowanie: Ensure all connections are secure and correctly polarized. Incorrect wiring can cause severe damage to the ESC and other components.
- Izolacja: Insulate all exposed wires and connections to prevent short circuits.
- Oprogramowanie sprzętowe: It is recommended to use the default firmware to avoid potential damage. Exercise caution when upgrading firmware.
- Środowisko: Operate the ESC in a clean, dry environment. Avoid exposure to water, dust, and extreme temperatures.
- Środki ochrony osobistej: When testing or operating electric vehicles, always wear appropriate safety gear, including helmets, knee pads, and elbow pads.
3. Koniec produktuview & Specyfikacje
The FLIPSKY MINI FSESC6.8 is designed for high-performance applications, featuring a robust build with an aluminum heatsink for optimal thermal management.
Wymiary:
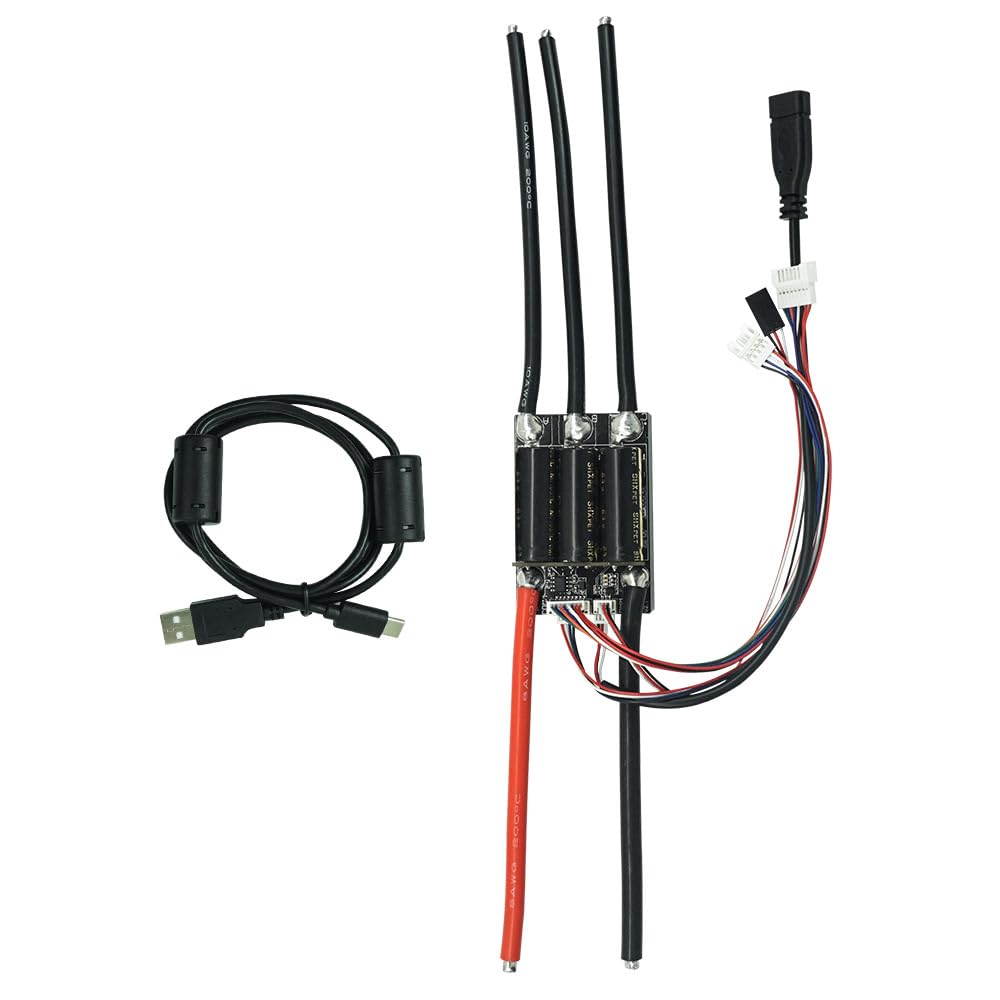
Image: FLIPSKY MINI FSESC6.8 with key dimensions highlighted. The unit measures 64mm in length, 43.5mm in width, and 34.7mm in height (including the heatsink).
Szczegółowe specyfikacje:
| Specyfikacja | Wartość |
|---|---|
| Oprogramowanie sprzętowe | 5.2 (supports upgrade) |
| Prąd ciągły | 100A |
| Prąd chwilowy | 150A |
| Tomtage Zakres | 14V-60V (4-13S, safe for 4S-12S) |
| Wyjście BEC | 5V @ 1.5A |
| ERPM | 150000 |
| Supported Hall Sensors | No (sensorless control only) |
| Obsługiwane tryby | BLDC, FOC (sinusoidalny) |
| Porty interfejsu sterowania | USB, CAN, UART, IIC |
| Wsparcie zestawu wejściowego | PPM, ADC, NRF, UART |
| Miernik przewodu silnika | 10AWG |
| Grubość kabla zasilającego | 8AWG |
| Wymiary (dł. x szer. x wys.) | 64 x 43.5 x 34.7mm (including heatsink) |
| Tworzywo | Aluminum (heatsink) |
Product Demonstration and Loading Test:
Wideo: W tym filmie znajdziesz więcejview of the FLIPSKY MINI FSESC6.8 60V 100A ESC, highlighting its compact design, key specifications, and a 50V/100A loading test demonstrating its performance and real-time data monitoring via VESC Tool.
4. Co znajduje się w pudełku
- FLIPSKY MINI FSESC6.8 60V 100A Electronic Speed Controller with heatsink
5. Konfiguracja i instalacja
This section guides you through the physical wiring and initial software configuration of your FLIPSKY MINI FSESC6.8. For a visual guide, please refer to the embedded video.
Połączenia elektryczne:

Image: Detailed diagram of the FLIPSKY MINI FSESC6.8 showing all communication and power ports, including COMM, PPM, USB, CAN, and Battery connections.
- Podłącz przewody fazowe silnika: Connect the three motor phase wires (A, B, C) from your brushless motor to the corresponding terminals on the ESC.
- Podłącz akumulator: Connect the positive (B+) and negative (B-) terminals of your battery to the respective power inputs on the ESC. Ensure correct polarity.
- Connect Communication Ports:
- CAN-BUS (for multiple ESCs): If using two ESCs for a 2WD setup, connect their CAN serial ports via a CAN-BUS wire.
- PPM/UART/ADC/NRF: Connect your receiver or control input device (e.g., remote, throttle) to the appropriate port (PPM, UART, ADC, or NRF) on the ESC.
- USB: For initial configuration and real-time data monitoring, connect the ESC to a computer via a USB cable.
- Przewody czujnika Halla: Note that this ESC model supports sensorless control only, so there is no Hall serial port for external Hall sensors.
VESC Tool Configuration:
The VESC Tool software is essential for configuring the ESC parameters to match your motor and battery setup. Ensure you have the latest VESC Tool installed.
- Connect to VESC Tool: Connect the ESC to your computer via USB. Open VESC Tool and click 'AutoConnect'.
- Motor Setup Wizard: Navigate to 'Setup Motors FOC' wizard. Follow the prompts to:
- Select the correct motor type (e.g., Medium Outrunner).
- Input your battery cell series (e.g., 12S) and capacity.
- Perform 'Run Detection' to automatically detect motor parameters.
- Check and adjust motor direction (Forward/Reverse) if needed.
- Input Setup Wizard: Navigate to 'Setup Input' wizard. Follow the prompts to:
- Select your input type (e.g., 'ADC input, such as conventional ebike throttles' for throttle control).
- Perform throttle mapping by twisting the throttle to full and pressing the brake to max. Click 'Apply' and then 'Next'.
- Select the control type, for example, 'Current Reverse ADC2 Brake Button' for combined throttle and brake control.
- Click 'Write Configuration To Vesc' and then 'Finish'.
- Sprawdź działanie: After configuration, carefully check the motor running status by gently applying throttle.
E-Skateboard Assembly and VESC Tool Setup:
Video: This video demonstrates the complete process of building a 2WD electric skateboard using two FLIPSKY MINI FSESC6.8 controllers, including detailed wiring and VESC Tool parameter setup for both ESCs.
6. Tryby pracy
The FLIPSKY MINI FSESC6.8 supports various control modes to suit different application requirements:
- Bieżąca kontrola: Direct control over the motor current.
- Kontrola cyklu pracy: Direct control over the motor's duty cycle.
- Kontrola prędkości: Regulates motor speed (RPM).
- Position Control: For precise positioning applications (requires external IMU module for balancing car functionality).
These modes can be configured and fine-tuned using the VESC Tool software.
7. Konserwacja
To ensure optimal performance and longevity of your FLIPSKY MINI FSESC6.8, regular maintenance is recommended:
- Zachowaj czystosc: Regularly inspect and clean the ESC to remove any dust, dirt, or debris that could impede cooling or cause short circuits.
- Sprawdź połączenia: Periodically verify that all wire connections are secure and free from corrosion or damage.
- Monitoruj temperaturę: During operation, especially under heavy loads, monitor the ESC temperature. Excessive heat can reduce performance and lifespan. Ensure adequate airflow around the heatsink.
- Aktualizacje oprogramowania układowego: Check the official FLIPSKY website or VESC Project for the latest firmware updates. While updates can offer improvements, always follow official instructions carefully and back up your settings before updating.
- Składowanie: When not in use for extended periods, store the ESC in a dry, cool place, disconnected from the battery.
8. Rozwiązywanie Problemów
If you encounter issues with your FLIPSKY MINI FSESC6.8, consider the following troubleshooting steps:
- Brak zasilania: Sprawdź połączenia akumulatora i jego pojemnośćtage, and ensure the ESC is receiving power.
- Silnik nie obraca się: Verify motor phase wire connections. Re-run the motor detection wizard in VESC Tool. Check for any error codes in VESC Tool's real-time data or terminal.
- Działanie przerywane: Inspect all wiring for loose connections or damage. Check for interference if using wireless control.
- Przegrzanie: Ensure the ESC has sufficient airflow. Reduce load or adjust motor/battery settings if consistently overheating. Check for short circuits in motor windings.
- Nieprawidłowy kierunek obrotów silnika: Use the VESC Tool's motor setup wizard to invert the motor direction if necessary.
- Problemy z komunikacją: Ensure USB cable is properly connected. Check UART/CAN connections for multiple ESCs. Verify correct baud rates in VESC Tool.
- Problemy z oprogramowaniem: If issues arise after a firmware update, try reverting to a previous stable version or re-flashing the current firmware.
For persistent issues, consult the FLIPSKY support resources or community forums.
9. Gwarancja i wsparcie
The FLIPSKY MINI FSESC6.8 comes with a 2-month warranty from the manufacturer, Flipsky. This warranty covers manufacturing defects under normal use conditions.
For technical support, warranty claims, or further inquiries, please contact Shenzhen Flipsky Technology Company Limited directly or visit their official website. Ensure you have your purchase details and product model number available when seeking support.
Manufacturer: Flipsky