
1. Koniec produktuview
This document provides instructions for the KRPTQJoo replacement remote control, designed for various Midea air conditioner models. This remote control offers essential functions for operating your Midea AC unit.
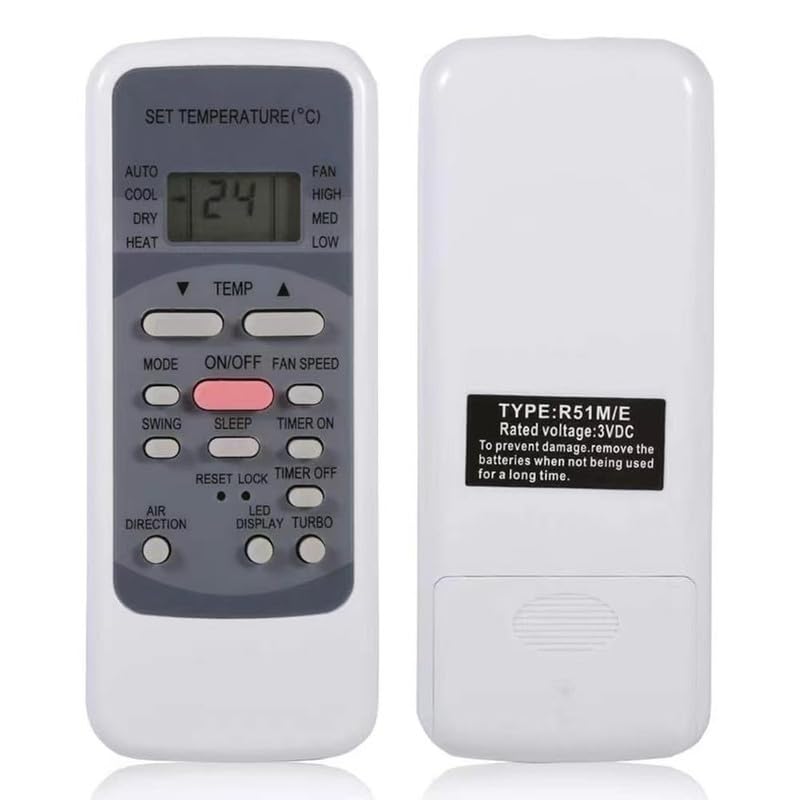
Ilustracja 1.1: Przód i tył view of the KRPTQJoo remote control. The front displays the LCD screen and various control buttons, while the back shows the battery compartment and product label.
Główne cechy:
- Infrared (IR) connectivity for reliable operation.
- No pairing or complex setup required; ready to use with compatible models.
- Controls essential air conditioner functions such as power, mode, temperature, and fan speed.
- Kompaktowa i lekka konstrukcja.
2. Important Notice Regarding Compatibility and Variations
This remote control is a replacement unit and is compatible with the Midea AC models listed in the product description. Please note the following:
- Multiple Appearances: There may be slight variations in the physical appearance or button layout of the remote control you receive, as different styles are shipped randomly. Functionality for the listed compatible models remains consistent.
- Funkcjonalność przycisku: Some buttons on this replacement remote may not have a corresponding function on your specific Midea AC unit if your original unit did not support that feature. Refer to your original air conditioner's manual to confirm supported features.
- No Manual or Batteries Included: This product includes the remote control unit only. Batteries (2 x AAA) and a user manual for the AC unit are not included.
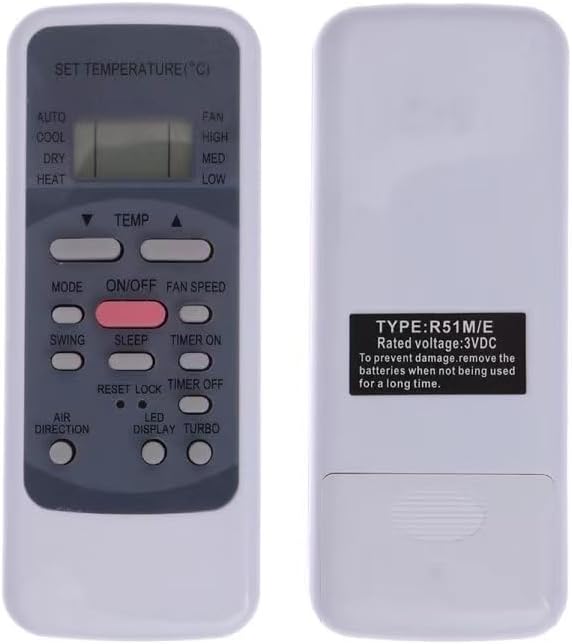
Image 2.1: An alternative style of the remote control, showing a slightly different button layout.

Image 2.2: Another alternative style of the remote control, highlighting potential variations in design.
3. Konfiguracja
3.1 Instalacja baterii
Do działania pilota zdalnego sterowania potrzebne są dwie (2) baterie AAA (brak w zestawie). Aby zainstalować baterie, wykonaj następujące czynności:
- Znajdź pokrywę komory baterii z tyłu pilota.
- Aby otworzyć komorę, przesuń pokrywę w dół lub naciśnij zatrzask i unieś.
- Włóż dwie baterie AAA, upewniając się, że bieguny dodatni (+) i ujemny (-) są prawidłowo ustawione względem oznaczeń wewnątrz komory.
- Załóż pokrywę komory baterii, wsuwając ją z powrotem na miejsce, aż do zatrzaśnięcia.

Image 3.1: The back of the remote control, illustrating the battery compartment where two AAA batteries are to be inserted.
3.2 Pierwsze użycie
This remote control is designed for immediate use with compatible Midea AC models. No pairing or complex setup procedures are required. Once batteries are installed, point the remote control towards your air conditioner and begin operation.
4. Instrukcja obsługi
Familiarize yourself with the buttons on your remote control to operate your Midea AC unit effectively. The exact button layout may vary slightly, but the core functions are generally consistent.

Obraz 4.1: Przód view pilota, wyświetlając ekran LCD i różne przyciski funkcyjne.
Common Button Functions:
- WŁ./WYŁ.: Włącza lub wyłącza klimatyzator.
- Sposób użycia: Przełącza między trybami pracy (np. Auto, Chłodzenie, Osuszanie, Ogrzewanie, Wentylator).
- TEMP. ▲ / ▼: Umożliwia regulację temperatury w górę lub w dół.
- PRĘDKOŚĆ WIATRAKA: Changes the fan speed (e.g., Low, Med, High, Auto).
- HUŚTAWKA: Włącza lub wyłącza funkcję wachlowania żaluzji.
- REGULATOR CZASOWY: Ustawia timer automatycznego włączania/wyłączania.
- RESET/LOCK: May reset settings or lock the remote to prevent accidental changes.
For specific advanced functions or features not listed, please consult the original user manual for your Midea air conditioner model.
5. Konserwacja
Właściwa pielęgnacja i konserwacja przedłuży żywotność Twojego pilota.
- Czyszczenie: Przetrzyj pilota miękką, suchą ściereczką. Nie używaj płynnych środków czyszczących ani materiałów ściernych.
- Wymiana baterii: Replace batteries when the remote's range decreases or the display becomes dim. Always replace both batteries at the same time with new AAA batteries.
- Składowanie: Jeśli pilot nie będzie używany przez dłuższy czas, należy wyjąć baterie, aby zapobiec wyciekowi elektrolitu i potencjalnemu uszkodzeniu urządzenia.
- Unikać narażenia: Keep the remote control away from direct sunlight, high temperatures, and moisture.
6. Rozwiązywanie Problemów
Jeśli masz problemy z pilotem, wypróbuj poniższe kroki rozwiązywania problemów:
- Pilot nie odpowiada:
- Sprawdź, czy baterie zostały prawidłowo zainstalowane i czy ich biegunowość jest prawidłowa.
- Wymień stare baterie na nowe baterie AAA.
- Upewnij się, że między pilotem zdalnego sterowania a odbiornikiem klimatyzatora nie ma żadnych przeszkód.
- Upewnij się, że znajdujesz się w zasięgu efektywnego działania (do 8 metrów).
- Some Buttons Do Not Work:
- This is often due to your specific Midea AC model not supporting that particular function. Refer to your original AC manual.
- Confirm that your AC model is listed as compatible with this remote control.
- Działanie przerywane:
- Weak batteries can cause intermittent operation. Replace them.
- Upewnij się, że nadajnik podczerwieni pilota jest czysty i nie jest niczym zasłonięty.
7. Specyfikacje
| Marka | KRPTQJoo |
| Numer modelu | Joo4725 |
| Kompatybilne urządzenia | Midea Air Conditioners (RG51A(2)/E, RG51B(2)/E, RG51A(2)/EU1, RG51F2(2)/EFU1, RG51B1/CEU, RG51A/E, RG51B/E, RG51A/CE, RG51B/CE, RG51A10/E, RG51B10/E, MSAE-13CRN1) |
| Technologia łączności | Podczerwieni (IR) |
| Maksymalny zasięg | 8 metrów |
| Wymagane baterie | 2 x AAA (brak w zestawie) |
| Kolor | Szary |
8. Wsparcie
For any questions or concerns regarding your KRPTQJoo remote control, please contact the seller directly. We aim to provide a quick response within 12 hours to assist you with your needs.