Produkt ponadview
This user manual provides instructions for the Digital Electronic Timer, designed for various timing needs in environments such as classrooms, kitchens, and baking. It features a large display, loud alarm, and multiple functions including timing, countdown, and memory.

Rycina 1: Przód view of the Digital Electronic Timer.
Zawartość opakowania
Sprawdź, czy w przesyłce znajdują się wszystkie elementy:
- 1 x Electronic Timer
Note: AAA dry battery is not included and must be purchased separately.
Specyfikacje
| Funkcja | Opis |
|---|---|
| Typ przedmiotu | Elektroniczny Timer |
| Zakres czasowy | 0-99 minutes 59 seconds |
| Funkcja pomiaru czasu | Tak |
| Funkcja odliczania | Tak |
| Funkcja pamięci | Tak |
| Informacje o baterii | 1.5V 600mAh AAA dry battery x 1 (not included) |
Organizować coś
1. Instalacja baterii
The timer requires one 1.5V 600mAh AAA dry battery (not included) for operation.
- Znajdź komorę baterii z tyłu timera.
- Odsuń pokrywę komory baterii.
- Insert one AAA battery, ensuring the correct polarity (+ and -) as indicated inside the compartment.
- Dokładnie zamknij pokrywę komory baterii.
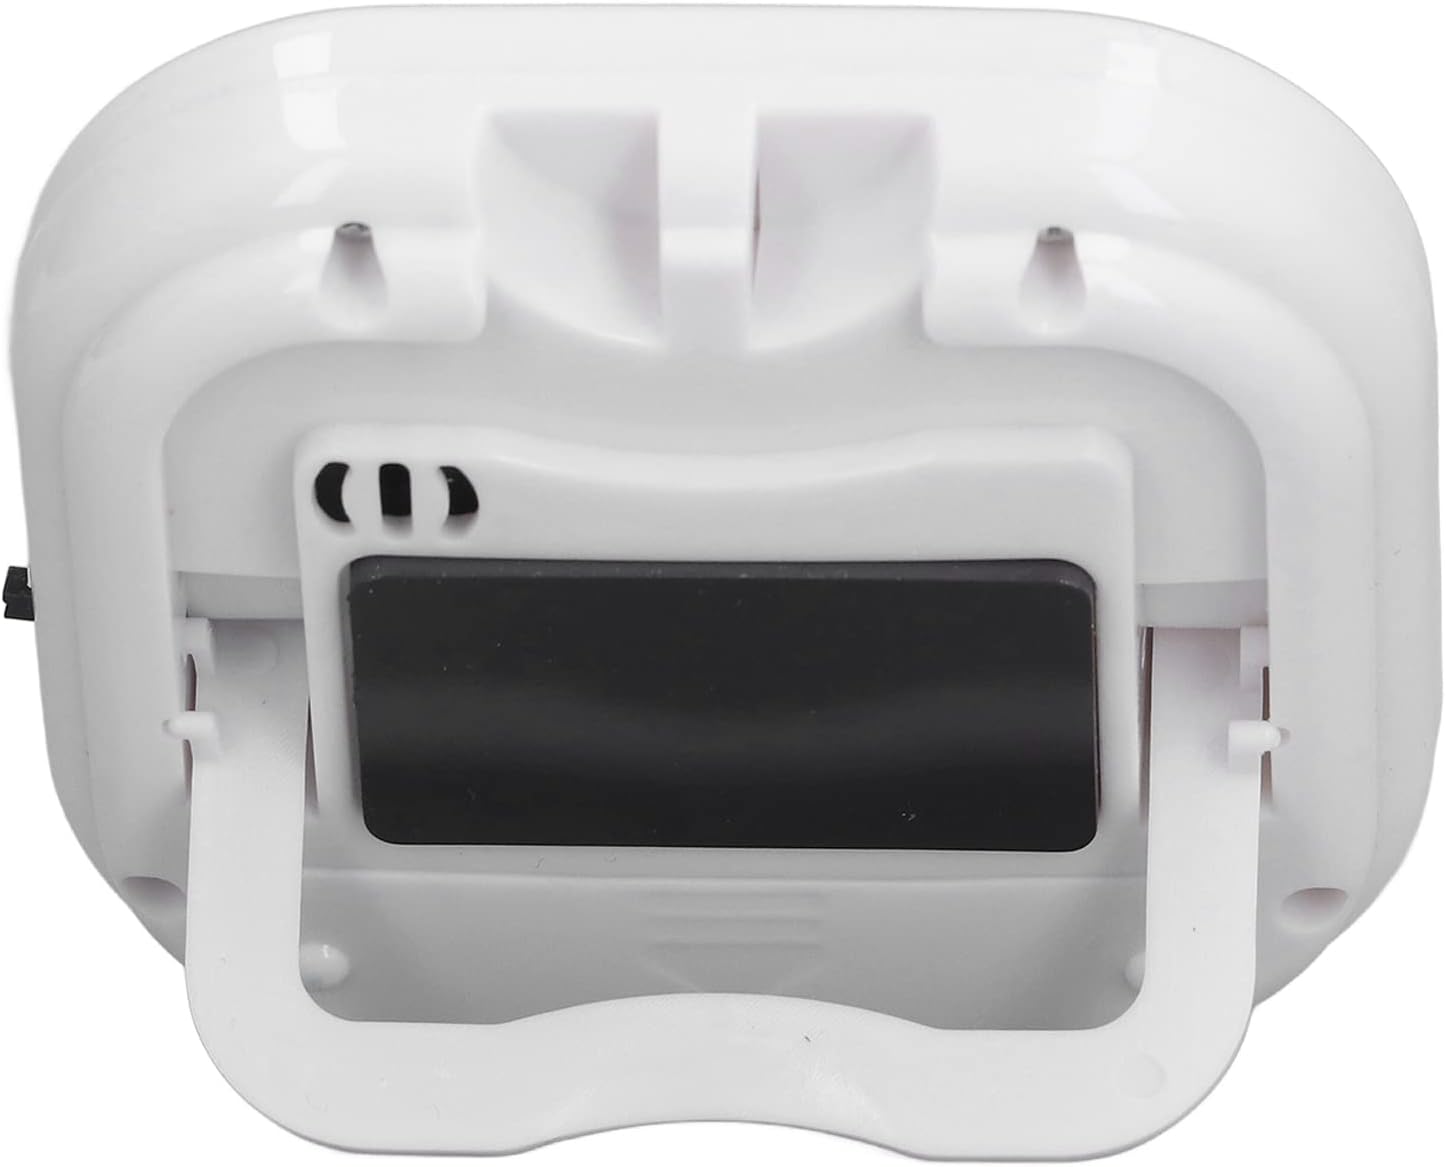
Rysunek 2: Tył view of the timer with battery compartment.
2. Włączanie/wyłączanie zasilania
The timer features a small switch on its side to control power.
- To turn on the timer, slide the switch to the "ON" position. The display will illuminate.
- To turn off the timer, slide the switch to the "OFF" position. The display will turn off to conserve battery life.
Rysunek 3: Strona view showing the power switch.
Instrukcja obsługi
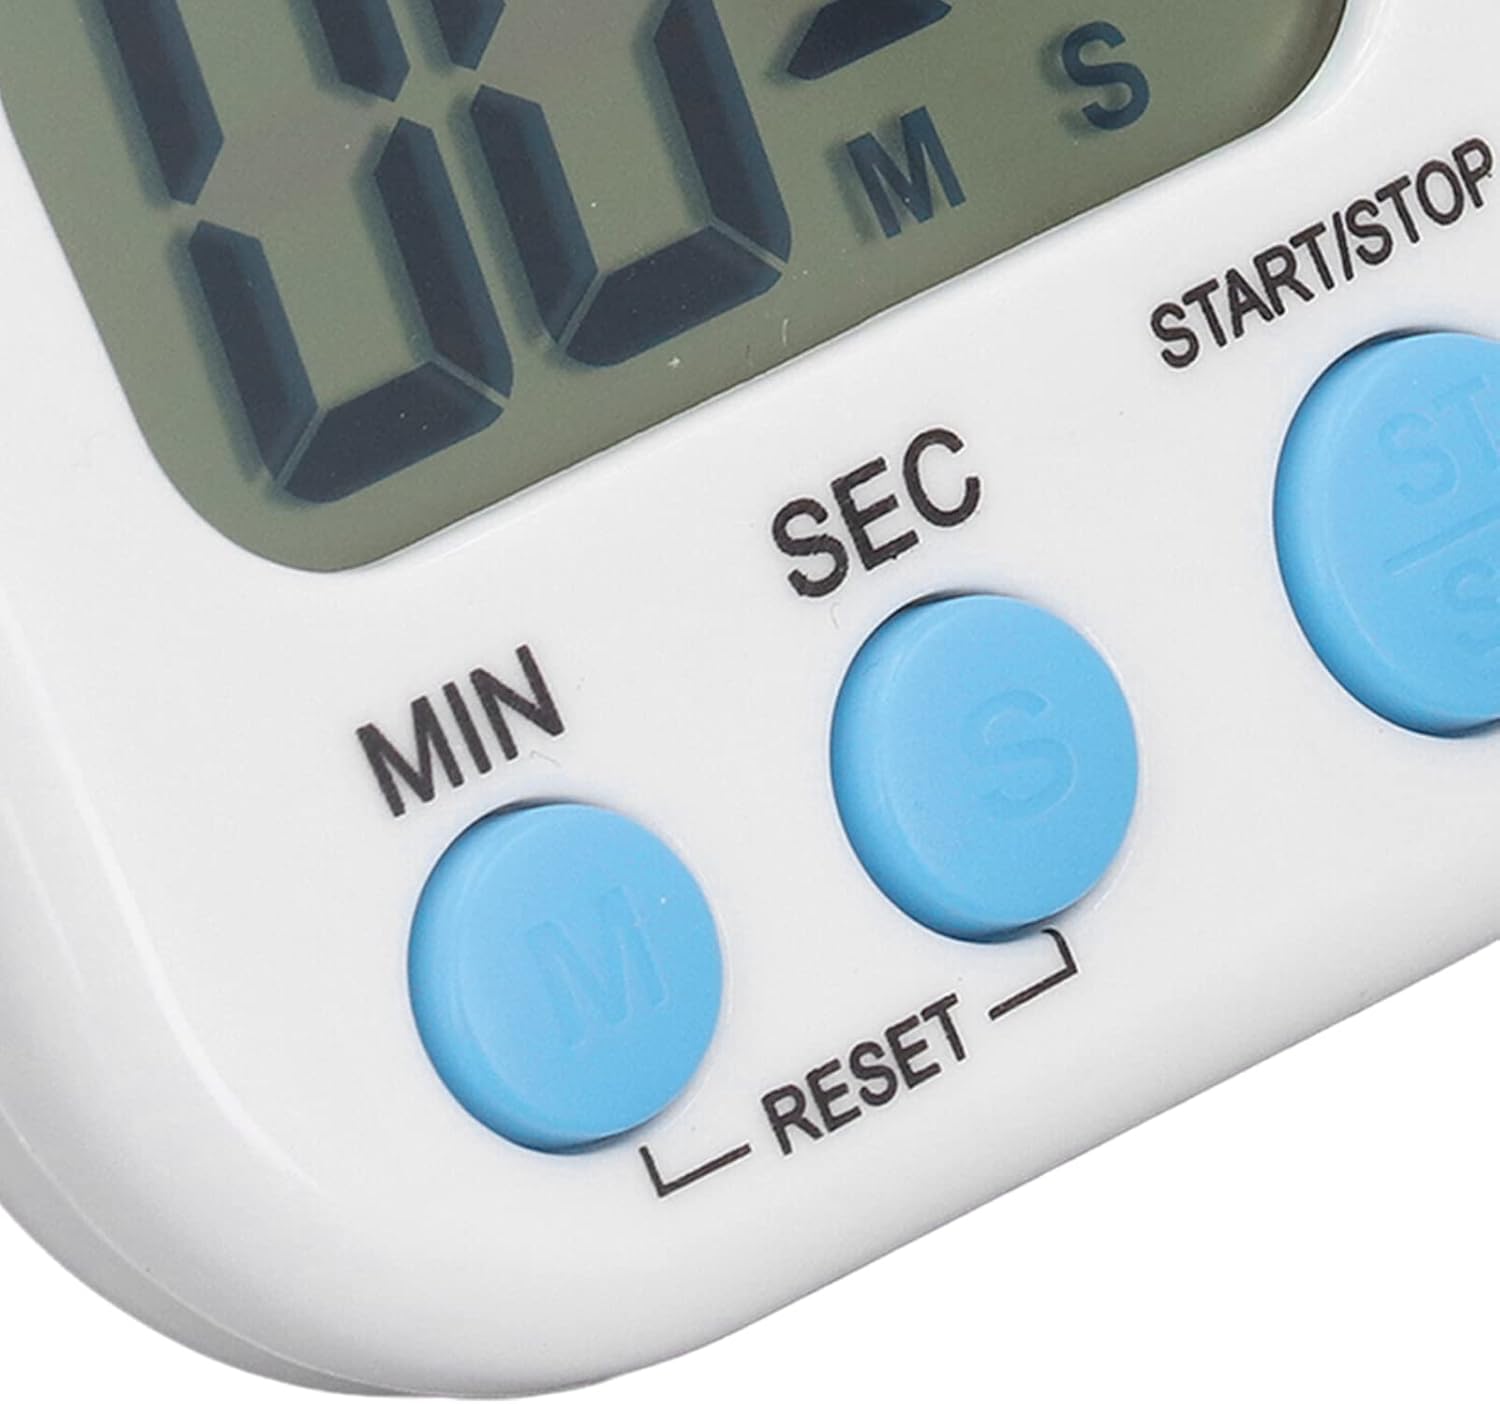
The timer has three main buttons: M (Minutes), S (Seconds), and ST/SP (Start/Stop).

Figure 4: Close-up of the timer's control buttons.
1. Setting the Timer (Countdown)
- Ensure the timer is powered on and the display shows "00:00". If not, press M I S simultaneously to reset.
- Naciśnij M button to set the desired minutes. Each press increases the minutes by one. Hold the button to rapidly increase the value.
- Naciśnij S button to set the desired seconds. Each press increases the seconds by one. Hold the button to rapidly increase the value.
- Once the desired time is set (e.g., 10 minutes 30 seconds), press the ST/SP przycisk, aby rozpocząć odliczanie.
- The timer will count down to "00:00" and then emit a loud, clear alarm.
2. Using the Stopwatch (Count-up)
- Ensure the timer is powered on and the display shows "00:00". If not, press M I S simultaneously to reset.
- Naciśnij ST/SP button without setting any time. The timer will immediately start counting up from "00:00".
- Naciskać ST/SP ponownie, aby wstrzymać stoper.
- Naciskać ST/SP once more to resume counting.
- To reset the stopwatch, press M I S simultaneously while the stopwatch is paused or running.
3. Funkcja pamięci
The timer has a memory function that recalls the last set countdown time.
- After a countdown has finished and the alarm has sounded, or if you stop a countdown, the timer will return to the last set time.
- To reuse the last set time, simply press ST/SP.
- To clear the memory and set a new time, press M I S simultaneously to reset to "00:00".
Konserwacja
- Czyszczenie: Przetrzyj timer miękką, suchą ściereczką. Nie używaj środków czyszczących o właściwościach ściernych ani nie zanurzaj urządzenia w wodzie.
- Wymiana baterii: When the display dims or the alarm weakens, it's time to replace the AAA battery. Follow the battery installation steps in the "Setup" section.
- Składowanie: Store the timer in a cool, dry place away from direct sunlight and extreme temperatures. If storing for an extended period, remove the battery to prevent leakage.
Rozwiązywanie problemów
| Problem | Możliwa przyczyna | Rozwiązanie |
|---|---|---|
| Timer się nie włącza. | Battery not installed or installed incorrectly. Battery is dead. Power switch is off. | Ensure battery is installed with correct polarity. Replace with a new AAA battery. Slide the power switch to the "ON" position. |
| Wyświetlacz jest przyciemniony lub migocze. | Niski poziom naładowania baterii. | Wymień baterię AAA. |
| Alarm jest zbyt cichy lub nie działa. | Niski poziom naładowania baterii. | Wymień baterię AAA. |
| Przyciski nie reagują. | Timer might be frozen. Low battery. | Remove and reinsert the battery. Replace the AAA battery. |
Gwarancja i wsparcie
Aby uzyskać informacje o gwarancji lub pomocy technicznej, skontaktuj się z producentem lub punktem sprzedaży. Zachowaj paragon jako dowód zakupu.
Producent: Ogólny


