1. Koniec produktuview
The Matbip SW02-Pink is a versatile wireless controller designed for an enhanced gaming experience across multiple platforms. It features advanced functionalities such as TURBO rapid fire, multi-stage HD vibration, a high-precision 6-axis gyro sensor, and customizable macro buttons. Its ergonomic design ensures comfort during extended gameplay sessions.
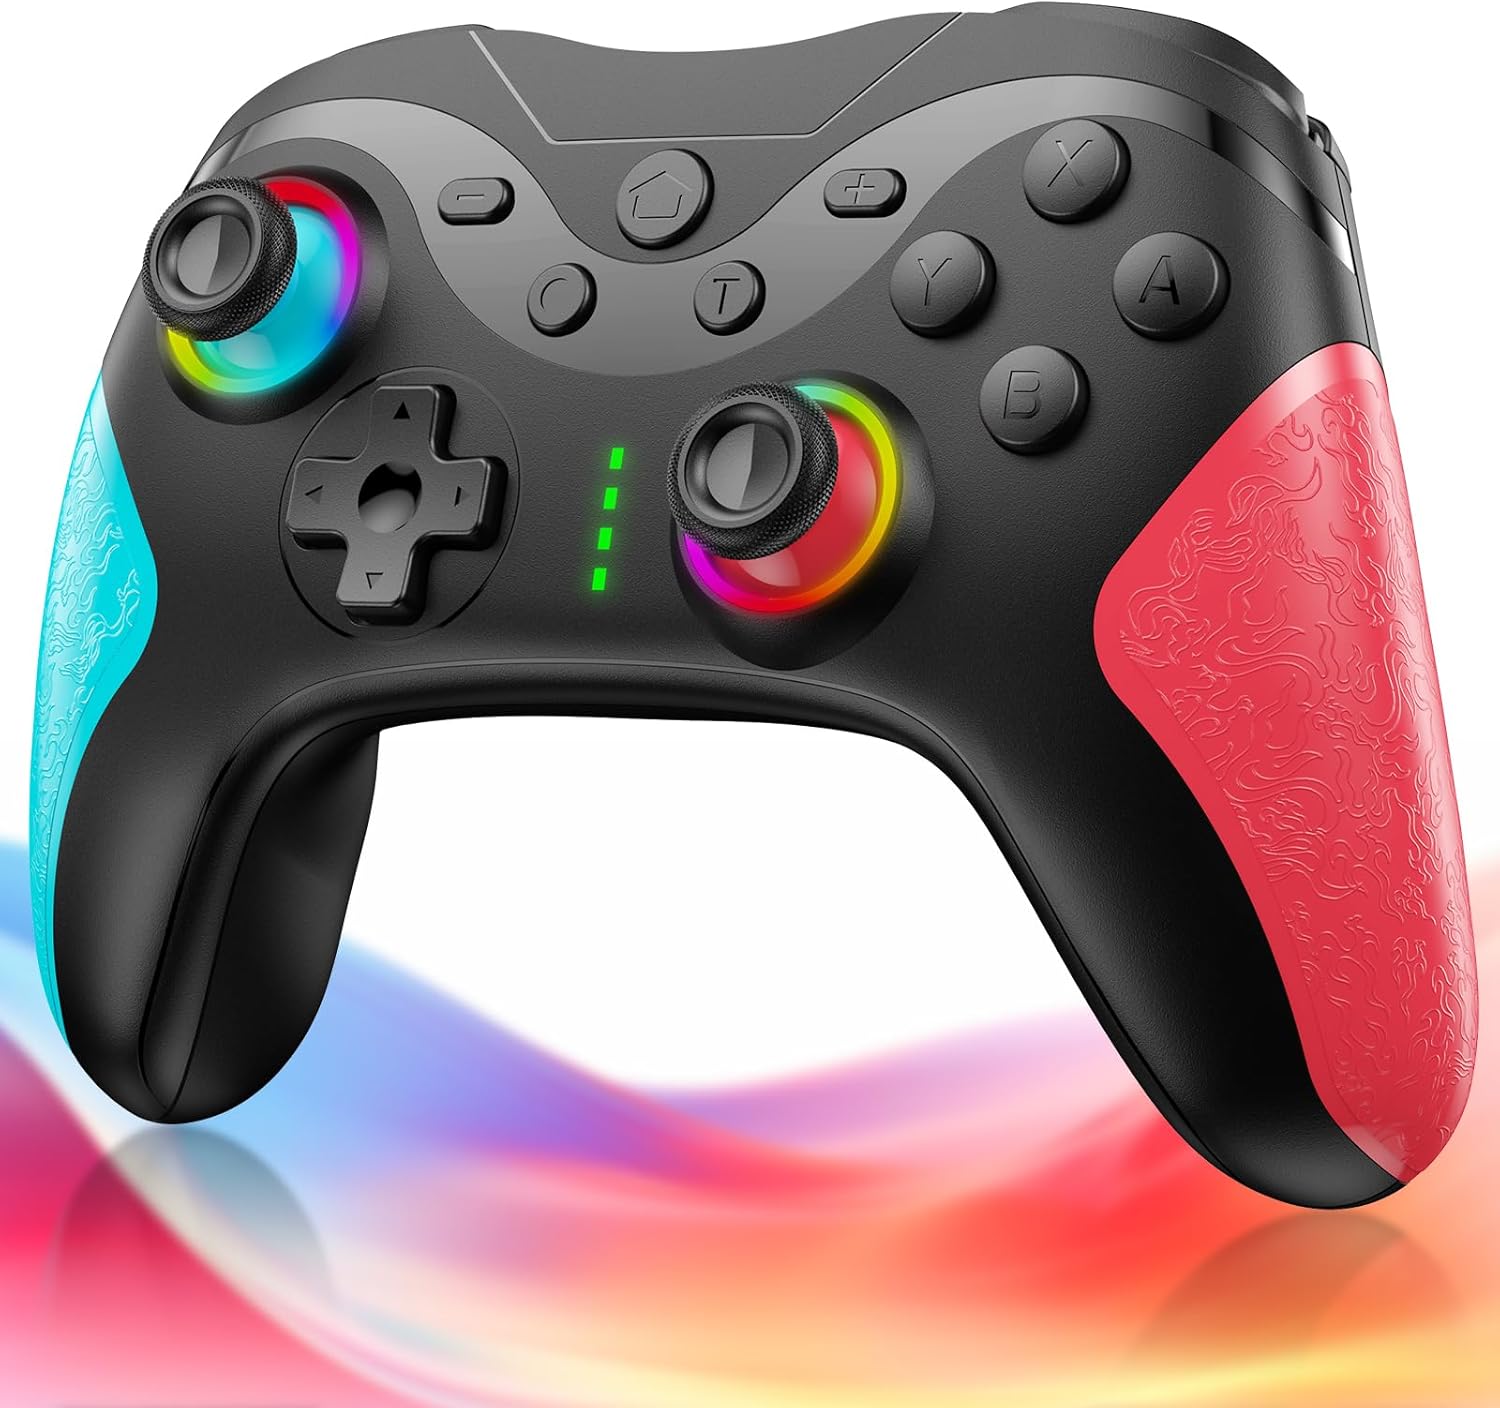
Figure 1.1: Matbip SW02-Pink Switch Controller. This image shows the front view of the black controller with vibrant RGB lighting around the joysticks and textured pink and blue grips.
Główne cechy:
- Kompatybilność z wieloma platformami: Supports Switch, Switch Lite, Switch OLED, Android, iOS (iOS 16.0+), and Windows PC.
- Bezprzewodowy Bluetooth 5.0: Zapewnia stabilne połączenie o niskim opóźnieniu do 10 metrów.
- TURBO Rapid Fire: Adjustable speeds (5, 12, 20 shots/second) for competitive advantage.
- 4-Stage HD Vibration: Customizable vibration intensity (0%, 30%, 70%, 100%) for immersive feedback.
- 6-osiowy czujnik żyroskopowy: High-sensitivity motion control for precise aiming and movement.
- Programowanie makr: Two programmable back buttons (M1, M2) to record and execute complex action sequences.
- Długa żywotność baterii: Built-in 1000mAh battery provides 16-20 hours of continuous play on a 4-hour charge.
- Oświetlenie RGB w 9 kolorach: Customizable joystick lighting with 3 modes (breathing, constant, flash).
- Ergonomiczna konstrukcja: Comfortable grip with anti-slip texture for extended use.

Figure 1.2: Visual representation of key features including 1000mAh battery, high-precision buttons, Bluetooth connection, 3-stage rapid fire, 4-stage vibration adjustment, and gyro sensor.
2. Konfiguracja
2.1 Zawartość opakowania
- Matbip SW02-Pink Controller Unit ×1
- Kabel ładujący typu C × 1
- Instrukcja obsługi ×1
2.2 Ładowanie Kontrolera
Before first use, fully charge the controller. Connect the included Type-C charging cable to the controller's charging port and the other end to a USB power source (e.g., Switch dock, PC, USB wall adapter). The controller's indicator lights will flash during charging and turn solid when fully charged. A full charge takes approximately 4 hours and provides 16-20 hours of continuous use.

Figure 2.1: This image illustrates the 1000mAh battery capacity, 4-hour charging time, and 20-hour continuous usage time of the controller.
2.3 Pairing Method (First-time Pairing)
- From the Switch HOME Menu, go to Ustawienia systemowe.
- Przewiń w dół i wybierz Kontrolery i czujniki.
- Wybierać Disconnect Controllers to clear previous connections (optional, but recommended for first-time setup).
- Wybierać Zmień uchwyt/kolejność.
- On the Matbip controller, press and hold the Przycisk HOME for 3 seconds. The indicator lights (LED1-LED4) will flash rapidly in sequence.
- Once the controller appears on the Switch screen and the indicator light(s) become solid, the pairing is complete.
2.4 Pairing Method (Second Connection)
For subsequent connections, simply press any button on the controller (except L stick, R stick, and Turbo button). The four indicator lights will flash rapidly and then become solid once connected to the previously paired Switch console.
Note: Do not touch the joysticks when the controller is connecting to the console. This can cause joystick drift. If drift occurs, please reset and re-pair the controller.

Figure 2.2: The controller supports Bluetooth connection and is compatible with Switch, PC, iOS, and Android devices.
3. Instrukcja obsługi
3.1 TURBO Rapid Fire Function
The controller features a TURBO function with adjustable speeds. To activate TURBO, press and hold the Przycisk T and then press the desired action button (e.g., A, B, X, Y). To adjust the rapid fire speed, hold the Przycisk T i przesuń Prawy drążek up or down. The speeds are 5, 12, and 20 shots per second.
To deactivate TURBO for a specific button, repeat the activation steps. To cancel all TURBO functions, press the Przycisk T i - przycisk jednocześnie.

Figure 3.1: This image demonstrates the TURBO rapid fire function with adjustable speeds of 5, 12, and 20 shots per second, useful in shooting games.
3.2 HD Vibration Adjustment
The controller offers four levels of HD vibration feedback. To adjust the vibration intensity, hold the Przycisk T i przesuń Lewy drążek up or down. The vibration levels are 0% (none), 30% (weak), 70% (medium), and 100% (strong).
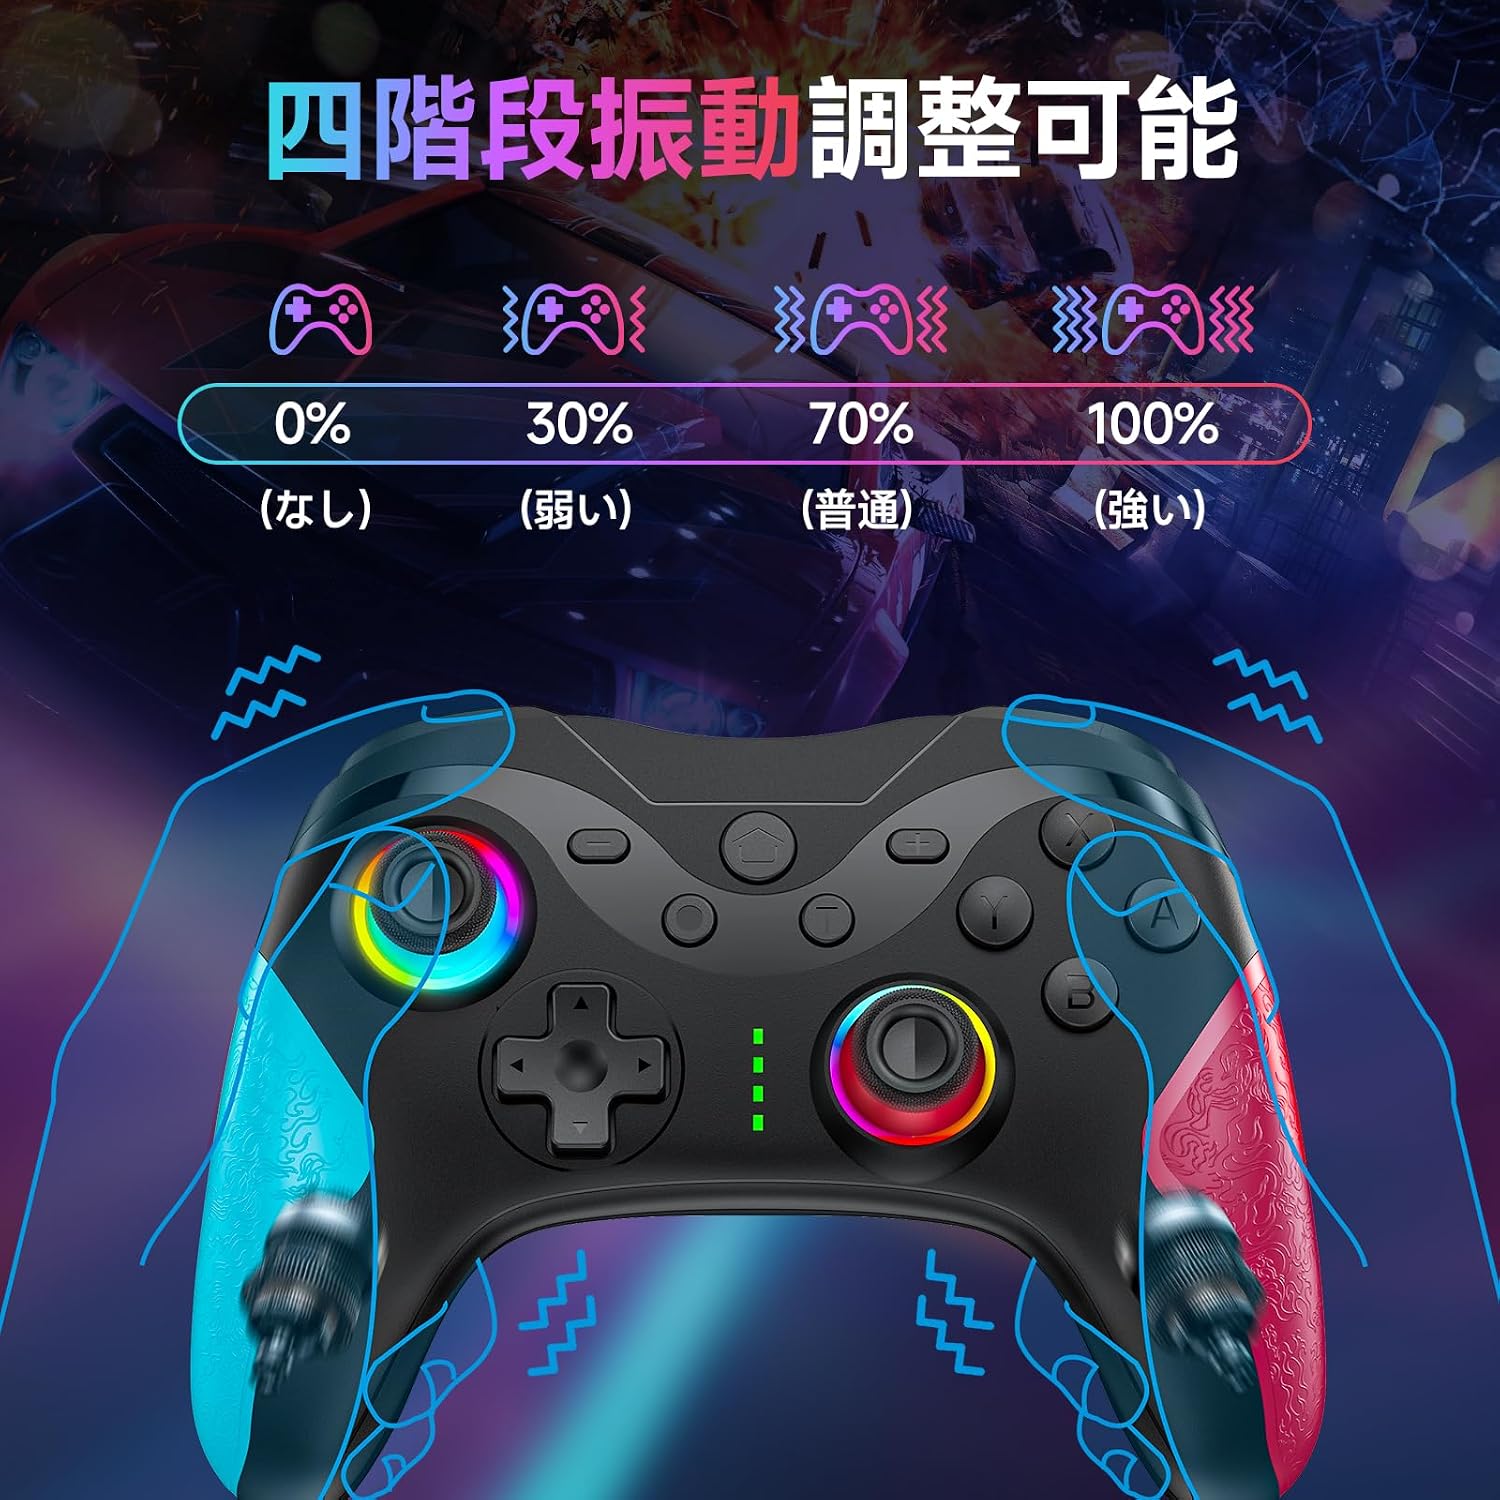
Figure 3.2: Illustration of the four vibration levels: 0% (none), 30% (weak), 70% (medium), and 100% (strong).
3.3 6-Axis Gyro Sensor
The built-in 6-axis gyro sensor allows for precise motion control, enabling intuitive aiming and camera adjustments in compatible games. This enhances immersion and control accuracy.

Figure 3.3: This image depicts the 6-axis gyro sensor's ability to recognize directional control, field of view movement, and target aiming.
3.4 Macro Programming (M1/M2 Buttons)
The two back buttons (M1 and M2) can be programmed to execute a sequence of actions with a single press. This is useful for repetitive tasks or complex combos in games.
To program a macro:
- Naciśnij i przytrzymaj M1 or M2 button you wish to program, then press the USTAWIĆ button (if available, or a combination specified in the quick start guide). The indicator light will flash slowly.
- Input the sequence of buttons you want to record.
- Naciśnij M1 or M2 Naciśnij przycisk ponownie, aby zapisać makro. Kontrolka przestanie migać.
To clear a macro, repeat the programming steps without inputting any buttons, or refer to the quick start guide for specific reset instructions.

Figure 3.4: The back of the controller showing the M1 and M2 macro-programmable buttons, allowing complex operations with one button.
3.5 trybów oświetlenia RGB
The controller features 9-color RGB lighting around the joysticks with 3 distinct modes: breathing mode, constant light mode, and flash mode. You can switch between these modes and colors to match your preference or gaming setup.

Figure 3.5: This image displays the three RGB lighting modes: RGB light mode, breathing mode, and laser mode, with a color spectrum indicating 9 available colors.
3.6 Waking up the Switch from Sleep Mode
When your Switch console is in sleep mode, you can wake it up by pressing the Przycisk HOME on the Matbip controller.

Figure 3.6: Illustration of how pressing the HOME button on the controller can wake the Switch console from sleep mode.
4. Konserwacja
4.1 Czyszczenie
Do czyszczenia kontrolera należy używać miękkiej, suchej ściereczki. W przypadku uporczywych zabrudzeń należy delikatnie przetrzećampen the cloth with water. Do not use harsh chemicals, solvents, or abrasive cleaners, as these can damage the controller's surface.
4.2 Przechowywanie
Przechowuj kontroler w chłodnym, suchym miejscu, z dala od bezpośredniego światła słonecznego i ekstremalnych temperatur. Unikaj umieszczania ciężkich przedmiotów na kontrolerze, aby zapobiec jego uszkodzeniu.
4.3 Pielęgnacja baterii
To prolong battery life, avoid fully discharging the controller frequently. If the controller will not be used for an extended period, charge it to about 50% before storing.
5. Rozwiązywanie Problemów
5.1 Kontroler nie łączy się/nie paruje
- Sprawdź, czy kontroler jest odpowiednio naładowany.
- Make sure Bluetooth is enabled on your device (Switch, PC, etc.).
- Follow the pairing instructions carefully (Section 2.3).
- Try restarting both the controller and the host device.
- If connecting to Switch, ensure 'Pro Controller Wired Communication' is enabled in System Settings if using wired mode.
5.2 Joystick Drift or Inaccurate Gyro Sensor
If you experience joystick drift or issues with gyro sensor accuracy, perform a joystick reset:
- Place the controller on a flat, horizontal surface.
- Naciśnij jednocześnie Przycisk X, Przycisk kwadratowy (or equivalent on your controller layout), and Przycisk HOME.
- This will recalibrate the gyro sensor. If the issue persists, try re-pairing the controller after the reset.
5.3 Przyciski nie reagują
- Ensure the controller is connected and charged.
- Press the power button on the controller to restore its function if an abnormality occurs.
- Avoid pressing buttons with excessive force to prevent them from sticking or not springing back.
5.4 Ostrzeżenie o niskim stanie baterii
When the battery level is low, the gamepad's indicator light will flash. Please charge the controller promptly using the included Type-C charging cable. If charging issues occur, try using a different charging head or charger.
6. Specyfikacje
| Numer modelu produktu | SW02-Pink |
| Łączność | Bluetooth 5.0, przewodowy (typ C) |
| Pojemność baterii | 1000mAh |
| Czas ładowania | Około 4 godzin |
| Ciągły czas użytkowania | 16-20 godzin |
| Zasięg bezprzewodowej | Do 10 metrów |
| Tryby wibracji | 4 poziomy (0%, 30%, 70%, 100%) |
| Rapid Fire Speeds | 3 levels (5, 12, 20 shots/second) |
| Czujnik żyroskopowy | 6-osiowy |
| Wymiary | Wymiary 17.3 x 11.7 x 7.1 cm |
| Waga | 280 gramów |
| Obsługiwane platformy | Nintendo Switch/Switch Lite/Switch OLED, Android, iOS (16.0+), Windows PC |
7. Gwarancja i wsparcie
The Matbip SW02-Pink controller comes with a 1-letnia gwarancja jakości. All controllers are inspected before shipment to ensure quality and compliance with safety standards (TELEC, CE, FCC, RoHS).
If you encounter any initial defects or malfunctions within the warranty period, a replacement product will be sent without requiring a return of the original item.
For any questions or concerns regarding this product, please feel free to contact us at any time. Please refer to the contact information provided with your purchase or on the official Matbip store page.

Figure 7.1: This image highlights the quality assurance, Japanese language support, and one-year warranty policy.