
Wstęp
Welcome to your GOWENIC Digital Camera. This manual provides comprehensive instructions for setting up, operating, and maintaining your camera to ensure optimal performance and longevity. Please read this manual carefully before using your camera.
Co jest w pudełku
Sprawdź, czy w przesyłce znajdują się wszystkie elementy:
- Aparat cyfrowy
- Kabel USB
- Instrukcja obsługi (ten dokument)
- Torba do przechowywania
- Falrep
- Czytnik kart
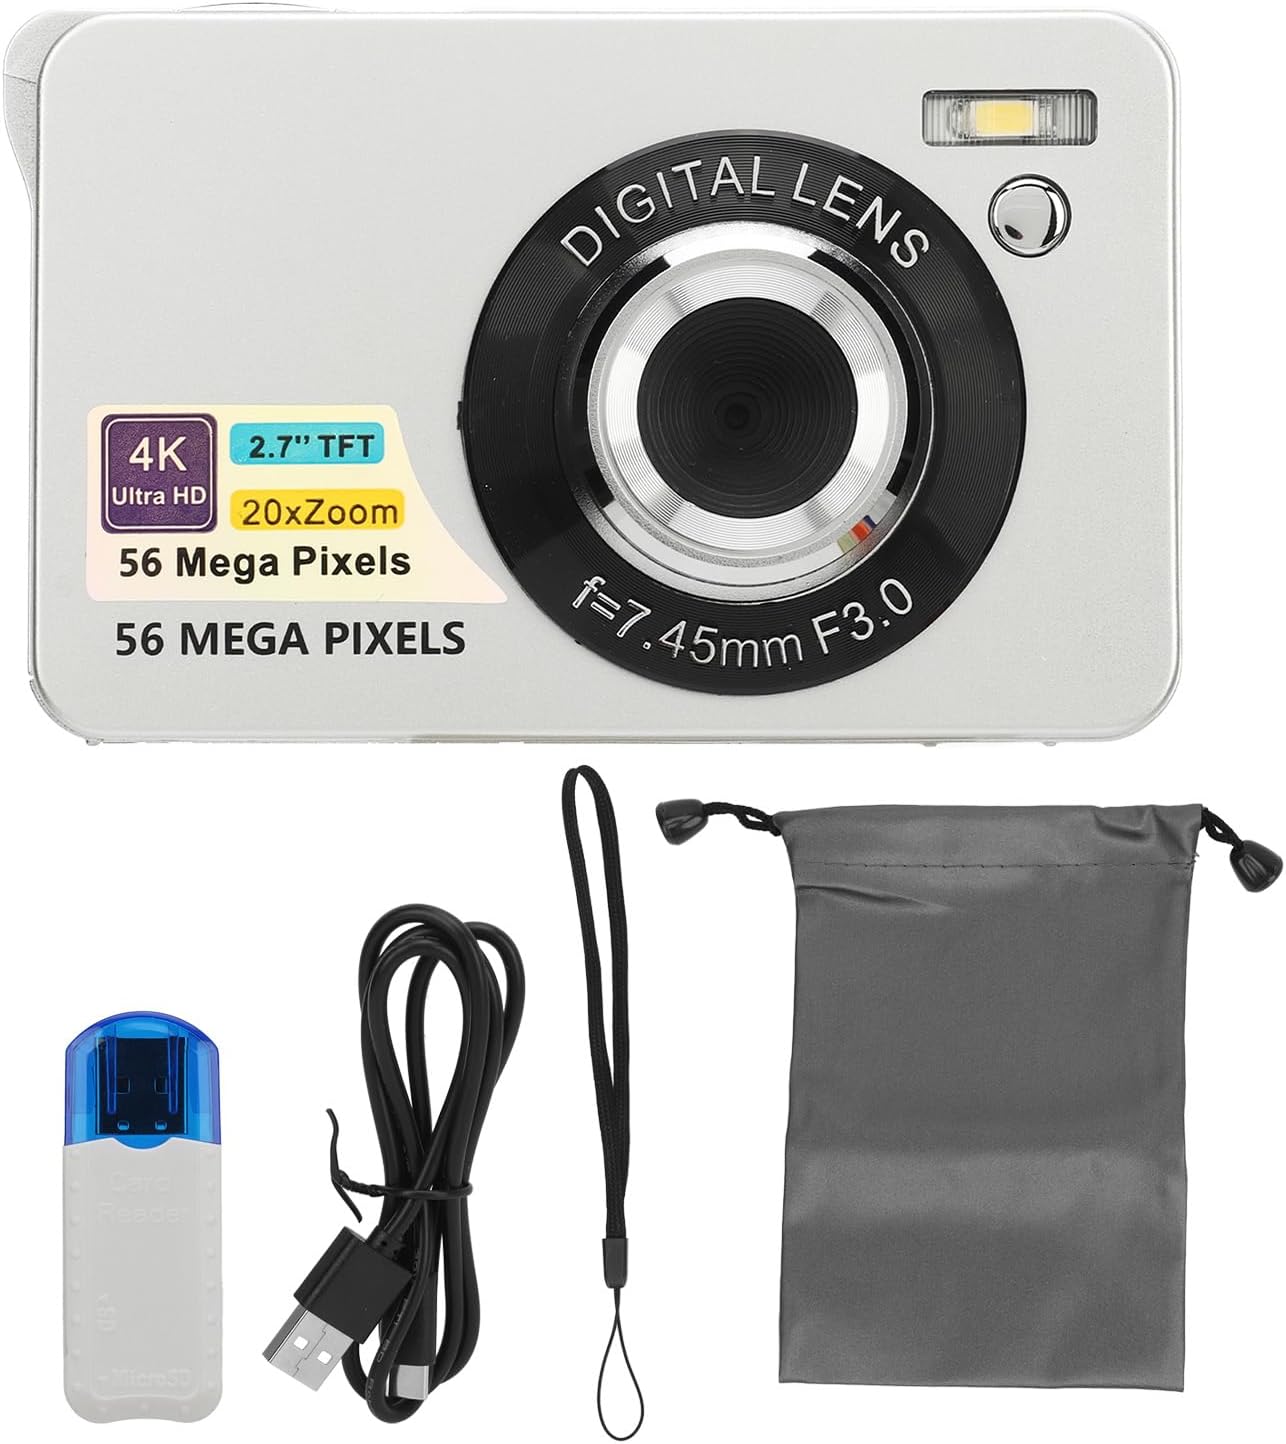
Image: The GOWENIC Digital Camera shown with its accessories, including the USB cable, lanyard, storage bag, and card reader.
Organizować coś
1. Instalacja baterii
- Znajdź komorę baterii na spodzie aparatu.
- Przesuń pokrywę komory baterii, aby ją otworzyć.
- Insert the provided Lithium Ion battery (750 mAh) according to the polarity indicators inside the compartment.
- Dokładnie zamknij pokrywę komory baterii.
2. Instalacja karty pamięci
The camera supports SD cards up to 128GB (not included).
- Locate the memory card slot, typically next to the battery compartment or on the side.
- Włóż kartę SD metalowymi stykami skierowanymi w stronę przedniej części aparatu, aż do zatrzaśnięcia.
- Aby wyjąć kartę, delikatnie naciśnij ją, aż wyskoczy.

Obraz: Dół view of the camera, illustrating the location of the battery and memory card slots.
3. Ładowanie aparatu
Use the provided USB cable to charge the camera directly.
- Podłącz mniejszy koniec kabla USB do portu USB aparatu.
- Podłącz większy koniec kabla USB do zasilacza USB (nie ma go w zestawie) lub do portu USB komputera.
- Podczas ładowania kontrolka ładowania będzie się świecić, a po pełnym naładowaniu zgaśnie.
4. Włączanie/wyłączanie zasilania
Press and hold the power button, usually located on the top or side of the camera, to turn the camera on or off.
Obsługa aparatu
1. Podstawy fotografii
The camera supports 56MP photography for high-resolution images.
- Autofokus: Lightly press the shutter button to allow the camera to focus on your subject. Once focused, press the shutter button fully to capture the photo.
- Spust migawki: Located on the top of the camera, this button is used to take pictures.
- Brzęczenie: Use the 'W' (Wide) and 'T' (Telephoto) buttons, typically located near the shutter, to adjust the 20x digital zoom.

Image: The camera's autofocus feature in action, highlighting how it sharpens the subject.

Image: A visual representation of the autofocus function, showing the transition from an unfocused to a focused image.
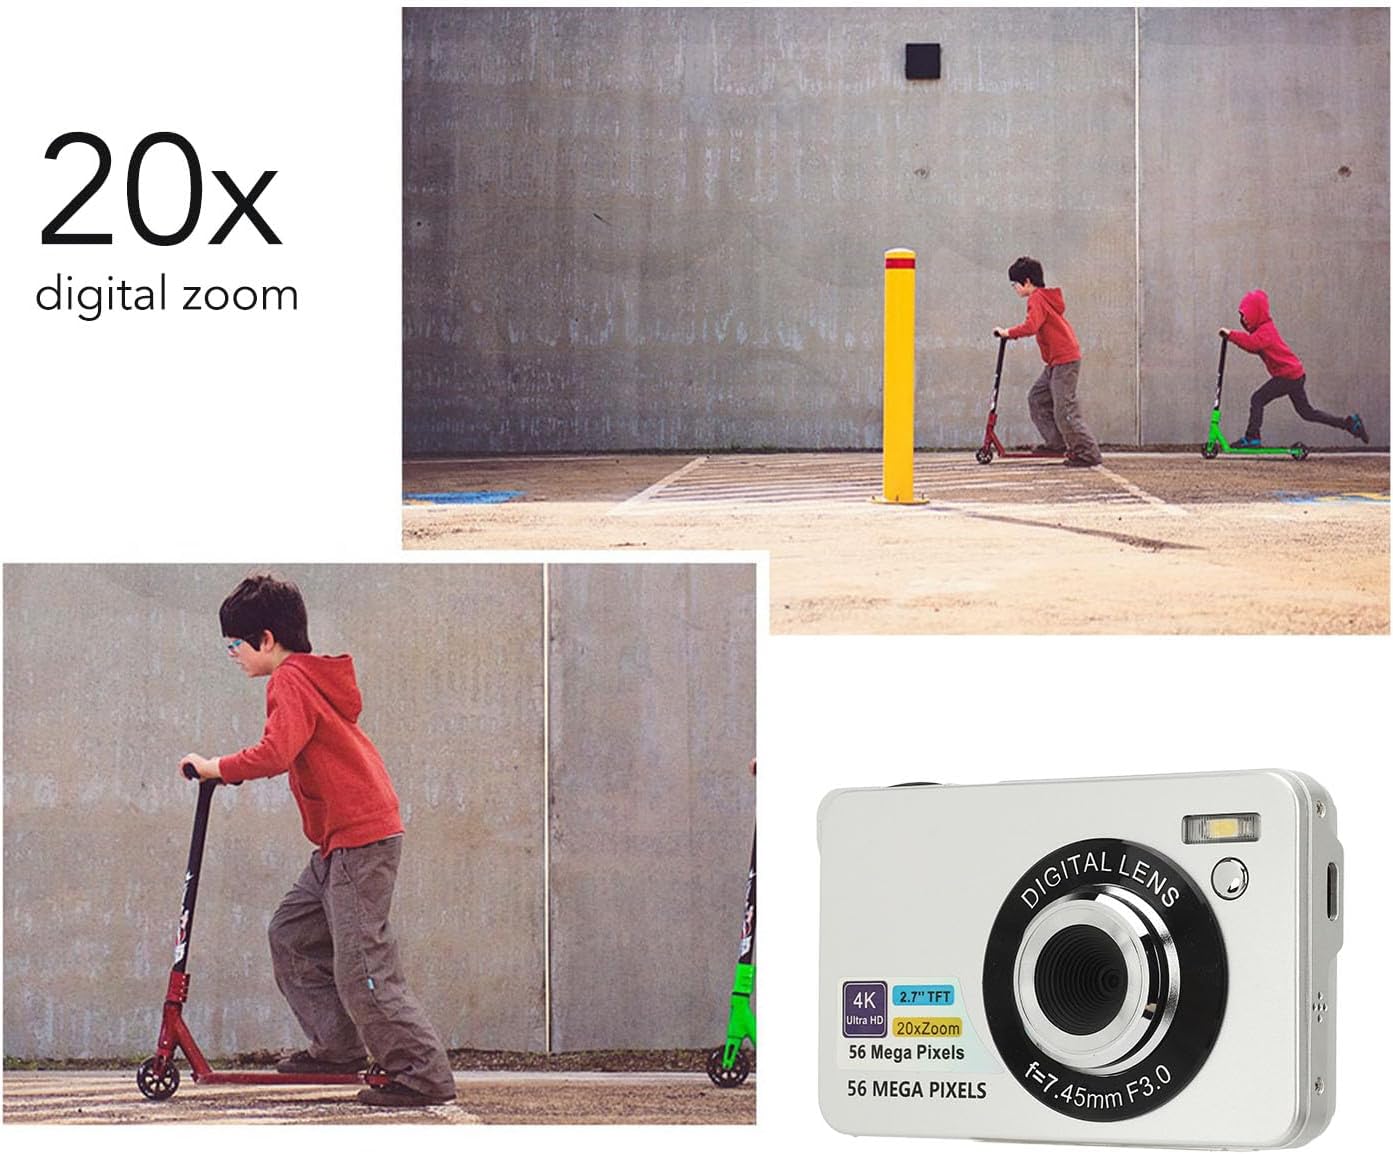
Image: The camera's 20x digital zoom capability, illustrated with a scene of children playing.

Image: A visual demonstration of the camera's 20x digital zoom, showing progressive magnification of a lighthouse.
2. Nagrywanie wideo
The camera supports 4K (2160p) video recording.
- Switch the camera to video mode using the mode dial or button.
- Naciśnij spust migawki, aby rozpocząć nagrywanie.
- Naciśnij ponownie przycisk migawki, aby zatrzymać nagrywanie.

Image: The camera highlighting its 4K UHD video recording and 56MP photography capabilities.
3. Ekran wyświetlacza
The camera features a 2.7-inch LCD screen for convenient viewprzeglądanie Twoich zdjęć i filmów.
- Use the navigation buttons to browse through your captured media.
- Adjust screen brightness in the camera settings if available.

Image: The camera's 2.7-inch screen displaying a captured image of sunflowers.
4. Funkcje specjalne
- Wypełnij światło: The built-in fill light can be turned on or off as needed to illuminate subjects in low-light conditions. Refer to the camera's menu for activation.
- Upływ czasu: Capture sequences of images over time to create time-lapse videos. Settings are available in the camera menu.
- Zwolnione tempo: Nagrywaj filmy w zwolnionym tempie, aby uzyskać dramatyczne efekty.
- Samowyzwalacz: Set a delay (e.g., 2, 5, or 10 seconds) before a photo is taken, useful for group shots or selfies.
- Tryb seryjny: Capture multiple images in rapid succession by holding down the shutter button. This is ideal for capturing fast-moving subjects.
Video: A short demonstration of capturing motion, illustrating the camera's ability to record dynamic scenes, potentially using burst mode or slow motion.

Image: An illustration of the camera's burst mode, capturing a series of moments in quick succession.
- Stabilizacja obrazu: The camera features digital image stabilization to help reduce blur caused by camera shake, resulting in clearer photos and smoother videos.

Image: A comparison demonstrating the effectiveness of the anti-shake feature, showing a blurry image versus a clear one.
5. Przenoszenie Files
Easily transfer photos and videos from your camera to a computer for storage or sharing.
- Podłącz aparat do komputera za pomocą dostarczonego kabla USB.
- Aparat powinien pojawić się na Twoim komputerze jako dysk wymienny.
- Open the camera's folder to access and copy your files.

Image: A visual guide to connecting the camera to a computer via USB for file przenosić.

Image: A person demonstrating the USB connection process for transferring files z aparatu do komputera.
Konserwacja
1. Czyszczenie
- Do czyszczenia korpusu i ekranu aparatu należy używać miękkiej, niepozostawiającej włókien ściereczki.
- Do czyszczenia soczewek należy używać specjalnej ściereczki i płynu do czyszczenia soczewek. Unikaj dotykania soczewki bezpośrednio palcami.
- Do not use harsh chemicals or abrasive materials, as they can damage the camera's surfaces.
2. Przechowywanie
- When not in use, store the camera in the provided storage bag to protect it from dust and scratches.
- Przechowuj kamerę w chłodnym i suchym miejscu, z dala od bezpośredniego światła słonecznego i ekstremalnych temperatur.
- Jeśli aparat nie będzie używany przez dłuższy czas, wyjmij baterię, aby zapobiec jej wyciekowi.
Rozwiązywanie problemów
Jeśli masz problemy z aparatem, zapoznaj się z poniższymi, typowymi rozwiązaniami:
| Problem | Rozwiązanie |
|---|---|
| Kamera się nie włącza. | Ensure the battery is fully charged and correctly inserted. Try charging the camera for at least 30 minutes. |
| Obrazy są niewyraźne. | Ensure autofocus is engaged by lightly pressing the shutter button before fully pressing. Check lighting conditions. Use the anti-shake feature if available. |
| Nie można przenieść files do komputera. | Verify the USB cable is securely connected to both the camera and computer. Ensure the camera is in the correct mode for data transfer (check camera settings). Try a different USB port or cable. |
| Błąd karty pamięci. | Ensure the SD card is inserted correctly. Check if the card is damaged or full. Try formatting the card (this will erase all data). Ensure the card is compatible (up to 128GB). |
| Flash nie działa. | Check flash settings in the camera menu. Ensure the fill light is enabled if desired. |
Specyfikacje
Key technical specifications for the GOWENIC Digital Camera (Model GOWENIC8fderhqtab-12):
| Funkcja | Szczegół |
|---|---|
| Marka | GOWENIC |
| Nazwa modelu | GOWENIC8fderhqtab-12 |
| Efektywna rozdzielczość obrazu nieruchomego | 56 MP |
| Rozdzielczość wideo | 4K (2160p) |
| Zoom cyfrowy | 20x |
| Rozmiar ekranu | 2.7 cala (LCD) |
| Technologia czujnika fotograficznego | CMOS |
| Stabilizacja obrazu | Cyfrowy |
| Utrzymany File Formaty | JPEG, RAW (for photos), MP4 (for video) |
| Pojemność pamięci masowej | Supports up to 128 GB (SD card) |
| Typ baterii | Litowo-jonowy |
| Pojemność baterii | 750 mlnamp Godziny |
| Technologia łączności | USB |
| Cechy specjalne | Autofocus, Fill Light, Time Lapse, Slow Motion, Self-Timer, Burst Mode |
| Współczynnik kształtu | Kompaktowy |
| Poziom umiejętności | Nowicjusz |
Gwarancja i wsparcie
For warranty information or technical support, please refer to the documentation included with your purchase or contact GOWENIC customer service through their official channels. Keep your purchase receipt as proof of purchase for warranty claims.