
1. Wprowadzenie
This manual provides detailed instructions for the safe and effective use of your xTool Mini Heat Press Machine. Please read this manual thoroughly before operating the device and retain it for future reference. The xTool Mini Heat Press is designed for heat transfer applications on various materials, including fabrics, wood, and ceramics.
2. Informacje dotyczące bezpieczeństwa
Aby zapewnić bezpieczną obsługę, należy przestrzegać następujących środków ostrożności:
- Always place the heat press on a heat-resistant surface.
- Do not touch the hot plate during or immediately after use. Use the insulated safety base provided.
- Przechowywać w miejscu niedostępnym dla dzieci i zwierząt domowych.
- Odłączaj urządzenie od zasilania, gdy go nie używasz lub przed czyszczeniem.
- Nie zanurzaj urządzenia w wodzie ani innych płynach.
- Upewnij się, że przewód zasilający nie jest uszkodzony i nie kładź na nim ciężkich przedmiotów.
- The device features an automatic shut-off function after 11 minutes of inactivity for enhanced safety.
- Stosować w dobrze wentylowanym miejscu.

Obraz: The xTool Mini Heat Press highlights its safety features, including an 11-minute auto-off, V0 flame-retardant materials, an insulated safety base, and overheat protection, ensuring safe operation for users.
3. Zawartość opakowania
Sprawdź, czy w opakowaniu znajdują się wszystkie elementy:
- xTool Mini Heat Press Machine
- Izolowana podstawa bezpieczeństwa
- Przewód zasilający
- Instrukcja obsługi (ten dokument)
4. Koniec produktuview
Familiarize yourself with the components of your xTool Mini Heat Press:
- Płyta grzewcza: The heating surface for transfers.
- Uchwyt: Ergonomically designed for comfortable grip and pressure application.
- Przycisk zasilania: Controls power on/off and temperature settings.
- Kontrolki: Display current temperature level and heating status.
- Insulated Safety Base: Provides a safe resting place for the hot press.
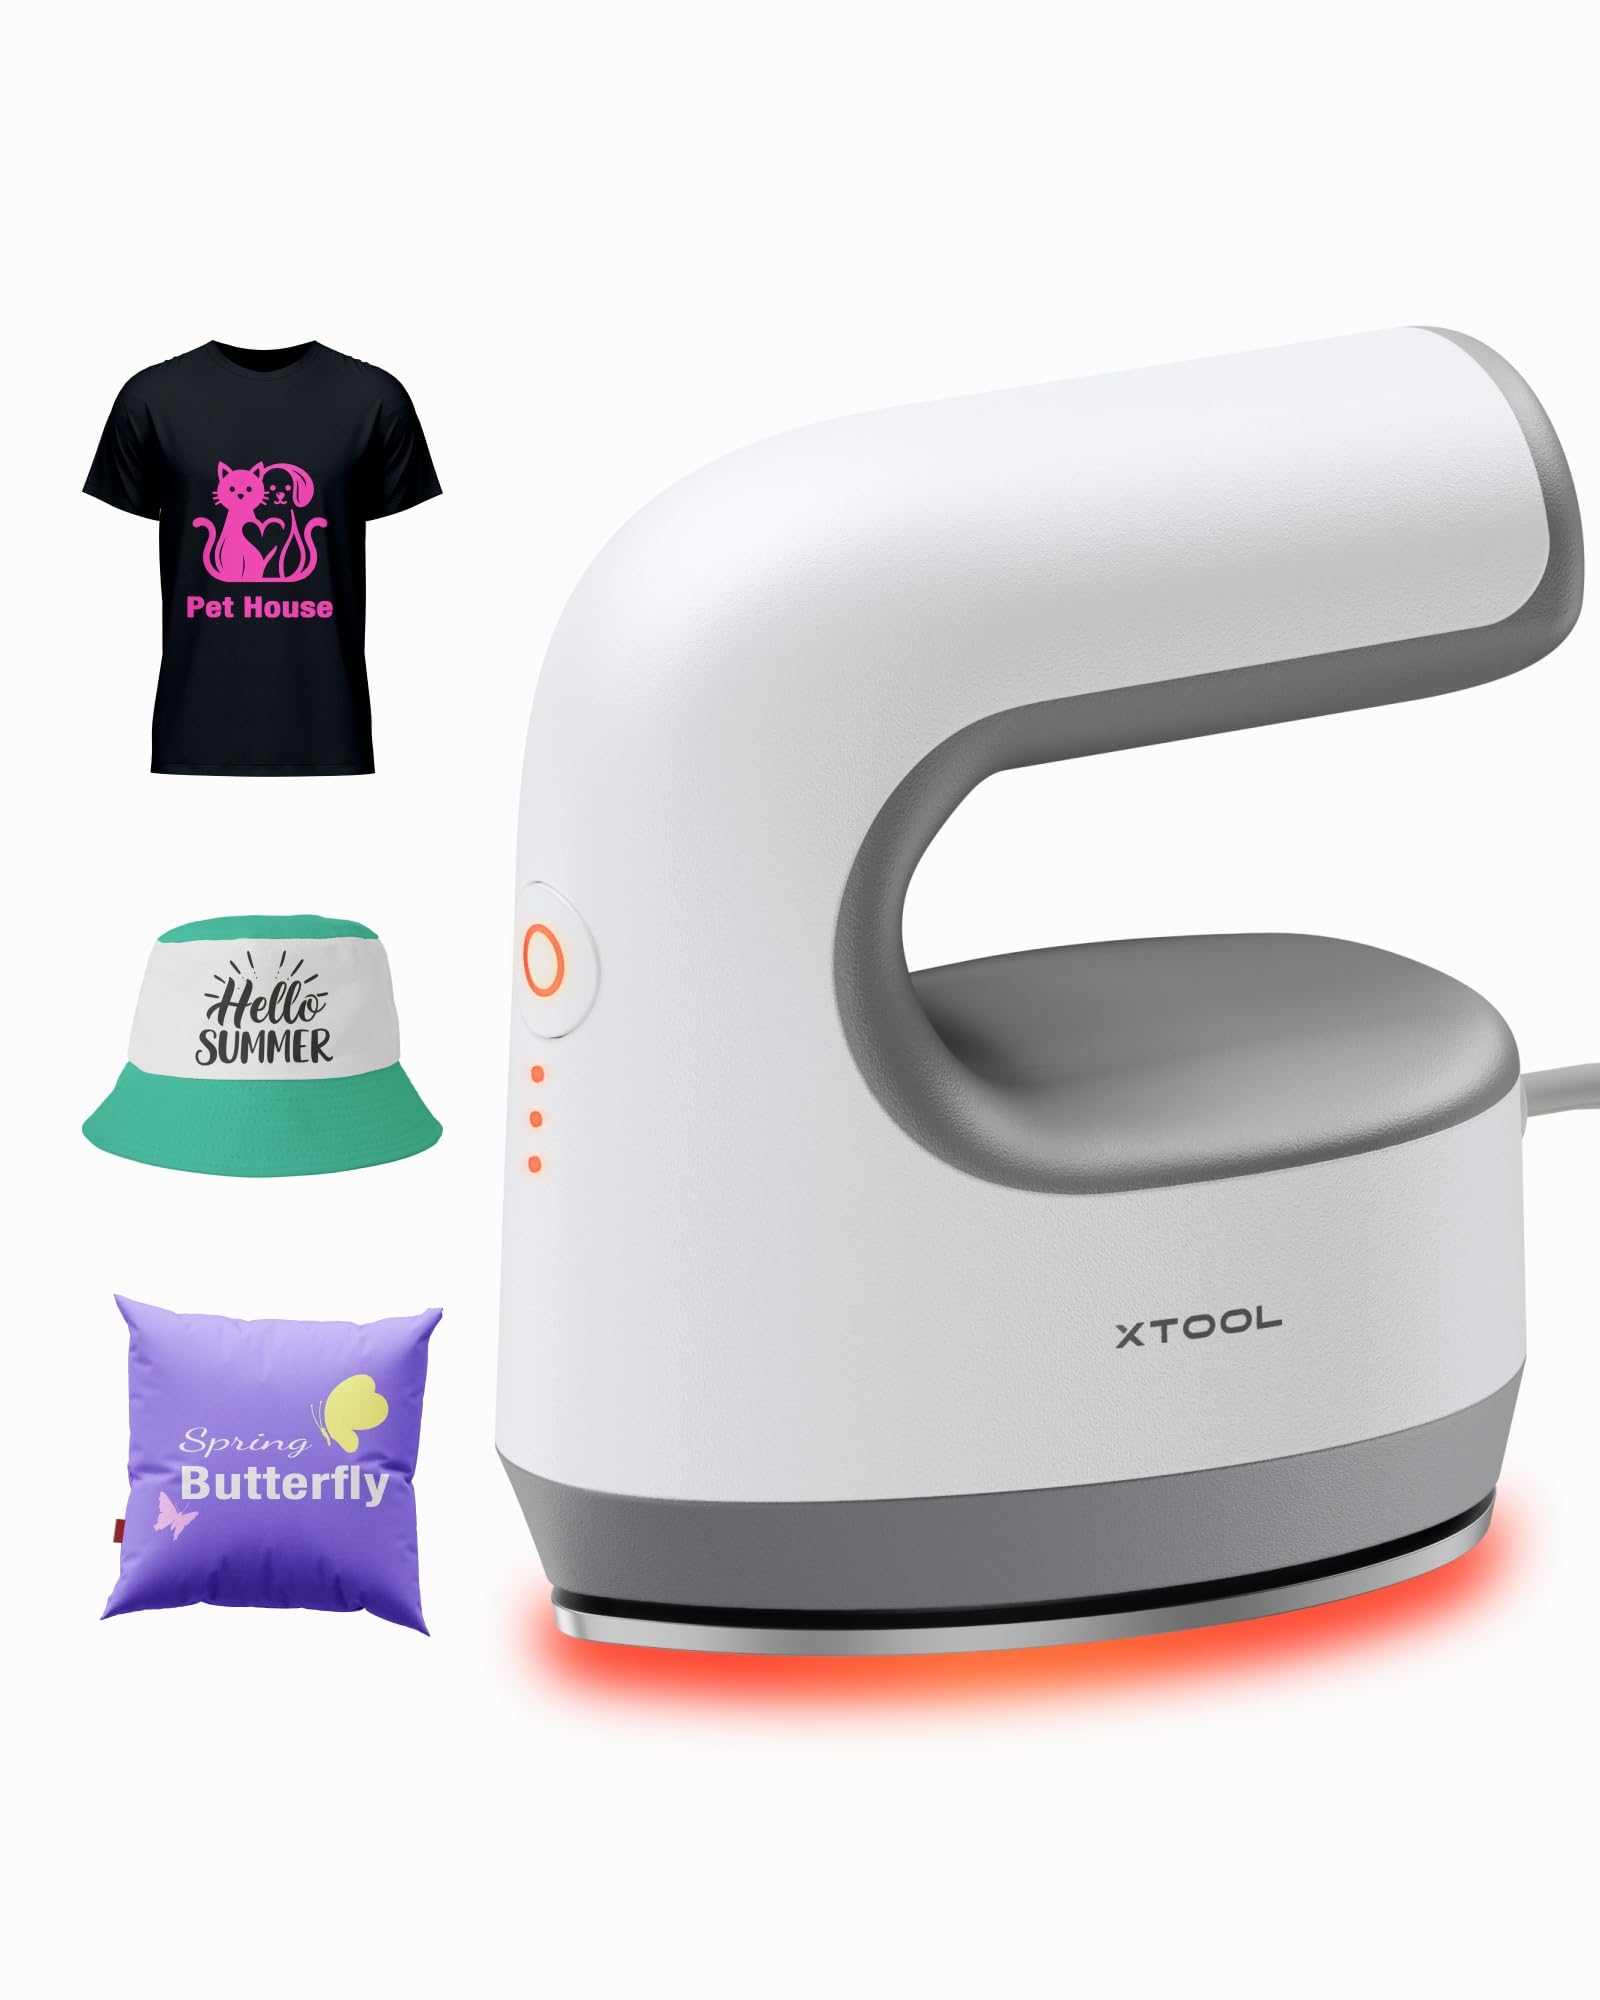
Obraz: The xTool Mini Heat Press Machine shown resting on its insulated safety base, highlighting its compact design.

Obraz: A visual comparison illustrating the ergonomic open handle of the xTool Mini Heat Press, designed for easier and more comfortable holding compared to a closed-handle design.

Obraz: A visual comparison showing the xTool Mini Heat Press with a larger heat plate (platen) compared to another mini press, indicating its suitability for a wider range of project sizes.
5. Konfiguracja
Follow these steps to set up your xTool Mini Heat Press:
- Unpack the xTool Mini Heat Press and its accessories.
- Place the insulated safety base on a stable, heat-resistant surface.
- Plug the power cord into the heat press and then into a standard electrical outlet. The device will beep once, and the power indicator light will illuminate.
- If using the optional Control Pod (not included), insert the transceiver from the Control Pod into the designated port on the Mini Heat Press. The Control Pod allows for precise temperature and time control.
Wideo: This video demonstrates the compatibility of the xTool Mini Heat Press with an optional Control Pod (not included), showing how to connect the transceiver for advanced temperature and time control.
6. Instrukcja obsługi
6.1. Włączanie i wybór temperatury
- Press the Power Button once to turn on the device. The orange indicator light will show, indicating low-level preheating.
- Press the Power Button repeatedly to cycle through the three temperature settings:
- Niski poziom: 295°F (145°C)
- Middle Level: 355°F (180°C)
- Wysoki poziom: 400°F (205°C)
- The indicator lights will change to green when the selected temperature is reached.

Obraz: A visual representation of the xTool Mini Heat Press's three heat settings, indicating the corresponding temperatures for Low, Medium, and High levels.
Wideo: This video demonstrates the rapid heating capability of the xTool Mini Heat Press, showing it reaches operating temperature in approximately 2 minutes.
6.2. Heat Transfer Application
The xTool Mini Heat Press is suitable for various heat transfer materials, including HTV, DTF, and sublimation projects. Always refer to the specific instructions for your transfer material for optimal temperature and time settings.
- Prepare your material (e.g., T-shirt, shoe, hat) by ensuring it is clean and wrinkle-free.
- Place your transfer design onto the material in the desired position.
- Cover the design with a protective sheet (e.g., parchment paper, Teflon sheet).
- Once the Mini Heat Press reaches the desired temperature, place it firmly over the design. Apply even pressure.
- Hold the press in place for the recommended time (typically 10-60 seconds, depending on the material and transfer type). For larger designs, move the press in sections, overlapping slightly to ensure full coverage.
- Carefully lift the heat press and place it back on its safety base.
- Allow the material to cool according to your transfer material's instructions (cold peel or warm peel).
- Gently peel off the protective sheet and transfer film.

Obraz: A visual guide illustrating the simple three-step process for heat transfer using the xTool Mini Heat Press: Set the design, Press with the device, and achieve a successful transfer on a plush toy.

Obraz: Pokaz kolażuasing the wide range of applications for the xTool Mini Heat Press, including customizing shoes, acrylic keychains, canvas bags, socks, stuffed toys, t-shirts, and earrings.
Wideo: Ten film przedstawiaview of the xTool Mini Heat Press, demonstrating its ease of use and effectiveness for various heat transfer projects.
Wideo: This video illustrates the process of using the xTool Mini Heat Press to create custom fall-themed shirts, showcasing its application on fabric.
7. Konserwacja
Proper maintenance ensures the longevity and performance of your heat press:
- Czyszczenie: After the device has cooled completely, wipe the heat plate with a soft, damp ściereczka. Nie należy używać środków czyszczących o właściwościach ściernych ani rozpuszczalników.
- Składowanie: Store the Mini Heat Press on its insulated safety base in a dry, cool place, away from direct sunlight and moisture.
- Pielęgnacja sznurka: Avoid wrapping the power cord tightly around the device. Store it loosely to prevent damage.
8. Rozwiązywanie Problemów
Jeśli napotkasz problemy, zapoznaj się z poniższymi typowymi problemami i rozwiązaniami:
| Problem | Możliwa przyczyna | Rozwiązanie |
|---|---|---|
| Urządzenie nie włącza się. | Przewód zasilający nie jest prawidłowo podłączony; brak prądu w gniazdku. | Sprawdź połączenie przewodu zasilającego; przetestuj gniazdko, podłączając inne urządzenie. |
| Heat plate not heating up. | Incorrect temperature setting; device malfunction. | Ensure correct temperature level is selected; contact customer support if issue persists. |
| Transfer nie przylega prawidłowo. | Insufficient heat or pressure; incorrect time; material incompatibility. | Increase temperature/time/pressure as per transfer material instructions; ensure material is suitable for heat transfer. |
| Urządzenie wyłącza się automatycznie. | 11-minute inactivity safety feature activated. | This is normal operation. Press the power button to restart. |
9. Specyfikacje
| Funkcja | Szczegół |
|---|---|
| Numer modelu | xTool Mini Heat Press |
| Marka | Narzędzie x |
| Maksymalna temperatura | 400°F (205°C) |
| Ustawienia ciepła | 3 (Low: 295°F, Mid: 355°F, High: 400°F) |
| Czas nagrzewania | Approx. 2 minutes to 400°F |
| Waga przedmiotu | 0.77 lbs (1.94 lbs with packaging) |
| Wymiary produktu | 7.48 x 5.12 x 8.66 cala |
| Funkcje bezpieczeństwa | 11-min Auto-off, V0 Flame-retardant materials, Overheat Protection, Insulated Safety Base |
| Zalecane zastosowania | T-shirts, bags, ceramic coasters, wood, acrylic, hats, shoes, keychains, socks, stuffed toys |
10. Gwarancja i pomoc techniczna
Aby uzyskać informacje dotyczące gwarancji i pomocy technicznej, zapoznaj się z oficjalnym narzędziem xTool webOdwiedź stronę internetową lub skontaktuj się bezpośrednio z działem obsługi klienta. Zachowaj paragon jako dowód zakupu na wypadek reklamacji.
- Wsparcie online: Visit the xTool official website for FAQs, tutorials, and contact information.
- Wsparcie e-mailowe: Reach out via email for assistance with product issues.
- Wsparcie telefoniczne: Contact the dedicated support line for immediate help.