
1. Wprowadzenie
This manual provides detailed instructions for the operation and maintenance of your ORDRO B320 1080P Camcorder. Please read this manual thoroughly before using the device to ensure proper functionality and to maximize your user experience. This camcorder is designed for capturing Full HD 1080P video at 30 frames per second and 30MP still images, featuring IR night vision, an 18X digital zoom, and a 3.0-inch IPS screen.

Figure 1: ORDRO B320 1080P Camcorder.
2. Co znajduje się w pudełku
Upon opening your ORDRO B320 Camcorder package, you should find the following items:
- Kamera ORDRO B320
- Osłona obiektywu
- 2 x baterie litowo-jonowe
- Karta SD 16 GB
- Czytnik kart USB
- Kabel ładujący USB
- Zasilacz
- Zdalne sterowanie
- Instrukcja obsługi
- Osłona obiektywu
- DV Bag
3. Koniec produktuview
Familiarize yourself with the main components and controls of your camcorder:

Figure 2: Key components of the ORDRO B320 Camcorder, including the lens, screen, and control buttons.
- Obiektyw: Main optical component for capturing images and video.
- Ekran IPS 3.0 cala: Obrotowy wyświetlacz dla viewna żywotage, odtwarzanie i nawigacja po menu.
- Power/IR Button: Toggles power and activates infrared night vision.
- Przycisk Tryb/OK: Switches between video, photo, and playback modes, and confirms selections.
- Przycisk menu: Dostęp do menu ustawień kamery.
- Przyciski nawigacyjne (góra/dół/lewo/prawo): Used for menu navigation and digital zoom control.
- Record/Stop Key: Rozpoczyna i zatrzymuje nagrywanie wideo.
- Klucz zdjęcia: Rejestruje nieruchome obrazy.
- Wyjście USB: Connects the camcorder to a computer for data transfer or webfunkcjonalność kamery.
- Wejście mikrofonowe: For connecting an external microphone (not included) for enhanced audio.
- Hot Shoe Interface: For attaching external accessories like lights or microphones.
4. Konfiguracja
4.1. Montaż i ładowanie akumulatora
- Otwórz pokrywę komory baterii znajdującą się na spodzie kamery.
- Włóż w pełni naładowany akumulator do komory, zwracając uwagę na prawidłową biegunowość.
- Dokładnie zamknij pokrywę komory baterii.
- To charge the battery, insert the battery into the camcorder, then connect the camcorder to the power adapter using the provided USB cable. The camcorder can record while charging.
4.2. Instalacja karty SD
- Znajdź gniazdo karty SD, zazwyczaj w pobliżu komory baterii lub z boku urządzenia.
- Włóż dołączoną kartę SD o pojemności 16 GB do gniazda, aż zatrzaśnie się na miejscu. Upewnij się, że karta jest włożona prawidłowo.
- Aby wyjąć kartę, delikatnie wciśnij ją do środka, aż wysunie się.
4.3. Pierwsze włączenie zasilania
To power on the camcorder, simply open the 3.0-inch IPS screen. The device will automatically power on. Close the screen to power off the device.
5. Instrukcja obsługi
5.1. Podstawowe nagrywanie wideo
- Ensure the camcorder is powered on and in video recording mode (indicated by a video camera icon on the screen).
- Naciśnij Record/Stop Key to begin recording. A red indicator light will typically appear.
- Naciśnij Record/Stop Key ponownie, aby zatrzymać nagrywanie.
5.2. Capturing Still Images
- Przełącz się na tryb zdjęć za pomocą Przycisk Tryb/OK (indicated by a camera icon).
- Skadruj ujęcie korzystając z ekranu.
- Naciśnij Klucz Zdjęcie aby uchwycić obraz.
5.3. Zoom cyfrowy
Use the navigation buttons (Up/Down) to control the 18X digital zoom. Press 'Up' to zoom in and 'Down' to zoom out.

Figure 3: Visual representation of key camcorder features such as digital zoom and webfunkcjonalność kamery.
5.4. Widzenie nocne w podczerwieni
To activate the infrared night vision function, press the Power/IR Button. This allows for clear recording in low-light conditions, though footage will appear in black and white.

Figure 4: Comparison of normal and infrared night vision recording capabilities.
5.5. WebFunkcja krzywki
Connect the camcorder to your computer via the USB cable. Select the webcam option on the camcorder's screen to use it for video calls or live streaming. This also allows for file przenieść na swój komputer.
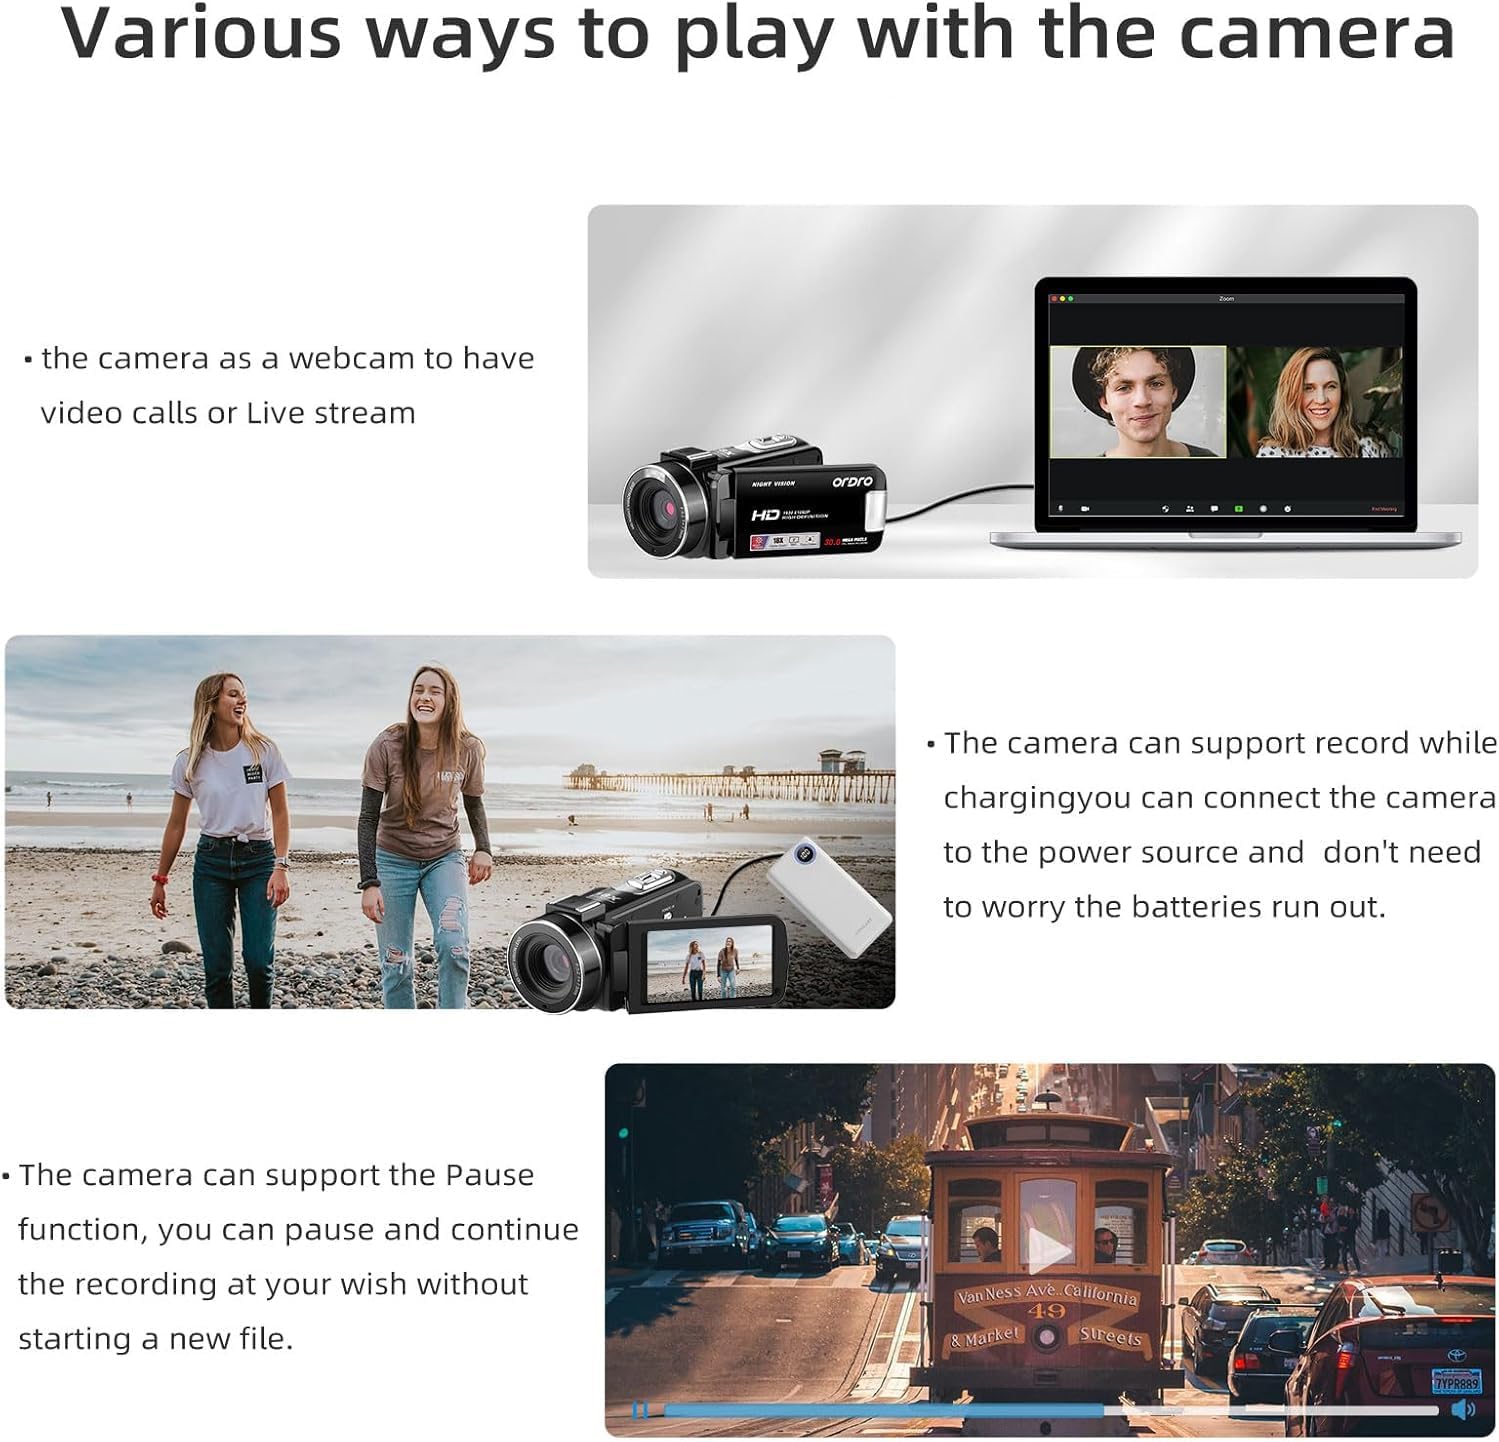
Figure 5: The camcorder connected to a laptop, demonstrating its webfunkcjonalność kamery.
5.6. Ustawienia menu
Naciśnij Przycisk menu to access various settings. Use the navigation buttons to scroll and the Przycisk Tryb/OK to select. Available settings include:
- Mode Set: Auto, Night, Portrait, Landscape, Backlight, Sport, Party, Beach, High Sensitivity.
- Rozmiar filmu: Adjust video resolution (e.g., FHD 1920x1080, HD 1280x720, VGA 640x480).
- Piękna twarz: Włącz/Wyłącz.
- Narażenie: Adjust EV values (+3 to -3).
- Balans bieli: Auto, Daylight, Cloudy, Fluorescent, Tungsten.
- Ostrość: Sharp, Normal, Soft.
- Efekt: Normal, B&W, Sepia, Red, Green, Blue, Sunset, Warm, Cool, Over Exposure, IR, Binary, Vivid, Undertone, Dog Eye, Aibao, Gothic, Japan Style, LOMO, Negative.
- ISO: Auto, 100, 200, 400.
- Data Stamp: Off, Date, Date & Time.
- Organizować coś: Language, Set Date, Power Save, Beep, Frequency, Format, Default.
Wideo 1: Overview of the ORDRO B320 1080p Video Camera, demonstrating its features and various settings.
6. Konserwacja
To ensure the longevity and optimal performance of your ORDRO B320 Camcorder, follow these maintenance guidelines:
- Utrzymuj soczewkę w czystości, używając miękkiej, niepozostawiającej włókien ściereczki. Unikaj materiałów ściernych.
- Store the camcorder in its protective DV bag when not in use to prevent dust and scratches.
- Avoid exposing the camcorder to extreme temperatures, humidity, or direct sunlight for extended periods.
- Ensure batteries are fully charged before long periods of storage and recharge them periodically.
7. Rozwiązywanie Problemów
If you encounter issues with your ORDRO B320 Camcorder, refer to the following common problems and solutions:
- Kamera się nie włącza: Ensure the battery is correctly inserted and fully charged. The screen must be open for the camera to power on.
- Słaba jakość obrazu/wideo: Check the lens for smudges or dirt. Ensure you are in appropriate lighting conditions for your selected mode. Adjust exposure, white balance, and sharpness settings in the menu.
- Niewyraźne fujtage, especially for small details: The camcorder may have limitations in focusing on very small or close-up details. While there are sharpness settings, they may not fully resolve issues with fine text or intricate objects at close range. Ensure sufficient lighting and try adjusting the distance to the subject.
- Błąd karty SD: Ensure the SD card is properly inserted. Try formatting the SD card via the camera's setup menu (this will erase all data). If the issue persists, try a different compatible SD card.
- Brak nagrania audio: Check if an external microphone is connected and functioning. Ensure the camcorder's internal microphone is not obstructed.
8. Specyfikacje
| Funkcja | Specyfikacja |
|---|---|
| Marka | ORDRO |
| Numer modelu | LM-ORDRO B320 |
| Rozdzielczość przechwytywania wideo | 1080p |
| Efektywna rozdzielczość obrazu nieruchomego | 30 MP |
| Zoom cyfrowy | 18 razy |
| Rozmiar ekranu | 3 cali |
| Technologia czujnika fotograficznego | CMOS |
| Technologia łączności | Wi-Fi |
| Średnia żywotność baterii | 120 minut |
| Liczba baterii | 2 litowo-jonowy (w zestawie) |
| Posiada stabilizację obrazu | NIE |
| Poziom wodoodporności | Nie jest wodoodporny |
| Obsługiwany format audio | AAC, MP3 |
| Format przechwytywania wideo | MP4 |
| Obsługiwany format obrazu | Plik JPEG |
9. Gwarancja i pomoc techniczna
The ORDRO B320 Camcorder comes with a one-year warranty from the manufacturer, ORDRO. For technical support, warranty claims, or further assistance, please refer to the contact information provided with your product packaging or visit the official ORDRO webstrona.