1. Wprowadzenie
This manual provides essential information for the proper use and maintenance of your Andoer Mini Digital Video Camera. Please read it thoroughly before operating the device to ensure optimal performance and longevity.
2. Zawartość opakowania
Sprawdź, czy w przesyłce znajdują się wszystkie elementy wymienione poniżej:
- Andoer Mini Digital Video Camera
- Kabel ładujący USB
- Instrukcja obsługi (ten dokument)
Note: A Micro SD card is required for operation and is not included in the package.
3. Koniec produktuview
The Andoer Mini Digital Video Camera is a compact and lightweight device designed for capturing photos and 1080P videos. It features a built-in LCD screen for direct viewing and a flash for improved low-light performance.

Image: The Andoer Mini Digital Video Camera, demonstrating its small form factor when held in hand.
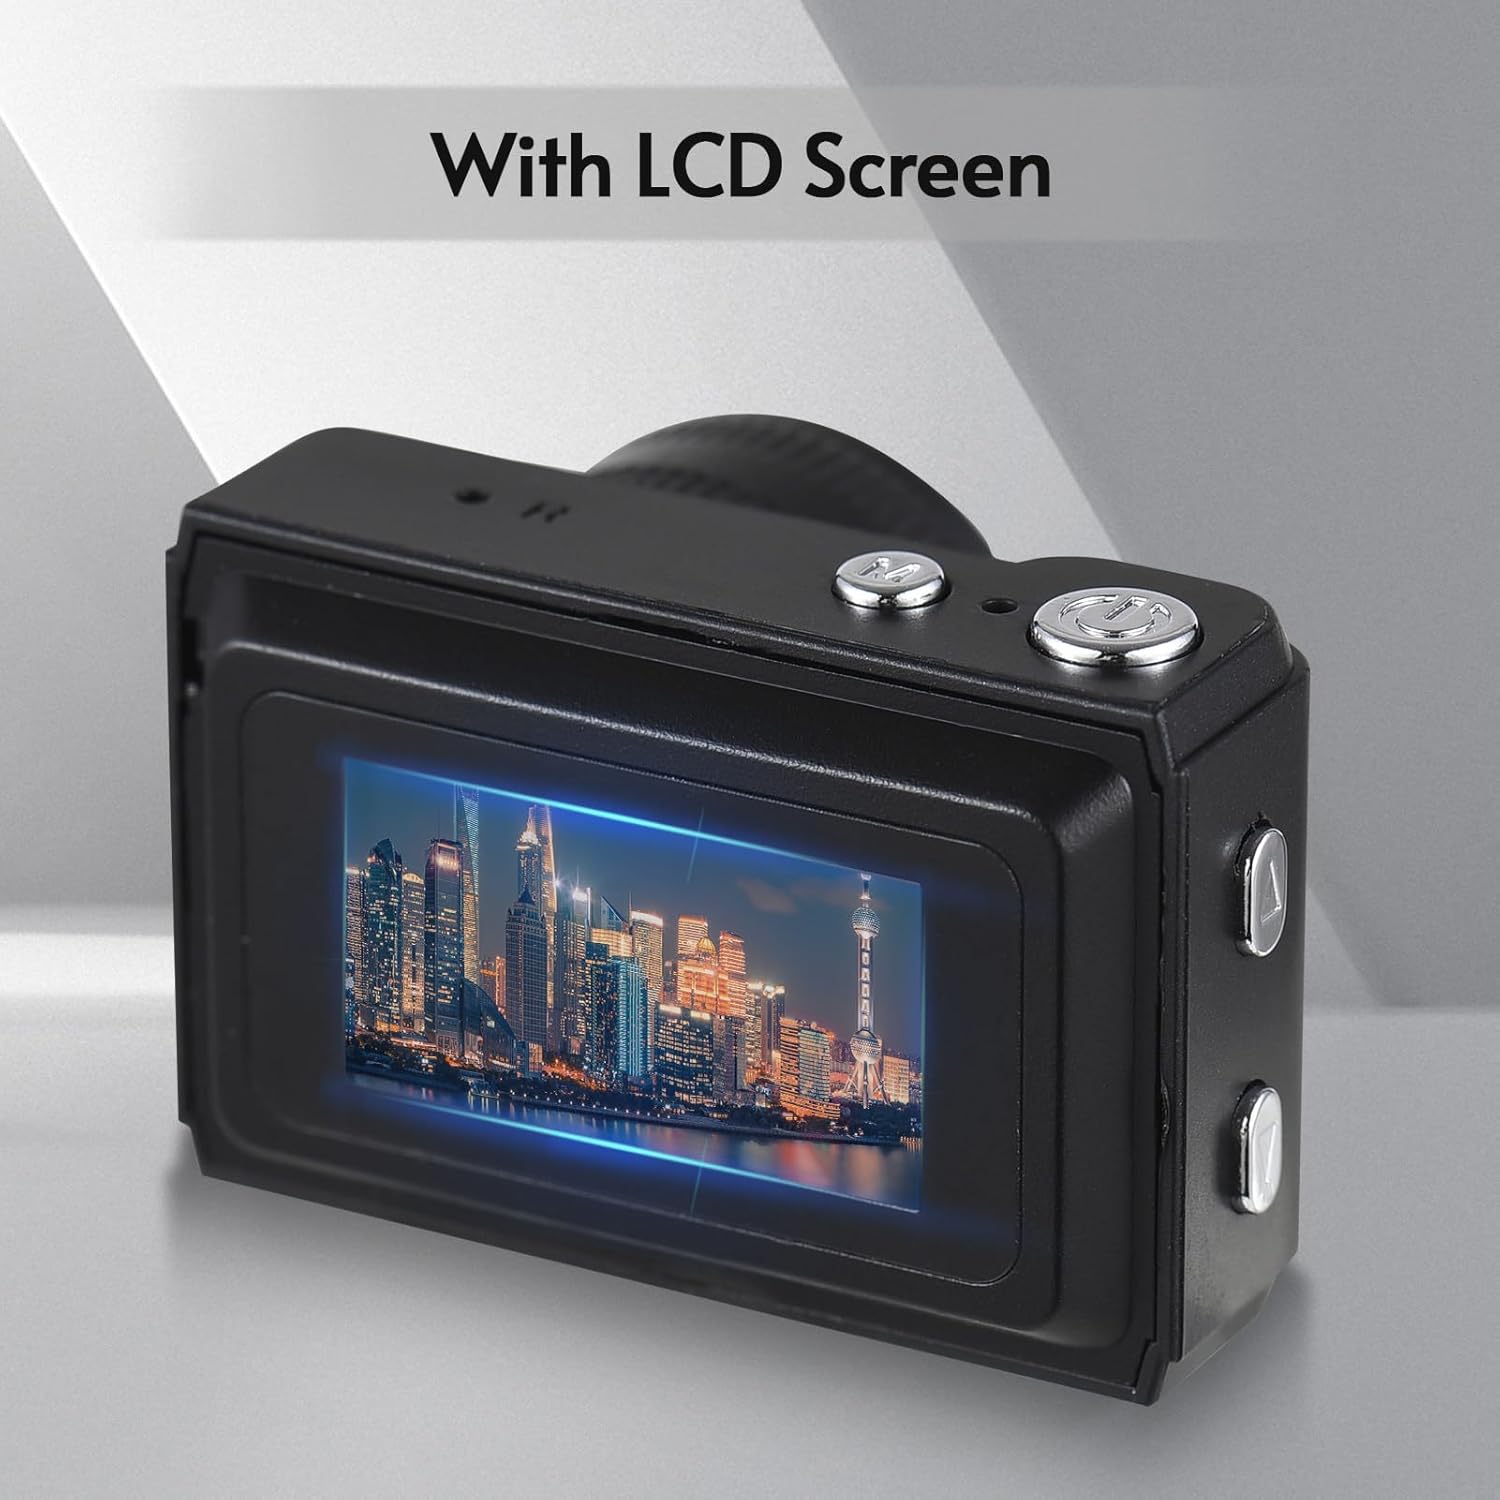
Obraz: Tył view of the camera, highlighting the integrated LCD screen displaying an image.

Obraz: Bok view of the camera with approximate dimensions indicated, showing its compact design.
4. Konfiguracja
4.1. Ładowanie akumulatora
The camera features a built-in rechargeable battery. Before first use, fully charge the camera using the provided USB charging cable.
- Podłącz mniejszy koniec kabla USB do portu USB aparatu.
- Podłącz większy koniec kabla USB do zasilacza USB (nie ma go w zestawie) lub do portu USB komputera.
- Zaświeci się kontrolka ładowania. Po pełnym naładowaniu kontrolka może zmienić kolor lub zgasnąć.

Image: Illustration of the camera's built-in rechargeable battery and its USB charging interface.
4.2. Wkładanie karty Micro SD
A Micro SD card (not included) is required to store photos and videos. The camera supports Micro SD cards up to a certain capacity (refer to specifications for details).
- Znajdź gniazdo karty Micro SD w aparacie.
- Insert the Micro SD card with the metal contacts facing down until it clicks into place.
- Aby wyjąć kartę, delikatnie wciśnij ją, aż wysunie się.
5. Instrukcja obsługi
5.1. Włączanie/wyłączanie zasilania
Aby włączyć lub wyłączyć kamerę, naciśnij i przytrzymaj przycisk zasilania (zazwyczaj umieszczony na górze lub z boku) przez kilka sekund.
5.2. Robienie zdjęć
The camera can capture still images with 1080P resolution.
- Ensure the camera is in photo mode (indicated on the LCD screen).
- Skadruj ujęcie korzystając z ekranu LCD.
- Press the Shutter button (typically on top) to take a photo.
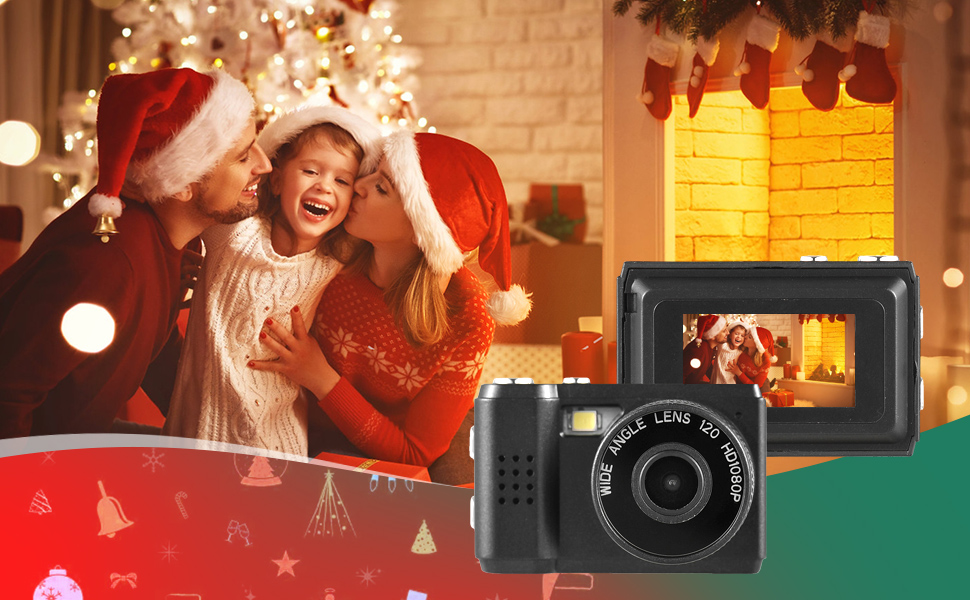
Obraz: Byłyamples of scenes that can be captured with the camera's photo and video functions.
5.3. Nagrywanie filmów
Record videos in 1080P resolution.
- Przełącz kamerę w tryb nagrywania wideo.
- Press the Record button (often the same as the Shutter button, or a dedicated button) to start recording.
- Naciśnij ponownie przycisk nagrywania, aby zatrzymać nagrywanie.
5.4. Korzystanie z wbudowanej pamięci Flash
The camera includes a built-in flash for illuminating subjects in low-light conditions.
- Access the flash settings through the camera's menu.
- Select the desired flash mode (e.g., Auto, On, Off).
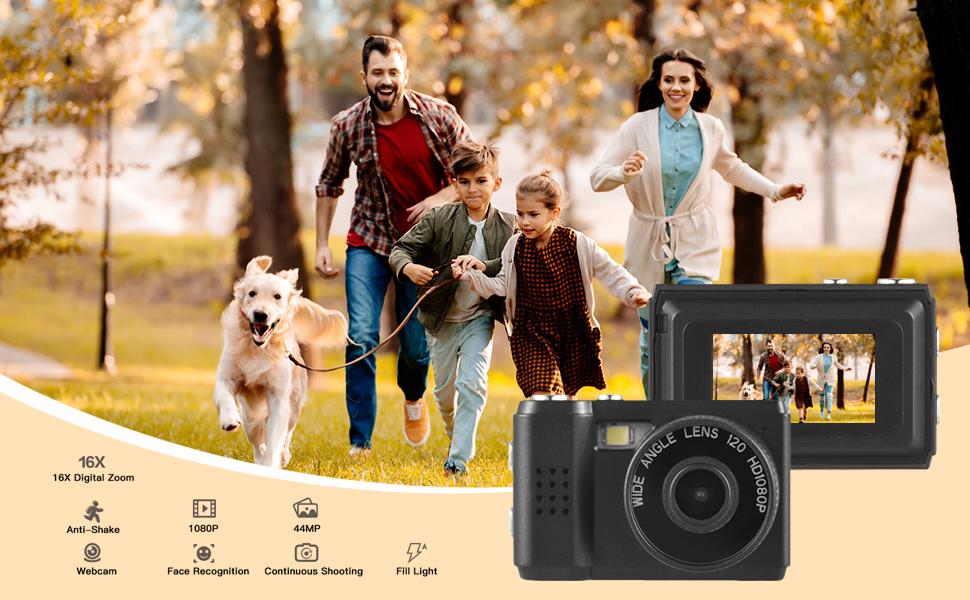
Image: The camera's built-in flash in operation, providing illumination for a photo.
5.5. Applying Filter Effects
The camera offers various filter effects to enhance your photos.
- In photo mode, navigate to the filter settings in the menu.
- Select from the available filter options to apply them to your images.
5.6. Podłączanie do komputera
You can transfer photos and videos to your computer using the USB cable.
- Upewnij się, że kamera jest włączona.
- Podłącz aparat do komputera za pomocą kabla USB.
- Aparat powinien pojawić się na Twoim komputerze jako dysk wymienny.
- Uzyskaj dostęp do przechowywanych files and copy them to your computer.
6. Konserwacja
- Czyszczenie: Use a soft, dry cloth to clean the camera body. For the lens and LCD screen, use a specialized lens cleaning cloth. Avoid abrasive materials or harsh chemicals.
- Składowanie: Przechowuj kamerę w chłodnym, suchym miejscu, z dala od bezpośredniego światła słonecznego i ekstremalnych temperatur. Wyjmij kartę Micro SD, jeśli przechowujesz ją przez dłuższy czas.
- Pielęgnacja baterii: To maintain battery health, avoid fully discharging the battery frequently. Charge it regularly, even if not in use.
7. Rozwiązywanie Problemów
- Kamera nie włącza się: Upewnij się, że bateria jest naładowana. Jeśli problem nadal występuje, spróbuj ładować ją przez dłuższy czas.
- "No SD Card" error: Verify that a Micro SD card is properly inserted and that it is not full or corrupted. Try reinserting the card or using a different one.
- Słaba jakość obrazu/wideo: Ensure adequate lighting. Check lens for smudges or dirt. Note that image quality may vary based on environmental conditions and the camera's compact sensor.
- Kamera się zawiesza: If the camera becomes unresponsive, try pressing and holding the Power button for an extended period (e.g., 10-15 seconds) to force a shutdown.
8. Specyfikacje
| Funkcja | Specyfikacja |
|---|---|
| Marka | Andoer |
| Numer modelu | d26ed34e-1e4d-4f4c-8a08-ff20d919aeaa |
| Rozdzielczość wideo | 1080p |
| Efektywna rozdzielczość obrazu nieruchomego | 1.92 MP |
| Technologia czujnika fotograficznego | CMOS |
| Rozmiar ekranu | 4.2 centymetra (wyświetlacz LCD) |
| Stabilizacja obrazu | Optyczny |
| Typ pamięci flash | Mikro SD |
| Pojemność nagrywania | 330 minut |
| Technologia łączności | USB |
| Waga przedmiotu | 0.05 kilograma |
| Czy baterie są dołączone? | Tak (wbudowany) |
| Kolor | Czarny |
9. Gwarancja i wsparcie
For warranty information and technical support, please refer to the documentation provided with your purchase or contact Andoer customer service through their official webZachowaj dowód zakupu na wypadek roszczeń gwarancyjnych.