Wstęp
This manual provides essential instructions for the setup, operation, and maintenance of your new Vibox VI-124 PC Gamer system. This system includes an AMD Ryzen 3 3200GE processor with integrated Radeon Vega 8 graphics, 16GB RAM, a 2TB HDD, and a pre-installed Linux Mint operating system. It also comes with a 22-inch monitor, RGB keyboard, RGB mouse, and a gaming headset. Please read this manual carefully before using your system to ensure optimal performance and longevity.
1. Konfiguracja
1.1 Rozpakowanie
Carefully remove all components from their packaging. Ensure all items listed in the "What's in the Box" section are present:
- Wieża PC
- Monitor 22"
- Klawiatura do gier RGB
- Mysz do gier RGB
- Zestaw słuchawkowy do gier
- Power Cables (for PC and Monitor)
- Video Cable (VGA/DVI-D)
- Adapter Wi-Fi
1.2 Łączenie komponentów
- Place the PC Tower: Position the PC tower on a stable, flat surface with adequate ventilation.
- Podłącz monitor:
- Connect one end of the video cable (VGA or DVI-D) to the corresponding port on the back of the PC.
- Connect the other end of the video cable to the monitor.
- Connect the monitor's power cable to the monitor and then to a power outlet.
- Podłącz urządzenia peryferyjne:
- Connect the RGB Gaming Keyboard and RGB Gaming Mouse to available USB ports on the PC.
- Connect the Gaming Headset to the audio input/output jacks on the PC (usually green for audio out, pink for microphone in).
- Connect Wi-Fi Adapter: Insert the USB Wi-Fi adapter into an available USB port.
- Podłącz zasilanie: Connect the PC's power cable to the power supply unit on the back of the PC, then plug it into a power outlet.

Image: Front panel ports for connecting USB devices and audio peripherals.

Image: The Vibox VI-124 PC tower, illustrating its design and internal components.
1.3 Pierwsze uruchomienie
Press the power button on the front of the PC tower. The system will boot into the pre-installed Linux Mint operating system. Follow any on-screen prompts for initial setup, such as language selection and user account creation.
2. Instrukcja obsługi
2.1 Włączanie/wyłączanie zasilania
- Włączanie: Press the power button on the front of the PC tower.
- Zamknięcie: In Linux Mint, click the "Menu" button (usually in the bottom-left corner), then select "Shut Down" or "Power Off". Do not simply unplug the PC while it is running.
- Uruchom ponownie: In Linux Mint, click the "Menu" button, then select "Restart".
2.2 Łączenie z Wi-Fi
Once the Wi-Fi adapter is connected, Linux Mint should automatically detect it. Click on the network icon in the system tray (usually top-right or bottom-right of the screen), select your Wi-Fi network, enter the password, and connect.
2.3 Korzystanie z urządzeń peryferyjnych
- Klawiatura i mysz: These are plug-and-play devices. They should function immediately upon connection. RGB lighting effects may be controlled via dedicated software or buttons on the devices themselves, if available.
- Stery: Ensure the headset is properly plugged into the audio jacks. You may need to select the headset as the default audio output/input device in Linux Mint's sound settings.
3. Konserwacja
3.1 Czyszczenie
- Zewnętrzny: Use a soft, dry cloth to wipe down the exterior of the PC tower, monitor, keyboard, and mouse. For stubborn marks, a slightly damp Można użyć ściereczki, ale należy uważać, aby do wnętrza urządzenia nie dostał się żaden płyn.
- Wentylacja: Periodically clean dust from the PC's ventilation grilles and fans using compressed air. Ensure the PC is powered off and unplugged before cleaning.
- Ekran monitora: Use a microfiber cloth specifically designed for electronics screens. Do not use harsh chemicals.
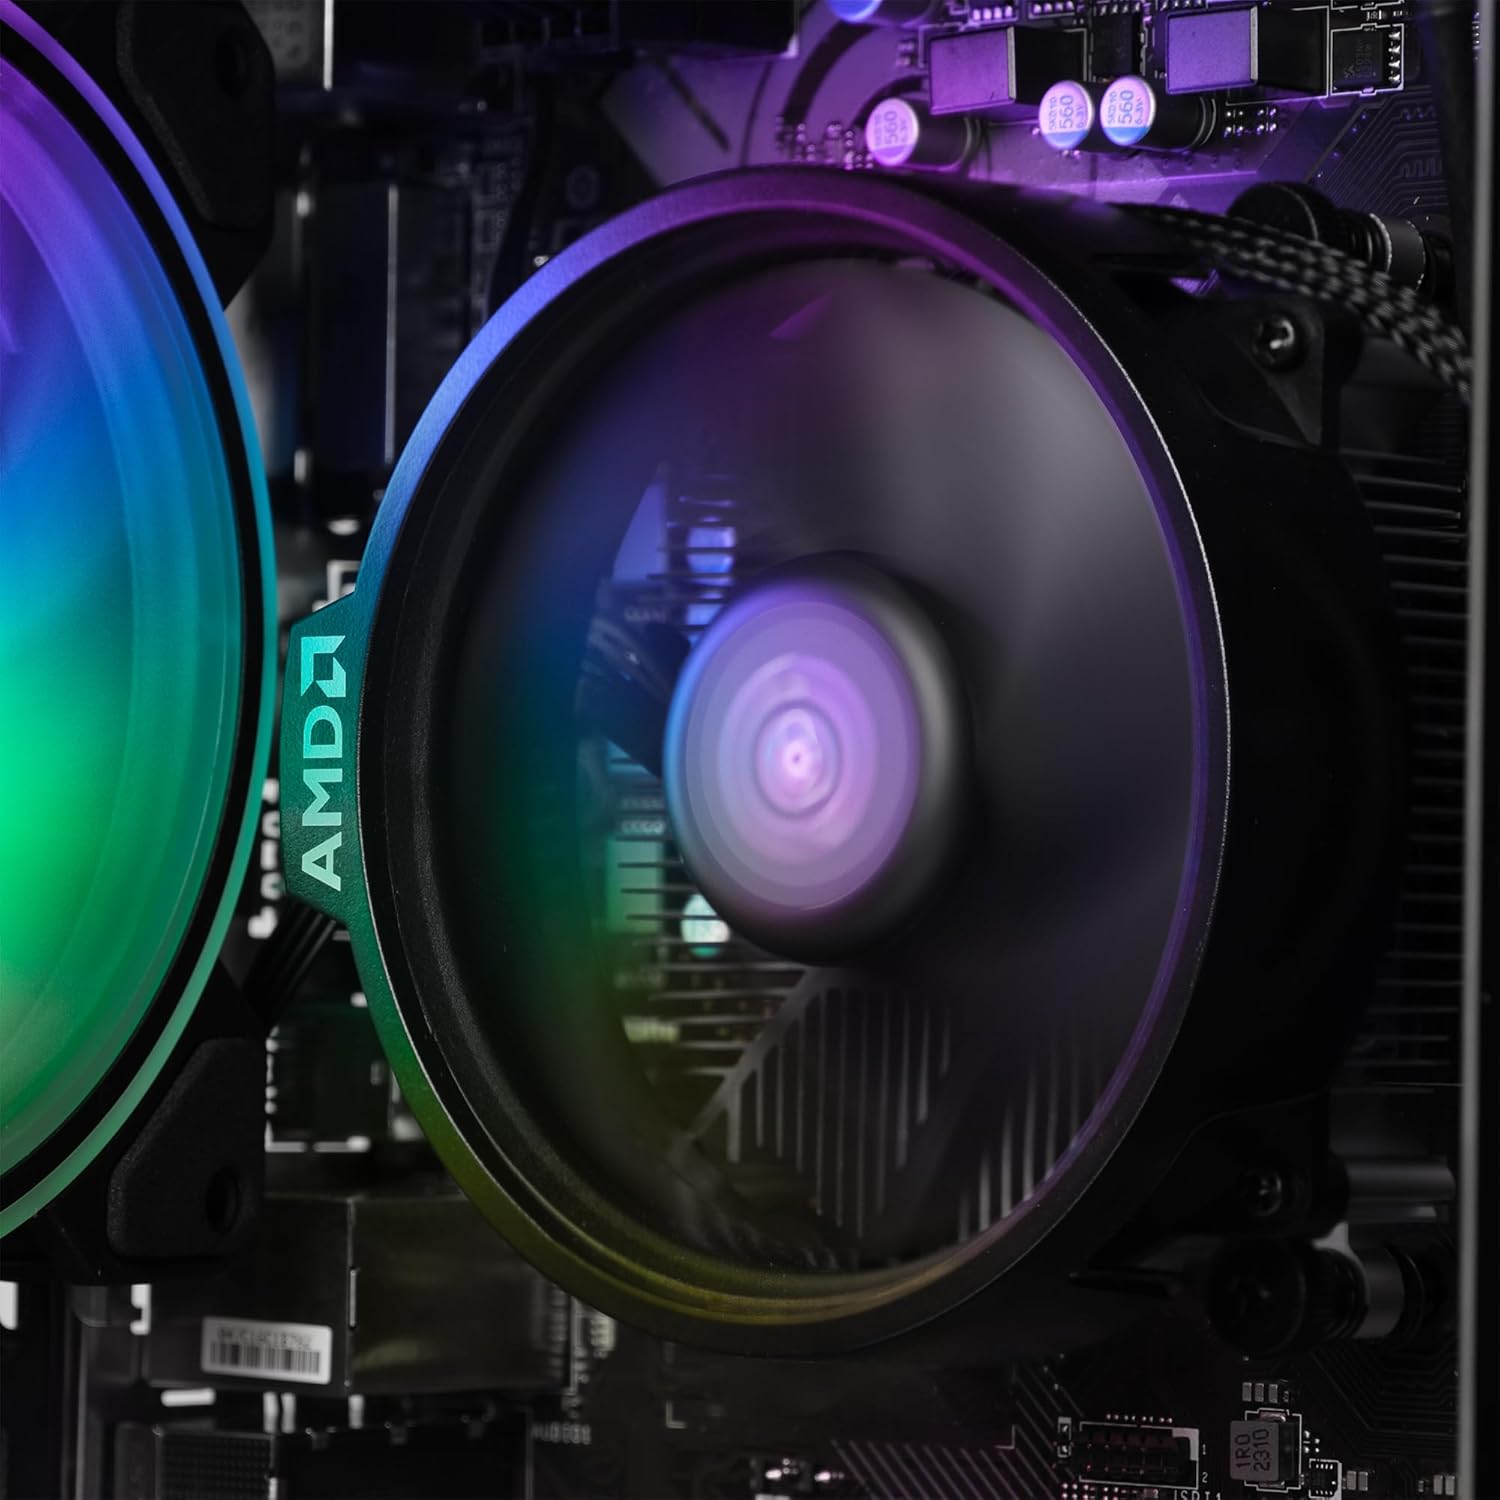
Obraz: Wewnętrzny view of the CPU fan, highlighting the importance of keeping internal components dust-free.
3.2 Aktualizacje oprogramowania
Regularly update your Linux Mint operating system and installed software to ensure security and optimal performance. Use the built-in Update Manager in Linux Mint to check for and install updates.
3.3 Kopia zapasowa danych
It is highly recommended to regularly back up your important data to an external drive or cloud storage to prevent data loss.
4. Rozwiązywanie Problemów
| Problem | Możliwe rozwiązanie |
|---|---|
| Brak zasilania |
|
| Brak obrazu na monitorze |
|
| Brak połączenia internetowego |
|
| Klawiatura/mysz nie reaguje |
|
5. Specyfikacje
| Część | Szczegół |
|---|---|
| Marka | VIBOX |
| Numer modelu | VBX-PC-6-124-AFR |
| Edytor | AMD Ryzen 3 3200GE Quad Core (3.6 GHz, up to 4.0 GHz Turbo) |
| Grafika | Integrated Radeon Vega 8 Graphics (2GB DDR4 SDRAM) |
| BARAN | 16 GB DDR4 3200MHz High Speed (Dual-Channel) |
| Składowanie | 2 TB HDD (SATA-III 6.0 Gbit/s / 7200rpm) |
| System operacyjny | Linux Mint OS |
| Monitor | 22" 1080p (FullHD 1920x1080 / 5ms Response / LED Backlight / 1x DVI-D / 1x VGA Ports) |
| Łączność | Wi-Fi (300Mbps Wireless Adapter) |
| Wymiary (dł. x szer. x wys.) | Wymiary 32.6 x 19.5 x 42 cm |
6. Informacje o gwarancji
Your Vibox VI-124 PC Gamer system comes with a Vibox Evolution Lifetime Warranty. This warranty covers manufacturing defects and hardware failures under normal use. For specific terms and conditions, please refer to the warranty documentation included with your product or visit the official Vibox webZachowaj dowód zakupu na wypadek roszczeń gwarancyjnych.
7. Obsługa klienta
If you encounter any issues or have questions not covered in this manual, please contact Vibox customer support. You can find contact information on the official Vibox website or through your retailer. When contacting support, please have your product model number (VBX-PC-6-124-AFR) and proof of purchase ready.
Więcej informacji można znaleźć na stronie VIBOX Store on Amazon.