
1. Wprowadzenie
The Ameta Morpho Drone (Model DR-ATM10B) is a compact and user-friendly quadcopter designed for beginners and young pilots. It features a 1080P HD camera for capturing aerial photos and videos, real-time First Person View (FPV) transmission, and 32 vibrant RGB lights with multiple effects. Built with durability in mind, it includes propeller guards and a loss prevention buzzer for enhanced safety and ease of use. This manual provides comprehensive instructions for safe operation, setup, and maintenance of your Ameta Morpho Drone.

Image 1.1: Ameta Morpho Drone with its main accessories.
2. Wytyczne bezpieczeństwa
- Zawsze używaj drona na otwartej, czystej przestrzeni, z dala od ludzi, zwierząt i przeszkód.
- Przed każdym lotem upewnij się, że dron jest w pełni naładowany.
- Nie należy latać dronem przy silnym wietrze lub niekorzystnych warunkach pogodowych.
- Trzymaj palce i włosy z dala od obracających się śmigieł.
- W przypadku użytkowników poniżej 14 roku życia zaleca się nadzór osoby dorosłej.
- Avoid flying near airports, restricted airspace, or private property.
- If the drone flies out of range, use the built-in buzzer to locate it.
3. Zawartość opakowania
Sprawdź, czy w pakiecie znajdują się wszystkie komponenty:
- Ameta Morpho Drone
- Pilot zdalnego sterowania
- Baterie modułowe (x2)
- Zapasowe śmigła
- Kabel ładujący USB
- Narzędzie do demontażu śmigła
- Instrukcja obsługi

Image 3.1: Complete package contents of the Ameta Morpho Drone.
4. Konfiguracja
4.1. Montaż i ładowanie akumulatora
- Insert the modular batteries into the drone's battery compartment until they click securely into place.
- Use the provided USB charging cable to charge the batteries. The indicator light on the cable will show charging status (e.g., red for charging, green for fully charged).
- For the remote controller, install 3 AAA batteries (not included) into its battery compartment.
4.2. Drone and Controller Pairing
- Umieść drona na płaskiej, poziomej powierzchni.
- Press and hold the power button on the drone until its indicator lights begin to flash.
- Turn on the remote controller. The controller will automatically pair with the drone. A solid light on both the drone and controller indicates successful pairing.
5. Instrukcja obsługi
5.1. Podstawowe sterowanie lotem
- Start/lądowanie jednym kliknięciem: Press the dedicated button on the controller for automatic takeoff or landing.
- Utrzymywanie wysokości: The drone maintains a stable altitude, allowing for easier control and smoother footage.
- Tryb bezgłowy: W tym trybie orientacja drona jest względem pilota, co ułatwia sterowanie lotem bez względu na kierunek przodu drona.
- Regulacja prędkości: The drone offers multiple speed settings (e.g., low, medium, high) to suit different skill levels and environments.

Image 5.1: Beginner-friendly features like one-key takeoff, altitude hold, and headless mode.
5.2. Zaawansowane funkcje lotu
- Flipy 3D: Execute impressive 360-degree flips with a press of a button and a joystick movement.
- Okrągła mucha: The drone can perform circular flight patterns, adding dynamic movement to your aerial displays.

Image 5.2: The drone executing 3D flips and circular flight patterns.
5.3. Pozycjonowanie przepływu optycznego
The drone utilizes optical flow positioning for enhanced stability, especially during indoor flights. This technology helps the drone maintain its position accurately, contributing to smoother control and clearer video capture.

Image 5.3: Optical flow positioning ensures stable hovering.
5.4. Loss Prevention Buzzer
Should the drone fly out of sight or range, a built-in buzzer can be activated via the controller to help locate it, minimizing the risk of loss.
Image 5.4: The remote controller features a button to activate the drone's loss prevention buzzer.
6. Obsługa kamery
The Ameta Morpho Drone is equipped with an 80° 1080P HD camera, allowing you to capture clear photos and videos from an aerial perspective. Utilize the companion app for real-time FPV (First Person View) transmission directly to your smartphone, enabling you to see what the drone sees as it flies.
- Ujęcie: Use the app or a designated button on the controller to take still images.
- Nagrywanie wideo: Start and stop video recording via the app or controller.
- Transmisja FPV: Podłącz swój smartfon do sieci Wi-Fi drona, aby view żyćtage.
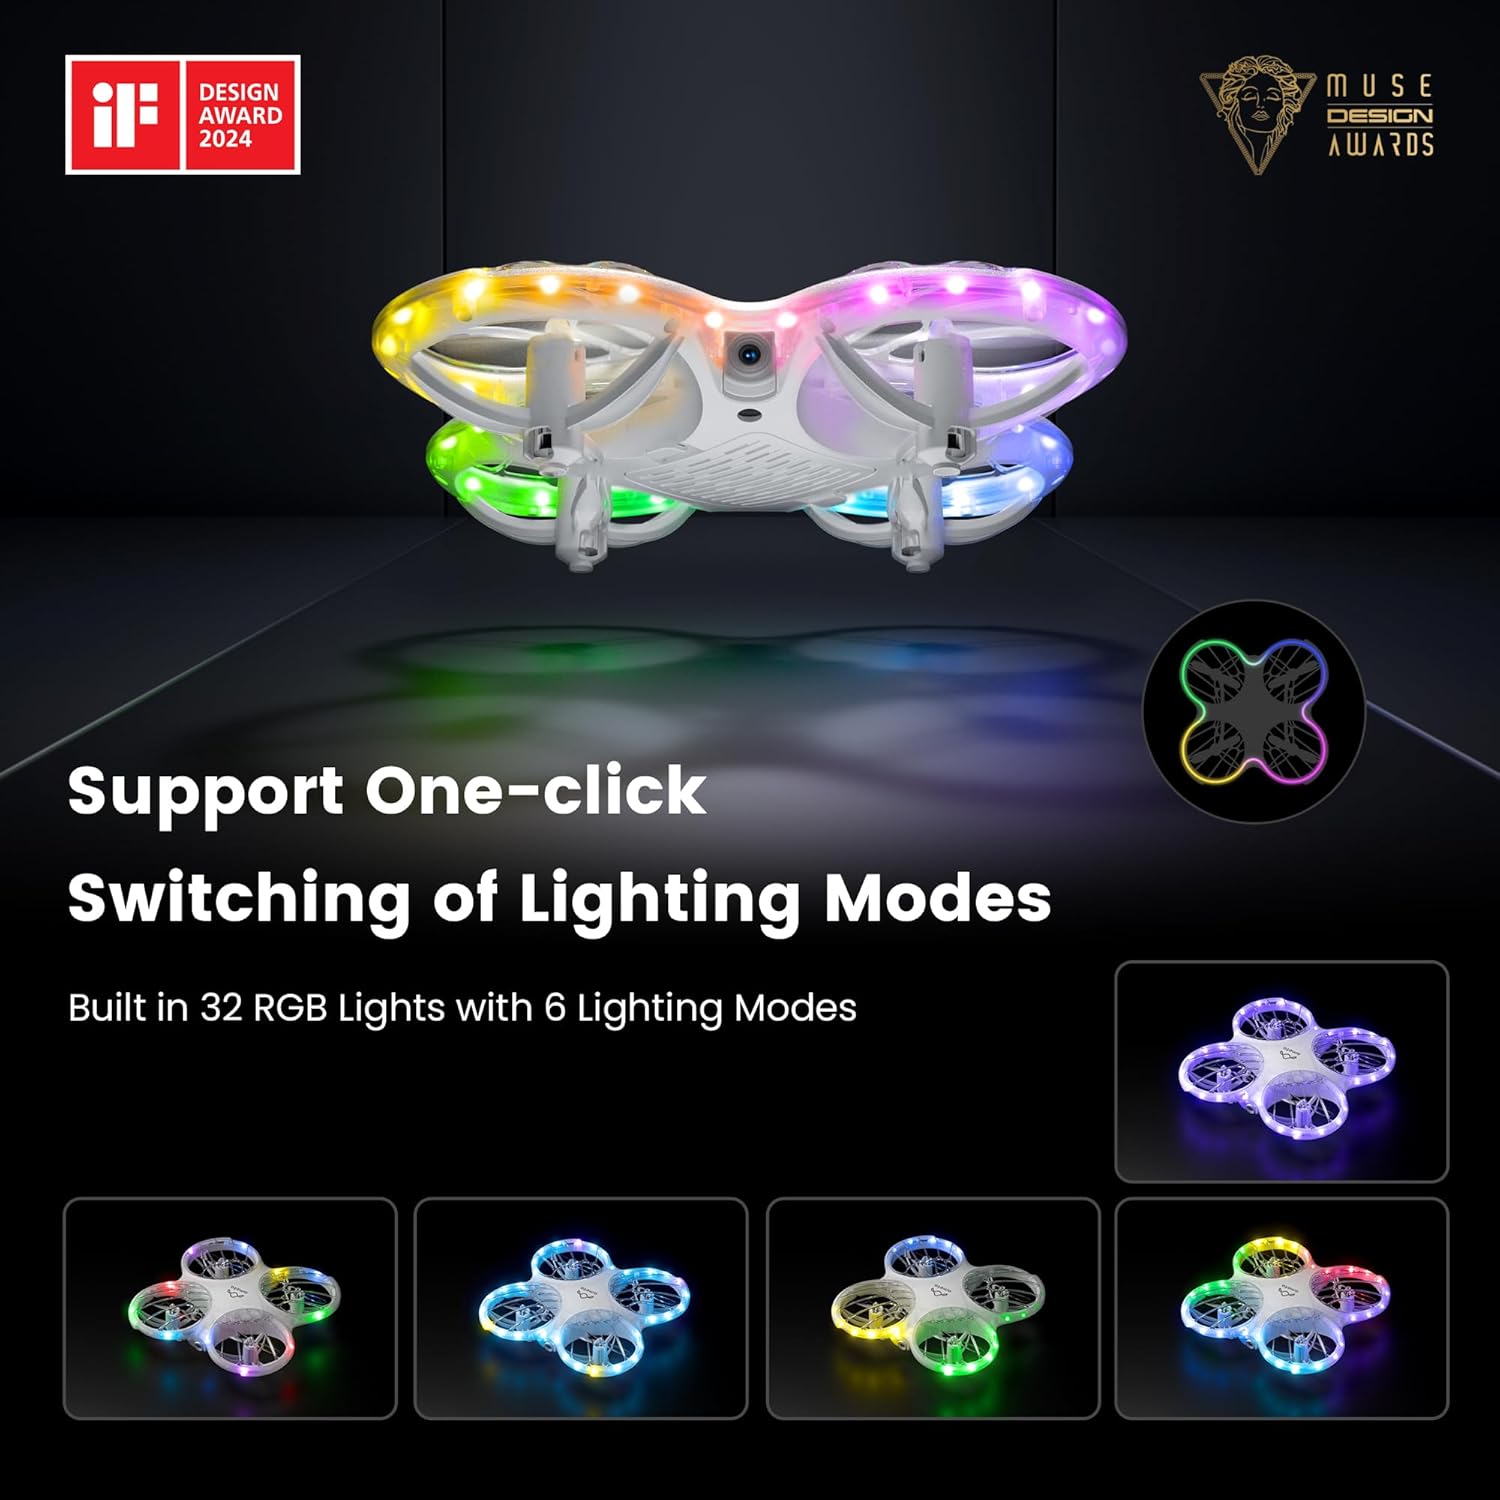
Image 6.1: The drone's 1080P HD camera for capturing high-definition media.
7. STEM Learning Module
The Ameta companion app integrates a simple STEM (Science, Technology, Engineering, and Mathematics) module. This feature allows users, particularly children, to engage in basic coding by combining flying modules, offering an educational approach to understanding drone technology and programming principles.

Image 7.1: The Ameta app's STEM module for programming flight paths.
8. Światła RGB
The drone features 32 RGB lights with 6 dazzling effects, creating a visually engaging experience during flight. These lights enhance visibility and add an element of fun, especially when flying in low-light conditions.

Image 8.1: The drone showcasing its multiple RGB lighting modes.
9. Konserwacja
9.1. Wymiana śmigła
In case of damage, replace propellers using the provided tool and spare parts. Ensure correct orientation (A and B markings) for optimal flight performance.
9.2. Pielęgnacja baterii
To prolong battery life, avoid overcharging or fully discharging the batteries. Store them in a cool, dry place when not in use.
9.3. Czyszczenie
Gently wipe the drone with a soft, dry cloth to remove dust and debris. Avoid using liquids or harsh chemicals.
10. Rozwiązywanie Problemów
- Drone Drifts: Calibrate the gyroscope as per the instructions in the app or manual. Check for damaged propellers.
- Brak zasilania: Sprawdź, czy baterie są całkowicie naładowane i prawidłowo zamontowane zarówno w dronie, jak i kontrolerze.
- Utrata połączenia: Re-pair the drone and controller. Ensure no strong interference sources are nearby.
- Brzęczyk nie działa: Check battery levels. Ensure the drone is within operational range for the buzzer to function effectively.
11. Specyfikacje
| Funkcja | Szczegół |
|---|---|
| Marka | Ameta |
| Nazwa modelu | Morfo |
| Numer modelu przedmiotu | DR-ATM10B |
| Wymiary produktu | Wymiary 13.8 x 13.4 x 3.4 cm |
| Waga przedmiotu | 72 gramów |
| Baterie | 2 baterie litowo-jonowe (w zestawie) |
| Kamera | 1080P HD, 80° FOV |
| Cechy specjalne | Speed Adjustment, FPV, 32 RGB Lights, Optical Flow Positioning, Loss Buzzer, STEM Learning Module |
| Czas lotu | Do 18 minut (z 2 bateriami) |
| Zakres wiekowy (opis) | 14 years and above (with parental supervision for younger users) |
| Kraj pochodzenia | Chiny |
12. Gwarancja i wsparcie
For warranty information or technical support, please refer to the contact details provided on the product packaging or visit the official Ameta webZachowaj paragon jako dowód zakupu.