
1. Wprowadzenie
This manual provides detailed instructions for the Odokee Digital Alarm Clock, Model U2-SV-001. Please read this manual thoroughly before using the product to ensure correct operation and to maximize its features. Keep this manual for future reference.
2. Koniec produktuview
The Odokee Digital Alarm Clock is designed for ease of use and clear visibility, featuring a large display, adjustable brightness, multiple alarm sounds, and a multi-color night light. It also includes a convenient USB charging port.
Główne cechy:
- Large, bold 2-inch numbers for easy readability.
- 5-level adjustable brightness dimmer for the time display.
- Extra loud alarm with 5 selectable wake-up sounds and adjustable volume (30-110dB).
- Battery backup for time and alarm settings during power outages (wyświetlacz wyłączony).
- Integrated USB charging port for external devices.
- 8-color night light with adjustable brightness.
- Front-facing buttons for effortless setup and operation.
Składniki:
Refer to the image below for a visual representation of the clock's front panel and buttons.

Rycina 2.1: Przód view of the Odokee Digital Alarm Clock showing the display and control buttons.
The back of the clock features the power input, USB charging port, and battery compartment.

Rysunek 2.2: Tył view of the alarm clock with power input and USB charging port.
3. Konfiguracja
3.1 Połączenie zasilania
- Connect the provided AC adapter to the DC 5V input port on the back of the alarm clock.
- Podłącz zasilacz sieciowy do standardowego gniazdka elektrycznego. Wyświetlacz się podświetli.

Figure 3.1: Connecting the alarm clock to power using the included AC adapter.
3.2 Instalacja baterii zapasowej
The clock requires 2 AAA alkaline batteries (not included) for backup. These batteries maintain time and alarm settings during a power outage, but the display will not light up when running on battery power alone.
- Otwórz pokrywę komory baterii z tyłu zegara.
- Insert 2 AAA alkaline batteries, ensuring correct polarity (+/-).
- Zamknij pokrywę komory baterii.

Rysunek 3.2: Komora baterii AAA.
4. Instrukcja obsługi
4.1 Ustawianie czasu
- Naciśnij i przytrzymaj USTAWIENIE CZASU Naciśnij przycisk przez 2 sekundy, aby wejść w tryb ustawiania czasu. Cyfry godzin zaczną migać.
- Naciśnij HOUR 12/24H przycisk, aby ustawić godzinę.
- Naciśnij MIN AL ON/OFF przycisk, aby ustawić minuty.
- Naciskać USTAWIENIE CZASU ponownie, aby potwierdzić i wyjść z trybu ustawiania czasu.

Figure 4.1: Time setting button layout.
4.2 Format 12/24-godzinny
Aby przełączać się między formatem 12-godzinnym i 24-godzinnym:
- W normalnym trybie wyświetlania czasu naciśnij przycisk HOUR 12/24H przycisk umożliwiający przełączanie między formatem 12-godzinnym (ze wskaźnikiem AM/PM) i 24-godzinnym.

Figure 4.2: Toggling between 12-hour and 24-hour display.
4.3 Display Brightness Dimmer
The clock display has 5 brightness levels and can be turned off completely.
- Naciśnij LIGHT DIM button (also the Snooze button) repeatedly to cycle through the 5 brightness levels and the 'off' state.

Figure 4.3: Adjusting the display brightness.
4.4 Ustawianie alarmu
- Naciśnij i przytrzymaj ZESTAW ALARMU Naciśnij przycisk przez 2 sekundy. Cyfry godziny alarmu zaczną migać.
- Naciśnij HOUR 12/24H przycisk, aby ustawić godzinę alarmu.
- Naciśnij MIN AL ON/OFF przycisk, aby ustawić minuty alarmu.
- Naciskać ZESTAW ALARMU ponownie, aby potwierdzić godzinę alarmu.
- After setting the alarm time, the alarm will be automatically activated. A bell icon will appear on the display.
4.5 Alarm Sound Selection
The clock offers 5 different alarm sounds.
- While the alarm is not sounding, press the DŹWIĘK ALARMU button repeatedly to cycle through the 5 available sounds: Birds Chirping, Beep, Soft Music, Ode to Joy, Siren.

Figure 4.4: Available alarm sounds.
4.6 Regulacja głośności alarmu
The alarm volume can be adjusted from 30dB to 110dB.
- While the alarm is not sounding, press the ALARM VOL button repeatedly to cycle through the available volume levels.
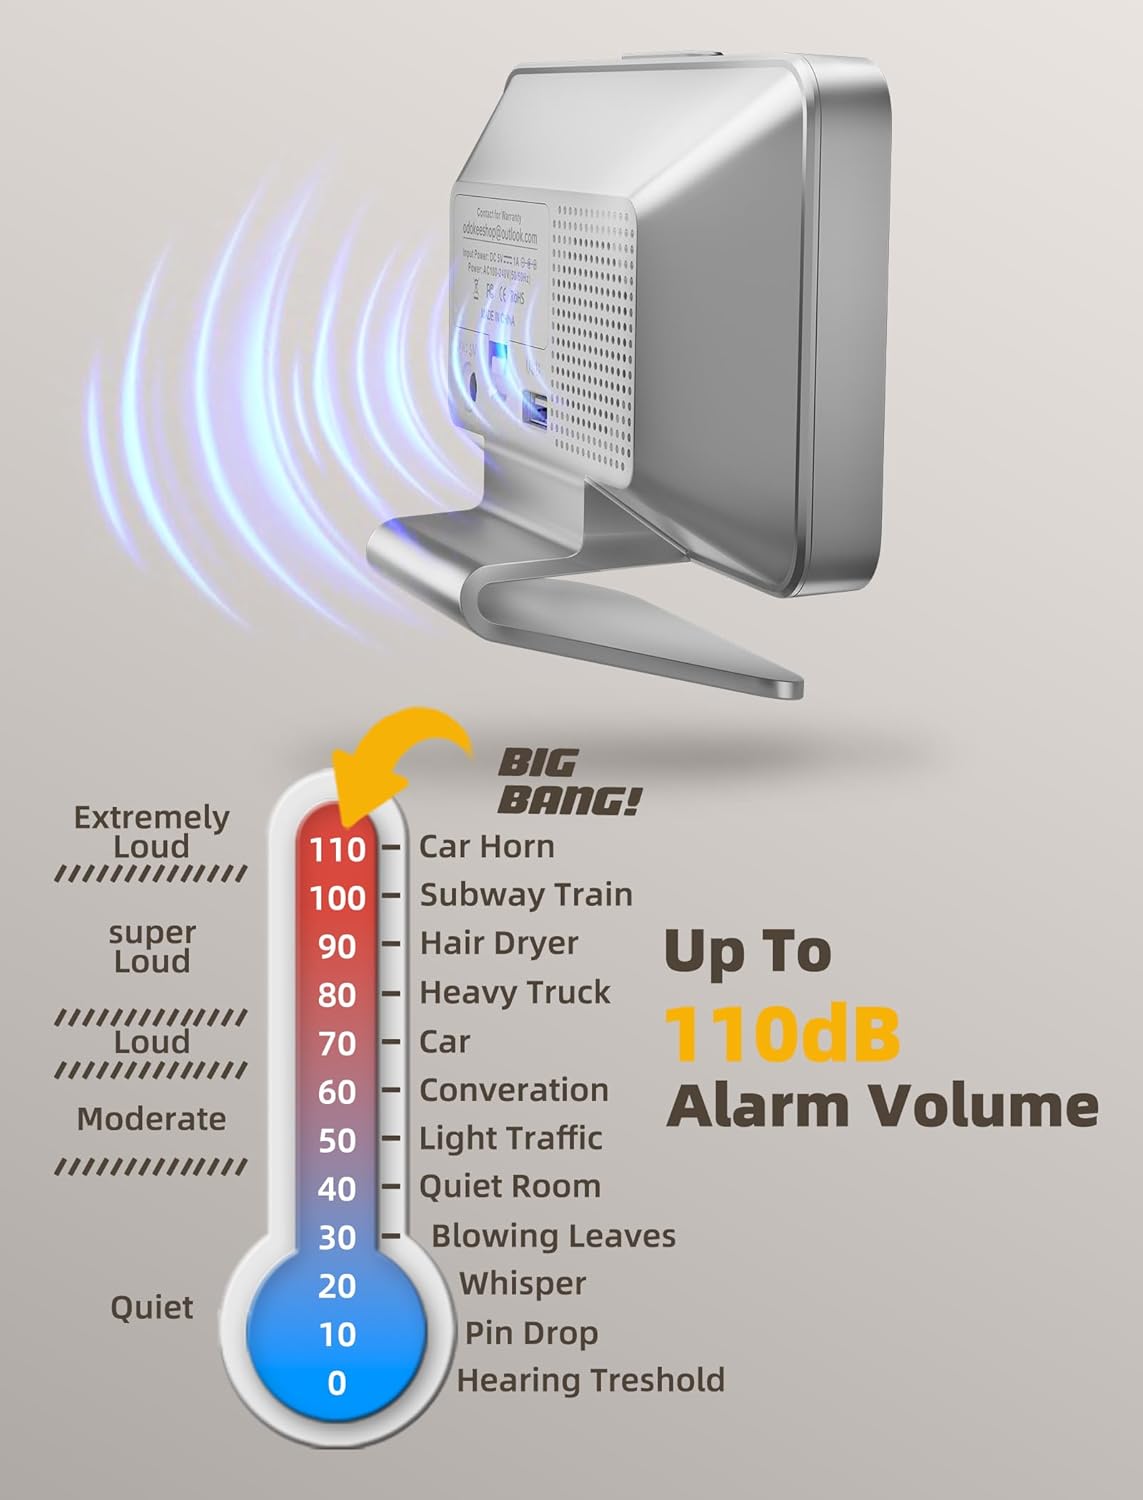
Figure 4.5: Alarm volume adjustment range.
4.7 Funkcja drzemki
Kiedy rozlegnie się alarm:
- Naciśnij duży LIGHT DIM button (Snooze button) on top of the clock to activate snooze. The alarm will pause for 9 minutes and then sound again.
- To turn off the alarm completely, press any other button on the front panel.

Figure 4.6: Location of the Snooze/Dimmer button.
4.8 Funkcja lampki nocnej
The clock features an 8-color night light with adjustable brightness.
- Naciśnij ŚWIATŁO przycisk (ikona słońca), aby włączyć lampkę nocną.
- Naciśnij ŚWIATŁO button repeatedly to cycle through the 8 colors and adjust their brightness levels.
- To turn off the night light, continue pressing the ŚWIATŁO przycisk aż do wyłączenia.

Figure 4.7: The 8-color night light feature.
4.9 porty USB do ładowania
A USB charging port is located on the back of the clock.
- Connect your smartphone or other USB-powered device to this port using a compatible USB cable (not included) to charge it.

Figure 4.8: Using the integrated USB charging port.
5. Konserwacja
5.1 Czyszczenie
- Przetrzyj zegar miękką, suchą ściereczką.
- Nie należy używać środków czyszczących o właściwościach ściernych ani rozpuszczalników, gdyż mogą one uszkodzić powierzchnię.
5.2 Wymiana baterii
- Jeżeli zegar jest często wyłączanytages or if the backup function is unreliable, replace the 2 AAA batteries in the battery compartment.
- Podczas wkładania nowych baterii należy zwrócić uwagę na prawidłową biegunowość.
6. Rozwiązywanie Problemów
| Problem | Możliwa przyczyna | Rozwiązanie |
|---|---|---|
| Wyświetlacz jest wyłączony. | Clock is not plugged in, or brightness is set to 'off'. | Ensure AC adapter is securely plugged in. Press the LIGHT DIM przycisk do regulacji jasności. |
| Display is off during power outage. | This is normal. Battery backup only maintains settings, not display. | No action needed. Display will return when power is restored. |
| Alarm nie włącza się. | Alarm is not set or is turned off. Volume is too low. | Ensure alarm is set and the bell icon is visible. Adjust alarm volume using ALARM VOL przycisk. |
| Czas jest nieprawidłowy po wyłączeniu zasilaniatage. | Baterie zapasowe są rozładowane lub nie zostały zainstalowane. | Install or replace 2 AAA batteries. Reset the time if necessary. |
| Port ładowania USB nie działa. | Clock is not powered, or device cable is faulty. | Ensure clock is plugged into an outlet. Try a different USB cable or device. |
7. Specyfikacje
- Model: U2-SV-001
- Marka: Odokee
- Typ wyświetlacza: Cyfrowy
- Źródło zasilania: Przewodowy elektryczny (zasilacz sieciowy w zestawie)
- Zapas baterii: 2 baterie AAA (brak w zestawie)
- Wymiary produktu: 5.5" szer. x 4" wys.
- Tworzywo: Plastikowy
- Cechy szczególne: Adjustable Brightness, Adjustable Volume, USB Charging Port, Large Display, Mood Light (8 colors)
- Waga przedmiotu: 6 uncji (171 grama)
8. Gwarancja i wsparcie
8.1 Informacje o gwarancji
This Odokee Digital Alarm Clock (Model U2-SV-001) comes with an 18-month warranty from the date of purchase. This warranty covers manufacturing defects and ensures the product functions as described under normal use.
8.2 Obsługa klienta
For any questions, technical assistance, or warranty claims, please contact Odokee customer support:
- E-mail: odokeeshop@outlook.com
Please provide your model number (U2-SV-001) and purchase details when contacting support to facilitate a quicker resolution.
