
AOPICK 307C
AOPICK Digital Microscope
Model: 307C - User Manual
1. Informacje dotyczące bezpieczeństwa
Please read all instructions carefully before using the AOPICK 307C Digital Microscope. Retain this manual for future reference.
- Nie rozmontowuj ani nie modyfikuj urządzenia. Nieautoryzowane modyfikacje mogą unieważnić gwarancję i stanowić zagrożenie dla bezpieczeństwa.
- Trzymaj urządzenie z dala od wody, wilgoci i wysokich temperatur.
- Należy używać wyłącznie dołączonego kabla ładującego i adaptera.
- Unikaj bezpośredniego wystawiania obiektywu na działanie silnych źródeł światła, gdyż może to uszkodzić czujnik.
- Clean the lens and screen with a soft, lint-free cloth. Do not use abrasive cleaners.
- This device contains a rechargeable battery. Do not expose it to extreme heat or dispose of it in fire.
2. Zawartość opakowania
Sprawdź, czy w przesyłce znajdują się wszystkie elementy:
- AOPICK 307C Digital Microscope
- Stojak na mikroskop
- Kabel ładujący USB
- Instrukcja obsługi
3. Koniec produktuview
The AOPICK 307C Digital Microscope is designed for detailed observation and analysis. It features a 4.3-inch IPS display, adjustable LED illumination, and PC compatibility.
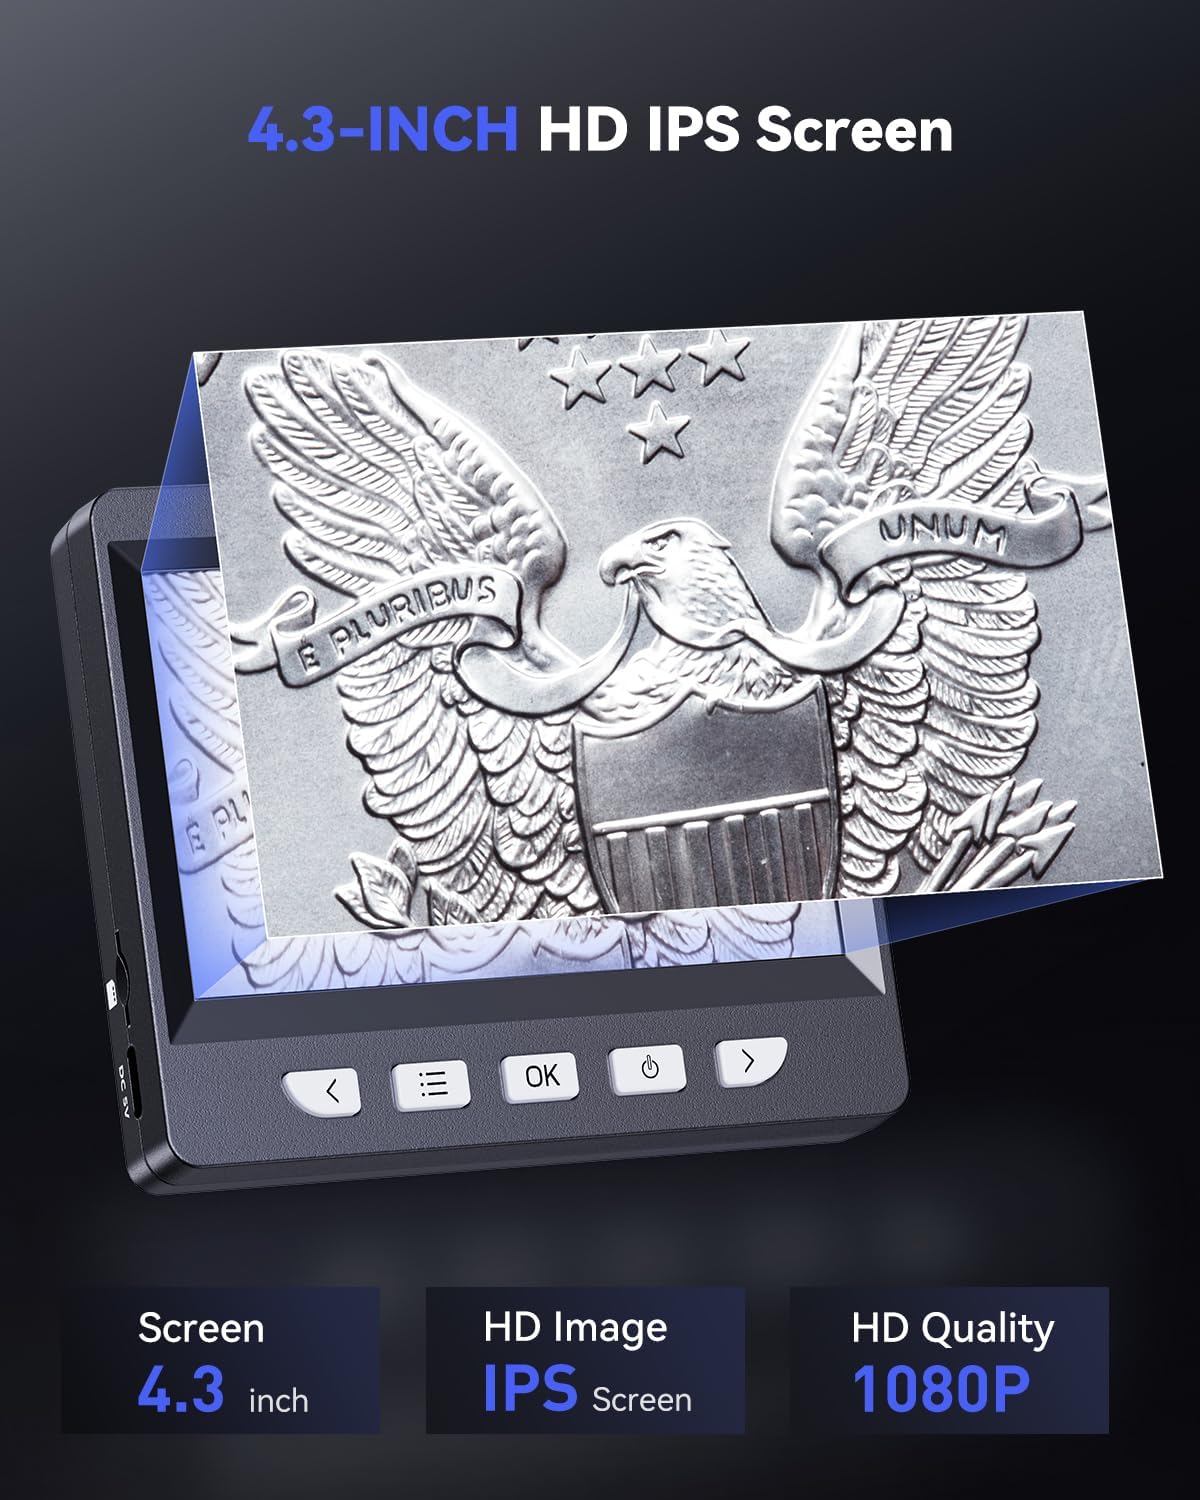
Figure 3.1: The AOPICK 307C Digital Microscope featuring its 4.3-inch HD IPS screen, displaying a magnified coin image. The screen offers 1080P HD quality for clear viewing.
Główne cechy:
- 4.3-calowy wyświetlacz IPS 1080P HD: Experience clear real-time images and videos, ideal for education, coin inspection, and repair work.
- 50X to 1000X Magnification: Enlarge fine details of various objects such as coins, jewelry, stamps, and watches. Actual magnification varies based on screen size and object distance.
- MacOS & Windows Compatible: Connect to both MacOS and Windows computers for a larger viewing experience. Capture photos and videos of your observations (TF card not included).
- 8 regulowanych świateł LED: Built-in LED lights ensure clear observation. Adjust brightness as needed to illuminate subjects with vivid detail.
- Akumulator i przenośny: Powered by a rechargeable battery, offering up to 3 hours of operating time. Fully charges in approximately 2 hours, making it suitable for outdoor activities and on-the-go exploration.
- Versatile & Educational: Perfect for circuit board inspection, skin examination, textile industry, biological observation (not suitable for cells), QC inspection, and enhancing interactive learning.
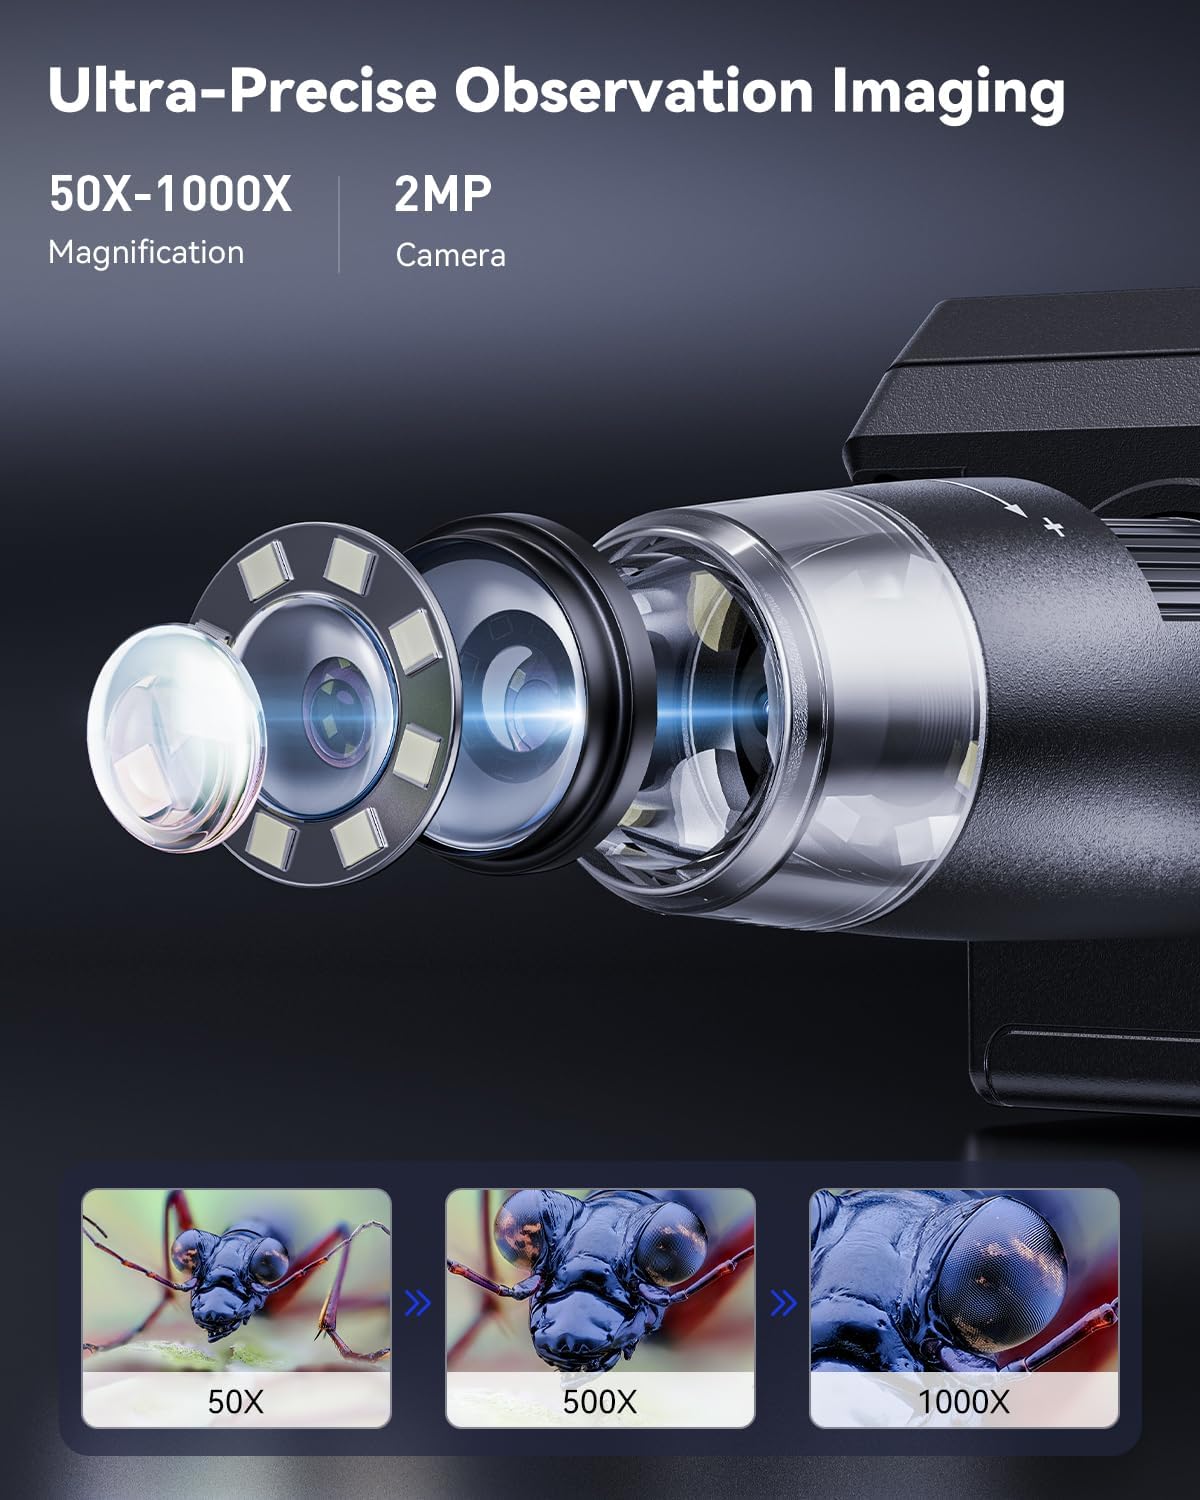
Figure 3.2: Illustration of the microscope's magnification capabilities, showing examples of 50X, 500X, and 1000X views of a small insect, highlighting the ultra-precise observation imaging.
Identyfikacja komponentu:

Figure 3.3: Detailed diagram illustrating the various button functions and adjustable parts of the AOPICK 307C Digital Microscope, including brightness adjustment, height adjustment, 8 LED lights, TF card slot, and multiplier adjustment.
- Regulacja jasności: Control the intensity of the LED lights.
- Height Adjustment Knob: Adjust the distance between the lens and the object for focusing.
- Światła LED 8: Provide illumination for clear viewing.
- TF Card Mounting Place: Slot for inserting a TF (MicroSD) card for photo and video storage (card not included).
- Multiplier Adjustment: Fine-tune the magnification level.
4. Konfiguracja
4.1 Assembling the Microscope Stand
- Zamontuj mikroskop na regulowanym ramieniu statywu. Upewnij się, że jest on solidnie zamocowany.
- Place the assembled microscope on a stable, flat surface.
4.2 Pierwsze ładowanie
Before first use, fully charge the microscope's internal battery.
- Connect the USB charging cable to the microscope's charging port.
- Podłącz drugi koniec kabla USB do zasilacza USB 5 V/1 A (brak w zestawie) lub do portu USB komputera.
- The charging indicator light will illuminate. Charging typically takes about 2 hours.
- Po pełnym naładowaniu kontrolka może zmienić kolor lub zgasnąć. Odłącz kabel ładujący.
4.3 Wkładanie karty TF (opcjonalnie)
Do zapisywania zdjęć i filmów wymagana jest karta TF (MicroSD) (brak w zestawie).
- Locate the TF card slot on the microscope unit (refer to Figure 3.3).
- Ostrożnie wsuń kartę TF do gniazda, metalowymi stykami skierowanymi w dół, aż do zatrzaśnięcia.
- Aby wyjąć kartę, delikatnie ją dociśnij, aż wyskoczy.
5. Instrukcja obsługi
5.1 Włączanie/wyłączanie
- Włączanie: Naciśnij i przytrzymaj przycisk zasilania (zazwyczaj oznaczony symbolem zasilania) przez kilka sekund, aż ekran się podświetli.
- Aby wyłączyć: Naciśnij i przytrzymaj przycisk zasilania, aż ekran się wyłączy.
5.2 Regulacja powiększenia i ostrości
- Place the object you wish to observe on the base plate of the stand.
- Use the Height Adjustment Knob on the stand to move the microscope unit up or down, bringing the object into approximate focus.
- Rotate the Multiplier Adjustment ring on the microscope lens to fine-tune the magnification.
- Adjust the focus further by slightly moving the microscope unit or rotating the focus ring on the lens until the image on the screen is clear.
5.3 Regulacja jasności diod LED

Figure 5.1: The microscope's ring fill lights are steplessly dimmable, controlled by a slider for brightness adjustment, allowing users to set minimum to maximum illumination.
Mikroskop wyposażony jest w 8 regulowanych diod LED, które oświetlają obiekt.
- Locate the Brightness Adjustment control (often a slider or dial) on the microscope unit (refer to Figure 5.1).
- Slide or rotate the control to increase or decrease the LED brightness until optimal illumination is achieved for your observation.
5.4 Robienie zdjęć i nagrywanie filmów

Figure 5.2: The AOPICK 307C Digital Microscope is capable of recording both pictures and videos, capturing every detail of observations like circuit boards and plant leaves.
Przed rozpoczęciem nagrywania sprawdź, czy karta TF jest włożona.
- Zrobić zdjęcie: While observing, press the Photo button (usually marked with a camera icon). The screen may flash briefly to indicate a photo has been taken.
- Aby nagrać wideo: Press the Video button (usually marked with a video camera icon) to start recording. Press it again to stop recording. A recording indicator (e.g., a red dot or timer) will typically appear on the screen.
- Złapany files are saved to the TF card.
5.5 Podłączanie do komputera PC/laptopa

Figure 5.3: The AOPICK 307C Digital Microscope connected to a laptop, demonstrating its compatibility with both Mac and Windows operating systems for real-time and lag-free viewing.
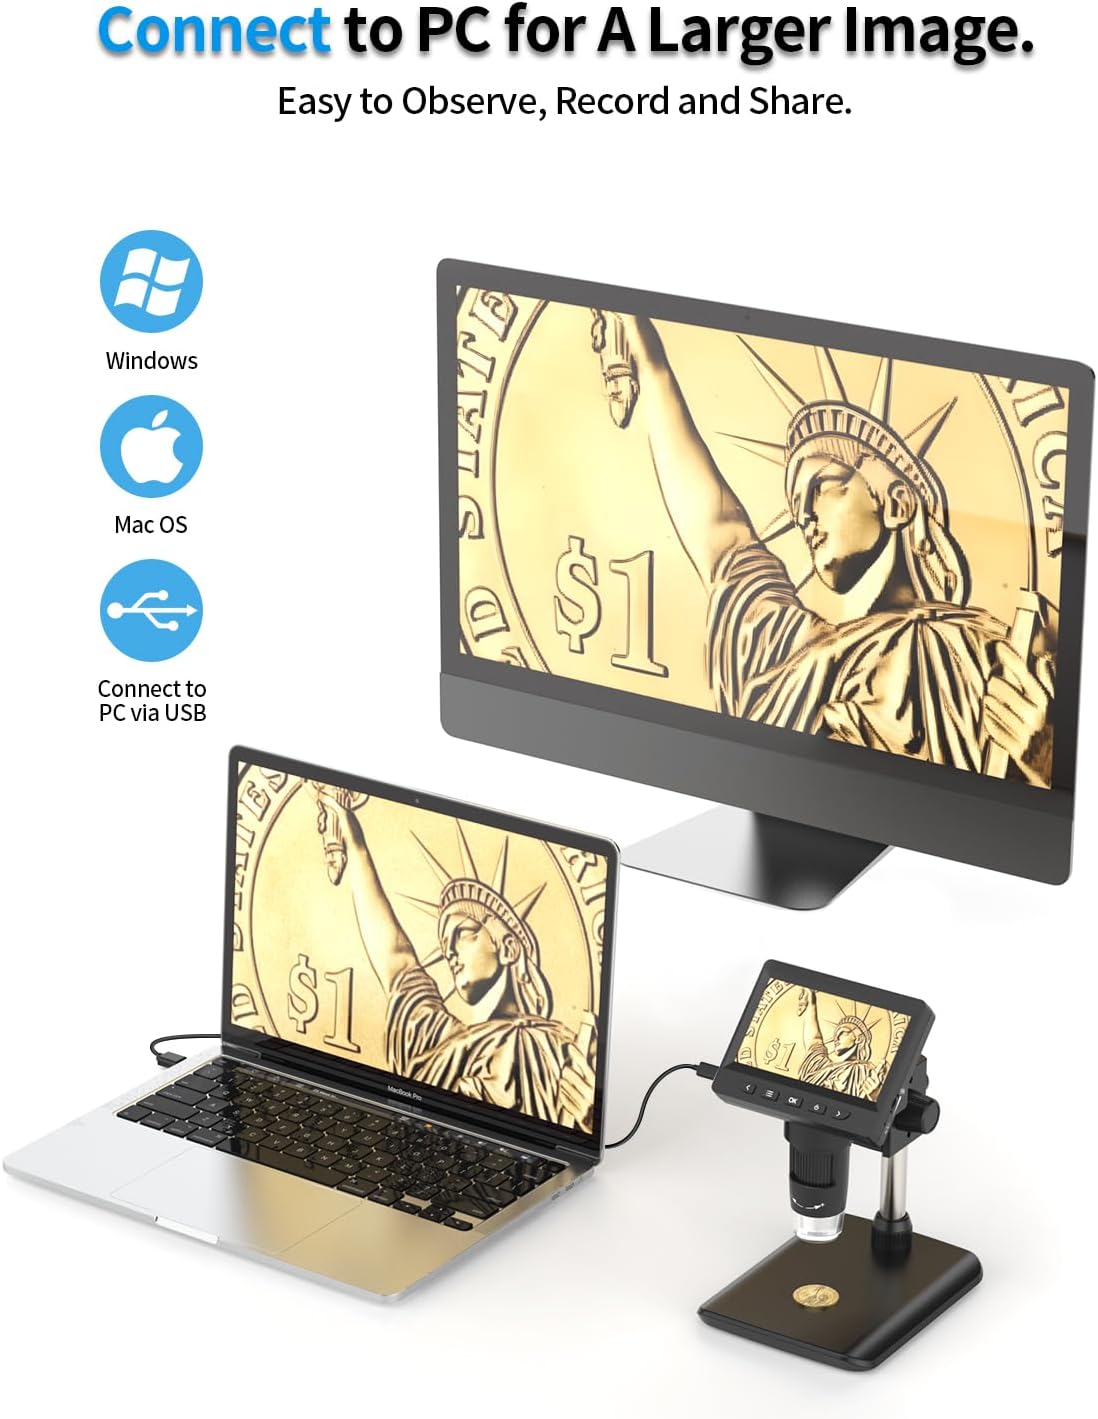
Figure 5.4: The microscope connected to both a PC monitor and a laptop, illustrating how to connect via USB for a larger image, making observation, recording, and sharing easier.
The microscope can be connected to a computer for a larger viewzdobywania doświadczenia.
- Connect the microscope to your PC or Mac using the provided USB cable.
- Mikroskop należy uznać za webcam or imaging device.
- Open a compatible camera application (e.g., Photo Booth on Mac, Camera app on Windows, or third-party microscope software) to view kanał na żywo.
- You can then use your computer's software to capture images or videos.
6. Konserwacja
6.1 Czyszczenie urządzenia
- Obiektyw: Use a soft, clean, lint-free cloth (e.g., microfiber cloth) specifically designed for optical lenses. Gently wipe the lens to remove dust or smudges. For stubborn marks, a small amount of lens cleaning solution can be applied to the cloth, not directly to the lens.
- Ekran: Wipe the LCD screen with a soft, dry cloth. Avoid pressing too hard.
- Ciało: Użyj lekko damp cloth to wipe the body of the microscope. Ensure no liquid enters any openings.
6.2 Pielęgnacja baterii
- Aby przedłużyć żywotność baterii, należy unikać częstego całkowitego rozładowywania baterii.
- If storing the microscope for an extended period, charge it to about 50% every few months.
- Nie narażaj akumulatora na działanie ekstremalnych temperatur.
6.3 Przechowywanie
- Store the microscope in a cool, dry place, away from direct sunlight and dust.
- Aby zapobiec uszkodzeniom, należy używać oryginalnego opakowania lub etui ochronnego.
7. Rozwiązywanie Problemów
| Problem | Możliwa przyczyna | Rozwiązanie |
|---|---|---|
| Mikroskop nie włącza się. | Akumulator jest rozładowany. | Charge the microscope for at least 2 hours. |
| Obraz jest rozmazany. | Incorrect focus or magnification. | Adjust the Height Adjustment Knob and Multiplier Adjustment ring until the image is clear. Ensure the object is within the working distance. |
| Ekran jest zbyt ciemny/jasny. | Ustawienie jasności diody LED jest nieprawidłowe. | Adjust the Brightness Adjustment control. |
| Nie można zapisać zdjęć/filmów. | Nie włożono karty TF lub karta jest pełna/uszkodzona. | Insert a TF card. Check if the card has sufficient space or try formatting it (this will erase all data). |
| Nie można połączyć się z komputerem. | Incorrect USB cable or port, or driver issue. | Ensure you are using the correct USB cable. Try a different USB port on your computer. Restart both the microscope and computer. Check your computer's device manager for driver issues. |
8. Specyfikacje
| Funkcja | Szczegół |
|---|---|
| Nazwa modelu | 307C |
| Marka | AOPICK |
| Wyświetlacz | 4.3-calowy wyświetlacz IPS LCD |
| Rezolucja | Rozdzielczość 1080P HD |
| Powiększenie | 50X - 1000X |
| Typ źródła światła | LED (8 regulowanych świateł) |
| Tworzywo | Plastikowy |
| Kolor | Czarny |
| Actual Angle of View | 30 stopnia |
| Kompatybilne urządzenia | PC (Windows, MacOS) |
| Opis obiektywu | Achromatyczny |
| Źródło zasilania | Zasilanie bateryjne (ładowalne) |
| Zawarte komponenty | Stojak na mikroskop |
9. Gwarancja i wsparcie
AOPICK products are designed and manufactured to the highest quality standards. For warranty information or technical support, please refer to the contact details provided with your purchase or visit the official AOPICK webstrona.
Proszę zachować dowód zakupu na wypadek ewentualnych roszczeń gwarancyjnych.
Ask a question about this manual
Ask about setup, troubleshooting, compatibility, parts, safety, or missing instructions. Manuals+ will review the question and use this page’s manual context to help answer it.