1. Wprowadzenie
This manual provides essential information for the proper setup, operation, and maintenance of your NexiGo NG17QH 4K Portable Monitor. Please read this manual thoroughly before using the device to ensure optimal performance and to prevent damage. Keep this manual for future reference.

Image: The NexiGo NG17QH 4K Portable Monitor, showcasing its sleek design and smart cover.
2. Zawartość opakowania
Verify that all items listed below are included in your package. If any items are missing or damaged, please contact NexiGo customer support.
- NexiGo NG17QH 4K Portable Monitor
- Smart Cover / Stand
- Kabel USB-C do USB-C
- Kabel mini HDMI do HDMI
- Kabel zasilający USB-A do USB-C
- Zasilacz
3. Koniec produktuview
Familiarize yourself with the ports and controls on your NexiGo NG17QH portable monitor.
Obraz: Szczegółowy view of the monitor's ports and controls.
Porty i przyciski:
- W pełni funkcjonalny port USB-C: Used for power, video, and audio transmission with compatible devices.
- Miniport HDMI: Used for video and audio transmission with HDMI-compatible devices.
- Przycisk zasilania: Press and hold to power the monitor on or off. Short press to access the OSD menu.
- Wskaźnik zasilania: Indicates the monitor's power status.
- Multi-Function Key: Służy do poruszania się po menu OSD i dostosowywania ustawień.
- OTG Interface (USB-C): Allows connection of USB peripherals like keyboards or mice when the monitor is connected via the full-featured USB-C port.
- Gniazdo słuchawkowe 3.5 mm: Do podłączania zewnętrznych urządzeń audio.
4. Konfiguracja
Follow these steps to set up your NexiGo NG17QH portable monitor.
4.1 Zasilanie monitora
- Using a single USB-C cable (Full-Featured): If your device (laptop, smartphone) supports full-featured USB-C output, connect the monitor to your device using the provided USB-C to USB-C cable. This single cable can provide both power and display signal.
- Using an external power adapter: If your device does not provide sufficient power or if you are using the Mini HDMI port, connect the provided USB-A to USB-C power cable to the monitor's full-featured USB-C port and plug the USB-A end into the power adapter, then into a wall outlet.
4.2 Łączenie się z urządzeniami
- Laptop/PC (USB-C): Connect the monitor to your laptop/PC using the USB-C to USB-C cable. Ensure your laptop's USB-C port supports DisplayPort Alternate Mode.
- Laptop/PC (HDMI): Connect the monitor to your laptop/PC using the Mini HDMI to HDMI cable. Ensure the monitor is powered externally via the USB-C power cable.
- Gaming Consoles (PS5, Xbox, Switch): Connect the monitor to your console using the Mini HDMI to HDMI cable. Ensure the monitor is powered externally via the USB-C power cable.
- Smartfon: Connect the monitor to your smartphone using the USB-C to USB-C cable. Ensure your smartphone's USB-C port supports video output.
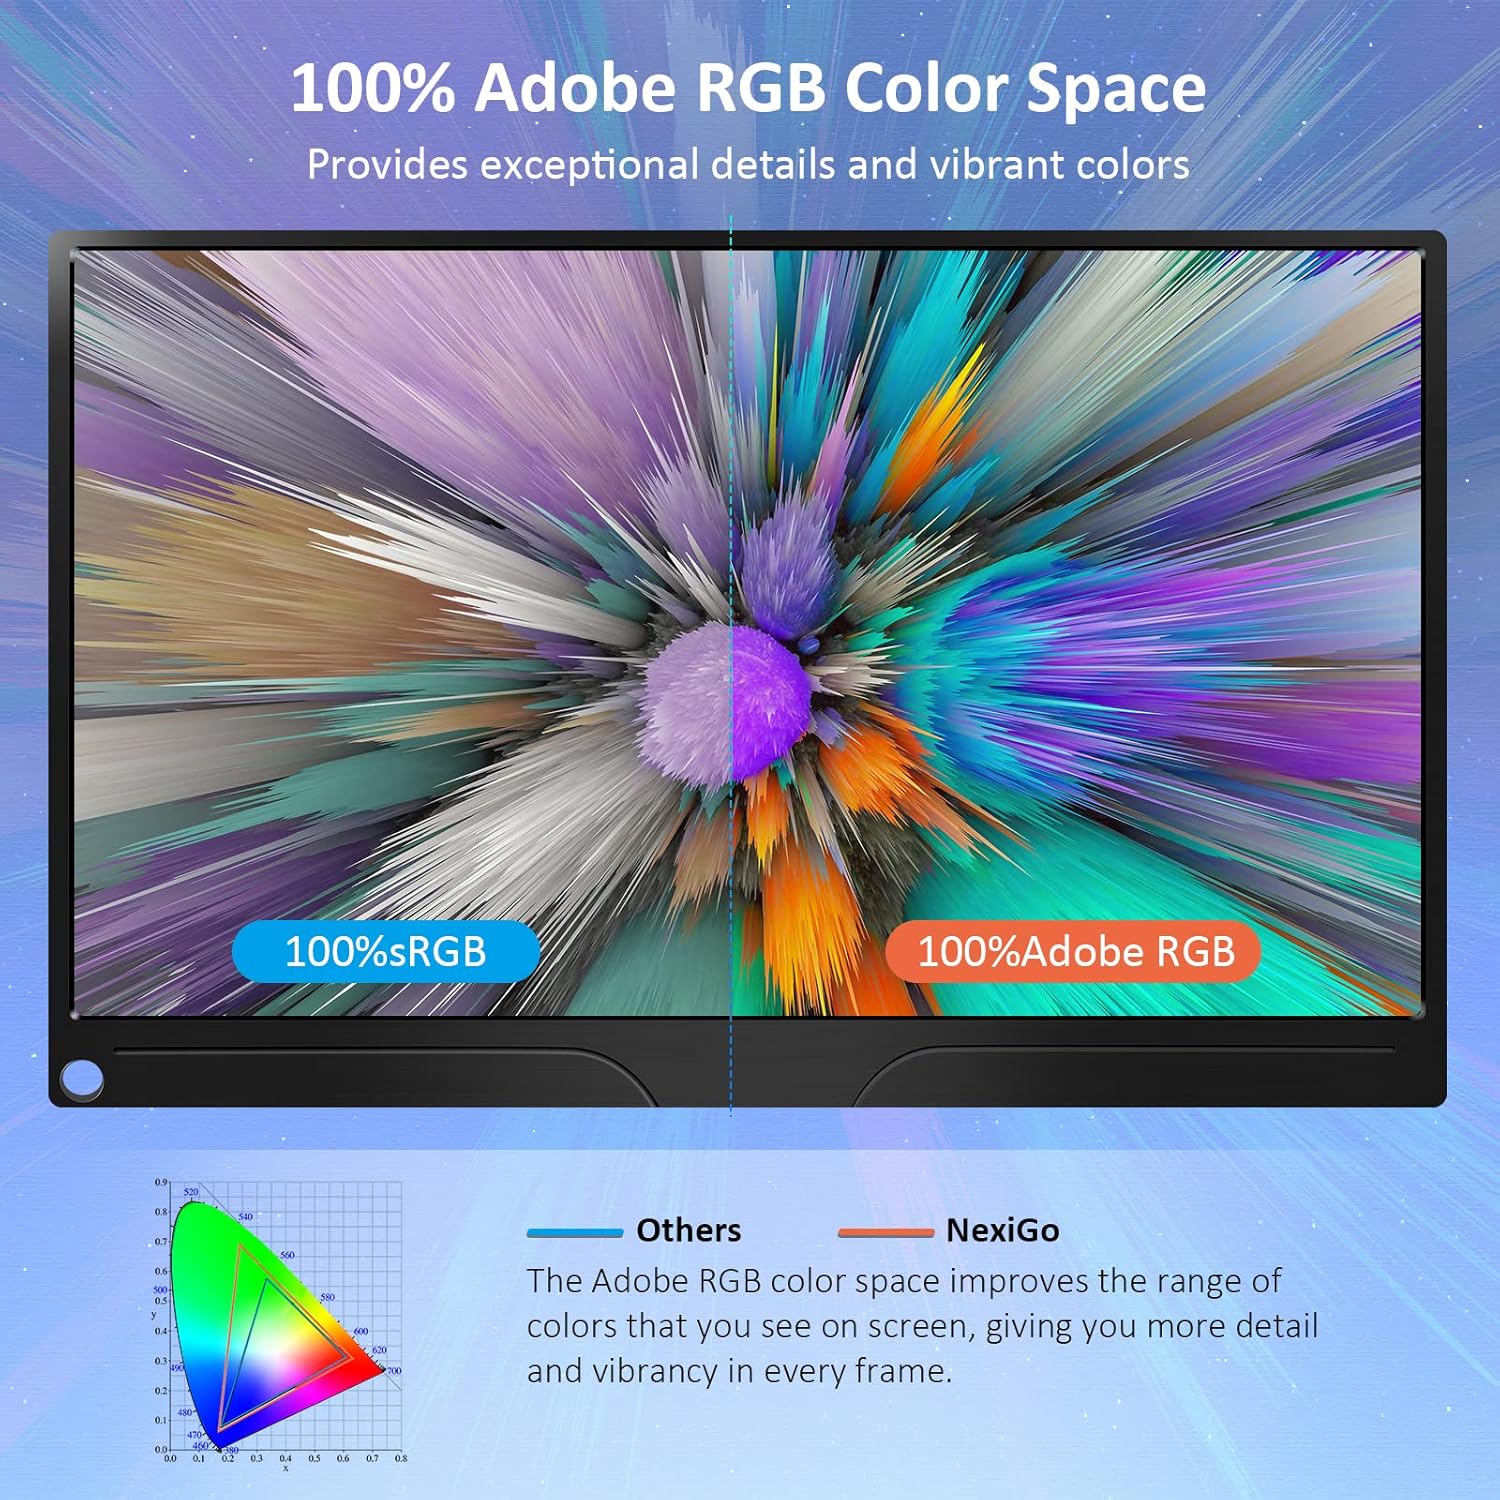
Image: The portable monitor connected to a laptop, demonstrating an extended display setup.
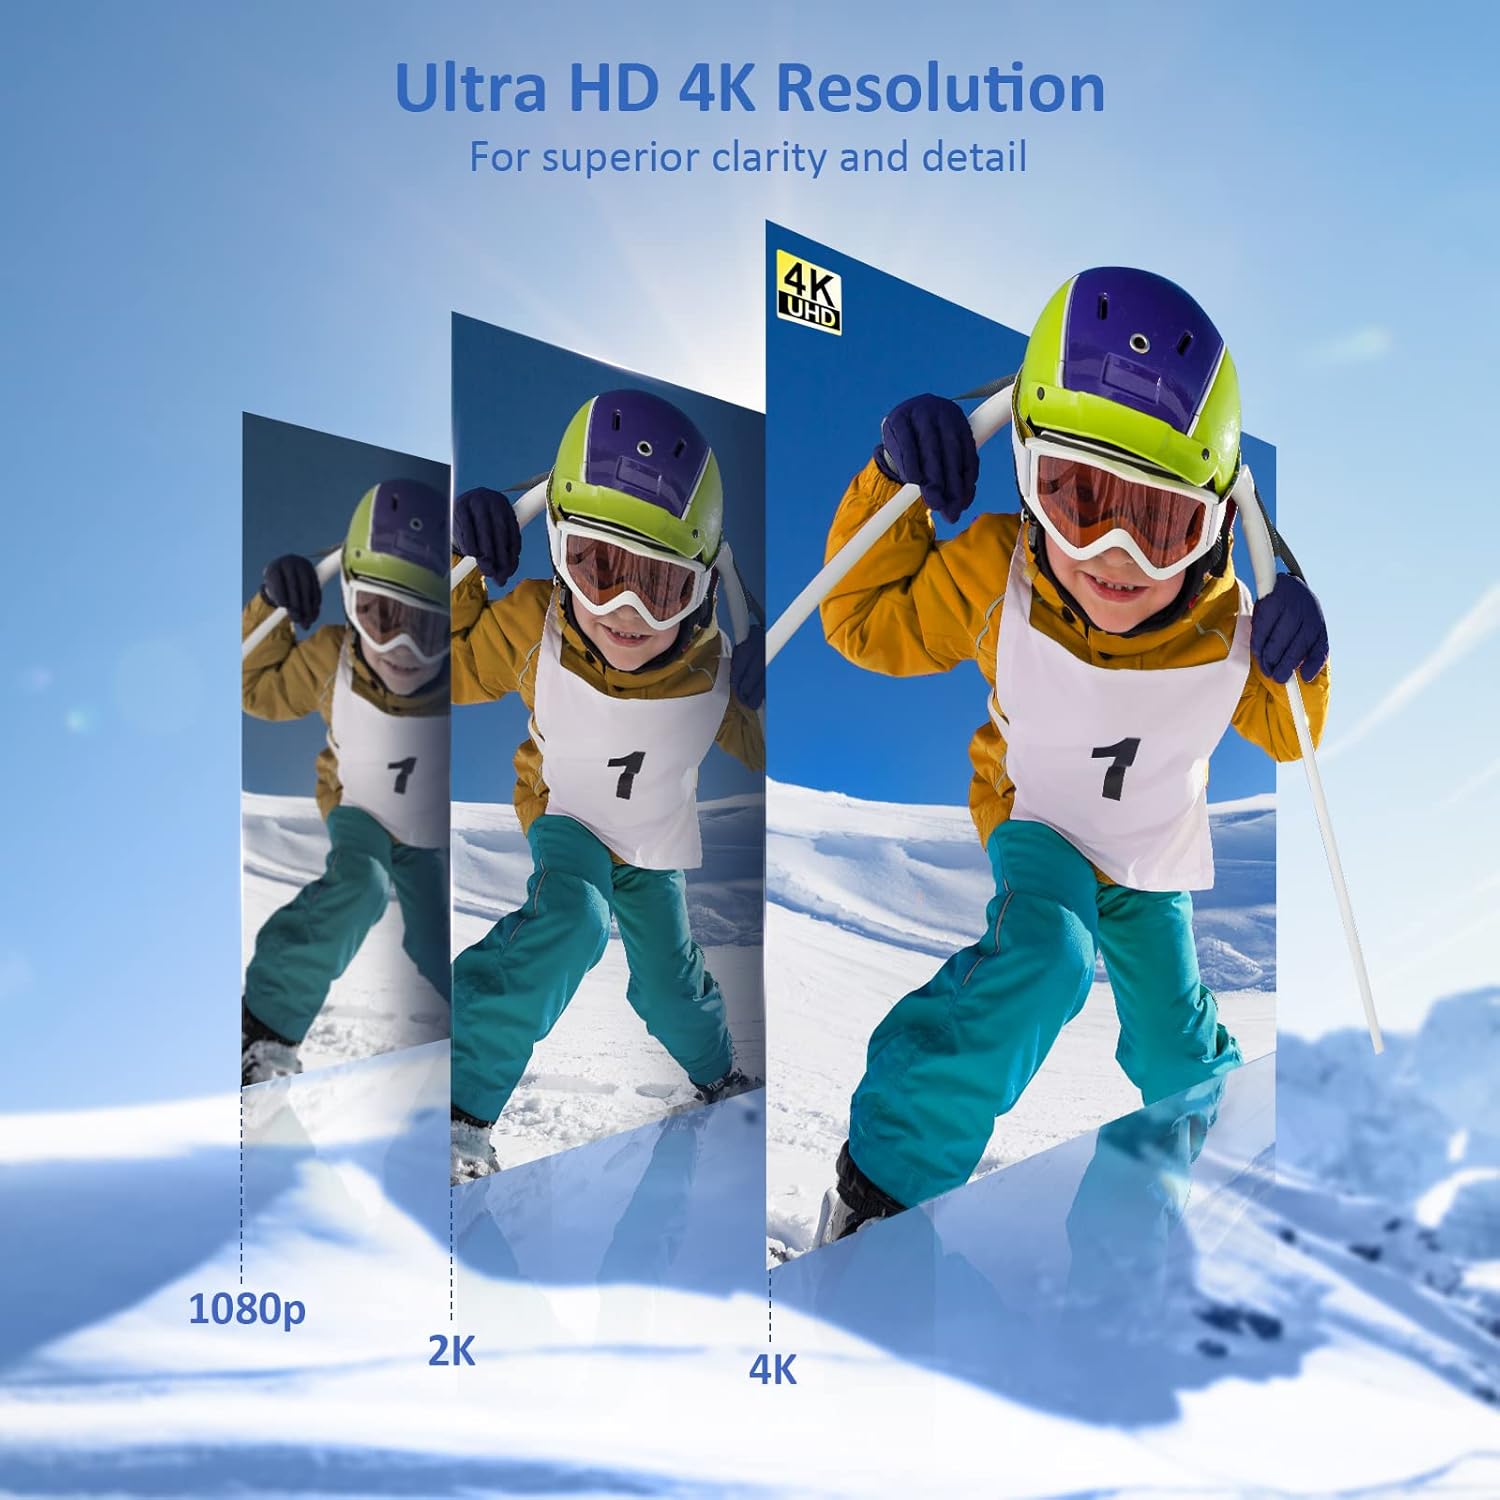
Image: The portable monitor connected to a smartphone, displaying content.
4.3 Montaż VESA
The monitor is compatible with VESA mounts (75x75mm). To mount the monitor, remove the smart cover and attach it to a compatible VESA arm or wall mount using appropriate screws (not included).
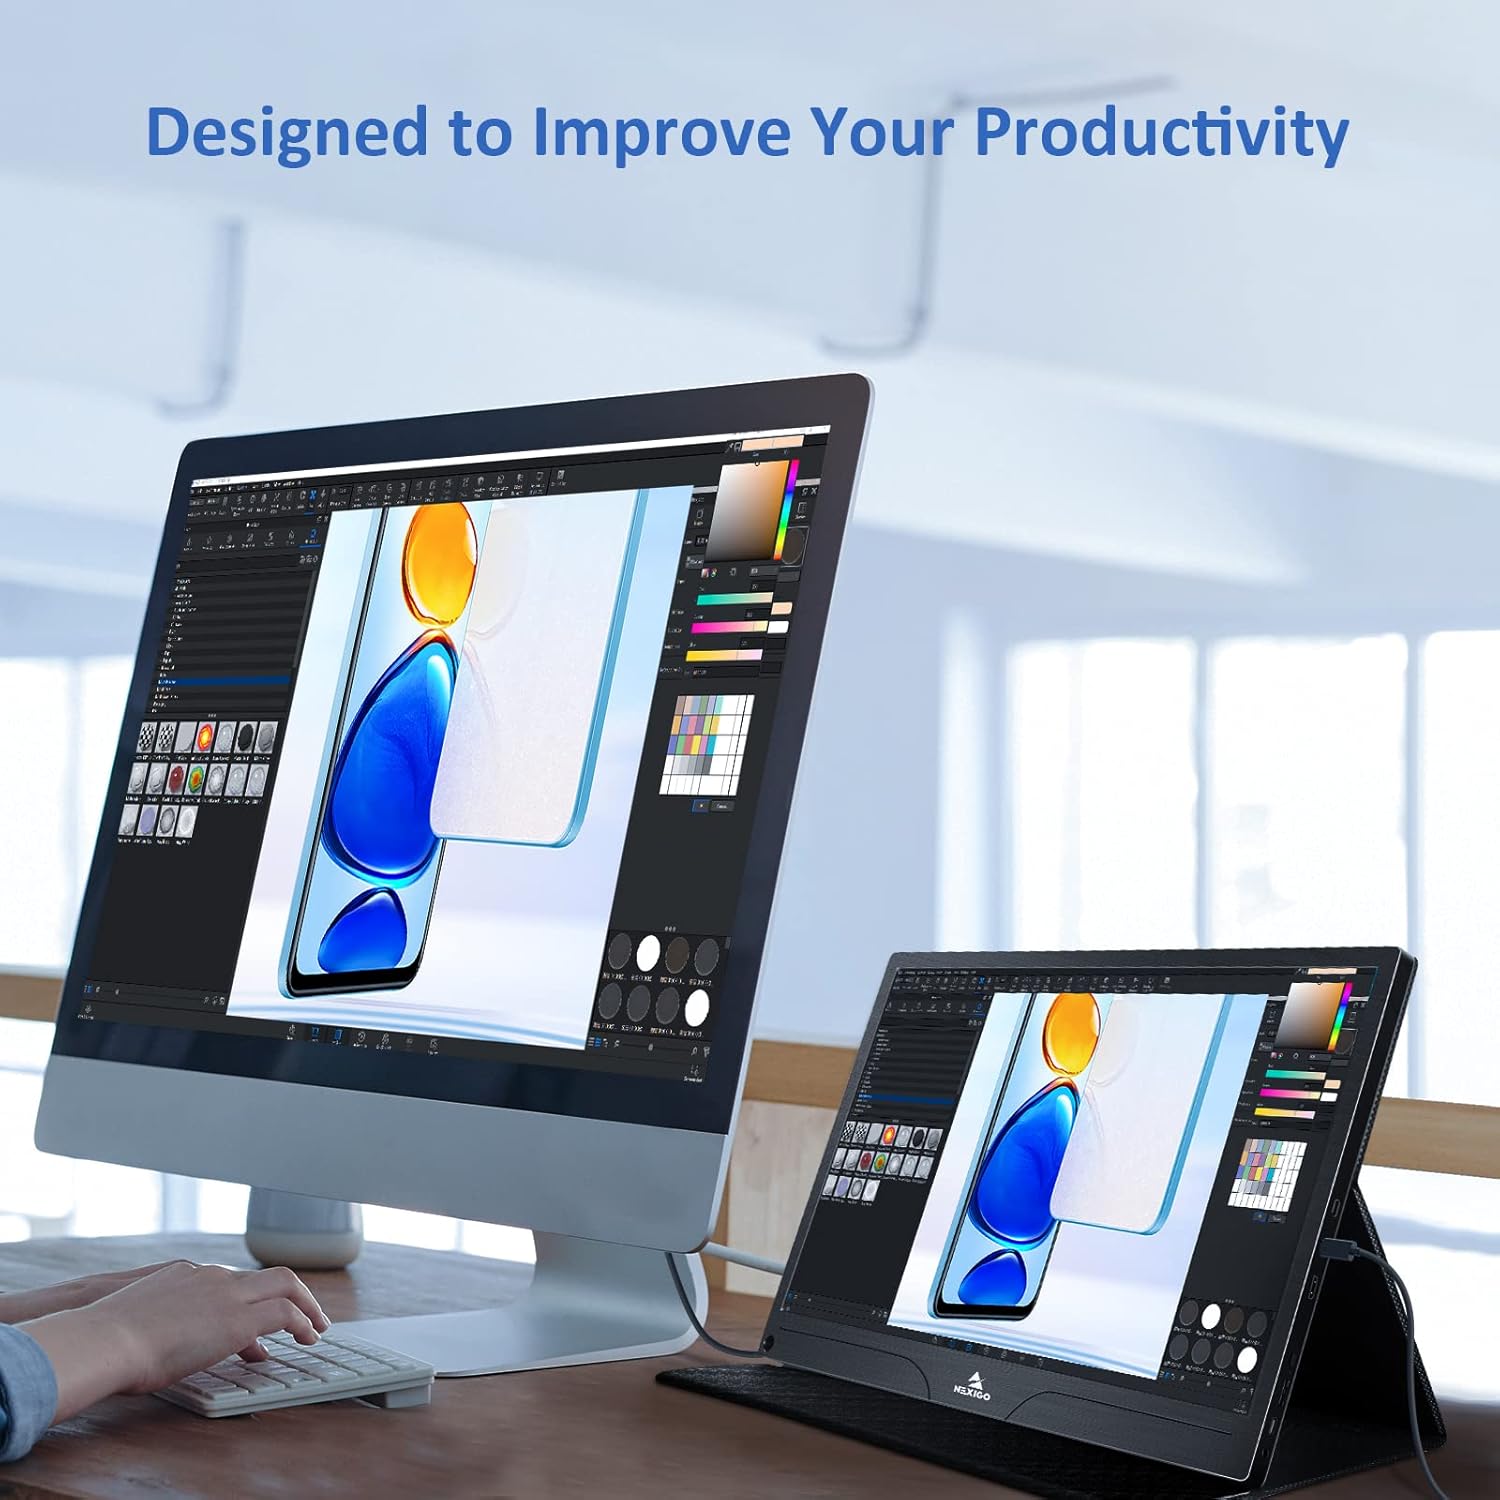
Image: The monitor mounted on a VESA-compatible desk arm.
5. Obsługa monitora
5.1 Włączanie/wyłączanie zasilania
Naciśnij i przytrzymaj Przycisk zasilania for approximately 3 seconds to turn the monitor on or off.
5.2 Menu ekranowe (OSD)
The OSD menu allows you to adjust various display settings. Short press the Przycisk zasilania to open the OSD menu. Use the Klawisz wielofunkcyjny aby nawigować i wybierać opcje.
- Góra dół: Move the Multi-Function Key up or down to navigate through menu options.
- Wchodzić: Press the Multi-Function Key inward to select an option or confirm a setting.
- Wyjście: Press the Power Button to exit the current menu or the OSD.
5.3 Ustawienia wyświetlania
- Jasność/Kontrast: Dostosuj ogólną jasność i kontrast wyświetlacza.
- Ustawienia kolorów: Zmień temperaturę barwową, odcień i nasycenie.
- Tryb HDR: Enable or disable High Dynamic Range for enhanced visual quality with compatible content.
- FreeSync: Enable FreeSync for smoother gaming experiences by synchronizing the monitor's refresh rate with your GPU's frame rate.
- Proporcje obrazu: Dostosuj proporcje obrazu (np. 16:9, 4:3).
5.4 Ustawienia audio
Adjust the volume of the built-in dual speakers or connected headphones through the OSD menu.
6. Konserwacja
- Czyszczenie ekranu: Delikatnie użyj miękkiej, niestrzępiącej się szmatki dampSpryskać wodą lub nieściernym środkiem do czyszczenia ekranów. Nie rozpylać płynu bezpośrednio na ekran.
- Czyszczenie Casing: Wytrzyj monitor casing with a soft, dry cloth. Avoid using harsh chemicals or solvents.
- Składowanie: When not in use, store the monitor in a cool, dry place, preferably in its original packaging or smart cover to protect it from dust and scratches.
- Unikaj ekstremalnych warunków: Nie wystawiaj monitora na działanie ekstremalnych temperatur, wilgoci ani bezpośredniego światła słonecznego.
7. Rozwiązywanie Problemów
Jeśli masz problemy z monitorem, zapoznaj się z poniższą tabelą, w której znajdziesz opisy typowych problemów i ich rozwiązania.
| Problem | Możliwa przyczyna | Rozwiązanie |
|---|---|---|
| Brak wyświetlacza / komunikat „Brak sygnału” | Nieprawidłowe podłączenie kabla, niewystarczające zasilanie, nieprawidłowe źródło sygnału wejściowego. | Ensure cables are securely connected. Verify external power is supplied if needed. Check the input source setting in the OSD menu. |
| Monitor się nie włącza | No power supply, faulty cable. | Ensure the power adapter is connected and working. Try a different USB-C cable or power source. |
| Migotanie ekranu | Faulty cable, unstable power, incompatible resolution/refresh rate. | Replace the cable. Ensure stable power. Adjust the display resolution or refresh rate on your connected device. |
| Brak dźwięku | Volume too low, incorrect audio output setting, faulty cable. | Increase volume via OSD or connected device. Ensure the monitor is selected as the audio output device on your source. Check cable connections. |
| OTG port not working | Monitor not powered via full-featured USB-C, device incompatibility. | Ensure the monitor is connected to a device via the full-featured USB-C port that supports OTG functionality. |
8. Specyfikacje
Detailed technical specifications for the NexiGo NG17QH 4K Portable Monitor.
| Funkcja | Specyfikacja |
|---|---|
| Numer modelu | NG17QH |
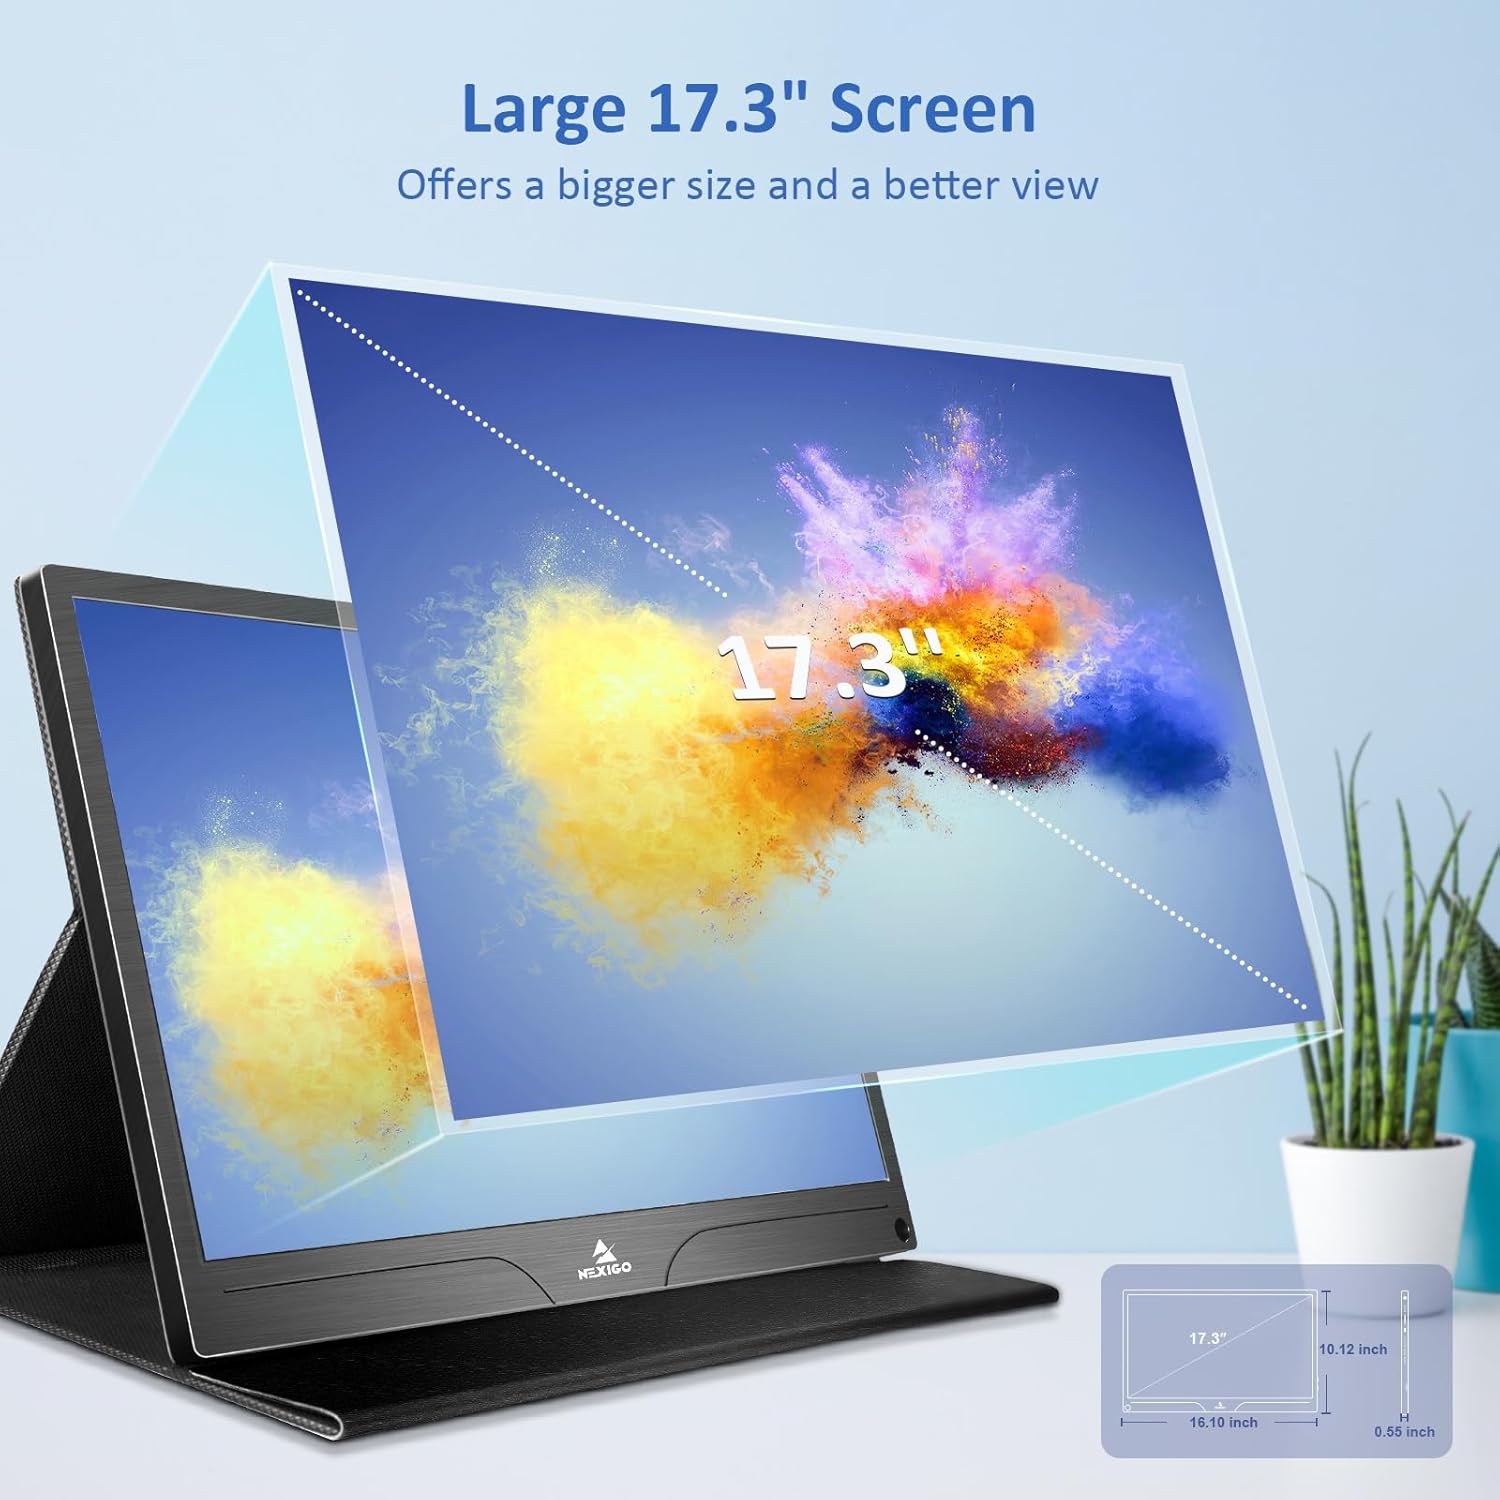
| Rozmiar ekranu | 17.3 cali |
| Rezolucja | 3840 x 2160 (4K UHD) |
| Typ panelu | IPS |
| Jasność | 400 cd/m² |
| Gama kolorów | 100% Adobe RGB |
| Proporcje obrazu | 16:9 |
| Viewing kąt | 178° |
| Cechy | FreeSync, HDR, Eye Care Screen |
| Głośniki | Dual Built-in Speakers |
| Łączność | Full-Featured USB-C (x1), Mini HDMI (x1), OTG USB-C (x1), 3.5mm Audio Jack (x1) |
| Zgodność ze standardem VESA | 75x75mm |
| Wymiary produktu | 16.1 x 10.12 x 0.55 cala |
| Waga przedmiotu | 6.39 funta |

Image: Visual comparison of 1080p, 2K, and 4K resolutions, demonstrating the clarity of the 4K display.
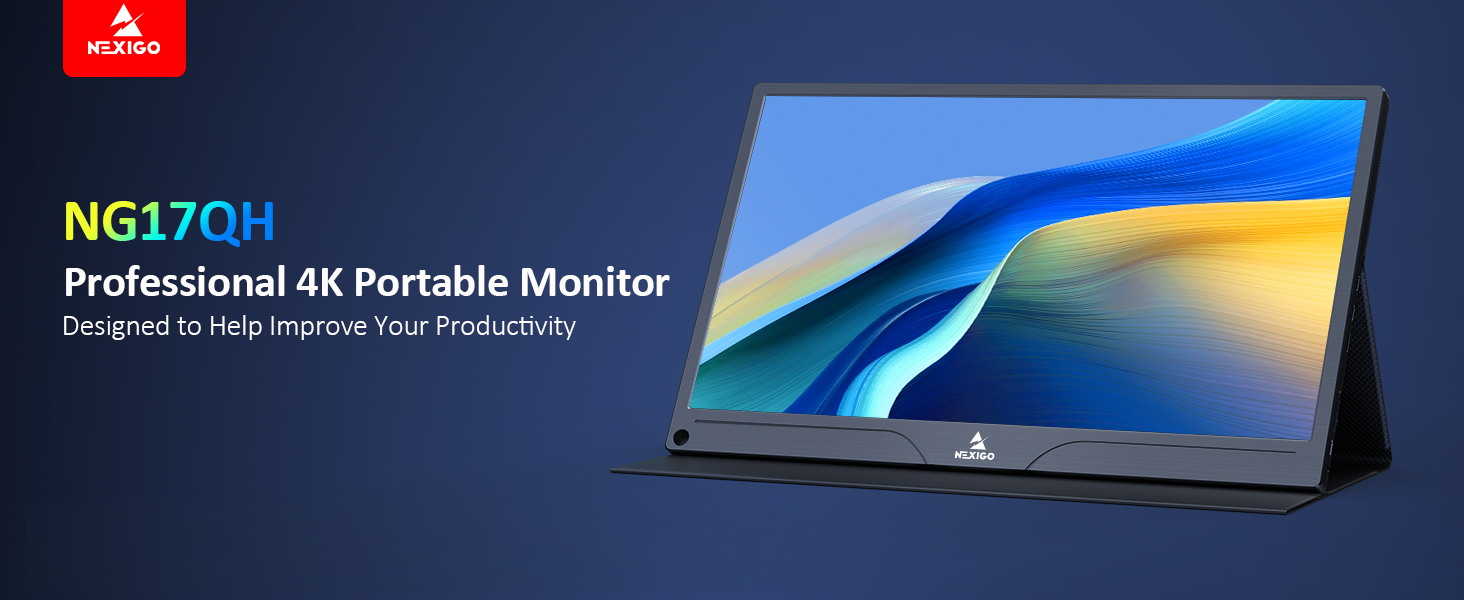
Image: A visual representation of 100% Adobe RGB color space coverage, indicating vibrant and detailed color reproduction.
9. Gwarancja i wsparcie
Your NexiGo NG17QH Portable Monitor comes with a manufacturer's warranty. For detailed warranty information, product registration, or technical support, please visit the official NexiGo webOdwiedź stronę internetową lub skontaktuj się bezpośrednio z działem obsługi klienta. Zachowaj paragon jako dowód zakupu na wypadek reklamacji.
NexiGo Official Webstrona: www.nexigo.com