
1. Wprowadzenie
This manual provides detailed instructions for the installation, operation, and maintenance of your ELUSH 100A MPPT Solar Charge Controller. This advanced controller is designed to efficiently manage power from your solar panels to your battery bank, ensuring optimal charging and system protection. It automatically recognizes 12V, 24V, 36V, and 48V systems and features dual USB 5V charging ports.
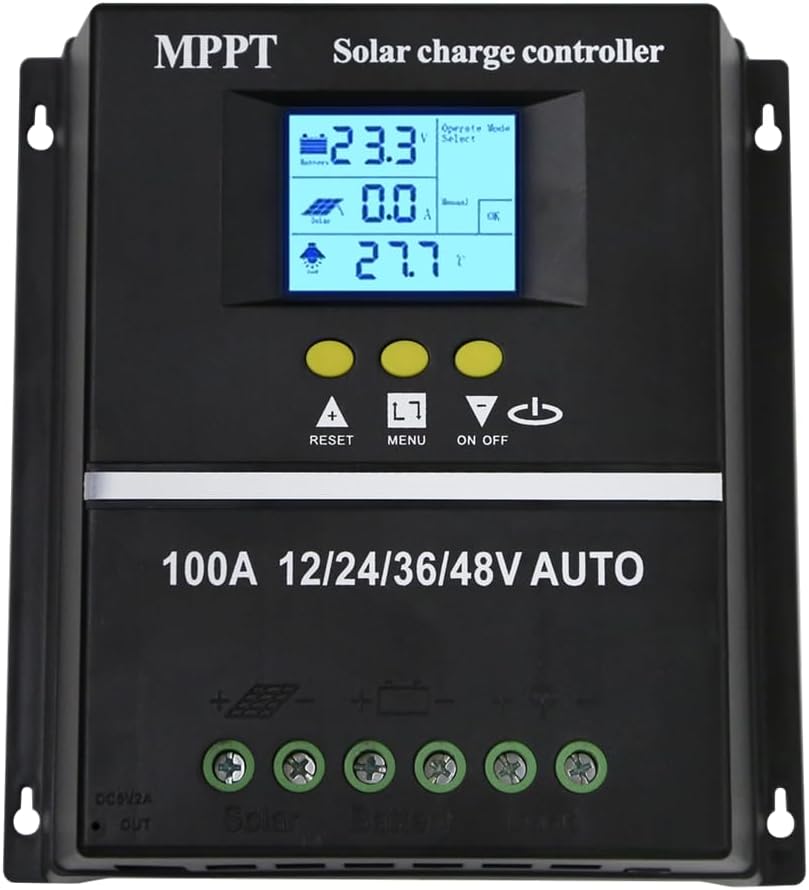
Rycina 1.1: Przód view of the ELUSH 100A MPPT Solar Charge Controller.
2. Instrukcje bezpieczeństwa
Przed instalacją i uruchomieniem należy uważnie przeczytać wszystkie instrukcje. Nieprzestrzeganie tych instrukcji może spowodować uszkodzenie urządzenia, obrażenia ciała lub szkody materialne.
- Przed włączeniem systemu należy upewnić się, że wszystkie połączenia są bezpieczne i prawidłowe.
- Nie rozmontowuj ani nie próbuj samodzielnie naprawiać kontrolera. W celu uzyskania pomocy skontaktuj się z wykwalifikowanym personelem.
- Zainstaluj kontroler w dobrze wentylowanym pomieszczeniu, z dala od materiałów łatwopalnych i bezpośredniego światła słonecznego.
- The controller provides comprehensive voltage protection, including safeguards against battery over-voltage, over-current, power failure, overcharge, deep discharge, reverse connection, and overheating.
- Device Startup Reminder: When connecting the equipment, first connect the rechargeable battery and ensure it has power. After successful startup, then connect the solar panel. This sequence ensures proper operation.
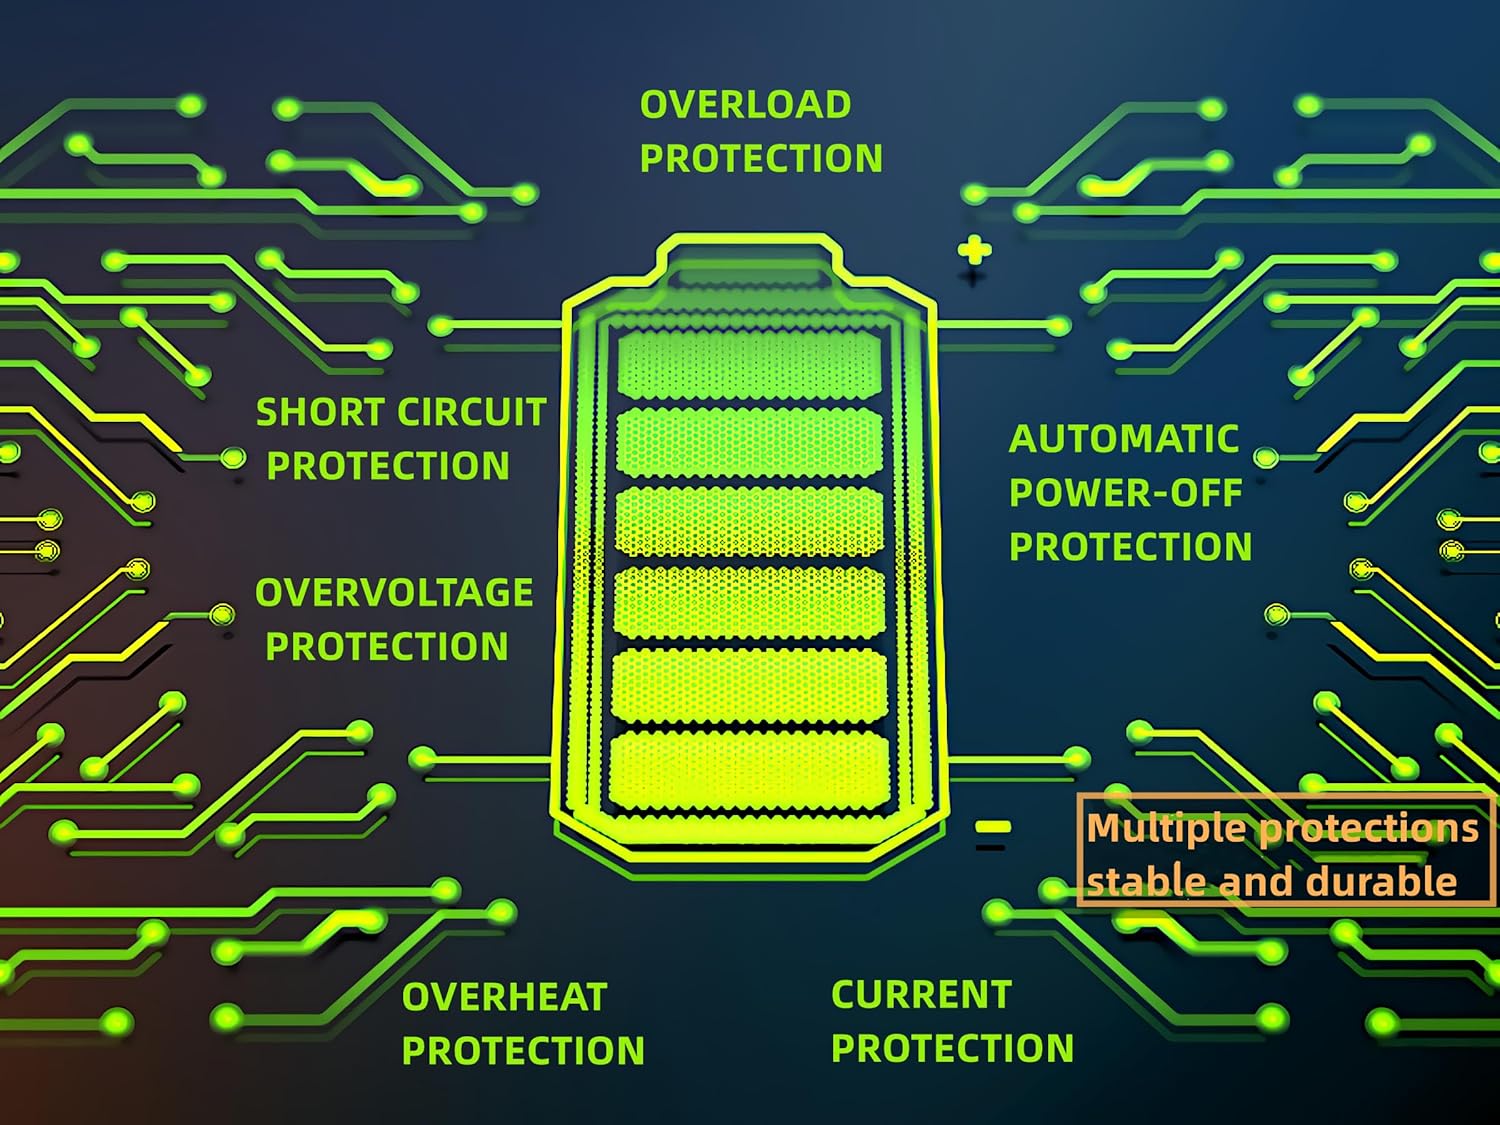
Figure 2.1: Built-in protection features for enhanced safety and durability.
3. Funkcje produktu
The ELUSH MPPT Solar Charge Controller offers a range of features designed for efficient and reliable solar power management:
- Superior MPPT Technology: Equipped with an advanced Maximum Power Point Tracking algorithm, ensuring tracking efficiency of no less than 99.5% for enhanced energy utilization.
- Automatic System Recognition: Automatically recognizes 12V, 24V, 36V, and 48V battery systems.
- Wszechstronne tryby pracy: Features seven operating modes including charging mode, light control mode, light control + time delay control mode, universal control mode, manual control mode, and timing control mode.
- Wielofunkcyjny wyświetlacz LCD: Dynamically displays operational data such as working mode, battery voltagnp. prąd ładowania PV, prąd rozładowania akumulatora, temperatura robocza produktu i czas opóźnienia.
- Podwójne porty USB: Includes dual USB 5V charging ports for convenient device charging.
- Szeroka kompatybilność baterii: Compatible with various battery types, including Sealed, GEL, Flooded, and LifePO4.
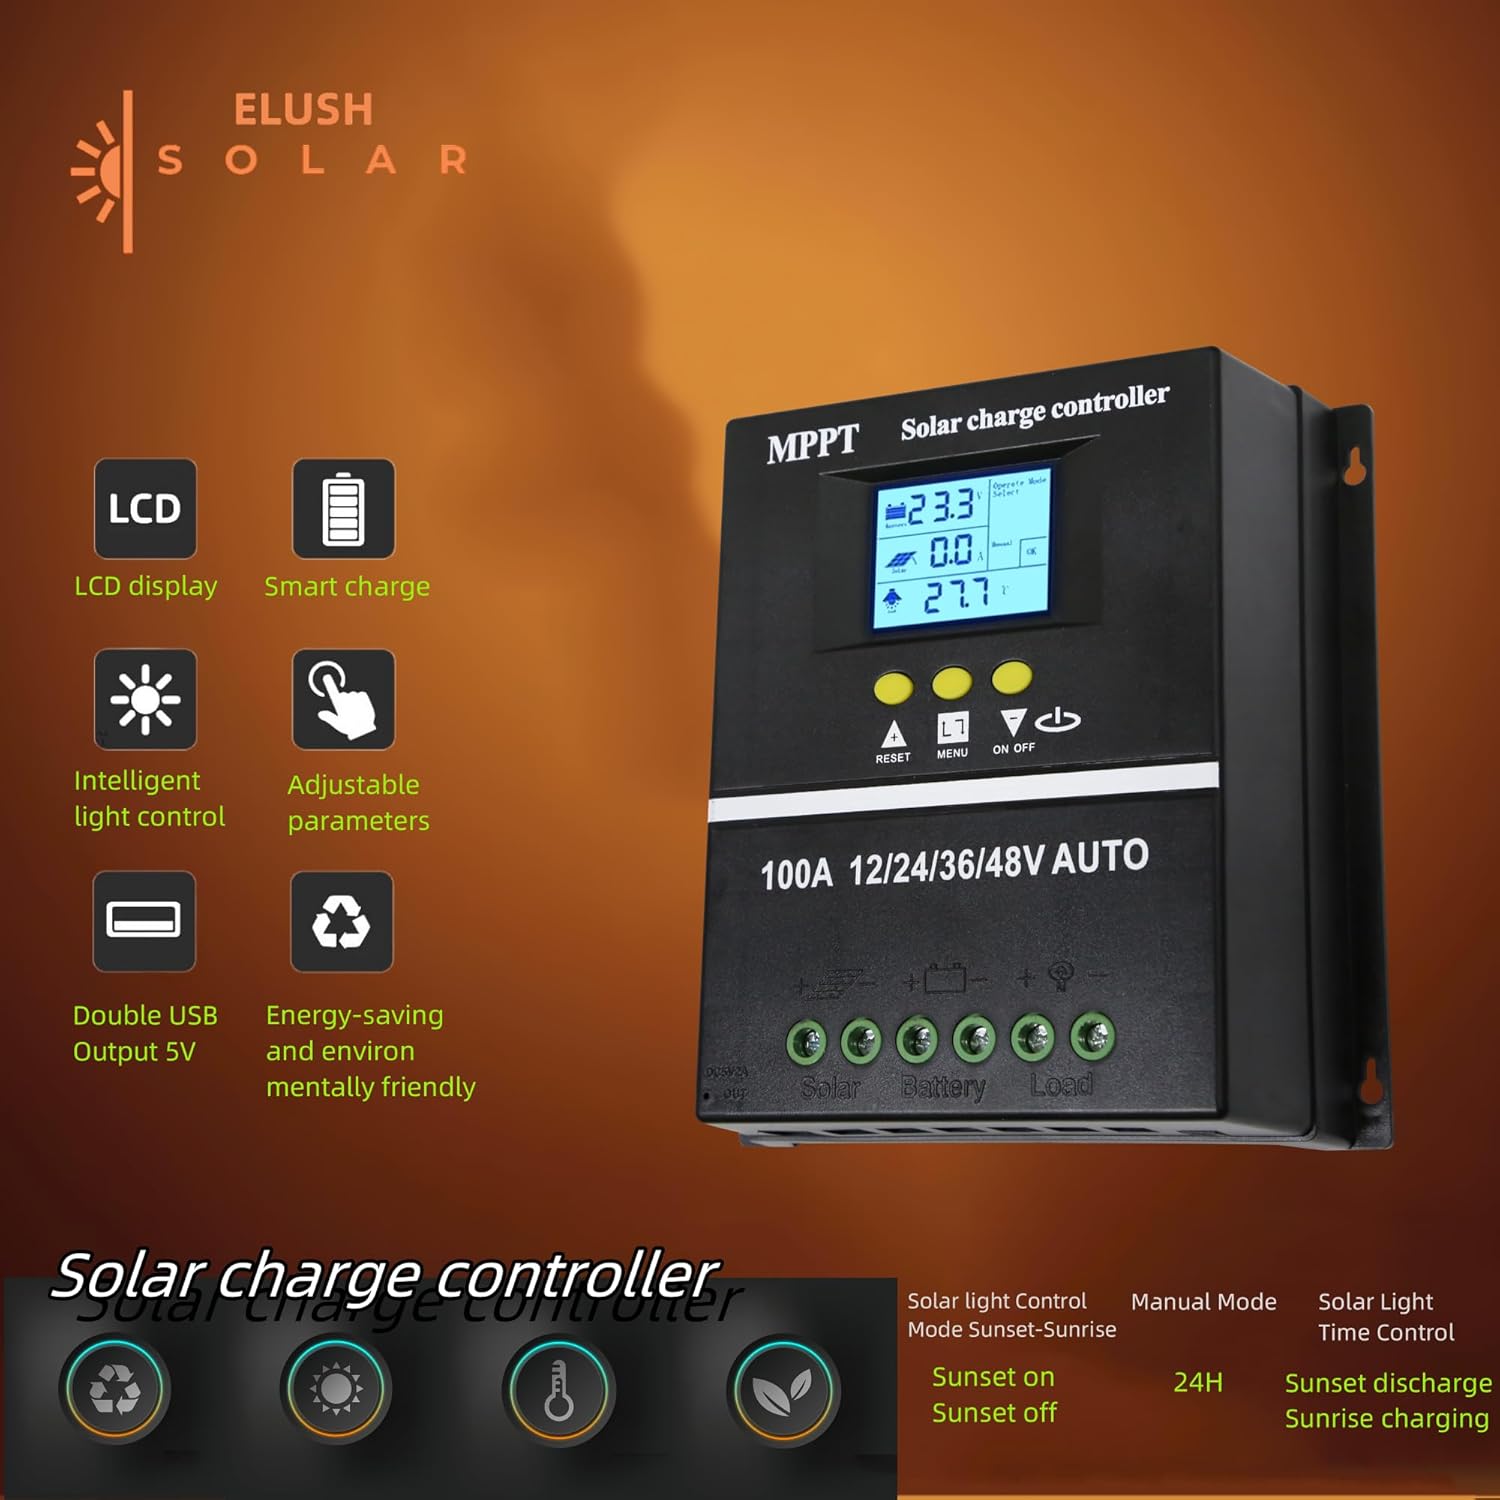
Figure 3.1: Key features of the ELUSH Solar Charge Controller.

Rysunek 3.2: Szczegółowy view of connection ports and heat dissipation design.
4. Konfiguracja i instalacja
Aby prawidłowo zainstalować regulator ładowania słonecznego, wykonaj następujące czynności:
- Przygotuj miejsce montażu: Choose a dry, well-ventilated area, protected from direct sunlight and moisture. Ensure there is enough space around the controller for proper heat dissipation.
- Podłącz akumulator: First, connect the positive and negative terminals of your battery to the corresponding battery terminals on the controller. Ensure the battery has sufficient charge to power the controller's display.
- Podłącz panele słoneczne: Next, connect the positive and negative terminals of your solar panel array to the corresponding solar panel terminals on the controller.
- Podłącz obciążenie (opcjonalnie): If you are connecting a DC load directly to the controller, connect its positive and negative terminals to the load terminals on the controller.
- Sprawdź połączenia: Sprawdź dokładnie wszystkie połączenia, aby mieć pewność, że są solidne i prawidłowo spolaryzowane.

Figure 4.1: Typical connection diagram for the solar charge controller.
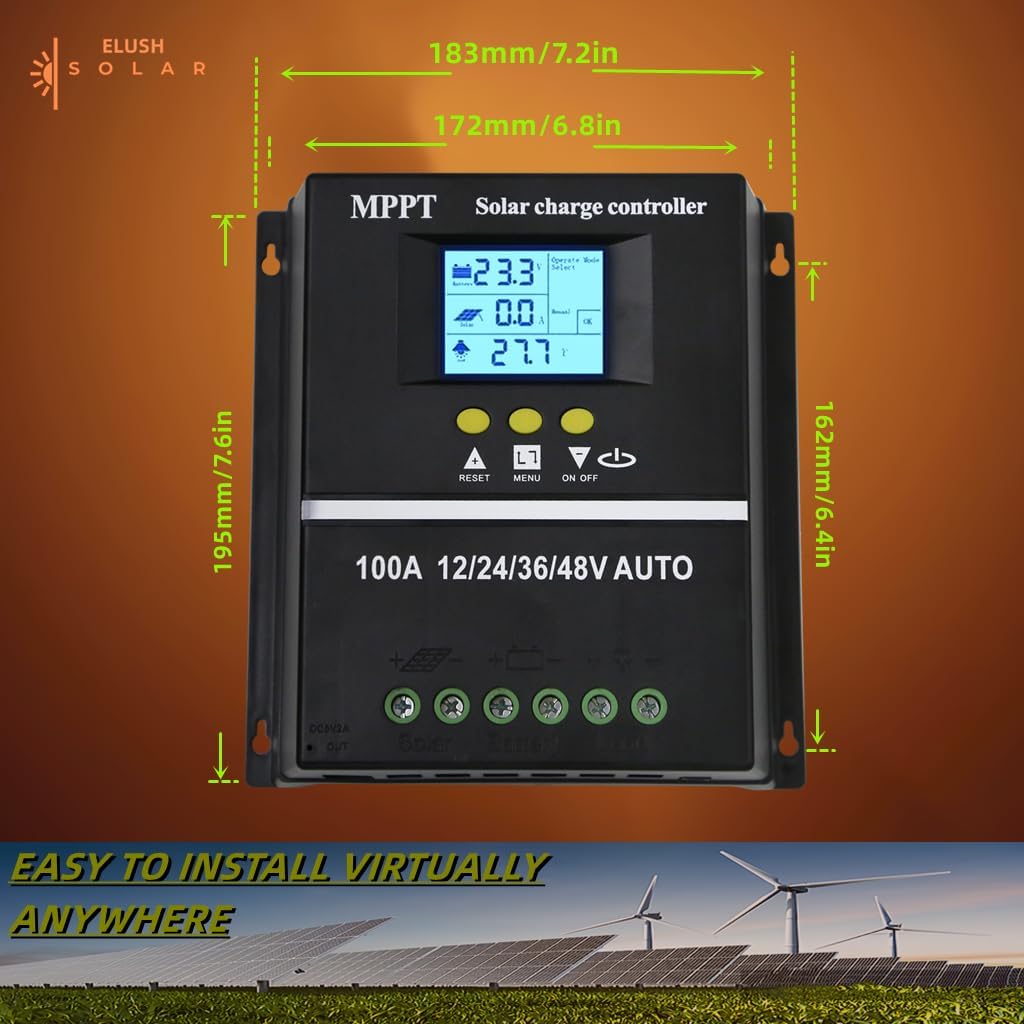
Rysunek 4.2: Wymiary produktu do planowania instalacji.
5. Instrukcja obsługi
The controller's LCD display provides real-time information and allows for configuration of various settings.
5.1 Wyświetlacz LCD i przyciski
The LCD dynamically displays operational data. Use the buttons below the screen to navigate menus and adjust settings:
- RESETOWANIE: Resets certain parameters or enters settings mode.
- MENU: Navigates through different display screens and settings.
- Strzałki GÓRA/DÓŁ: Adjust values or select options within menus.
- WŁ./WYŁ.: Steruje wyjściem obciążenia DC.
5.2 tryby ładowania
The controller supports a rapid, efficient, and safe battery charging algorithm with four stages:
- Ładunek zbiorczy: Początkowe stage where the battery receives maximum current.
- Doładowanie doładowania: Ładuje akumulator do wyższej objętościtage aby zapewnić pełne naładowanie.
- Opłata za pływak: Utrzymuje stałą objętość bateriitage aby zapobiec przeładowaniu.
- Opłata wyrównawcza: Okresowo przeładowuje baterię w celu wyrównania pojemności ogniwtages (dla niektórych typów baterii).

Figure 5.1: Four-stage battery charging process.
5.3 Wybór typu baterii
The controller is compatible with Sealed, GEL, Flooded, and LifePO4 batteries. Ensure you select the correct battery type in the settings for optimal charging and battery longevity.

Figure 5.2: Compatible battery types.
5.4 Scenariusze aplikacji
The ELUSH MPPT Solar Charge Controller is suitable for various applications, including:
- Residential solar power systems
- RV and marine solar setups
- Off-grid cabins and remote power solutions
- Portable solar power kits
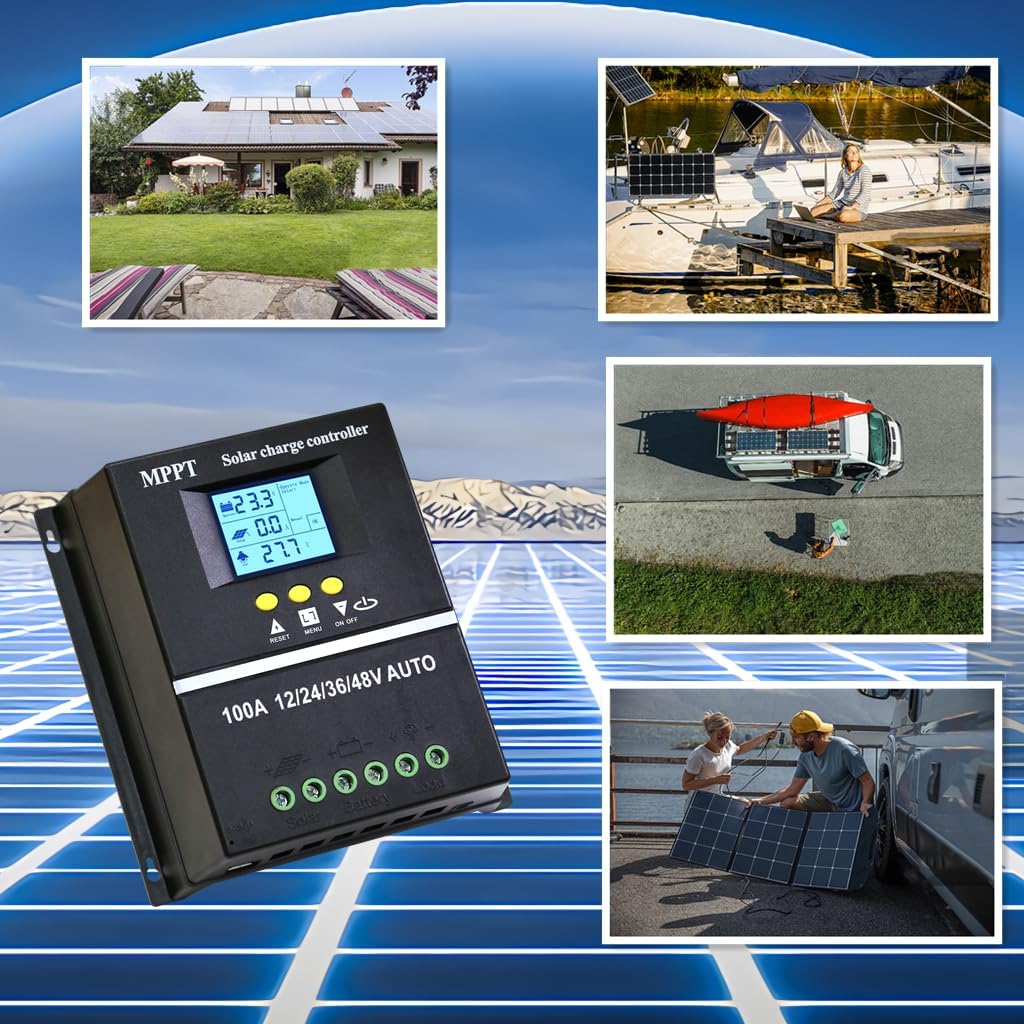
Figure 5.3: Diverse application scenarios for the solar charge controller.
6. Konserwacja
Regularna konserwacja zapewnia długowieczność i optymalną wydajność regulatora ładowania słonecznego:
- Czystość: Utrzymuj kontroler w czystości, bez kurzu i zanieczyszczeń. Do czyszczenia używaj suchej, miękkiej ściereczki.
- Znajomości: Okresowo sprawdzaj wszystkie połączenia przewodów, aby upewnić się, że są szczelne i nie mają śladów korozji. Luźne połączenia mogą prowadzić do utraty zasilania lub przegrzania.
- Wentylacja: Ensure the installation area remains well-ventilated to prevent overheating, especially during peak operation.
- Aktualizacje oprogramowania układowego: Sprawdź producenta webodwiedź naszą witrynę, aby uzyskać dostęp do aktualizacji oprogramowania sprzętowego i mieć pewność, że Twój kontroler ma najnowsze funkcje i poprawki błędów.
7. Rozwiązywanie Problemów
Jeśli masz problemy z regulatorem ładowania słonecznego, zapoznaj się z poniższymi typowymi problemami i ich rozwiązaniami:
| Problem | Możliwa przyczyna | Rozwiązanie |
|---|---|---|
| Kontroler nie włącza się / Brak wyświetlacza | Battery not connected or insufficient battery voltage. | Ensure battery is connected first and has adequate charge (minimum 9V for 12V systems). Charge battery externally if completely depleted. |
| No solar charging current | Solar panels not connected, insufficient sunlight, or panel issues. | Check solar panel connections. Ensure panels are receiving direct sunlight. Verify panel voltage. |
| Akumulator nie ładuje się w pełni | Nieprawidłowe ustawienie typu baterii, niewystarczające doprowadzenie energii słonecznej lub degradacja baterii. | Verify battery type setting on the controller. Increase solar panel capacity if needed. Test battery health. |
| Ładowanie nie działa | Load output disabled, overload, or low battery voltage. | Check load output setting (ON/OFF button). Reduce load if overloaded. Charge battery. |
| Przegrzanie | Poor ventilation or excessive load/charging current. | Ensure adequate airflow around the controller. Reduce load or check for short circuits. |
8. Specyfikacje
Detailed technical specifications for the ELUSH 100A MPPT Solar Charge Controller:
| Parametr | Wartość |
|---|---|
| Pojemność bateriitage | Automatyczne 12V/24V/36V/48V |
| Prąd ładowania | 100A |
| Max Solar Input (Voc) | 15-25V (12V Battery); 30-50V (24V Battery); 45-75V (36V Battery); 60-100V (48V Battery) |
| Maksymalna moc wejściowa fotowoltaiki | 1200W (12V Battery); 2400W (24V Battery); 3600W (36V Battery); 4800W (48V Battery) |
| Port USB | DC 5V/1.5A x 2 USB |
| Temperatura pracy | -25°C ~ 55°C |
| Producent | ELUSH |
| Waga przedmiotu | 1.79 funta |
| Wymiary opakowania | 8.11 x 8.03 x 2.91 cala |

Figure 8.1: Detailed specifications of the 100A model.
9. Gwarancja i wsparcie
ELUSH offers a 1-year warranty for this product. For technical support or any issues you may encounter, please feel free to contact our team. Our engineers are available to provide advice and solutions.
Aby uzyskać więcej informacji i produktów, odwiedź stronę ELUSH Store.