
1. Wprowadzenie
Thank you for choosing the OTIC 10.1-inch Portable Dual Screen Car DVD Player. This device is designed to provide versatile entertainment on the go, featuring two synchronized screens, a long-lasting rechargeable battery, and broad media compatibility. This manual will guide you through the proper setup, operation, and maintenance of your new DVD player to ensure optimal performance and longevity.
2. Zawartość opakowania
Proszę dokładnie sprawdzić opakowanie, aby upewnić się, że wszystkie przedmioty znajdują się w opakowaniu i są w dobrym stanie. Jeśli któregokolwiek z nich brakuje lub jest uszkodzony, prosimy o kontakt ze sprzedawcą.
- 1 x Main DVD Player Unit
- 1 x Slave Monitor Unit
- 1 x zasilacz AC/DC
- 1 x DC to DC Connection Cable
- 1 x AV Connection Cable
- 1 x adapter ładowarki samochodowej
- 1 x Pilot zdalnego sterowania (baterie w zestawie)
- 2 x słuchawki
- 2 x paski montażowe
- 1 x Instrukcja obsługi (ten dokument)
- 1 x Skrócona instrukcja obsługi

Notatka: The remote control requires 2 AAA batteries, which are included.
3. Główne cechy
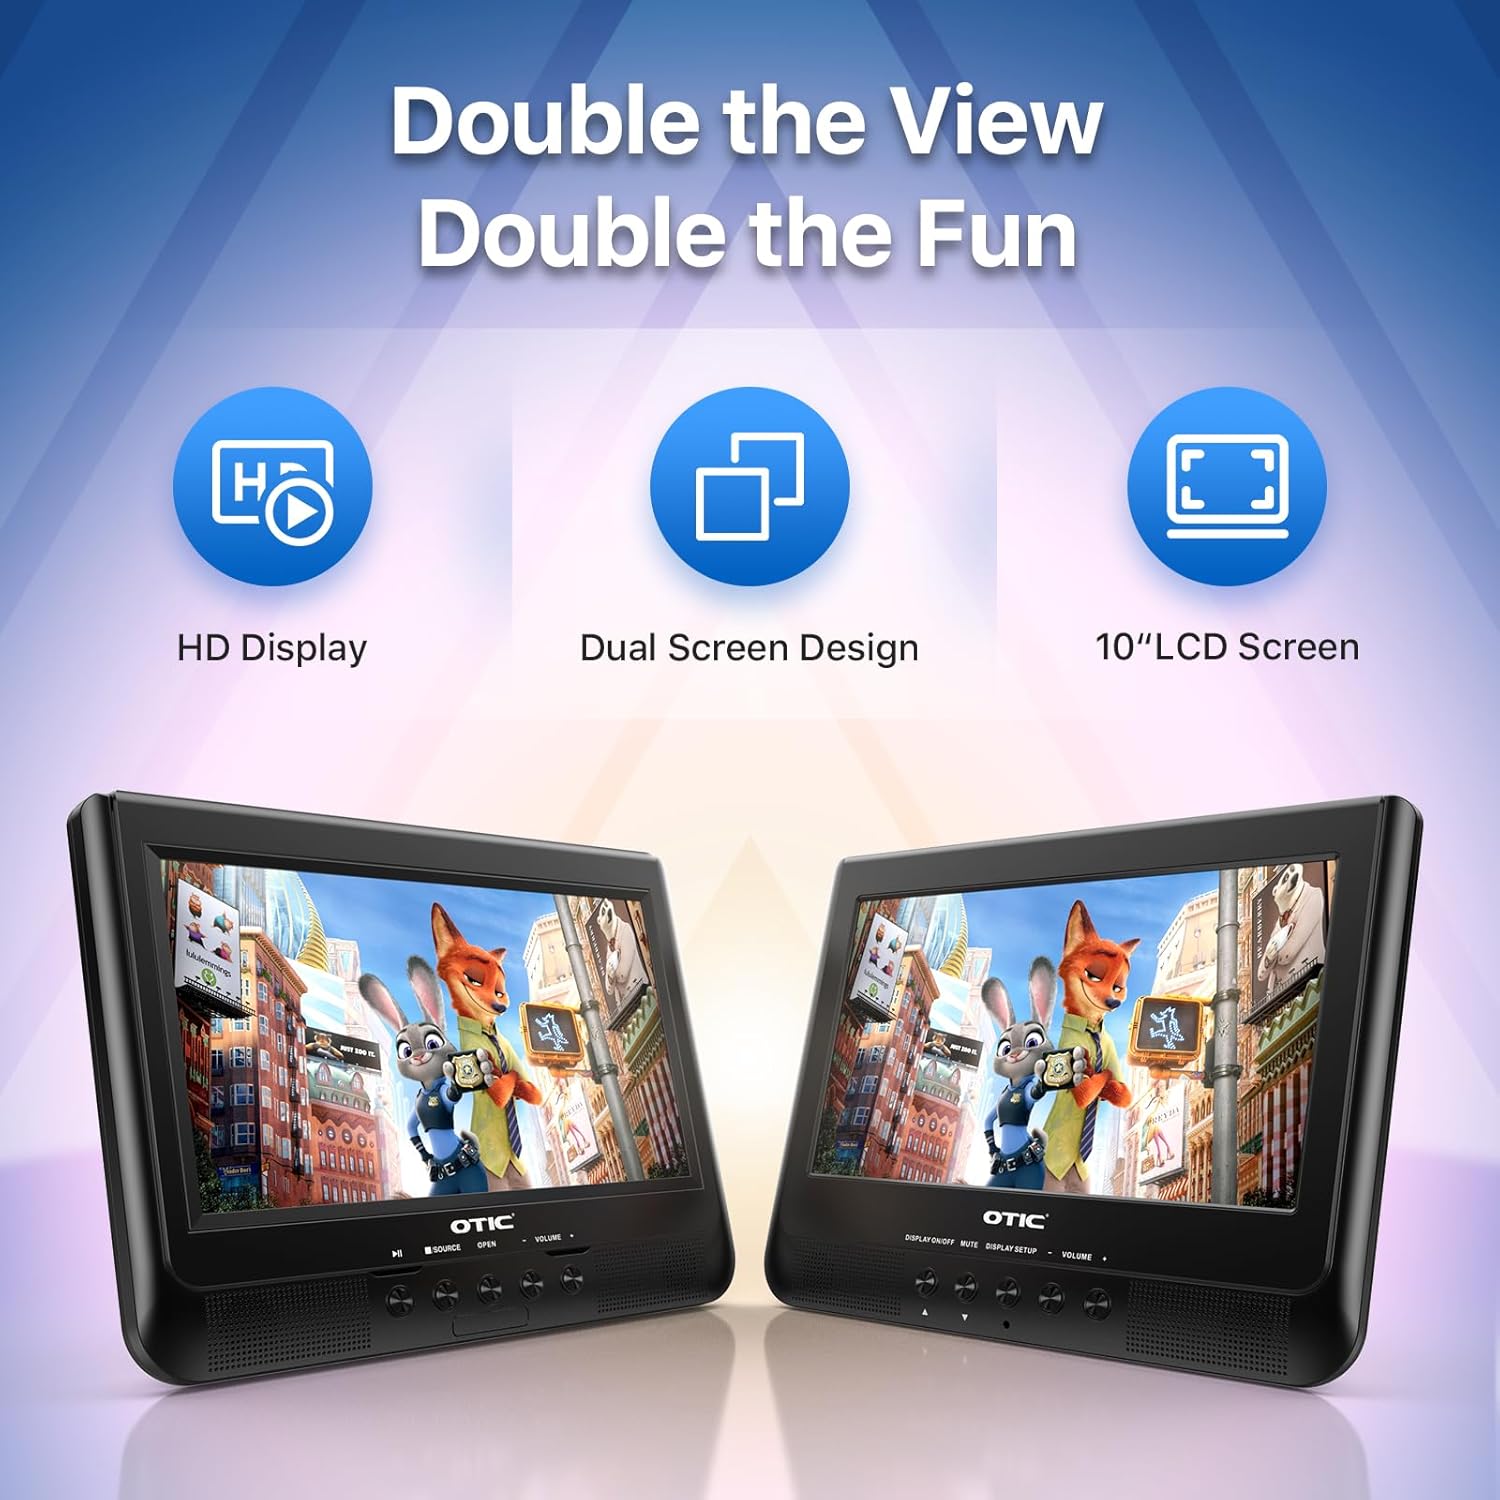
- Dual Display Capability: Connect the host DVD player to the slave monitor using the included AV cable for synchronized viewing of the same content.
- High-Resolution Screens: Both 10.1-inch displays feature a resolution of 1024 x 600 pixels. The main unit's screen can rotate 270° and flip 180° for optimal viewkąty.
- Dłuższa żywotność baterii: Equipped with a built-in 2500 mAh rechargeable battery, providing 3-5 hours of continuous video playback.
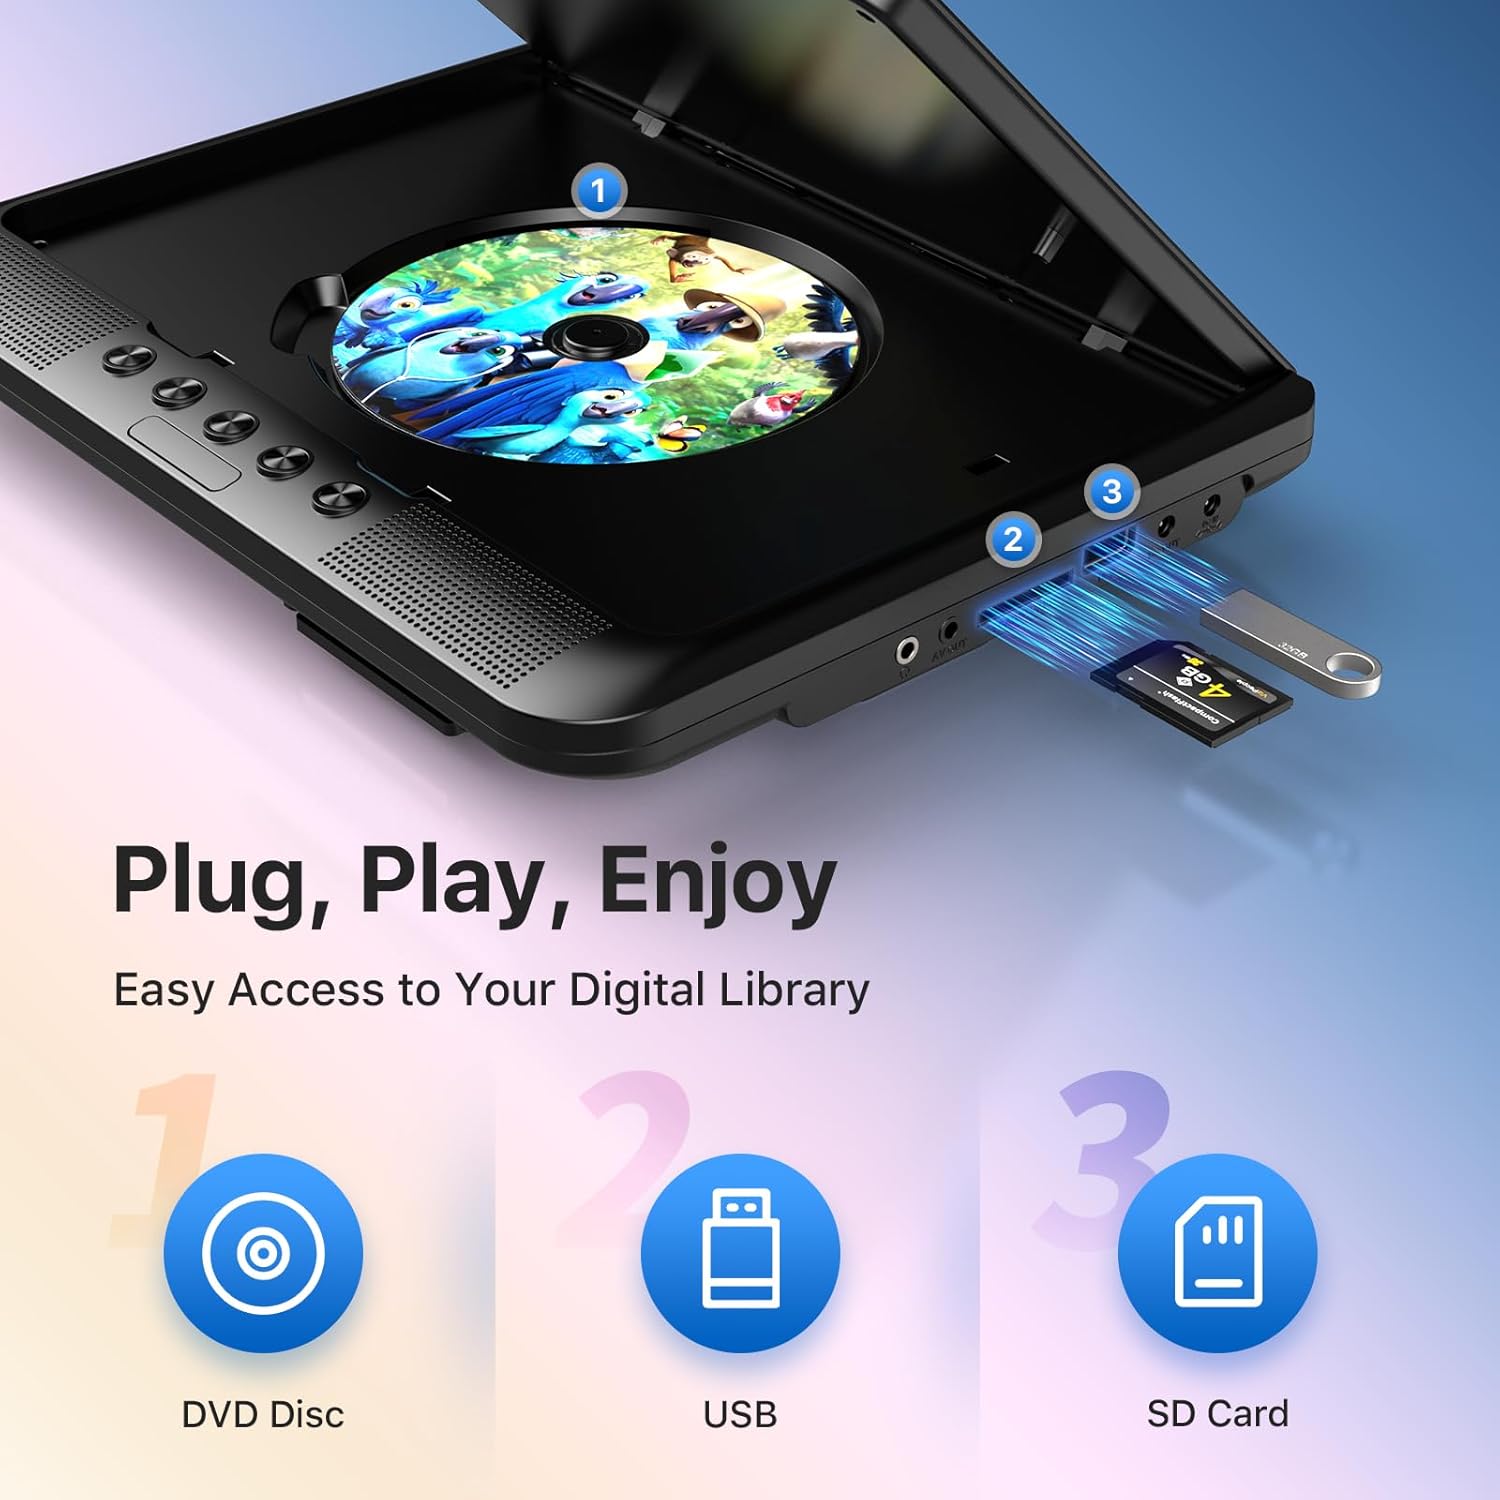
- Versatile Media Support: Plays various formats including CD, DVD, CD-R/RW, DVD±R/±RW, VCD/SVCD. Supports USB drives and SD cards up to 32GB for video (VOB, AVI, MPEG1, MPEG2, XVID), audio (MP3, WMA), and image (JPG, JPEG) files. (Note: Blu-ray DVDs are not supported.)
- Ostatnia funkcja pamięci: Automatically resumes playback from where you left off, ensuring a seamless viewzdobywania doświadczenia.
- Ulepszony dźwięk: Integrated dual stereo speakers deliver clear sound. A 3.5mm headphone jack is available for private listening.
- Wejście/wyjście AV: Allows connection to larger TV screens for shared viewing or to external video sources.
4. Przewodnik konfiguracji
4.1 Pierwsze ładowanie
Before first use, fully charge the main DVD player unit. Connect the AC/DC power adapter to the player's DC IN port and plug it into a wall outlet. The charging indicator light will typically turn off or change color when fully charged.
4.2 Connecting the Dual Screens
- Locate the AV OUT port on the main DVD player unit.
- Locate the AV IN port on the slave monitor unit.
- Connect the included AV connection cable between the AV OUT of the main unit and the AV IN of the slave unit.
- Connect the DC to DC connection cable from the main unit's DC OUT port to the slave unit's DC IN port to power the slave monitor.
4.3 Zasilanie urządzenia
- Zasilanie prądem zmiennym: Use the AC/DC power adapter for home use.
- Moc samochodu: Use the car charger adapter to power the unit from your vehicle's 12V power outlet.
- Moc baterii: The built-in rechargeable battery provides portable power for outdoor use.
4.4 Mounting in a Vehicle
Use the provided mounting straps to securely attach the DVD player and slave monitor to the headrests in your car. Ensure they are positioned safely and do not obstruct the driver's view lub wyzwolenie poduszki powietrznej.

5. Instrukcja obsługi
5.1 Podstawowe odtwarzanie
- Włączanie: Press the 'POWER' button on the unit or remote control.
- Włóż płytę: Gently open the disc cover and place a DVD or CD onto the spindle, label side up. Close the cover firmly.
- Odtwarzanie USB/SD: Insert a USB drive into the USB port or an SD card into the SD card slot. The player should automatically detect the media or allow you to select the source using the 'SOURCE' button.
- Sterowanie odtwarzaniem: Use the 'PLAY/PAUSE', 'STOP', 'NEXT', 'PREVIOUS', 'FF' (Fast Forward), and 'REW' (Rewind) buttons on the unit or remote control to manage playback.
- Regulacja głośności: Use the 'VOL+' and 'VOL-' buttons to adjust the volume.

5.2 Korzystanie z pilota zdalnego sterowania
The included remote control provides full functionality for convenient operation from a distance. Point the remote control directly at the main DVD player unit's IR sensor.
5.3 Ostatnia funkcja pamięci
The player automatically remembers the last playback point. To resume from where you left off, simply power on the device and press 'PLAY'. This function is active for most disc and digital media formats.
5.4 Connecting to an External Display (TV)
To share your viewing experience on a larger screen, use the AV OUT port on the main DVD player unit and connect it to the AV IN ports of your television using the included AV cable. Select the correct AV input on your TV.

6. Zgodność z mediami
The OTIC DVD player supports a wide range of media formats:
- Formaty płyt: DVD, DVD+R, DVD-R, DVD+RW, DVD-RW, CD, CD+R, CD-R, CD+RW, CD-RW, VCD, SVCD. (Blu-ray discs are not supported.)
- Video Formats (USB/SD): VOB, AVI, MPEG1, MPEG2, XVID.
- Audio Formats (USB/SD): Format: MP3.
- Image Formats (USB/SD): JPG, JPEG.
USB drives and SD cards up to 32GB capacity are supported.

7. Konserwacja
7.1 Czyszczenie urządzenia
Przetrzyj zewnętrzną część odtwarzacza miękką, suchą ściereczką. W przypadku uporczywych zabrudzeń delikatnie przetrzyj.ampen the cloth with water. Do not use abrasive cleaners or solvents, as they may damage the surface.
7.2 Pielęgnacja dysków
Handle discs by their edges. Keep discs clean and free of scratches. Store them in their cases when not in use. A dirty or scratched disc can cause playback issues.
7.3 Pielęgnacja baterii
Aby przedłużyć żywotność baterii, należy unikać częstego całkowitego rozładowywania. W przypadku przechowywania urządzenia przez dłuższy czas, należy ładować je do około 50% pojemności co kilka miesięcy.
8. Rozwiązywanie Problemów
If you encounter issues with your OTIC DVD player, please refer to the following common problems and solutions:
| Problem | Możliwa przyczyna | Rozwiązanie |
|---|---|---|
| Odtwarzacz się nie włącza. | Akumulator jest rozładowany; zasilacz nie jest podłączony lub jest uszkodzony. | Charge the battery; Ensure power adapter is securely connected and functional. |
| Brak obrazu na ekranie. | Disc is dirty/scratched; Incorrect source selected; AV cable loose (for slave monitor/TV). | Clean or replace disc; Press 'SOURCE' button to select correct input; Check AV cable connections. |
| Brak dźwięku. | Volume too low; Mute function active; Headphone connected. | Increase volume; Press 'MUTE' button on remote; Disconnect headphones if using speakers. |
| Disc skipping or freezing. | Dirty/damaged disc; Player is on an unstable surface; Excessive vibration. | Clean or replace disc; Place player on a stable surface; Reduce vibrations if in a moving vehicle. |
| Pilot nie działa. | Batteries depleted; Obstruction between remote and player; Incorrect angle. | Replace batteries; Ensure clear line of sight to IR sensor; Point remote directly at player. |
If the problem persists after trying these solutions, please contact OTIC customer support for further assistance.
9. Specyfikacje
| Funkcja | Specyfikacja |
|---|---|
| Marka | USZNY |
| Numer modelu | DP-2123A |
| Rozmiar ekranu | 10.1 Inches (visible display area) |
| Typ ekranu | LCD |
| Rozdzielczość wyświetlacza | 1024 x 600 pikseli |
| Pojemność baterii | 2500 mAh (built-in rechargeable) |
| Czas odtwarzania baterii | 3-5 godzin |
| Zgodne formaty płyt | CD, CD-R/RW, DVD, DVD+R/RW, DVD-R/RW, VCD, SVCD |
| Compatible Digital Media | USB drives (up to 32GB), SD cards (up to 32GB) |
| Obsługiwane formaty wideo | VOB, AVI, MPEG1, MPEG2, XVID |
| Obsługiwane formaty audio | MP3, WMA |
| Obsługiwane formaty obrazu | JPG, JPEG |
| Łączność | AV In, AV Out, USB, SD Card Slot, 3.5mm Headphone Jack, DC In, DC Out |
| Wymiary (jednostka główna) | Około 35.56 x 13.46 x 25.4 cm (14 x 5.3 x 10 cala) |
| Waga | Około 2.23 kg (4.92 funty) |
| Kolor | Czarny |
10. Gwarancja i wsparcie
For information regarding warranty coverage, technical support, or service, please refer to the warranty card included in your package or contact the retailer from whom you purchased the product. You may also visit the official OTIC webwitryna zawierająca najnowsze informacje dotyczące pomocy technicznej.
Proszę zachować dowód zakupu na potrzeby roszczeń gwarancyjnych.