
1. Wprowadzenie
Thank you for choosing the KJK Trail Camera KJK201-0115-A. This compact and robust camera is designed for wildlife observation, home security, and various outdoor monitoring needs. Featuring high-resolution video and photos, rapid trigger speed, and advanced night vision capabilities, it ensures reliable performance in diverse environments.
2. Zawartość opakowania
Sprawdź przesyłkę, aby upewnić się, że znajdują się w niej wszystkie elementy:
- Trail Camera Unit
- Podstawka
- Kabel ładujący (USB)
- 4 baterie AA
- Karta pamięci 32 GB
- Instrukcja obsługi

Image: KJK Trail Camera with its accessories, including the camera unit, stand, cables, batteries, and memory card.
3. Konfiguracja
3.1. Instalacja baterii
The camera operates on 4 AA batteries. Open the camera casing and insert the batteries into the designated slots, ensuring correct polarity.
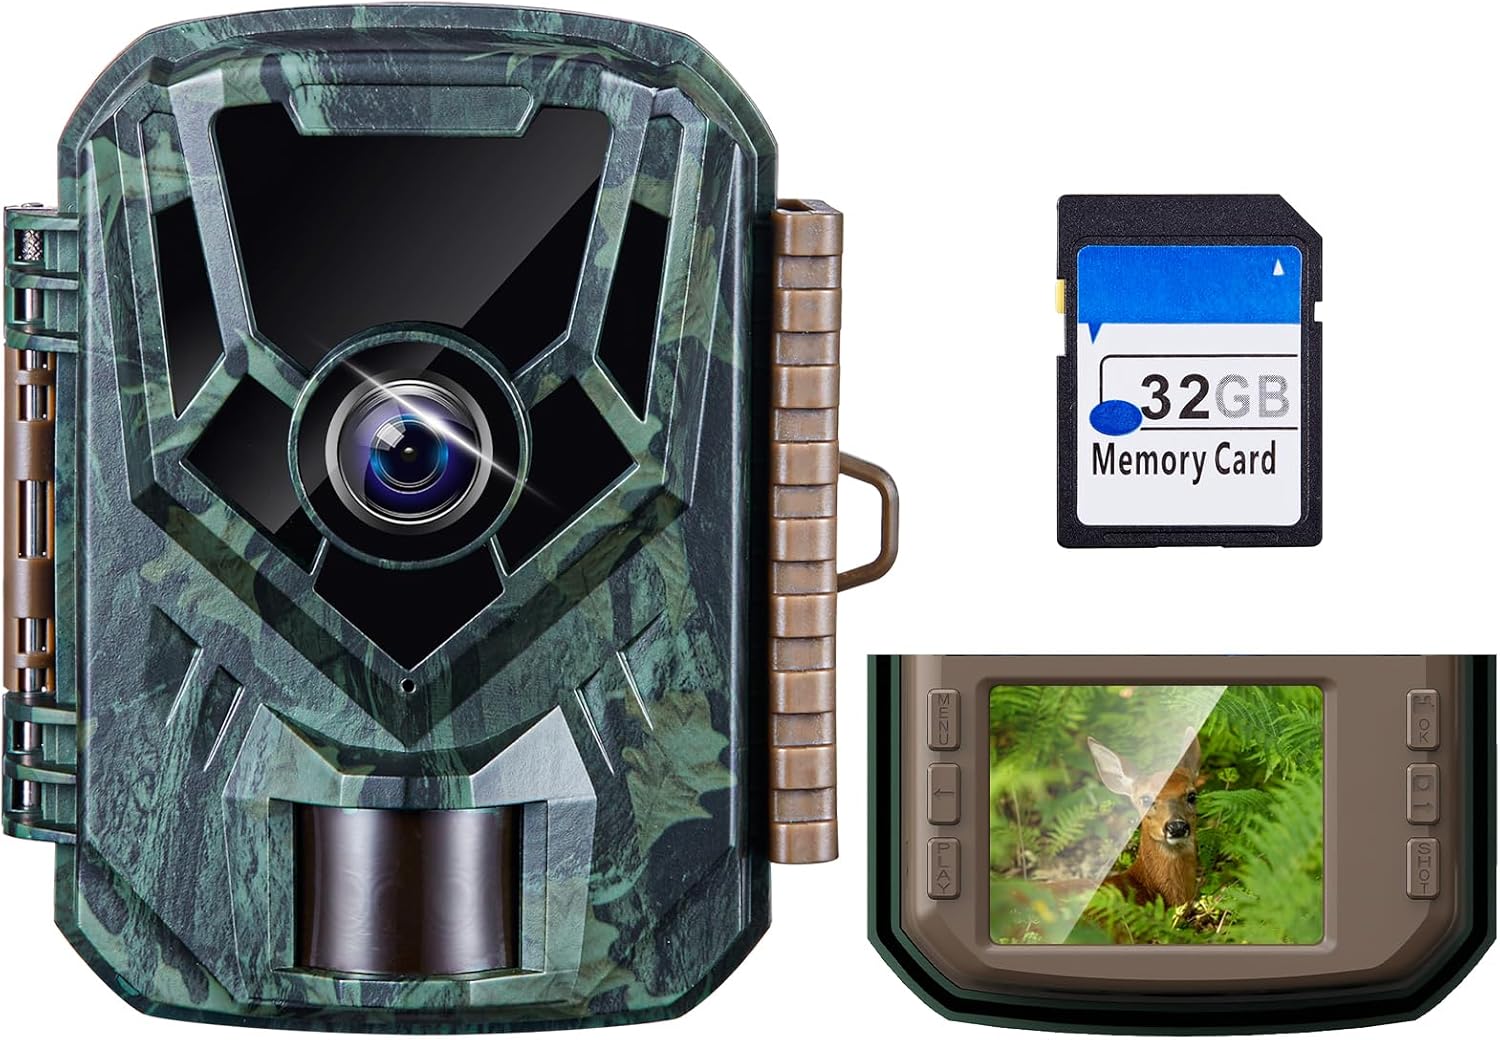
Image: A person inserting 4 AA batteries into the open battery compartment of the KJK Trail Camera.
3.2. Instalacja karty pamięci
Insert the provided 32GB microSD card into the memory card slot. Ensure it clicks into place. The memory card must be formatted before first use.
3.3. Pierwsze włączenie i ustawienia
Slide the power switch to the 'ON' position. The camera will power on. Navigate through the menu to set the language (Japanese is supported), date, and time. Refer to the detailed instructions in the manual for specific menu options.
3.4. Opcje montażu
Kamera oferuje elastyczne opcje montażu:
- Mocowanie paska: Use the included strap to secure the camera to a tree or pole.
- Mocowanie ścienne: Utilize the wall mount bracket and screws for fixed installations on surfaces.
- Mocowanie do statywu: The camera features a tripod screw hole at the bottom for tripod compatibility.

Image: Illustrations demonstrating how to mount the KJK Trail Camera using a strap, by placing it on a flat surface, or by screwing it to a wall.
4. Instrukcja obsługi
4.1. Włączanie/wyłączanie i wybór trybu
Use the power switch to turn the camera ON or OFF. The camera typically enters a monitoring mode after a short countdown. Use the menu buttons to navigate and select different operating modes.
4.2. Tryby nagrywania
The camera supports three recording modes:
- Tryb wideo: Nagrywa klipy wideo po wykryciu ruchu.
- Still Photo Mode: Rejestruje nieruchome obrazy po wykryciu ruchu.
- Video & Photo Mode: Captures both video and still images upon motion detection.

Image: A visual representation of the three available recording modes on the KJK Trail Camera.
4.3. Detekcja ruchu PIR
The Passive Infrared (PIR) sensor detects movement within a 130° angle and up to 22 meters. The camera features an ultra-fast 0.1-second trigger speed to capture fleeting moments. Avoid placing the camera behind glass or other obstructions that may interfere with PIR detection.
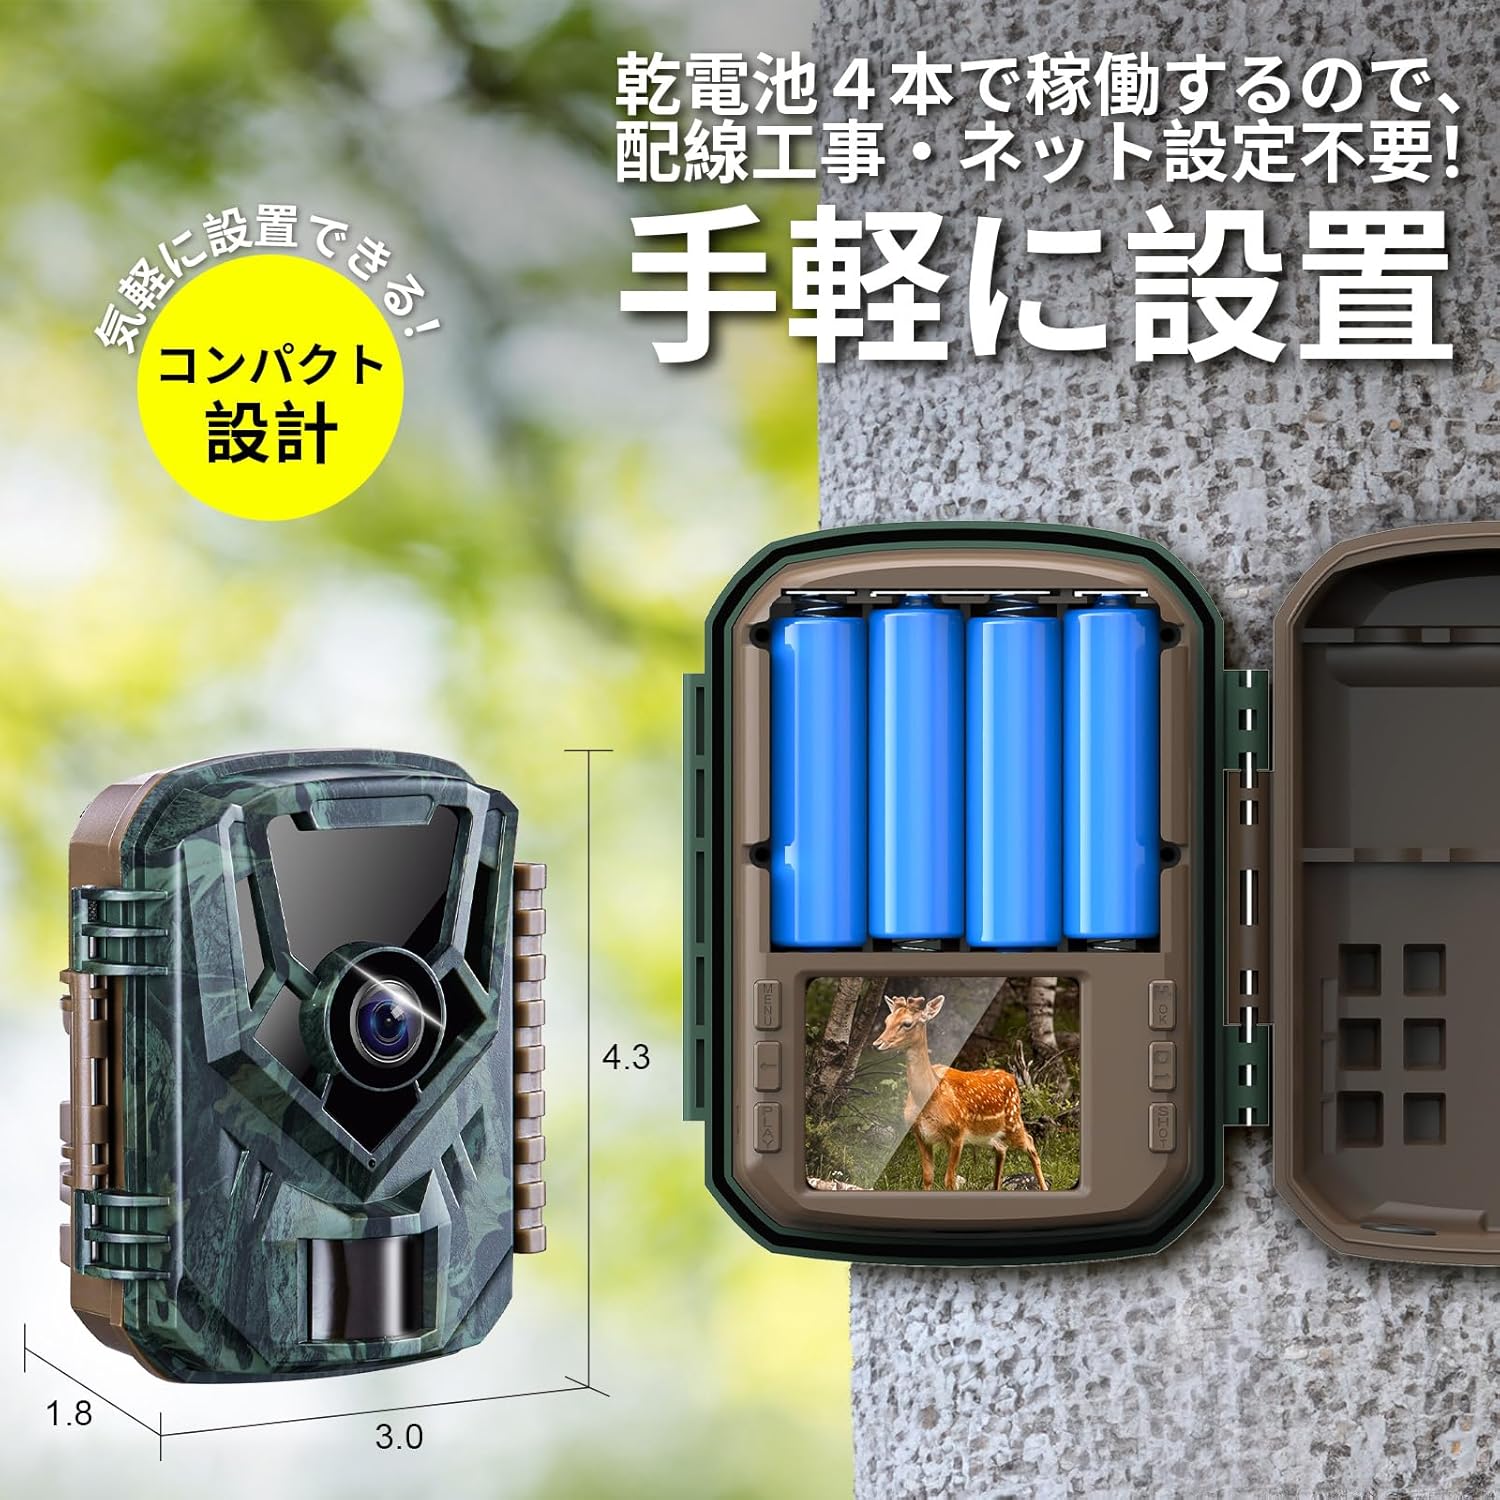
Image: Diagram illustrating the KJK Trail Camera's high-sensitivity PIR motion sensor, showing its 130° detection angle and 22-meter detection range.
4.4. Wizja nocna
Equipped with low-glow infrared LEDs, the camera captures clear photos and videos even in complete darkness without disturbing wildlife. The camera automatically switches between day and night modes.

Image: The KJK Trail Camera's infrared LEDs for night vision, demonstrating automatic day/night mode switching and clear night recordings.
4.5. Viewing Nagrane Nośniki
Możesz view recorded photos and videos using several methods:
- Odtwarzanie na urządzeniu: Use the camera's built-in screen and navigation buttons.
- Kabel USB: Connect the camera to a computer using the provided USB cable.
- Czytnik kart pamięci: Remove the microSD card and insert it into a card reader connected to a computer.

Image: Three different ways to access and view recorded media from the KJK Trail Camera: directly on the camera, via USB connection to a laptop, or using a memory card reader with a tablet.
4.6. Łączność aplikacji
The camera supports app connectivity for intuitive operation and media playback. Scan the QR code displayed on the camera screen to download the dedicated app. Through the app, you can adjust settings, view żyćtage, and download photos/videos directly to your smartphone.
Video: An unboxing and setup guide for the KJK Trail Camera, demonstrating how to install batteries, memory card, and connect to the smartphone app for settings and media viewing.
5. Funkcje
- Ultra-Fast Trigger Speed & Wide Detection Angle: Captures movement with a 0.1-second trigger speed and a 130° detection angle, covering up to 22 meters.
- High-Quality 2.7K Video & 36MP Photos: Records clear FHD videos and vivid 36-megapixel still images, suitable for detailed observation.
- Low-Glow Infrared & PIR Motion Sensor: Equipped with infrared lights for clear night recordings and a human motion sensor for automatic detection.
- IP66 Waterproof & Battery-Powered: Designed with IP66 waterproof and dustproof rating for indoor and outdoor use. Battery-operated, requiring no wiring.
- Wszechstronne zastosowania: Ideal for wildlife monitoring, home security, farm surveillance, illegal dumping countermeasures, pet monitoring, and warehouse security.

Image: A collage of images demonstrating the KJK Trail Camera's diverse applications, including monitoring wildlife, securing homes, observing plants, warehouse surveillance, pet monitoring, and pest control.
6. Konserwacja
To ensure optimal performance and longevity of your KJK Trail Camera, follow these maintenance guidelines:
- Czyszczenie: Gently wipe the lens and PIR sensor with a soft, dry cloth to remove dust and debris. Avoid using abrasive cleaners.
- Pielęgnacja baterii: Replace batteries when low. If storing the camera for an extended period, remove the batteries to prevent leakage.
- Składowanie: Przechowuj kamerę w chłodnym i suchym miejscu, z dala od bezpośredniego światła słonecznego, gdy jej nie używasz.
7. Rozwiązywanie Problemów
Jeśli masz problemy z aparatem, zapoznaj się z poniższymi wskazówkami dotyczącymi rozwiązywania problemów:
- Kamera nie włącza się: Sprawdź instalację baterii i upewnij się, że są naładowane.
- Brak nagrań: Ensure the memory card is inserted correctly and formatted. Verify that the camera is in the correct recording mode.
- Słaba widoczność w nocy: Check for obstructions in front of the infrared LEDs. Ensure batteries have sufficient power.
- Czujnik PIR nie uruchamia się: Ensure the sensor is not obstructed. Adjust sensor sensitivity settings if necessary.
- Video Playback Issues on PC: Some users reported issues with Windows Media Player for AVI files. Try using alternative media players like VLC.
8. Specyfikacje
| Numer modelu | KJK201-0115-A |
| Rozdzielczość wideo | 2.7 tys. |
| Rozdzielczość zdjęć | 36MP |
| Szybkość wyzwalania | 0.1 sekund |
| Kąt wykrywania | 130 stopnia |
| Zakres noktowizora | 22 metrów |
| Stopień wodoodporności | IP66 |
| Źródło zasilania | 4 x baterie alkaliczne AA |
| Dołączona karta pamięci | Karta microSD 32 GB |
| Wymiary (dł. x szer. x wys.) | Wymiary 16 x 11 x 7 cm |
| Waga | 390 gramów |
9. Gwarancja i wsparcie
The KJK Trail Camera KJK201-0115-A comes with a 12-month warranty. If you have any questions or require support, please contact customer service. For warranty activation, scan the QR code provided inside the camera casing or refer to the product packaging.
Video: A short video highlighting the importance of waterproof and dustproof performance for the camera.