
1. Wprowadzenie
Thank you for choosing the Yanmis Mini Projector. This compact and portable device is designed to provide a versatile viewing experience for movies, games, and presentations. Please read this manual carefully to ensure proper setup, operation, and maintenance of your projector.

Image: The Yanmis Mini Projector is designed to be compact and easily portable, fitting comfortably in one hand.

Image: The projector is constructed from environmentally friendly ABS plastic and weighs approximately 290 grams, highlighting its lightweight design.
2. Zawartość opakowania
Proszę sprawdzić, czy w paczce znajdują się następujące elementy:
- Yanmis Mini Projector
- Zasilacz (wtyczka amerykańska)
- Instrukcja obsługi
- Pilot zdalnego sterowania (jeśli jest dołączony do Twojego modelu)
3. Konfiguracja
3.1 Powering the Projector
The projector does not have an internal battery. It requires an external 5V 2A power supply. Connect the provided power adapter to the projector's power input port and then to a standard electrical outlet.
3.2 Podłączanie urządzeń wejściowych
The mini projector is equipped with multiple ports for various input sources:
- Port USB: Do podłączania pamięci USB lub zewnętrznych dysków twardych.
- HD Multimedia Interface (HDMI) Port: For connecting devices such as laptops, TV sticks, gaming consoles (e.g., Xbox, PlayStation), or other HDMI-enabled devices.
- Port AV: Do podłączania starszych urządzeń za pomocą kabla AV.
- Storage Card Slot (MicroSD): For inserting a MicroSD card with media files.
- Gniazdo audio 3.5 mm: Do podłączenia zewnętrznych głośników lub słuchawek.
For direct connection to smartphones or tablets, an additional adapter may be required:
- For iOS devices: An HD multimedia interface device or a Lightning to HD multimedia interface adapter.
- For Android devices: A Micro USB to HD multimedia interface or a Type-C to HD multimedia interface adapter.

Obraz: Góra view of the projector, illustrating the control buttons and various input ports for connectivity.

Obraz: Bok view of the projector, highlighting the lens, ventilation, and approximate dimensions of 12x8.5x4.6 cm (4.7x3.3x1.8 inches).
3.3 Ustawianie projektora
Place the projector on a stable, flat surface. Ensure there is adequate ventilation around the device. The optimal projection distance is between 1.5 to 2 meters (4.9 to 6.6 feet) to achieve a screen size of up to 60 inches.

Image: This diagram illustrates the relationship between projection distance and screen size, showing that a distance of 1.6m can produce a 47-inch screen, and 2.0m can produce an 80-inch screen.

Image: Another diagram demonstrating the range of possible projection sizes, from 24 inches up to 152 inches, depending on the distance from the projection surface.
4. Instrukcja obsługi
4.1 Włączanie/wyłączanie zasilania
Naciśnij przycisk zasilania na projektorze lub pilocie, aby włączyć lub wyłączyć urządzenie.
4.2 Regulacja ostrości
Rotate the focus ring located near the lens to achieve a clear image. Adjust until the projected image is sharp.
4.3 Wybór źródła
Use the input source button on the projector or remote control to cycle through available input sources (HDMI, USB, AV, MicroSD).
4.4 Navigation and Playback
Use the directional buttons and OK button on the projector or remote control to navigate menus, select files, and control media playback (play, pause, stop, fast forward, rewind).
4.5 Wyjście audio
The projector has built-in speakers for audio playback. For a more immersive experience or private listening, connect external speakers or headphones to the 3.5mm audio jack.
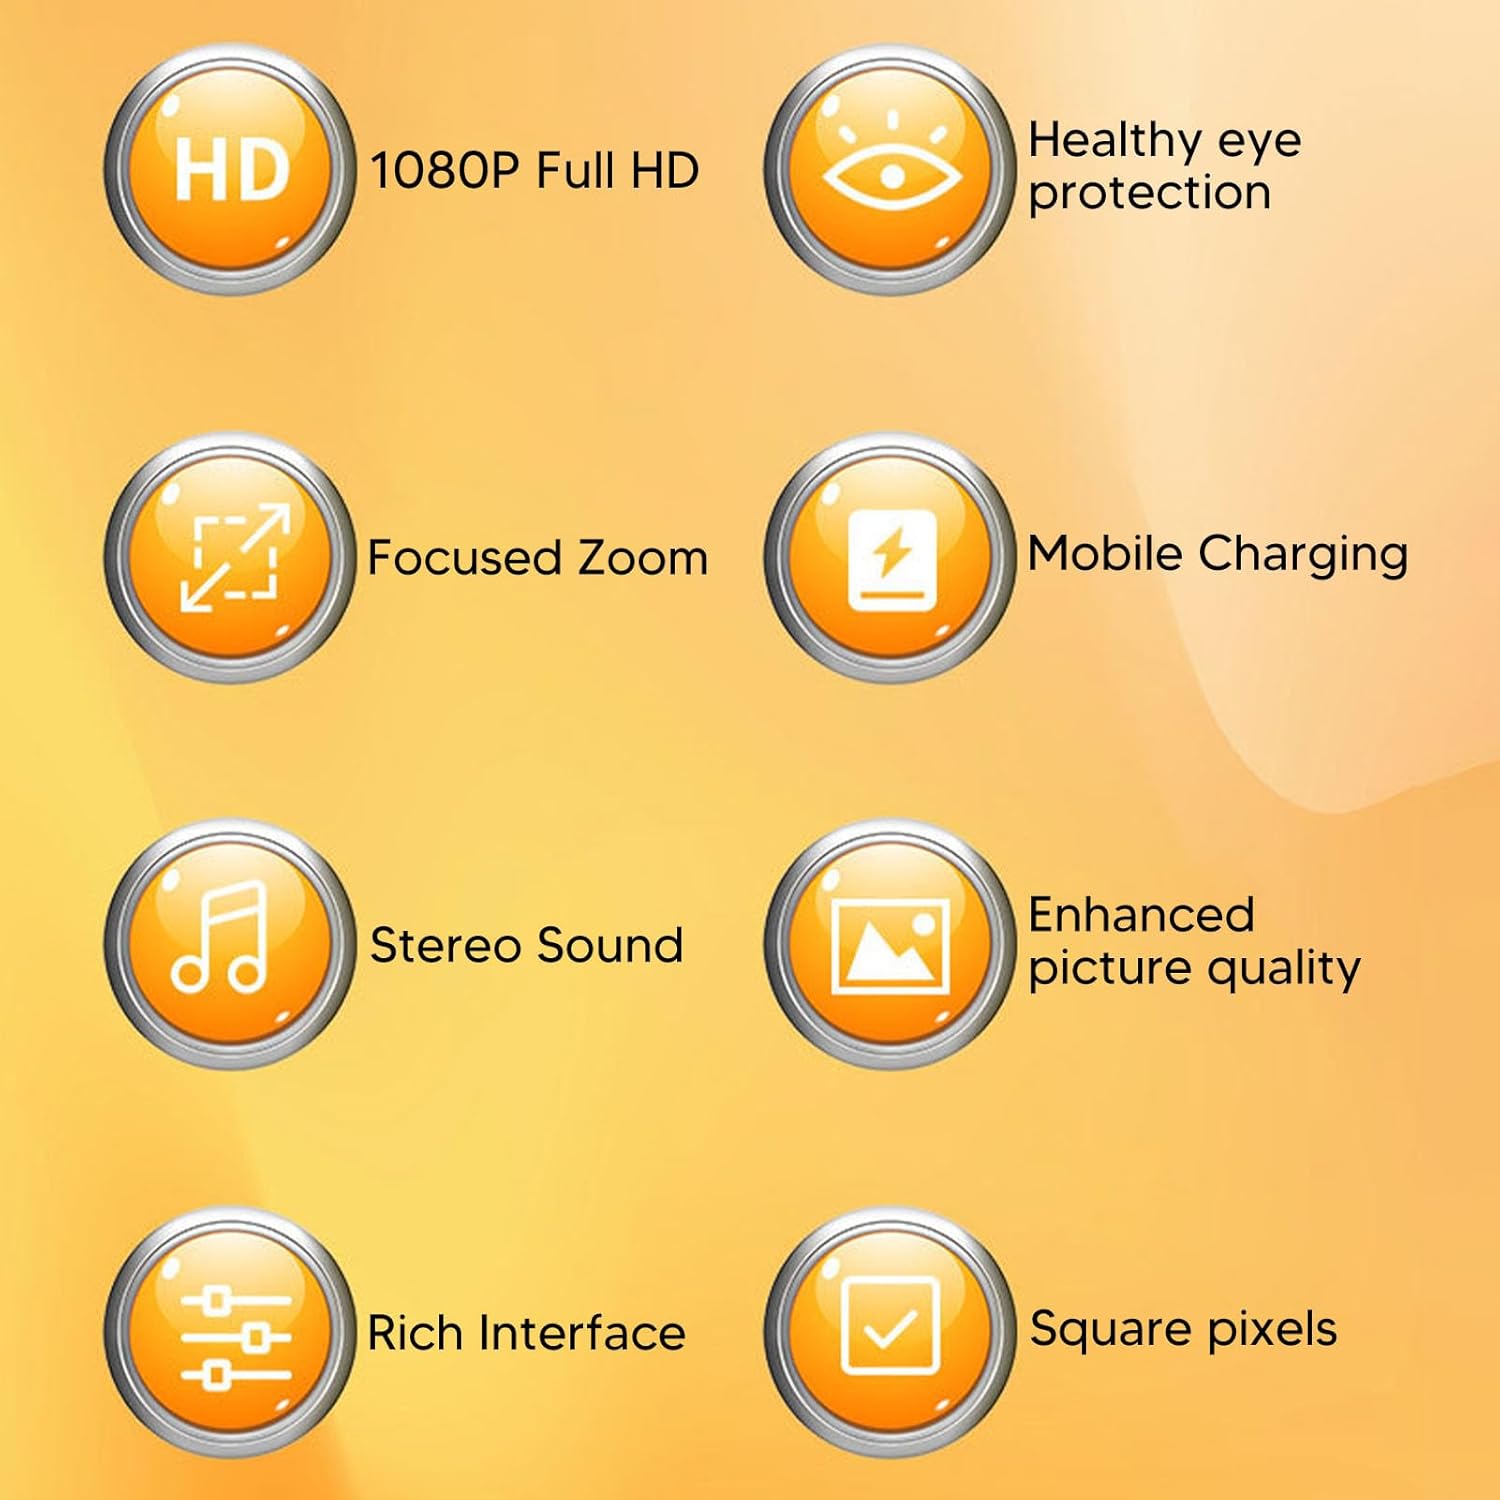
Image: This graphic highlights key features such as 1080P Full HD support, focused zoom capability, stereo sound, and a rich interface for diverse connectivity.
5. Konserwacja
5.1 Czyszczenie obiektywu
Delikatnie przetrzyj obiektyw projektora miękką, niepozostawiającą włókien ściereczką przeznaczoną specjalnie do powierzchni optycznych. Unikaj stosowania materiałów ściernych i silnych środków chemicznych.
5.2 Czyszczenie obudowy projektora
Do czyszczenia zewnętrznej części projektora należy używać miękkiej, suchej ściereczki. Nie należy stosować płynnych środków czyszczących bezpośrednio na urządzeniu.
5.3 Wentylacja
Ensure that the ventilation openings are not blocked to prevent overheating. Regular cleaning of dust from these vents with a soft brush or compressed air can help maintain optimal performance.
5.4 Przechowywanie
When not in use, store the projector in a cool, dry place, away from direct sunlight and extreme temperatures. Consider using a protective cover to prevent dust accumulation.
6. Rozwiązywanie Problemów
- Brak zasilania: Ensure the power adapter is securely connected to both the projector and a working electrical outlet. Verify the power supply meets the 5V 2A requirement.
- Brak obrazka: Check that the correct input source is selected. Ensure the input device (laptop, TV stick, etc.) is powered on and sending a signal. Verify all cables are securely connected.
- Rozmazany obraz: Adjust the focus ring on the projector lens until the image is clear. Ensure the projection distance is within the recommended range (1.5-2m).
- Brak dźwięku: Check the projector's volume settings and the volume of the input device. If using external speakers, ensure they are properly connected and powered on.
- Pilot nie działa: Sprawdź baterie w pilocie. Upewnij się, że między pilotem a odbiornikiem podczerwieni projektora nie ma żadnych przeszkód.
If you encounter issues not listed here, please refer to the manufacturer's webwitrynę, aby uzyskać dalsze wsparcie.
7. Specyfikacje
| Marka | Yanmis |
| Numer modelu | Yanmis73bh0icrk4-13 |
| Projection Light Source Life | 30,000 godziny |
| Jasność | 200 ANSI Lumen |
| Rozdzielczość natywna | 320x240 |
| Obsługiwana rozdzielczość | Up to 1920 x 1080 (1080P) |
| Współczynnik kontrastu | 800:1 |
| Proporcje obrazu | 4:3 |
| Odległość projekcji | 1.5 - 2 metry (4.9 - 6.6 stopy) |
| Maksymalny rozmiar projekcji | 60 cali |
| Łączność | USB, HDMI, AV, MicroSD Card, 3.5mm Audio Jack |
| Cechy specjalne | USB Connectivity, Built-In Speaker, Portable, HDMI Connectivity, Lightweight |
| Zasilacz | 5V 2A (external) |
| Wymiary (w przybliżeniu) | 12 x 8.5 x 4.6 cm (4.7 x 3.3 x 1.8 cala) |
| Waga (w przybliżeniu) | 290g |
| Tworzywo | ABS |
8. Gwarancja i wsparcie
8.1 Informacje o gwarancji
Specific warranty details for the Yanmis Mini Projector are not provided in this manual. Please refer to the product packaging, the retailer's purchase terms, or the official Yanmis webstrona zawierająca szczegółowe informacje na temat gwarancji.
8.2 Obsługa klienta
For technical assistance, troubleshooting beyond this manual, or inquiries regarding your product, please visit the official Yanmis support weblub skontaktuj się z działem obsługi klienta. Dane kontaktowe zazwyczaj można znaleźć na stronie producenta. webwitryny lub opakowania produktu.