
1. Ważne instrukcje bezpieczeństwa
Przed użyciem urządzenia należy uważnie przeczytać wszystkie instrukcje i zachować je do wykorzystania w przyszłości. Nieprzestrzeganie tych instrukcji może spowodować porażenie prądem, pożar lub poważne obrażenia ciała.
- Always ensure the fan is unplugged from the power outlet before cleaning, servicing, or moving.
- Nie używaj wentylatora z uszkodzonym przewodem lub wtyczką. Jeśli przewód zasilający jest uszkodzony, musi zostać wymieniony przez producenta, jego serwisanta lub osobę o podobnych kwalifikacjach, aby uniknąć zagrożenia.
- Keep fingers, pencils, or any other objects out of the fan grille when operating.
- Nie należy używać wentylatora w pobliżu okien, w pomieszczeniach wilgotnych ani w miejscach, w których może być narażony na działanie wody.
- Ustaw wentylator na stabilnej i równej powierzchni, aby zapobiec jego przewróceniu.
- To urządzenie jest przeznaczone wyłącznie do użytku domowego. Nie używać na zewnątrz.
- Upewnij się, że objętośćtagWartość podana na etykiecie znamionowej odpowiada napięciu sieci zasilającejtage.
2. Koniec produktuview
The Sona SSO 6062N is a 12-inch power stand fan designed to provide efficient air circulation. It features a robust aluminium alloy fan blade for strong and powerful wind delivery, along with a durable anti-rust coating for longevity. The fan offers 3-speed control and wide-angle oscillation for comprehensive cooling coverage, complemented by a free neck for tilt adjustment.
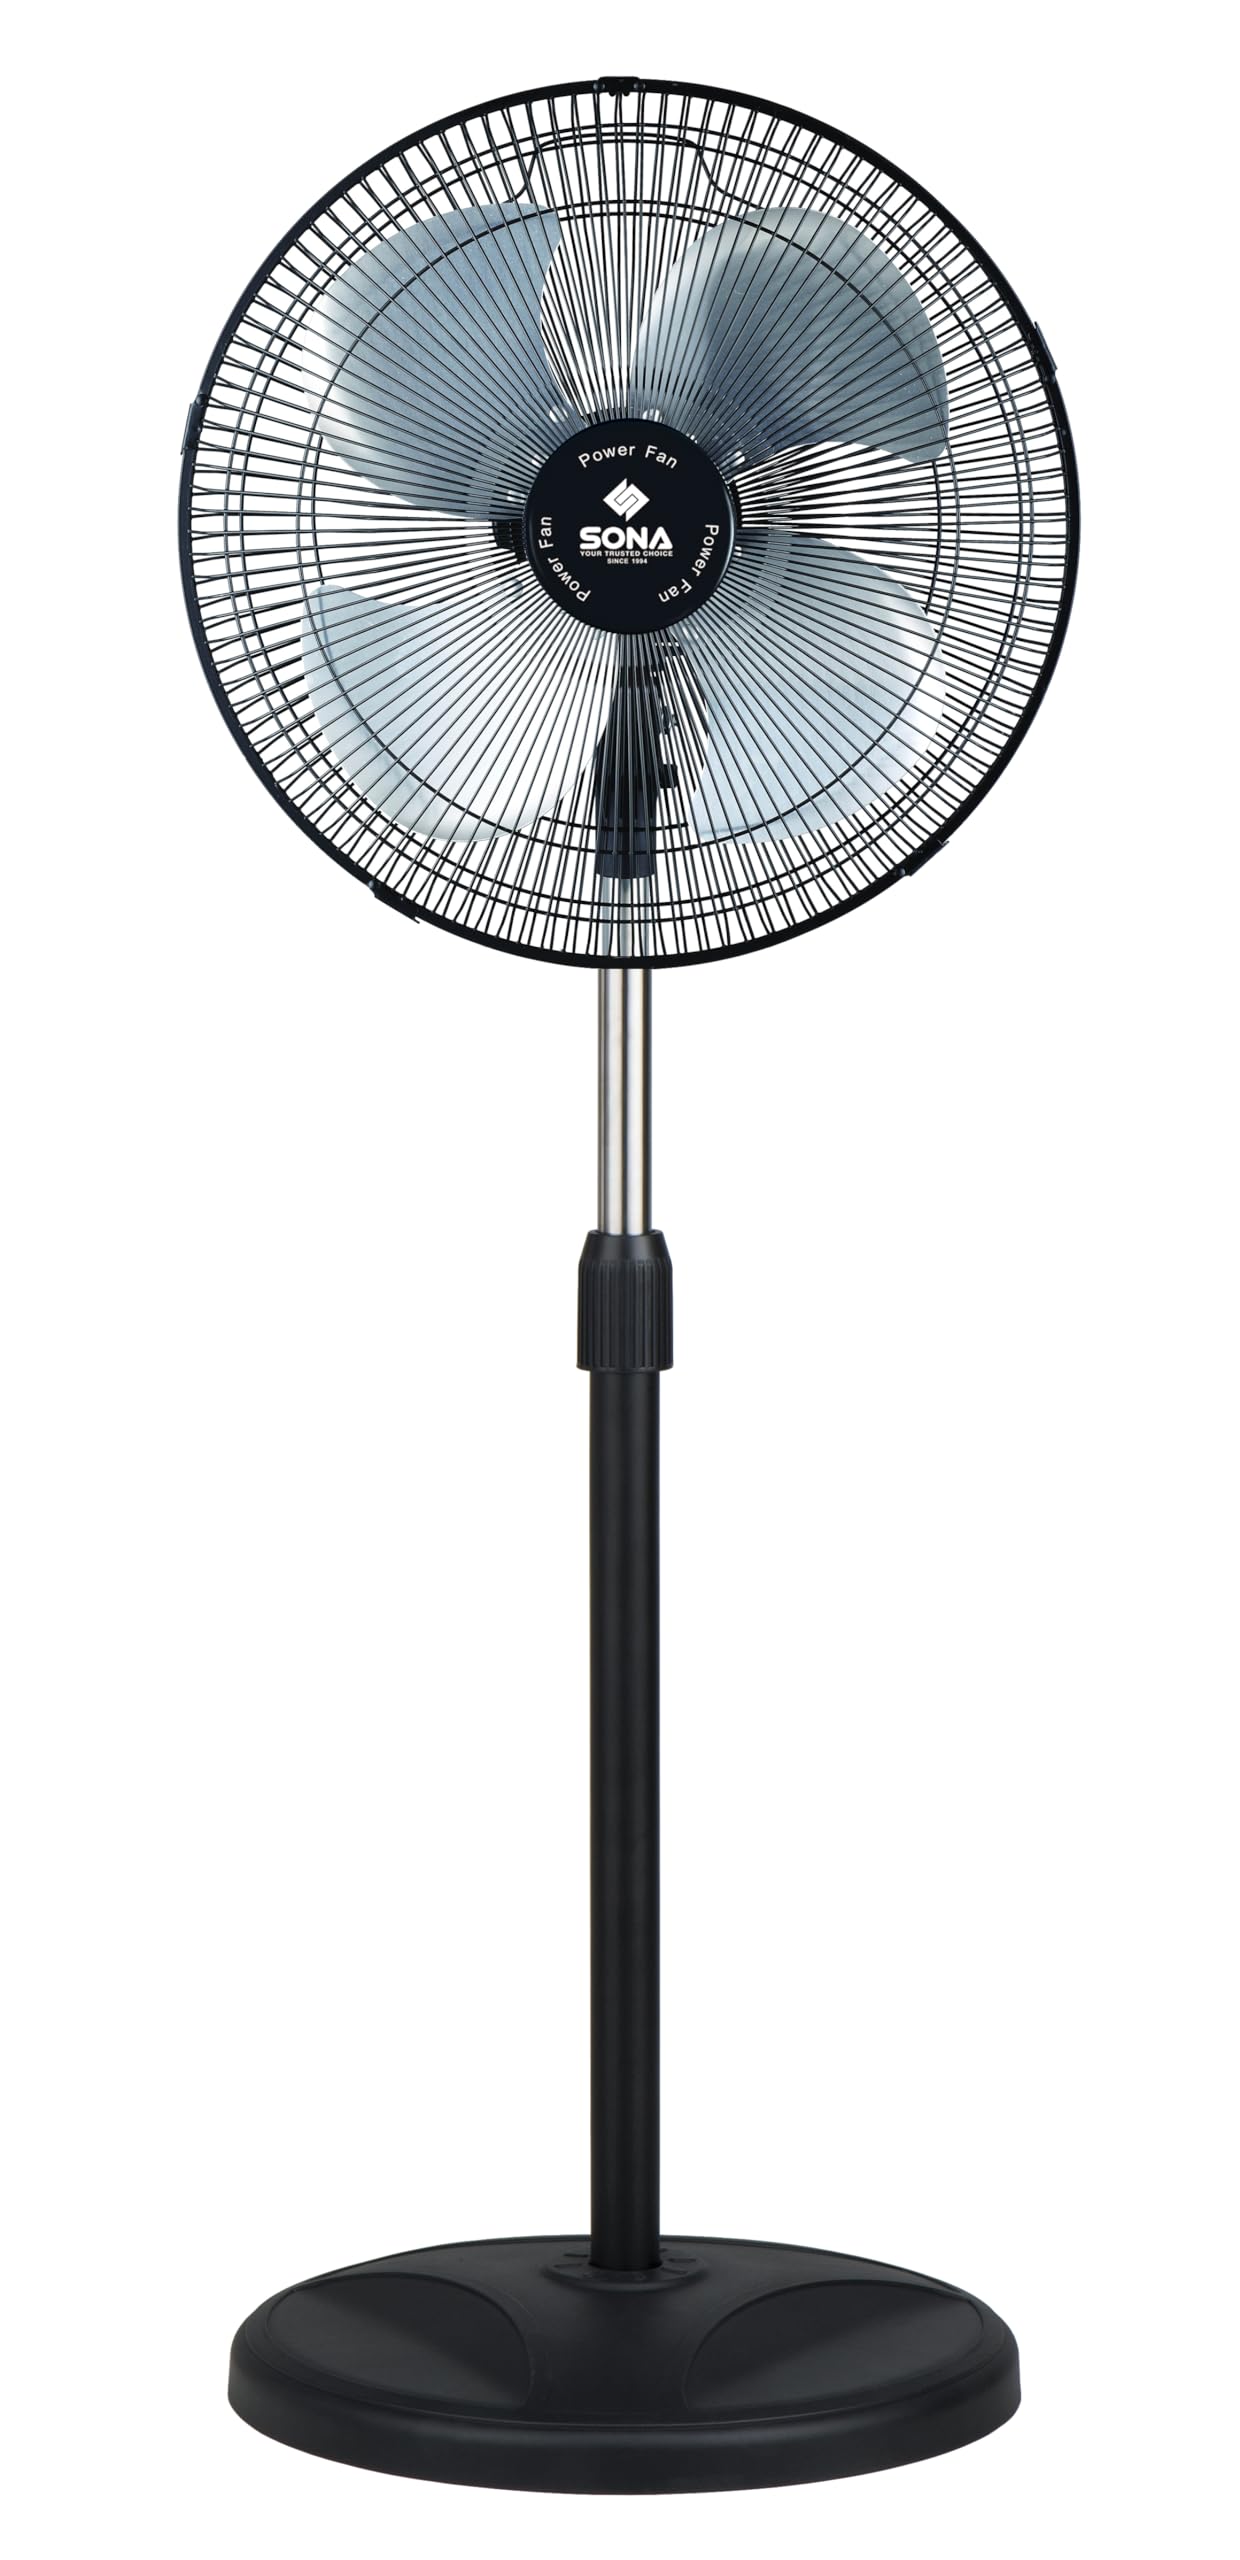
Image 2.1: Sona SSO 6062N 12-inch Power Stand Fan. This image displays the fully assembled stand fan, showcasing its pedestal design, fan head with grille, and control panel on the motor unit.
3. Zawartość opakowania
Before assembly, ensure all components are present and undamaged. If any parts are missing or damaged, do not attempt to assemble or operate the fan. Contact customer support.
- Fan Motor Unit (with rear grille and power cord)
- Fan Blades (Aluminium Alloy)
- Przednia kratka
- Grille Retaining Nut
- Nakrętka mocująca ostrze
- Regulowany słupek stojakowy
- Okrągła podstawa
- Śruba mocująca podstawę
- Instrukcja obsługi
4. Montaż i konfiguracja
Follow these steps to assemble your Sona SSO 6062N stand fan:
- Zamontuj słupek do podstawy: Insert the adjustable stand pole into the round base. Secure it from underneath the base using the provided base fixing screw. Tighten firmly.
- Montaż jednostki silnikowej: Place the fan motor unit onto the top of the stand pole. Ensure it is seated securely.
- Montaż tylnej kratki: The rear grille is typically pre-attached to the motor unit. If not, align it with the motor unit and secure it with the grille retaining nut.
- Zamontuj łopatki wentylatora: Slide the aluminium alloy fan blades onto the motor shaft. Ensure the blades are correctly oriented and seated firmly. Secure them with the blade retaining nut, turning it clockwise until tight.
- Montaż przedniej kratki: Place the front grille over the fan blades, aligning it with the rear grille. Secure the front grille by clipping it into place or using any provided fasteners. Ensure it is fully closed and locked for safety.
- Pozycja wentylatora: Place the assembled fan on a stable, flat surface, away from curtains or other objects that could obstruct airflow or get caught in the blades.
5. Działanie
Once assembled, plug the fan into a suitable power outlet. The controls are located on the motor unit.
- Włączanie/wyłączanie i kontrola prędkości: Use the rotary switch or push buttons on the control panel to turn the fan on and select your desired speed. The fan offers 3 speed settings: 1 (Low), 2 (Medium), and 3 (High). Select '0' or 'OFF' to turn the fan off.
- Funkcja oscylacji: To activate the wide-angle oscillation, press down the oscillation knob located on top of the motor unit. To stop oscillation and fix the fan in one direction, pull the knob up.
- Regulacja nachylenia: The fan head features a free neck for tilt adjustment. Gently push or pull the fan head up or down to direct the airflow to your preferred angle. Do not force the head beyond its natural range of motion.
- Regulacja wysokości: To adjust the fan's height, loosen the height adjustment knob on the stand pole, raise or lower the pole to the desired height, and then firmly tighten the knob.
6. Konserwacja i czyszczenie
Regularne czyszczenie i konserwacja zapewnią optymalną wydajność i wydłużą żywotność wentylatora.
- Zawsze odłączaj wentylator od zasilania odłączyć od gniazdka elektrycznego przed czyszczeniem.
- Czyszczenie zewnętrzne: Wytrzyj zewnętrzne powierzchnie wentylatora miękką,amp ściereczką. Nie używaj ściernych środków czyszczących, wosków ani past, ponieważ mogą one uszkodzić wykończenie.
- Grille and Blades Cleaning: To clean the fan blades and inside of the grilles, you may need to carefully remove the front grille. Refer to the assembly instructions in reverse for safe removal. Use a soft cloth or a vacuum cleaner with a brush attachment to remove dust and debris. Ensure all parts are completely dry before reassembling and operating the fan.
- Składowanie: If storing the fan for an extended period, clean it thoroughly, disassemble if desired, and store it in its original packaging or a suitable container in a cool, dry place.
7. Rozwiązywanie Problemów
Jeśli napotkasz jakiekolwiek problemy z wentylatorem, zapoznaj się z poniższymi typowymi problemami i rozwiązaniami:
| Problem | Możliwa przyczyna | Rozwiązanie |
|---|---|---|
| Wentylator się nie włącza. | Brak zasilania. Wentylator nie jest podłączony. Wyłącznik zasilania jest wyłączony. | Sprawdź gniazdko elektryczne. Upewnij się, że wtyczka jest całkowicie włożona. Turn the speed control knob to a numbered setting (1, 2, or 3). |
| Wentylator nie oscyluje. | Pokrętło oscylacji jest podniesione. | Press down the oscillation knob on top of the motor unit. |
| Nietypowy dźwięk podczas pracy. | Luźne części. Obstruction in blades/grille. | Unplug the fan and check for any loose screws or components. Unplug the fan and carefully check for any foreign objects or debris caught in the blades or grilles. Clean as per maintenance instructions. |
Jeśli po wypróbowaniu tych rozwiązań problem nadal występuje, skontaktuj się z obsługą klienta.
8. Specyfikacje
Technical details for the Sona SSO 6062N Power Stand Fan:
- Marka: Sona
- Nazwa modelu: SSO 6062N
- Typ wentylatora: Pedestal Fan / Stand Fan
- Rozmiar: 12 cali
- Wymiary (dł. x szer. x wys.): 33D x 35W x 109H centymetrów
- Tworzywo: Aluminium (Blades), Coated Finish
- Liczba prędkości: 3
- Cechy szczególne: Oscillating, Tilt Adjustment
- Typ montażu: Montaż na podłodze
- Producent: Cahaya Electronics PTE LTD
9. Gwarancja i wsparcie
This Sona SSO 6062N Power Stand Fan comes with a 6 Years Warranty on Motor od daty zakupu. Zachowaj dowód zakupu na wypadek roszczeń gwarancyjnych.
The warranty covers manufacturing defects in the motor under normal household use. It does not cover damage caused by misuse, accident, unauthorized modification, or normal wear and tear.
For warranty service, technical support, or inquiries, please contact your retailer or the manufacturer's authorized service center. Contact information can typically be found on the product packaging or the manufacturer's official webstrona.
