
1. Wprowadzenie
The TechniSat TECHNIRADIO 50 is a compact digital alarm clock radio designed to provide a pleasant start to your day. It features DAB+ and FM radio reception, a large backlit LCD display, dual alarm functions, a headphone jack, and a USB-C power supply. This manual provides detailed instructions for setting up, operating, and maintaining your device.
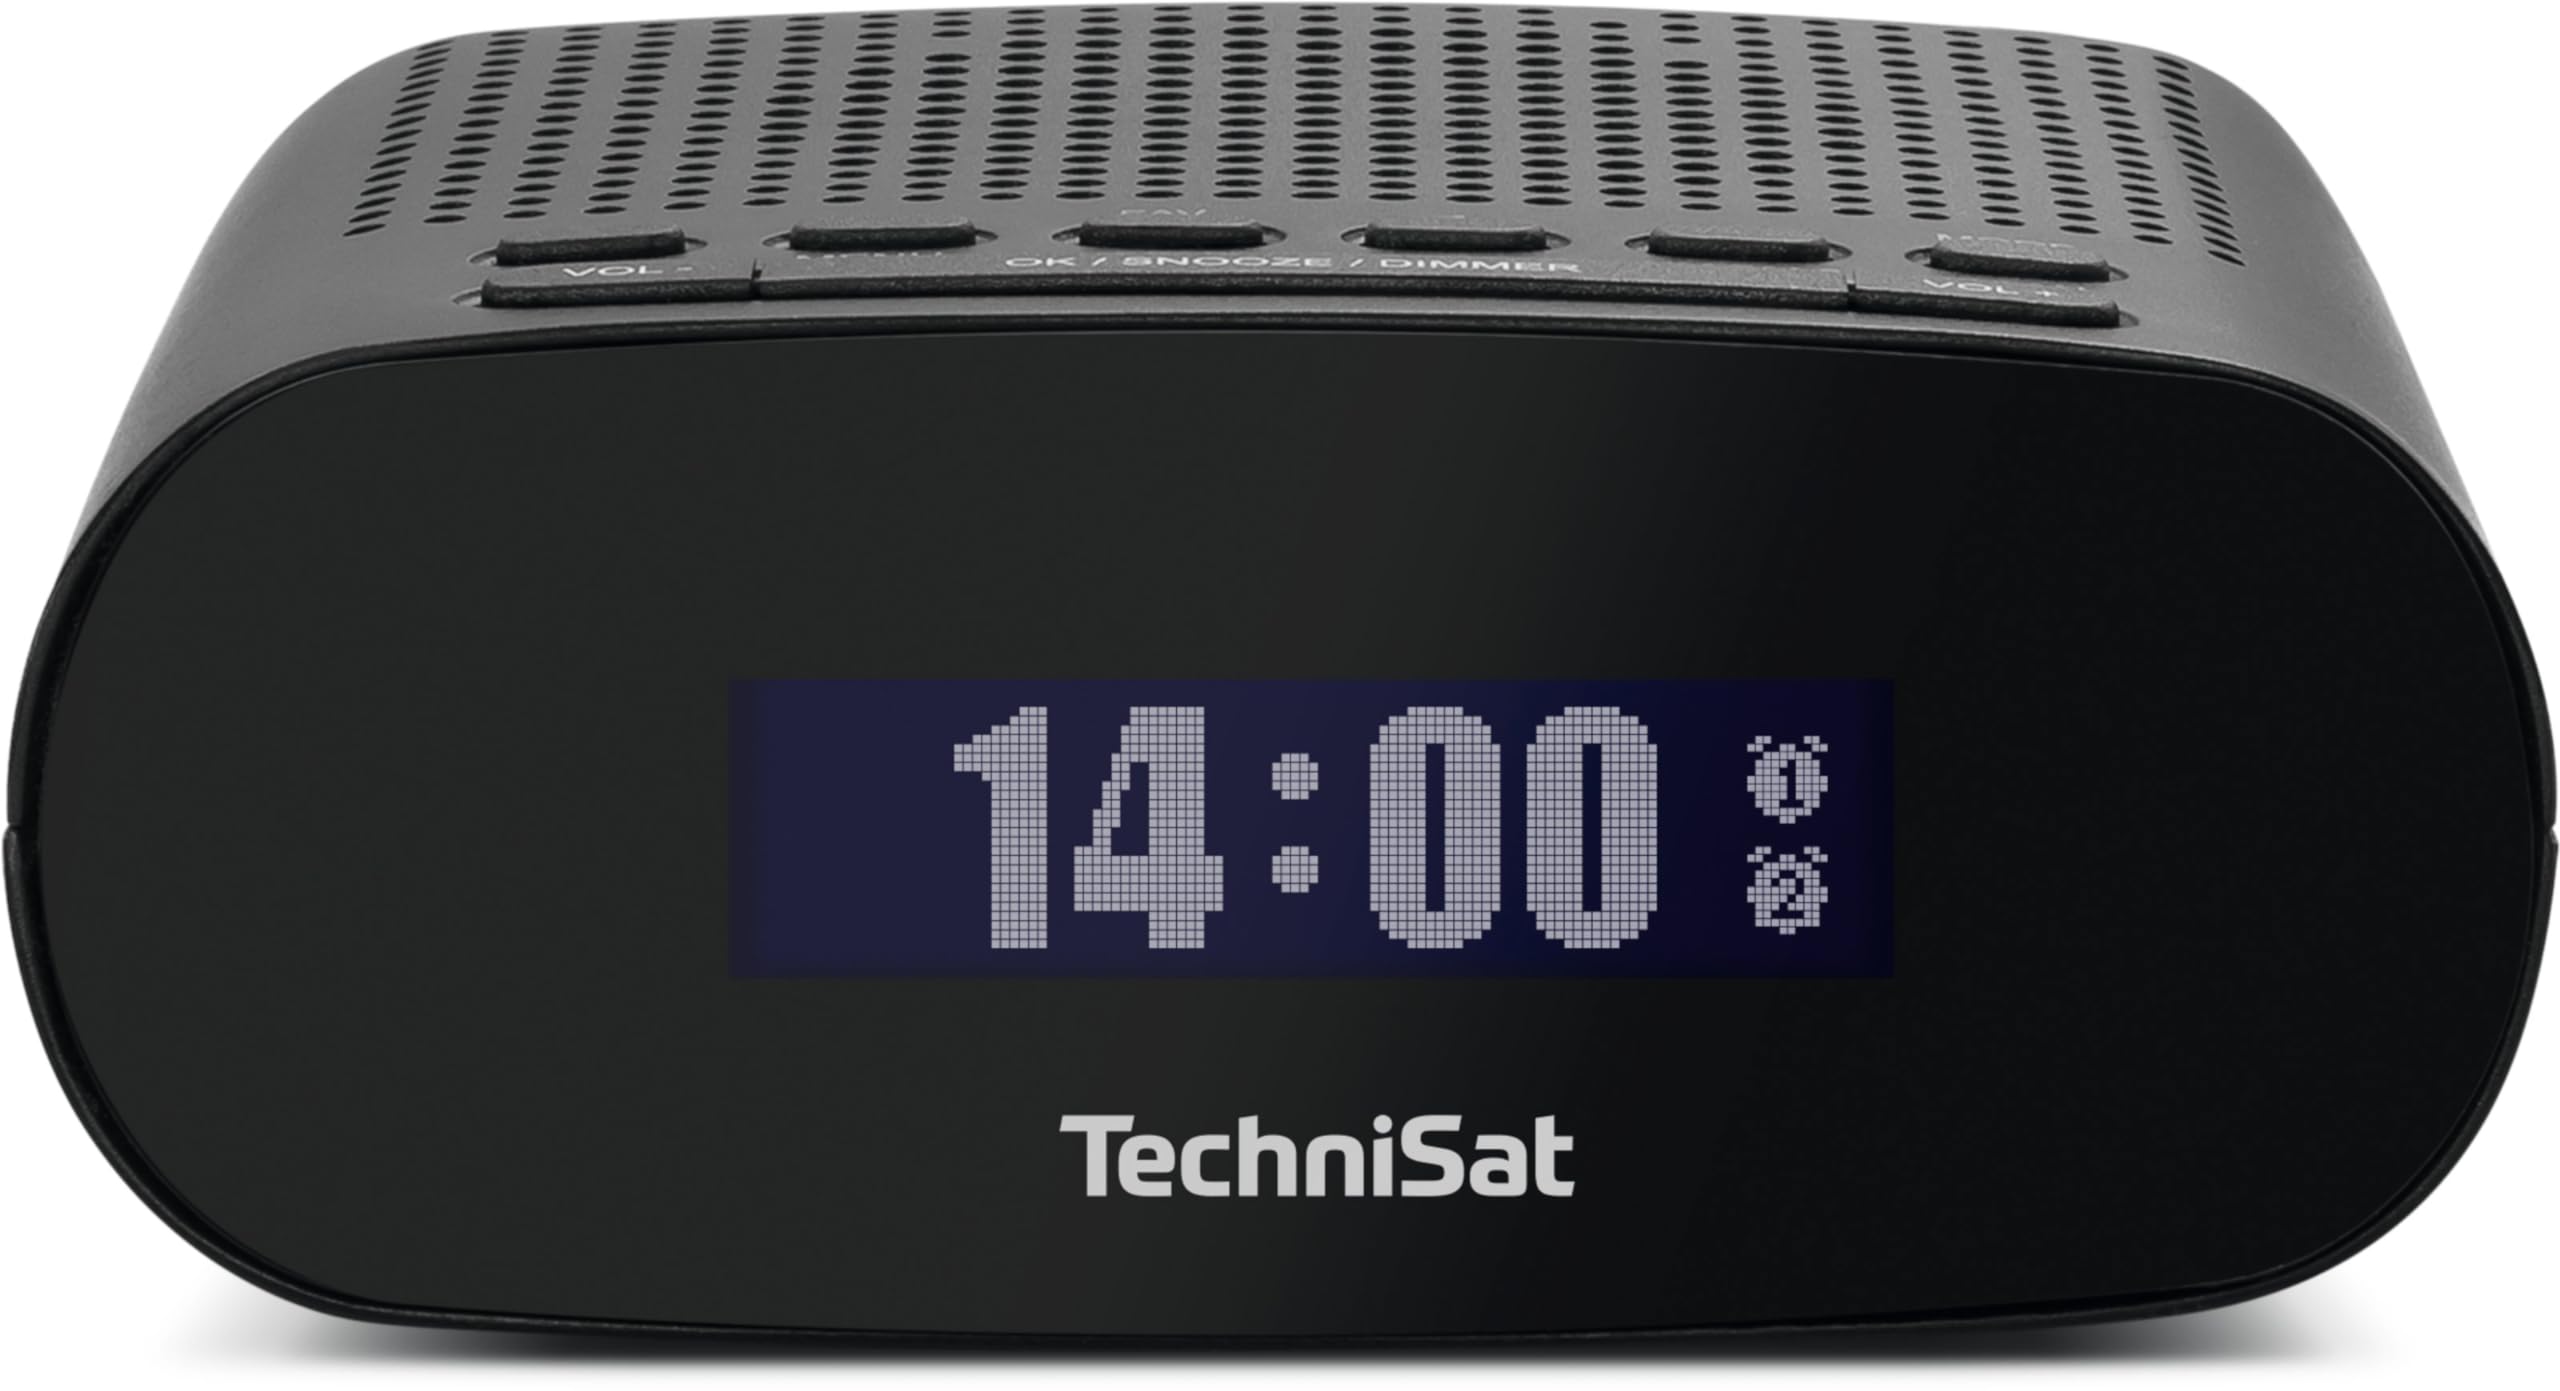
Rycina 1: Przód view of the TechniSat TECHNIRADIO 50.
2. Informacje dotyczące bezpieczeństwa
- Zasilanie: Use only the provided USB Type-C 5V - 1A power supply or a compatible certified adapter.
- Narażenie na działanie wody: Do not expose the device to water, moisture, or high humidity. This device is for indoor use only.
- Wentylacja: Zapewnij odpowiednią wentylację wokół urządzenia. Nie zakrywaj otworów wentylacyjnych.
- Czyszczenie: Przed czyszczeniem odłącz zasilanie. Użyj miękkiej, suchej ściereczki. Nie używaj środków czyszczących w płynie ani aerozolu.
- Temperatura: Avoid extreme temperatures. Do not place near heat sources or in direct sunlight.
- Serwisowanie: Nie próbuj samodzielnie naprawiać urządzenia. Wszelkie naprawy zlecaj wykwalifikowanemu personelowi.
3. Zawartość opakowania
Sprawdź, czy w opakowaniu znajdują się wszystkie elementy:
- TechniSat TECHNIRADIO 50 Alarm Clock Radio
- Antena DAB/FM
- USB Type-C 5V - 1A Power Supply
- Instrukcja obsługi
4. Koniec produktuview
4.1. Sterowanie i wyświetlacz
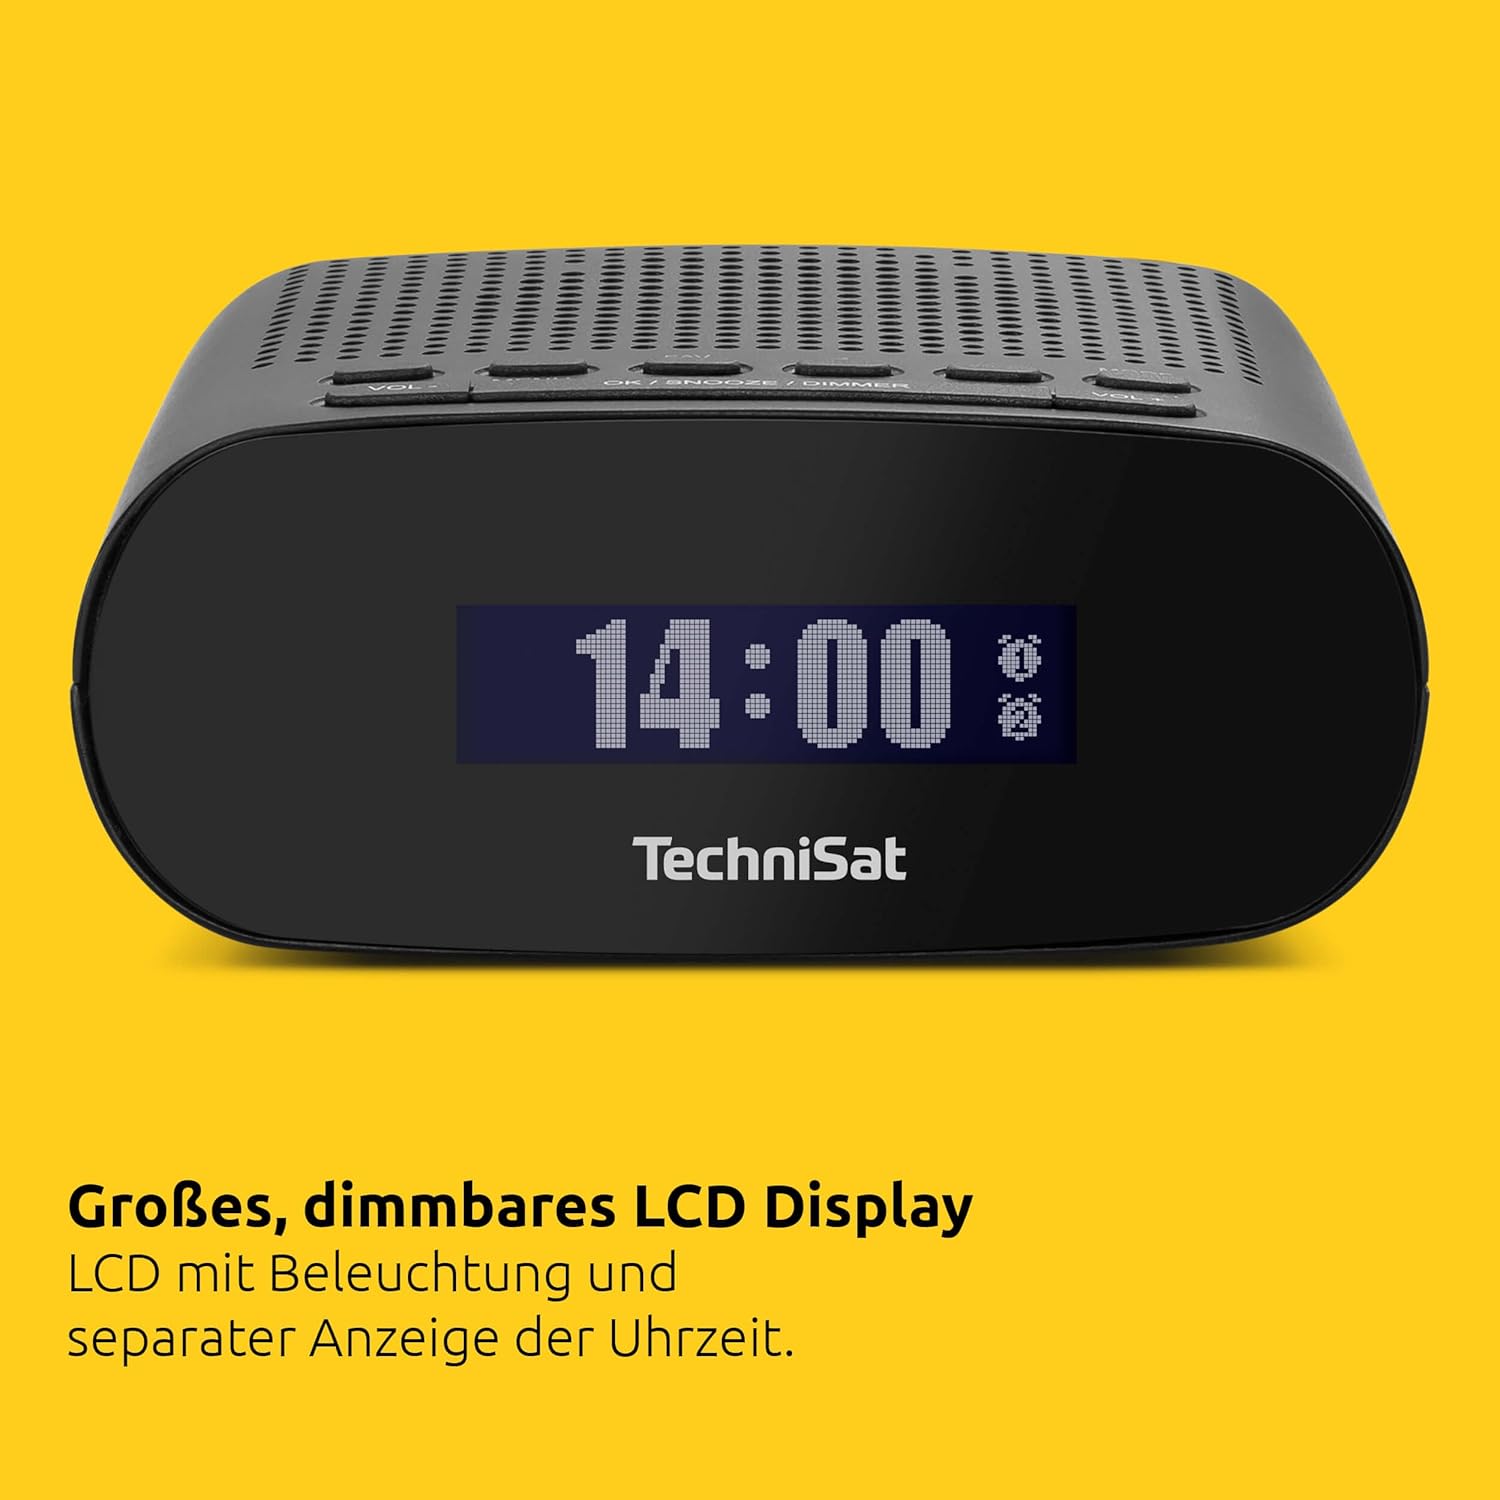
Figure 2: Top controls of the TechniSat TECHNIRADIO 50.
The TECHNIRADIO 50 features an intuitive layout of buttons on its top panel and a clear LCD display on the front.
- Przycisk zasilania: Włącza/wyłącza urządzenie.
- GŁOŚNOŚĆ- / GŁOŚNOŚĆ+: Dostosowuje poziom głośności.
- MENU: Dostęp do menu głównego w celu uzyskania dostępu do ustawień.
- INFORMACJE: Displays information about the current station or settings.
- ULUBIONE: Dostęp do ulubionych zaprogramowanych stacji.
- OK / SNOOZE / DIMMER: Confirms selections, activates snooze during an alarm, or adjusts display brightness.
- ALARM 1 / ALARM 2: Sets or activates/deactivates Alarm 1 and Alarm 2.
- Sposób użycia: Przełącza między trybami radia DAB+ i FM.
- SKANDOWAĆ: Rozpoczyna skanowanie stacji radiowych.
4.2. Porty
- Port USB-C: Do podłączenia zasilania.
- Gniazdo słuchawkowe: Do prywatnego słuchania.
- Wejście antenowe: Do podłączenia anteny DAB/FM.
5. Konfiguracja
- Podłącz antenę: Connect the provided DAB/FM antenna to the antenna input on the device. Extend the antenna fully for optimal reception.
- Podłącz zasilanie: Plug the USB Type-C power supply into the USB-C port on the back of the radio, then plug the adapter into a wall outlet.
- Pierwsze włączenie: Naciśnij Moc button. The device will power on and may automatically begin scanning for DAB+ stations.
- Wybór języka: If prompted, use the navigation buttons (often VOL+/- or dedicated arrow buttons, if present, otherwise OK/SNOOZE/DIMMER to confirm) to select your preferred language (e.g., English). Confirm your selection.
- Automatyczna synchronizacja czasu: The radio will automatically synchronize the time and date via DAB+ or FM RDS signals once stations are found.
6. Instrukcja obsługi
6.1. Radio Operation (DAB+ / FM)
- Przełączanie trybów: Naciśnij TRYB przycisk do przełączania między trybami radia DAB+ i FM.
- Skanowanie stacji:
- W trybie DAB+ naciśnij SKANDOWAĆ to perform a full scan for available digital stations.
- W trybie FM naciśnij SKANDOWAĆ to automatically tune to the next available station.
- Strojenie ręczne (FM): In FM mode, use the VOL+/- buttons to fine-tune the frequency manually.
- Regulacja głośności: Użyj TOM- I Objętość + przyciski służące do zwiększania lub zmniejszania głośności dźwięku.
- Saving Favorite Stations:
- Dostrój się do żądanej stacji.
- Naciśnij i przytrzymaj ULUBIONY przycisk.
- Use the navigation buttons to select a preset number (1-20 for DAB+, 1-20 for FM).
- Naciskać OK aby potwierdzić i zapisać stację.
- Recalling Favorite Stations: Naciśnij ULUBIONY button briefly, then use the navigation buttons to select and recall a saved station.
- Użycie słuchawek: Plug standard 3.5mm headphones into the headphone jack for private listening. The internal speaker will be muted automatically.
6.2. Funkcje alarmowe
The TECHNIRADIO 50 features two independent alarms (Alarm 1 and Alarm 2).
- Ustawianie alarmu:
- Naciśnij ALARM 1 or ALARM 2 przycisk.
- Use the navigation buttons to set the alarm time (hours and minutes). Press OK aby potwierdzić każde ustawienie.
- Wybierz źródło alarmu: Radio (wakes you to a preset station) or Brzęczyk.
- Choose the alarm frequency: Codziennie, Dni powszednie (Mon-Fri), Weekendy (Sat-Sun), or Raz.
- Ustaw żądaną głośność alarmu.
- Confirm all settings to activate the alarm. An alarm icon will appear on the display.
- Aktywowanie/Dezaktywowanie alarmów: Naciśnij krótko ALARM 1 or ALARM 2 przycisk, aby włączyć lub wyłączyć alarm.
- Funkcja drzemki: Gdy zabrzmi alarm, naciśnij przycisk OK / SNOOZE / DIMMER button to activate snooze. The alarm will pause for a set period (e.g., 9 minutes) and sound again.
- Stopping an Alarm: To stop an alarm completely, press the Moc button or the corresponding ALARM przycisk.
- Wyłącznik czasowy:
- Naciśnij MENU przycisk.
- Przejdź do opcji „Timer uśpienia”.
- Select the desired duration (e.g., 15, 30, 60, 90 minutes). The radio will play for the selected duration and then automatically turn off.
6.3. Ustawienia wyświetlania

Figure 3: The large LCD display showing the time.
The large LCD display shows the time, date, and radio information.
- Brightness Adjustment (Dimmer): Naciśnij OK / SNOOZE / DIMMER button repeatedly (when no alarm is active) to cycle through different brightness levels for the display. This allows for optimal visibility in various lighting conditions, including dimming for sleep comfort.
7. Konserwacja
- Czyszczenie: To clean the device, unplug it from the power source. Use a soft, dry, lint-free cloth to wipe the surfaces. Do not use abrasive cleaners, waxes, or solvents.
- Składowanie: Jeśli radio będzie przechowywane przez dłuższy czas, upewnij się, że jest czyste i suche. Przechowuj je w chłodnym, suchym miejscu, z dala od bezpośredniego światła słonecznego i ekstremalnych temperatur.
8. Rozwiązywanie Problemów
| Problem | Możliwa przyczyna | Rozwiązanie |
|---|---|---|
| Brak zasilania | Kabel zasilający nie jest prawidłowo podłączony; gniazdko elektryczne nie działa. | Sprawdź podłączenie kabla zasilającego; spróbuj użyć innego gniazdka elektrycznego. |
| Słaby odbiór radia | Antena nie jest wysunięta; Obszar o słabym sygnale; Zakłócenia. | Extend the antenna fully; Reposition the radio; Perform a full scan for stations. |
| Alarm nie włącza się | Alarm is not activated; Alarm volume is too low; Incorrect alarm time/frequency. | Ensure alarm is activated (icon visible); Increase alarm volume; Verify alarm settings. |
| Wyświetlacz jest zbyt ciemny/jasny | Display brightness setting. | Naciśnij OK / SNOOZE / DIMMER przycisk do regulacji jasności. |
| Brak dźwięku z głośnika | Volume is too low; Headphones are connected. | Zwiększ głośność; odłącz słuchawki. |
9. Specyfikacje
| Funkcja | Specyfikacja |
|---|---|
| Marka | TechniSat |
| Numer modelu | 0000/3997 |
| Kolor | Czarny |
| Typ wyświetlacza | Cyfrowy LCD |
| Rozmiar ekranu | 22 milimetrów |
| Tuner radiowy | DAB+, FM (z RDS i PLL) |
| Ustawienia wstępne | 20 DAB+, 20 FM |
| Wyjście audio | 1 waty |
| Znajomości | USB-C (Power), Headphone Jack |
| Cechy specjalne | Time and Date Display, Dual Alarm Timers, Radio/Buzzer Wake-up, Adjustable Alarm Rhythm, Snooze Function, Sleep Timer, Dimmable Display |
| Źródło zasilania | Electric Cable (USB Type-C 5V - 1A) |
| Akumulator do ponownego ładowania | NIE |
| Wymiary produktu (dł. x wys.) | Wymiary: 12.5x5 cm |
| Tworzywo | Plastikowy |
10. Gwarancja i wsparcie
For warranty information and customer support, please refer to the documentation provided with your purchase or visit the official TechniSat website. The availability of spare parts is typically guaranteed for 1 year from the date of purchase. For specific inquiries or technical assistance, please contact TechniSat customer service directly.