
KERUI M523
KERUI Wireless Doorbell (Model M523) User Manual
Model: M523 | Brand: KERUI
Wstęp
Thank you for choosing the KERUI Wireless Doorbell. This system is designed to provide a reliable and convenient notification solution for your home or office. Featuring an IP55 waterproof push button, a plug-in receiver with 32 selectable chimes, 4 adjustable volume levels, and a long operating range, this doorbell ensures you never miss a visitor. Please read this manual carefully before installation and use to ensure optimal performance and longevity of your device.
Zawartość opakowania
Sprawdź, czy w przesyłce znajdują się wszystkie elementy:
- 1 x Doorbell Receiver (Black)
- 1 x Push Button (Black)
- Mounting Accessories for Push Button (screws, anchors, adhesive tape)
- 1 x Instrukcja obsługi
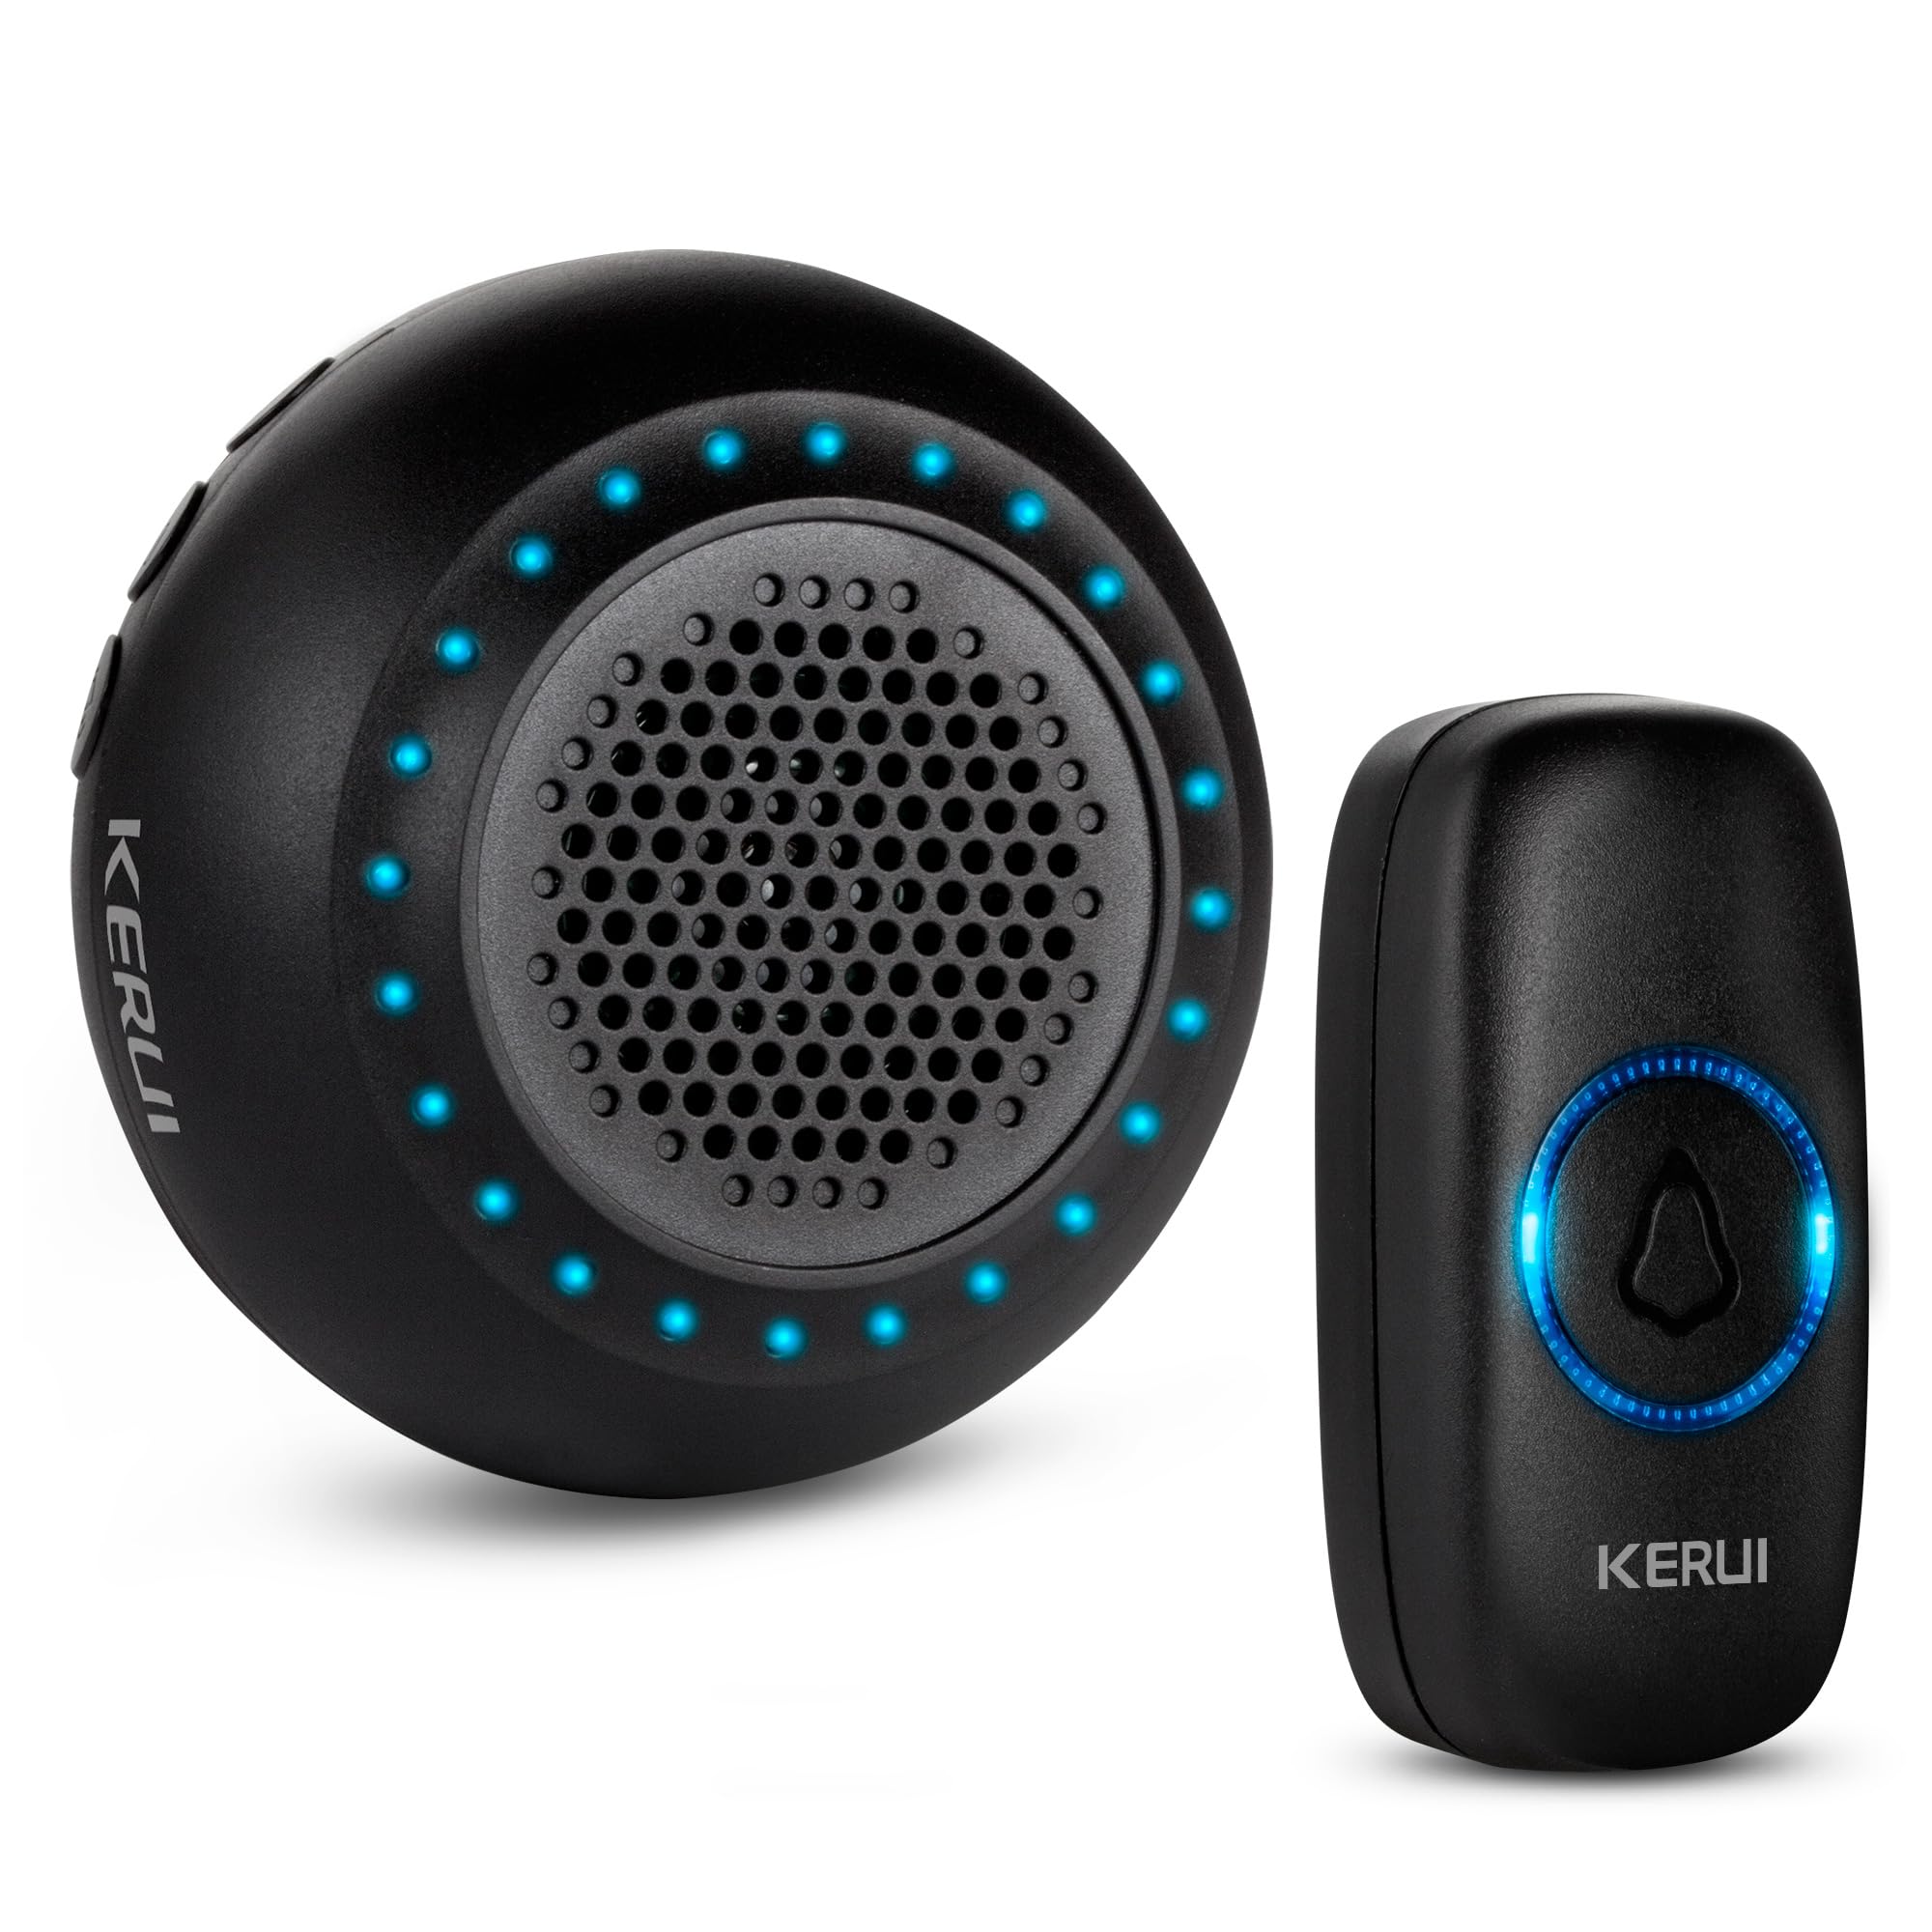
Produkt ponadview
Familiarize yourself with the components and features of your KERUI Wireless Doorbell system.
Video 1: KERUI Wireless Doorbell Product Overview. Ten film przedstawia ogólny przeglądview of the KERUI wireless doorbell, showcasinjego cech i komponentów.


Instrukcje konfiguracji
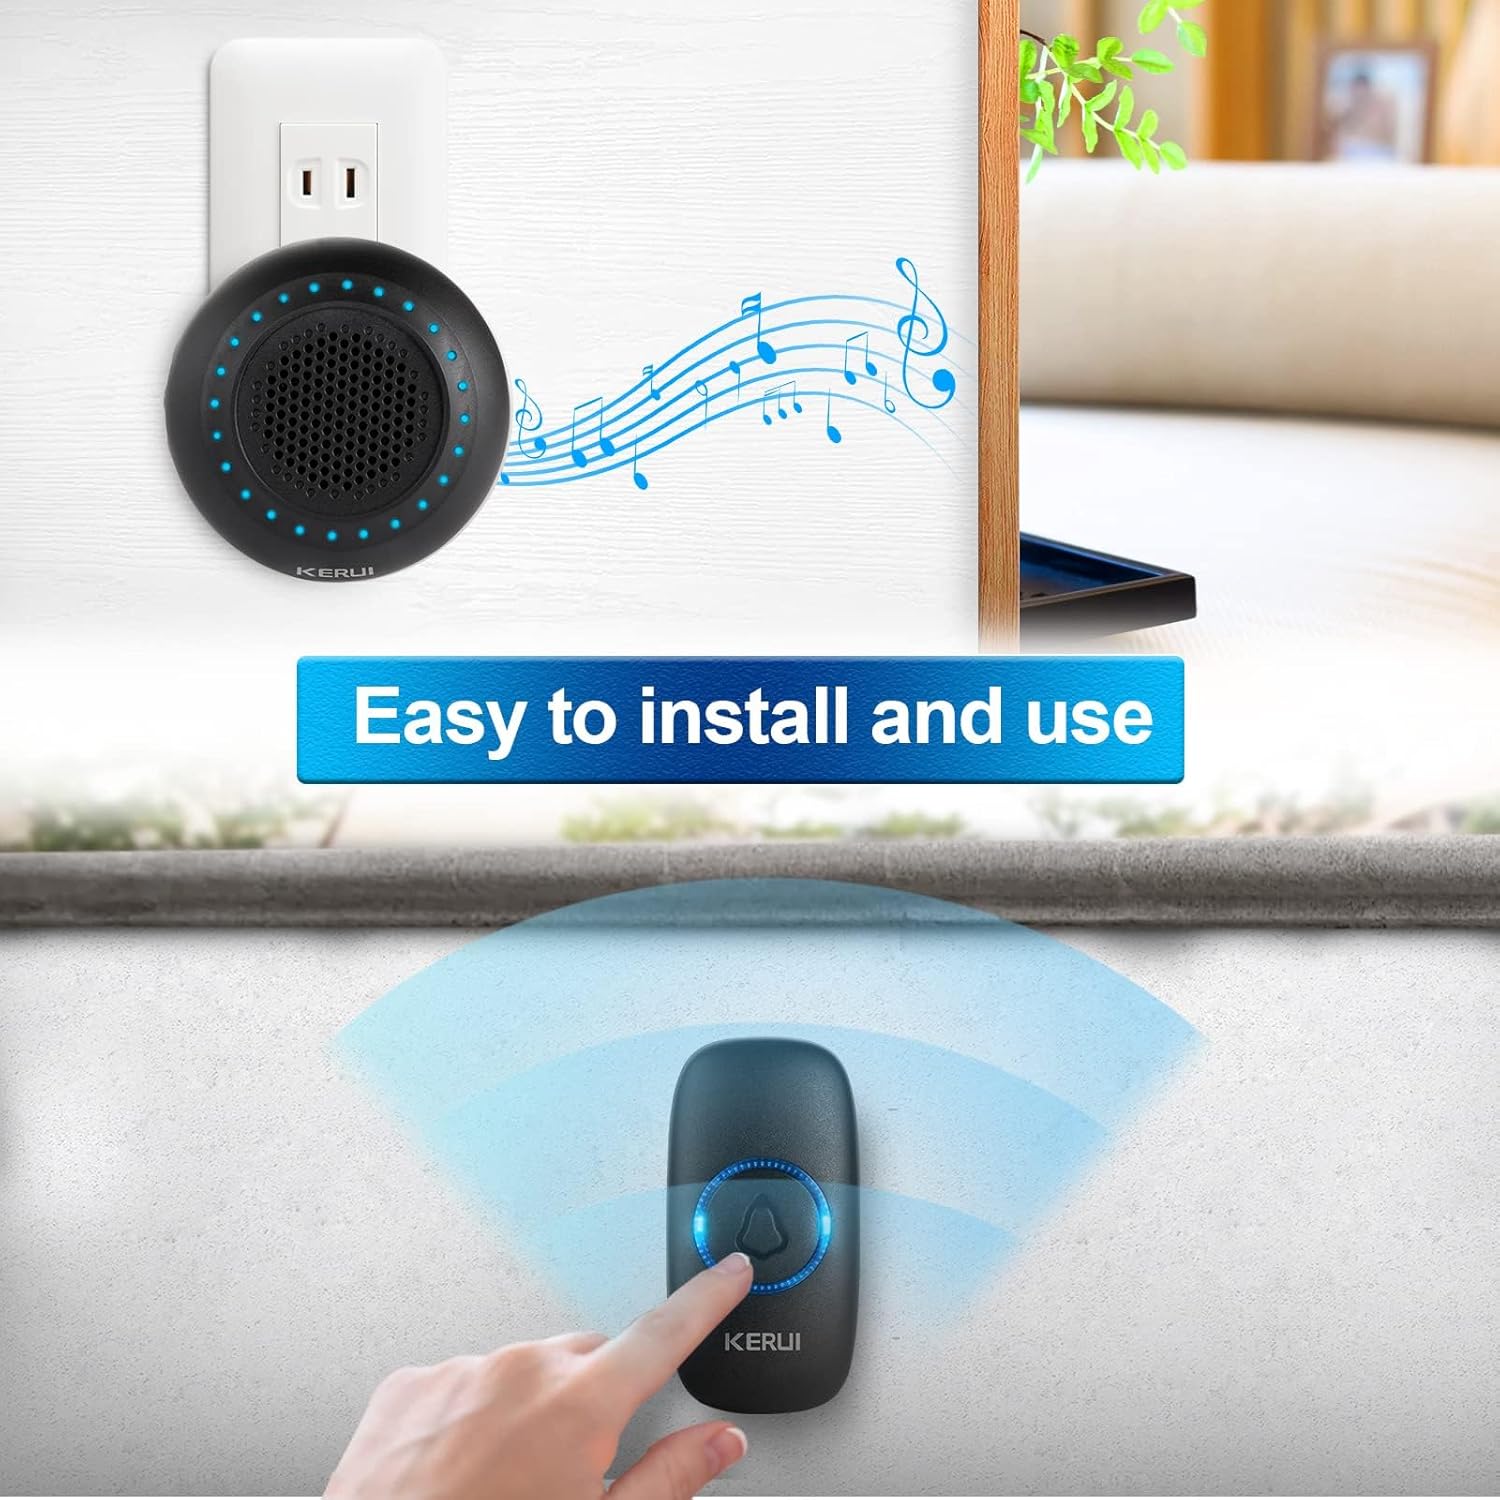
1. Push Button Installation
The push button can be installed using either the provided adhesive tape or screws.
- Choose a suitable location for the push button, typically near your door.
- Używanie taśmy klejącej: Clean the surface thoroughly. Peel off one side of the double-sided adhesive tape and stick it to the back of the push button. Peel off the other side and firmly press the button onto the desired surface for 30 seconds.
- Używanie śrub: Open the back cover of the push button (refer to the Maintenance section for battery replacement for guidance on opening). Mark the screw holes on the wall. Drill pilot holes if necessary and insert the wall anchors. Secure the back cover to the wall with the screws, then reattach the front part of the push button.
2. Konfiguracja odbiornika
Plug the doorbell receiver into any standard electrical outlet within range of the push button. The receiver will light up and emit a default chime.

3. Parowanie urządzeń
Your doorbell kit is pre-paired at the factory. If re-pairing is needed or you add new push buttons, follow these steps:
- Podłącz odbiornik do gniazdka elektrycznego.
- Naciśnij i przytrzymaj Przycisk ustawień (gear icon) on the receiver for approximately 5 seconds until the LED indicators flash and the receiver beeps once. This indicates it has entered pairing mode.
- Within 8 seconds, short press the push button. The receiver will emit two "Ding" sounds and the LED light will flash, confirming successful pairing.
- Naciśnij krótko Przycisk ustawień again to exit pairing mode. The LED indicators will turn off.
Video 2: KERUI Wireless Doorbell Pairing Operation. This video demonstrates the step-by-step process of pairing the push button with the receiver.
Video 3: How to Pair the Doorbell. A visual guide on how to successfully pair your doorbell components.
Instrukcja obsługi
1. Changing the Ringtone
The receiver offers 32 different melodies. To select a ringtone:
- Naciśnij Music Select Button (musical note icon) on the receiver to cycle through the available melodies.
- Once you hear a melody you like, stop pressing the button. The selected melody will be saved automatically.
- If you wish to assign a specific ringtone to a particular push button, enter pairing mode (as described in the Setup section), select your desired ringtone, then press the push button to confirm.
Video 4: How to Change Ringtone and Re-pair Doorbell. This video illustrates how to change the ringtone and re-pair the doorbell if needed.
Video 5: How to Choose Your Favorite Ringtone. A visual guide on selecting and setting your preferred ringtone.
2. Regulacja głośności
The receiver has 4 adjustable volume levels, including a mute mode. Press the Przycisk regulacji głośności (speaker icon) on the receiver repeatedly to cycle through the volume levels until you reach your desired setting.
3. Tryb wyciszenia
To activate mute mode, press the Przycisk regulacji głośności until the volume is set to the lowest level or the mute indicator is shown (if applicable). In mute mode, the receiver's LED flash will still activate when the push button is pressed, providing a visual alert without sound.
Konserwacja
1. Push Button Battery Replacement
The push button is powered by a CR2032 Lithium Ion battery (included). When the button's LED indicator no longer lights up or the signal range decreases significantly, it's time to replace the battery.
- Carefully pry open the back cover of the push button using a small flat-head screwdriver or the provided tool, inserting it into the notch at the bottom.
- Wyjmij starą baterię CR2032.
- Włóż nową baterię CR2032, upewniając się, że biegun dodatni (+) jest skierowany do góry.
- Snap the back cover firmly back into place.
Video 6: How to Replace the Battery. This video provides a visual guide on replacing the battery in the push button transmitter.
Notatka: Stare baterie należy utylizować w sposób odpowiedzialny, zgodnie z lokalnymi przepisami.
Rozwiązywanie problemów
| Problem | Możliwa przyczyna | Rozwiązanie |
|---|---|---|
| Dzwonek nie dzwoni. |
|
|
| Krótki zasięg działania. |
|
|
| Receiver rings randomly. |
|
|
Specyfikacje
- Marka: KERUI
- Numer modelu: M523
- Waga przedmiotu: 3.52 uncji
- Wymiary produktu: 4 x 3 x 3 cala
- Bateria przycisku: 1 x Lithium Ion (CR2032)
- Stopień wodoodporności: IP55 (przycisk)
- Zasięg działania: Do 1000 stóp (w terenie otwartym)
- Dzwonki: 32 melodii do wyboru
- Poziomy głośności: 4 adjustable levels (including mute)
- Zawartość zestawu: 1 Doorbell Receiver, 1 Push Button
Gwarancja i wsparcie
For warranty information or technical support, please refer to the contact details provided with your product packaging or visit the official KERUI webZachowaj paragon jako dowód zakupu.
Ask a question about this manual
Ask about setup, troubleshooting, compatibility, parts, safety, or missing instructions. Manuals+ will review the question and use this page’s manual context to help answer it.