
1. Wprowadzenie
Thank you for choosing the SmilingTown Cloud Neon Sign, Model NES-11. This decorative LED light is designed to add a unique and vibrant ambiance to any room. Its energy-efficient design and easy installation make it a perfect addition for bedrooms, game rooms, offices, or special events. Please read this manual carefully to ensure proper setup and operation.

Image 1.1: The SmilingTown Cloud Neon Sign illuminated in pink.
2. Funkcje produktu
- Clear Neon Light: Features colored neon strips fixed on a clear acrylic plate, providing a bright and vibrant glow.
- USB Powered with Adjustable Switch: Connects to PCs, chargers, or power banks via a USB port. The 71-inch cable includes a switch for easy on/off control and brightness adjustment.
- Łatwy w instalacji: Equipped with 2 reserved hanging holes. Includes 1 adhesive hook and a chain for versatile mounting on walls, doors, windows, or for tabletop placement.
- Bezpieczne w użyciu: Constructed with flexible silicone strip lights and an acrylic backboard, operating at low voltage for energy efficiency and safety, minimizing risk of overheating or shattering.
- Wszechstronna dekoracja: Ideal for various occasions and settings, including bedrooms, game rooms, offices, bars, pubs, clubs, Christmas parties, and as a thoughtful gift.

Image 2.1: Detail of the sign's qualified acrylic backboard and bright neon strip.
3. Zawartość opakowania
Sprawdź, czy w przesyłce znajdują się wszystkie elementy:
- 1 x Cloud Neon Sign (Model NES-11)
- 1 x USB Cable with Integrated On/Off and Brightness Control Switch (approx. 59 inches)
- 1 x Hanging Chain
- 2 x haczyki samoprzylepne

Image 3.1: All included components of the Cloud Neon Sign.
4. Instrukcje konfiguracji
- Rozpakuj znak: Carefully remove the Cloud Neon Sign and all accessories from the packaging. Ensure to peel off any protective film from the acrylic backboard before use.
- Wybierz miejsce montażu: Select a clean, dry, and smooth surface for installation. The sign can be hung on a wall or placed on a flat surface.
- Opcje montażu:
- Using Adhesive Hooks: Clean the desired wall area. Peel off the backing from the adhesive hooks and firmly press them onto the wall, aligning with the pre-drilled holes on the sign. Wait a few minutes for the adhesive to set, then hang the sign.
- Using Hanging Chain: Attach the provided hanging chain to the pre-drilled holes on the sign. Secure the chain to a wall hook or other suitable fixture.
- Umiejscowienie blatu: The sign can also be placed directly on a desk, shelf, or bedside table without mounting.
- Podłącz zasilanie: Plug the USB cable into a compatible USB power source (e.g., USB wall adapter, power bank, computer USB port).
Video 4.1: Demonstrates unpacking, protective film removal, hanging, and USB power connection for a similar cloud neon sign.

Image 4.2: The sign can be powered by various USB sources.
5. Instrukcja obsługi
- Włączanie/wyłączanie: Locate the switch on the USB cable. Press the power button to turn the neon sign on or off.
- Dostosuj jasność: Use the '+' and '-' buttons on the switch to increase or decrease the brightness of the neon light according to your preference.
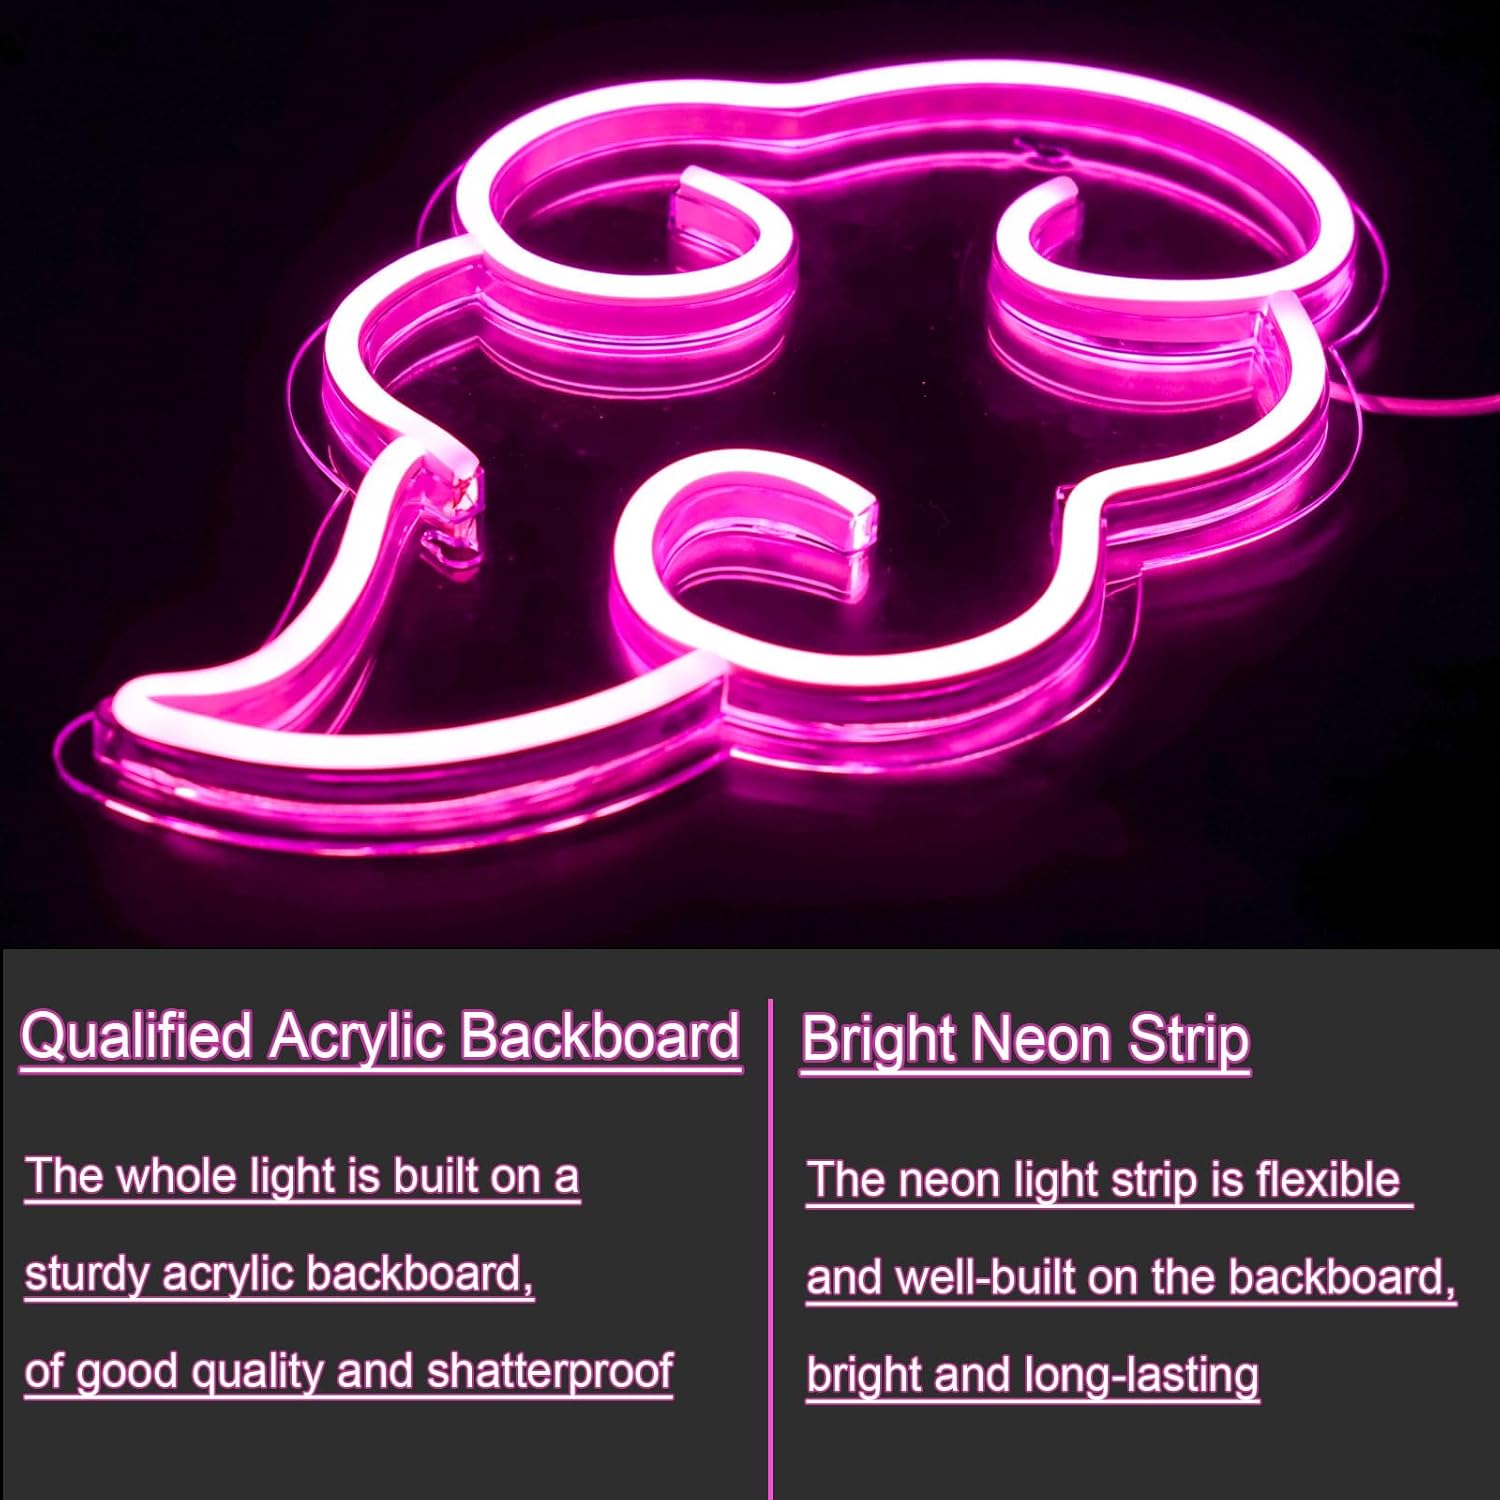
Image 5.1: Visual representation of the brightness control feature.
Video 5.1: Demonstrates turning the cloud neon sign on/off and adjusting brightness.
6. Konserwacja
- Czyszczenie: Gently wipe the sign with a soft, dry cloth. Avoid using abrasive cleaners or solvents that may damage the acrylic or LED strips.
- Składowanie: If storing the sign, ensure it is clean and dry. Store in a cool, dry place away from direct sunlight and extreme temperatures.
- Obsługiwanie: Handle the sign with care to prevent damage to the LED strips or acrylic backboard.
7. Rozwiązywanie Problemów
- Sign does not light up:
- Ensure the USB cable is securely plugged into both the sign and the power source.
- Sprawdź, czy źródło zasilania jest aktywne i dostarcza prąd.
- Check if the on/off switch on the cable is in the 'on' position.
- Światło jest zbyt słabe lub zbyt jasne:
- Use the '+' and '-' buttons on the cable switch to adjust the brightness to your desired level.
- Sign is flickering:
- Try plugging the USB cable into a different power source to rule out an issue with the current power supply.
8. Specyfikacje
| Atrybut | Szczegół |
|---|---|
| Numer modelu | NES-11 |
| Marka | SmilingTown |
| Źródło zasilania | USB Operated (Low Voltage) |
| Wymiary (pakiet) | 16.34 x 9.17 x 1.22 cala |
| Waga przedmiotu | 1.01 funta |
| Tworzywo | Flexible Silicone LED Strip, Acrylic Backboard |
9. Gwarancja i wsparcie
For warranty information or technical support, please refer to the product packaging or contact SmilingTown customer service directly. Keep your purchase receipt for any warranty claims.
10. Przykład użyciaamples
The SmilingTown Cloud Neon Sign is perfect for creating a unique atmosphere in various settings. Its distinctive design makes it a focal point for any room.
Video 10.1: Shows the cloud neon sign enhancing a gaming setup, highlighting its appeal for gamers and content creators.

Image 10.2: The neon sign creating a relaxed atmosphere in a gaming environment.

Image 10.3: The neon sign providing soft ambient lighting in a bedroom setting.