
1. Wprowadzenie
This manual provides detailed instructions for the installation, operation, and maintenance of your ARPHA D160 Keyless Entry Door Lock. Please read this manual thoroughly before installation and use to ensure proper function and longevity of the product. Keep this manual for future reference.
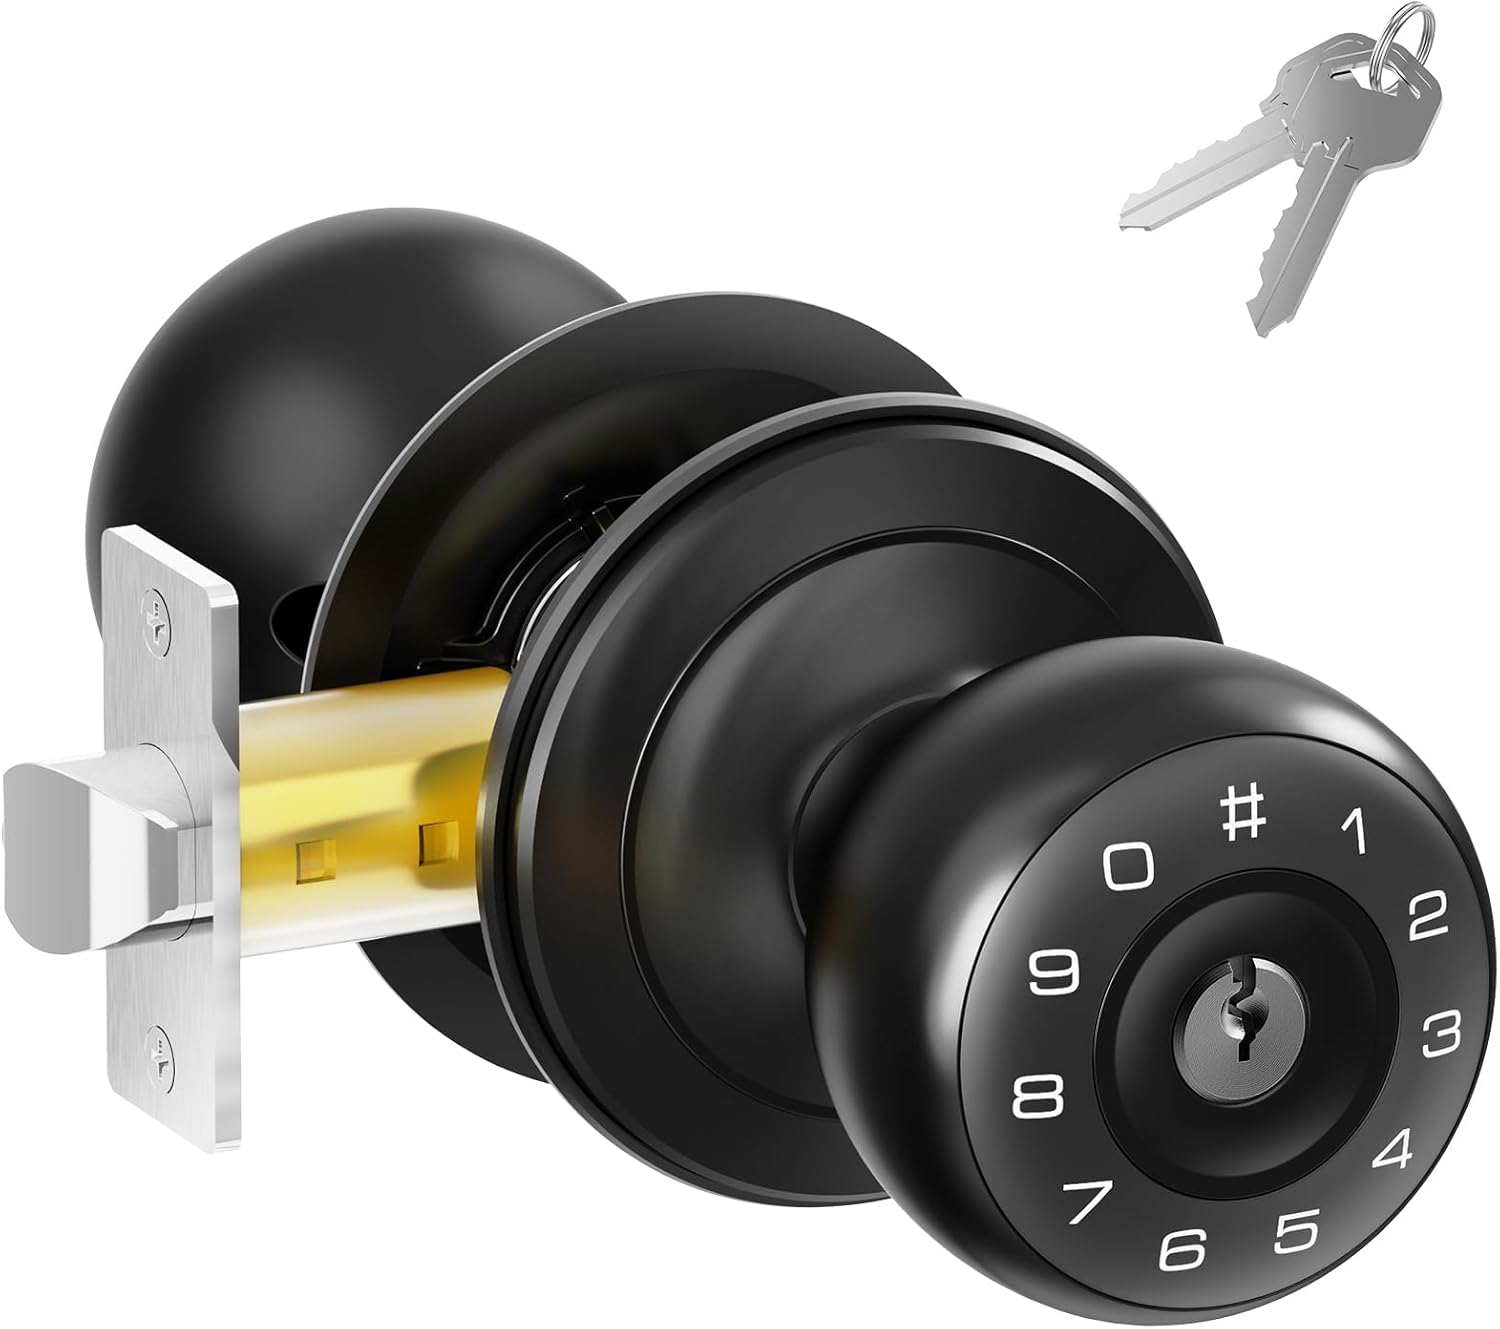
Figure 1.1: The ARPHA D160 Keyless Entry Door Lock, shown with its mechanical keys.
2. Informacje dotyczące bezpieczeństwa
- Nie próbuj samodzielnie demontować ani naprawiać zamka. W celu uzyskania pomocy skontaktuj się z wykwalifikowanym personelem.
- Use only specified battery types (4x AA batteries, not included). Do not mix old and new batteries or different types of batteries.
- Keep mechanical keys in a secure location outside the property to prevent lockout in case of battery failure or electronic malfunction.
- Avoid exposing the lock to direct water spray or extreme temperatures.
- Regularly check battery levels and replace batteries when the low battery alert is activated.
3. Zawartość opakowania
Przed rozpoczęciem instalacji sprawdź, czy wszystkie komponenty są obecne:
- Exterior Keypad Knob
- Pokrętło wewnętrzne
- Bolt zatrzaskowy
- Blacha zaczepowa
- Mounting Hardware (screws, spindle)
- Klucze mechaniczne (2)
- Instrukcja obsługi
4. Koniec produktuview
The ARPHA D160 Keyless Entry Door Lock offers convenient and secure access with multiple features designed for ease of use and enhanced security.

Rysunek 4.1: Koniecview of ARPHA D160 Keypad Door Knob features, including low battery alert, auto-lock, virtual password, support for 50 user codes, silent mode, and emergency charging capabilities.
Główne cechy:
- Wejście bezkluczykowe: Access your door using a programmable passcode.
- Kontrola aplikacji: Manage lock settings and access codes via a dedicated mobile application.
- Kod jednorazowy: Generate temporary access codes for guests or service providers.
- Hasło zapobiegające podglądaniu: Enter random digits before or after your actual code to prevent unauthorized viewing.
- Automatyczna blokada: Automatically locks the door after a set period.
- Tryb cichy: Wyłącza dźwięki klawiatury, aby zapewnić cichą pracę.
- Ładowanie awaryjne: USB-C port for temporary power in case of battery depletion.
- Alert niskiego poziomu baterii: Visual and audible indicators for low battery status.
5. Instalacja
Follow these steps for proper installation of your ARPHA D160 door lock. Ensure your door thickness is between 1.4"-2.7" (35-55mm) and the backset is 2-3/8" or 2-3/4" (60 or 70mm).
5.1 Przygotuj drzwi
- Zdemontuj wszystkie istniejące elementy mocujące drzwi.
- Verify door dimensions match the lock specifications.
5.2 Zamontuj śrubę zatrzaskową
- Insert the latch bolt into the door edge. Ensure the latch is oriented correctly for your door's swing.
- Zabezpiecz za pomocą śrub.
5.3 Install the Exterior Keypad Knob
- Pass the spindle and wires from the exterior keypad knob through the latch bolt and door hole.
- Ensure the knob is flush against the door.
5.4. Zamontuj pokrętło wewnętrzne
- Connect the wires from the exterior knob to the interior knob, matching colors (e.g., red to red, black to black, yellow to yellow).
- Align the interior knob with the spindle and secure it to the exterior knob using the provided mounting hardware.
- Insert 4 AA batteries into the interior knob's battery compartment.
5.5 Install the Strike Plate
- Zamontuj blachę zaczepową na ościeżnicy, wyrównując ją z zasuwką.
- Zabezpiecz za pomocą śrub.
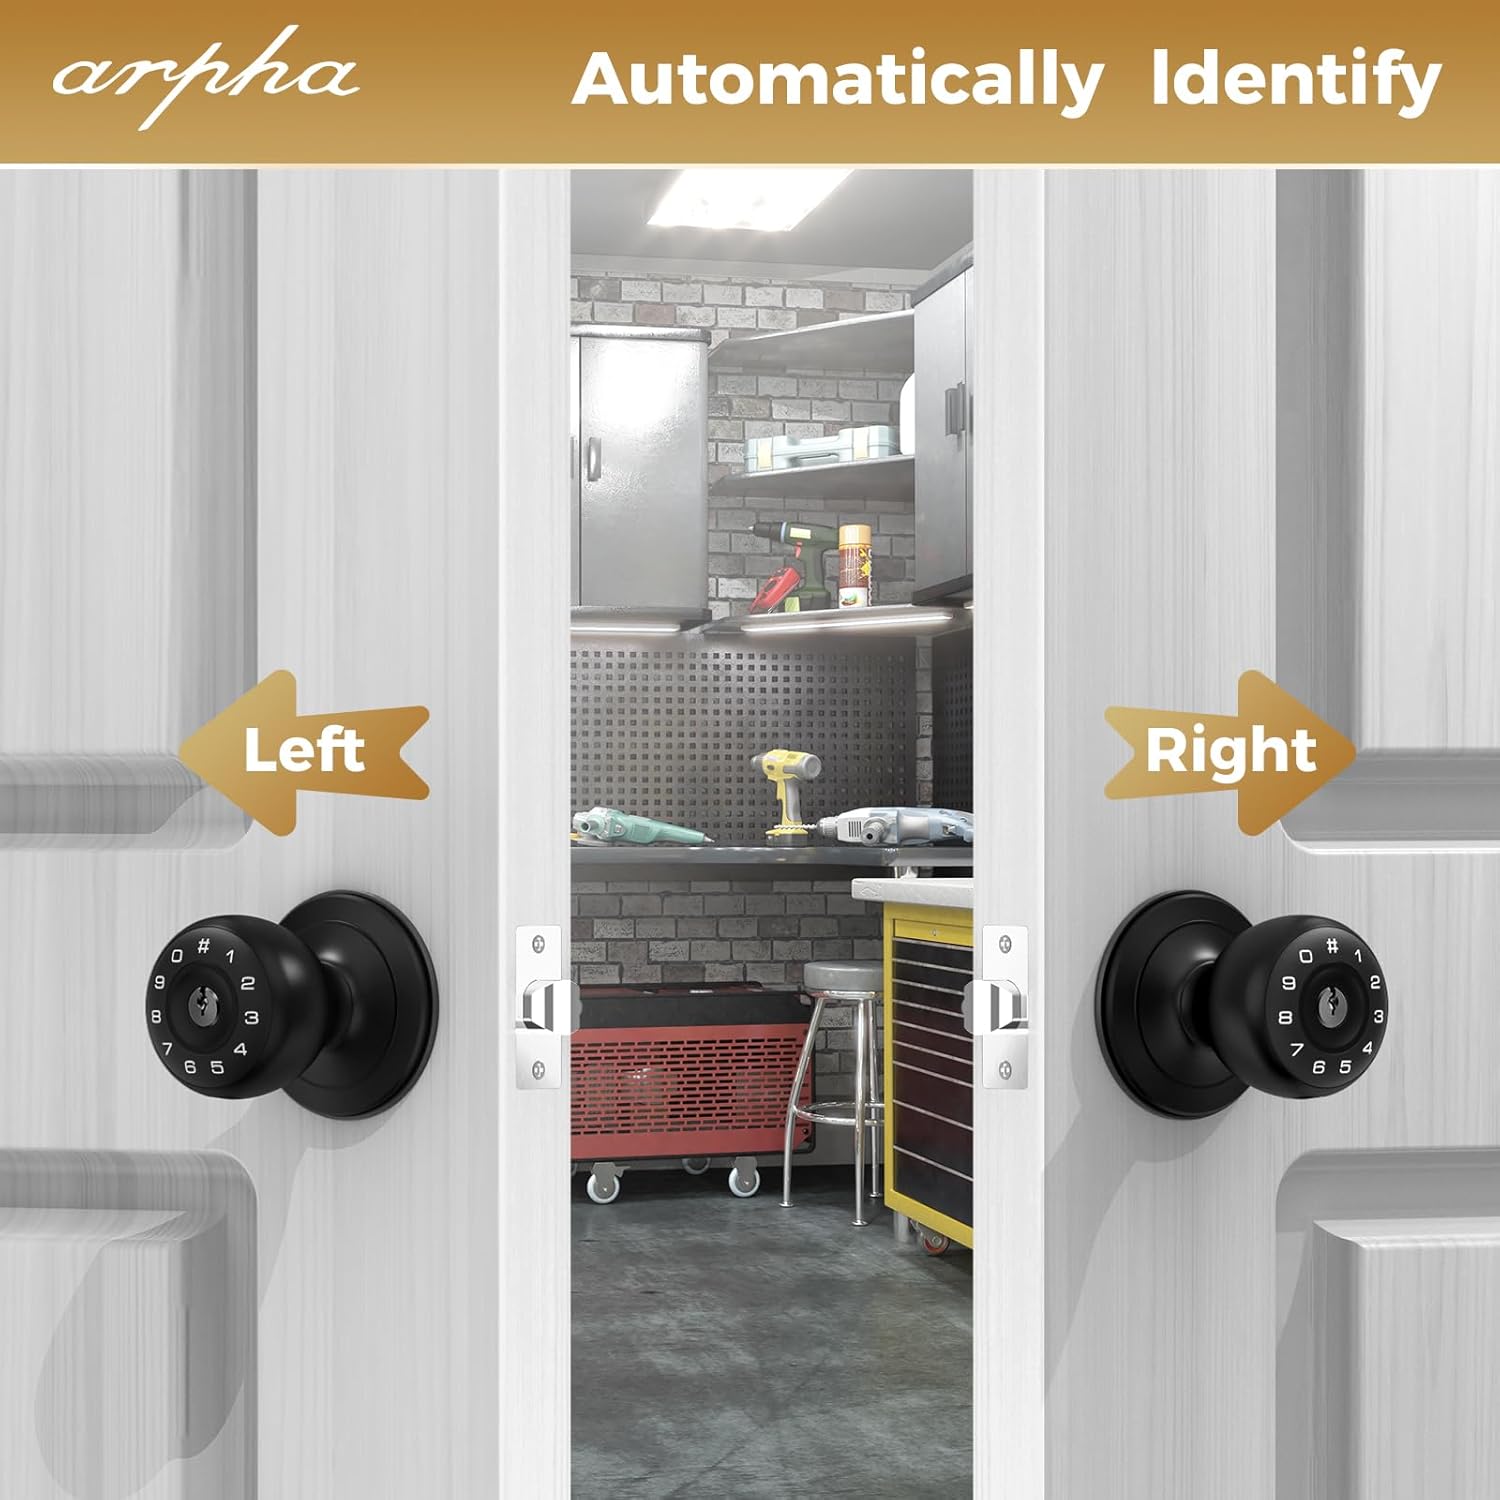
Figure 5.1: The ARPHA D160 lock automatically identifies left or right-handed door configurations during installation.
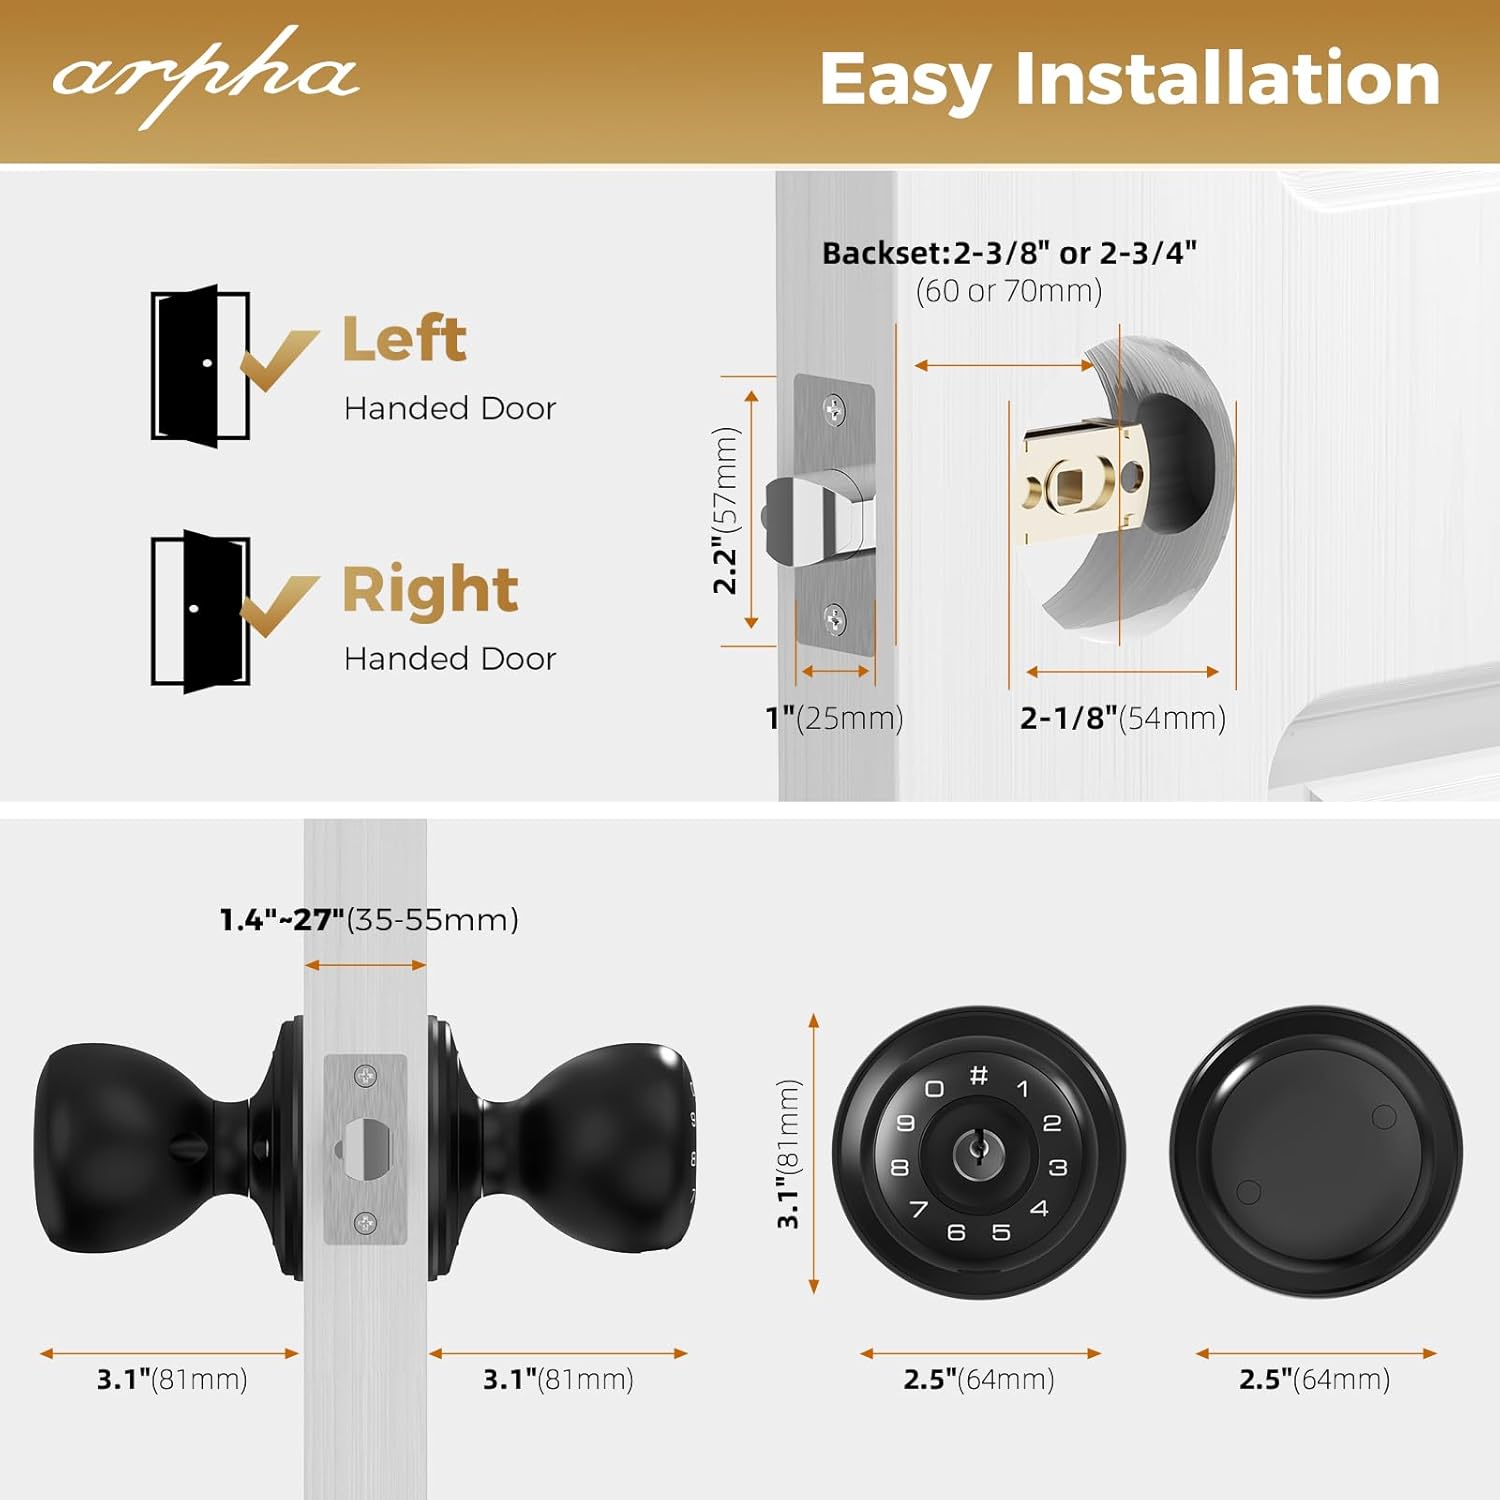
Figure 5.2: Detailed dimensions for door preparation and lock components, including backset and door thickness requirements.
6. Instrukcja obsługi
6.1 Initial Setup and Master Code
- After battery installation, the lock will emit a beep.
- Refer to the quick start guide for initial master code programming. This code is essential for managing other user codes.
6.2 User Code Management
The lock supports up to 50 user codes.

Figure 6.1: The ARPHA D160 allows for up to 50 distinct user codes, suitable for family, friends, or temporary access.
- Dodawanie kodu użytkownika: Follow the instructions in the quick start guide to add new user codes using the master code.
- Usuwanie kodów użytkownika: To delete a specific user code, you must reset all user codes and then reprogram the desired ones. Individual code deletion is not supported.
6.3 Hasło zabezpieczające przed podglądaniem
To enhance security, you can enter random digits before or after your actual PIN code. The lock will still recognize the correct sequence within the longer entry.
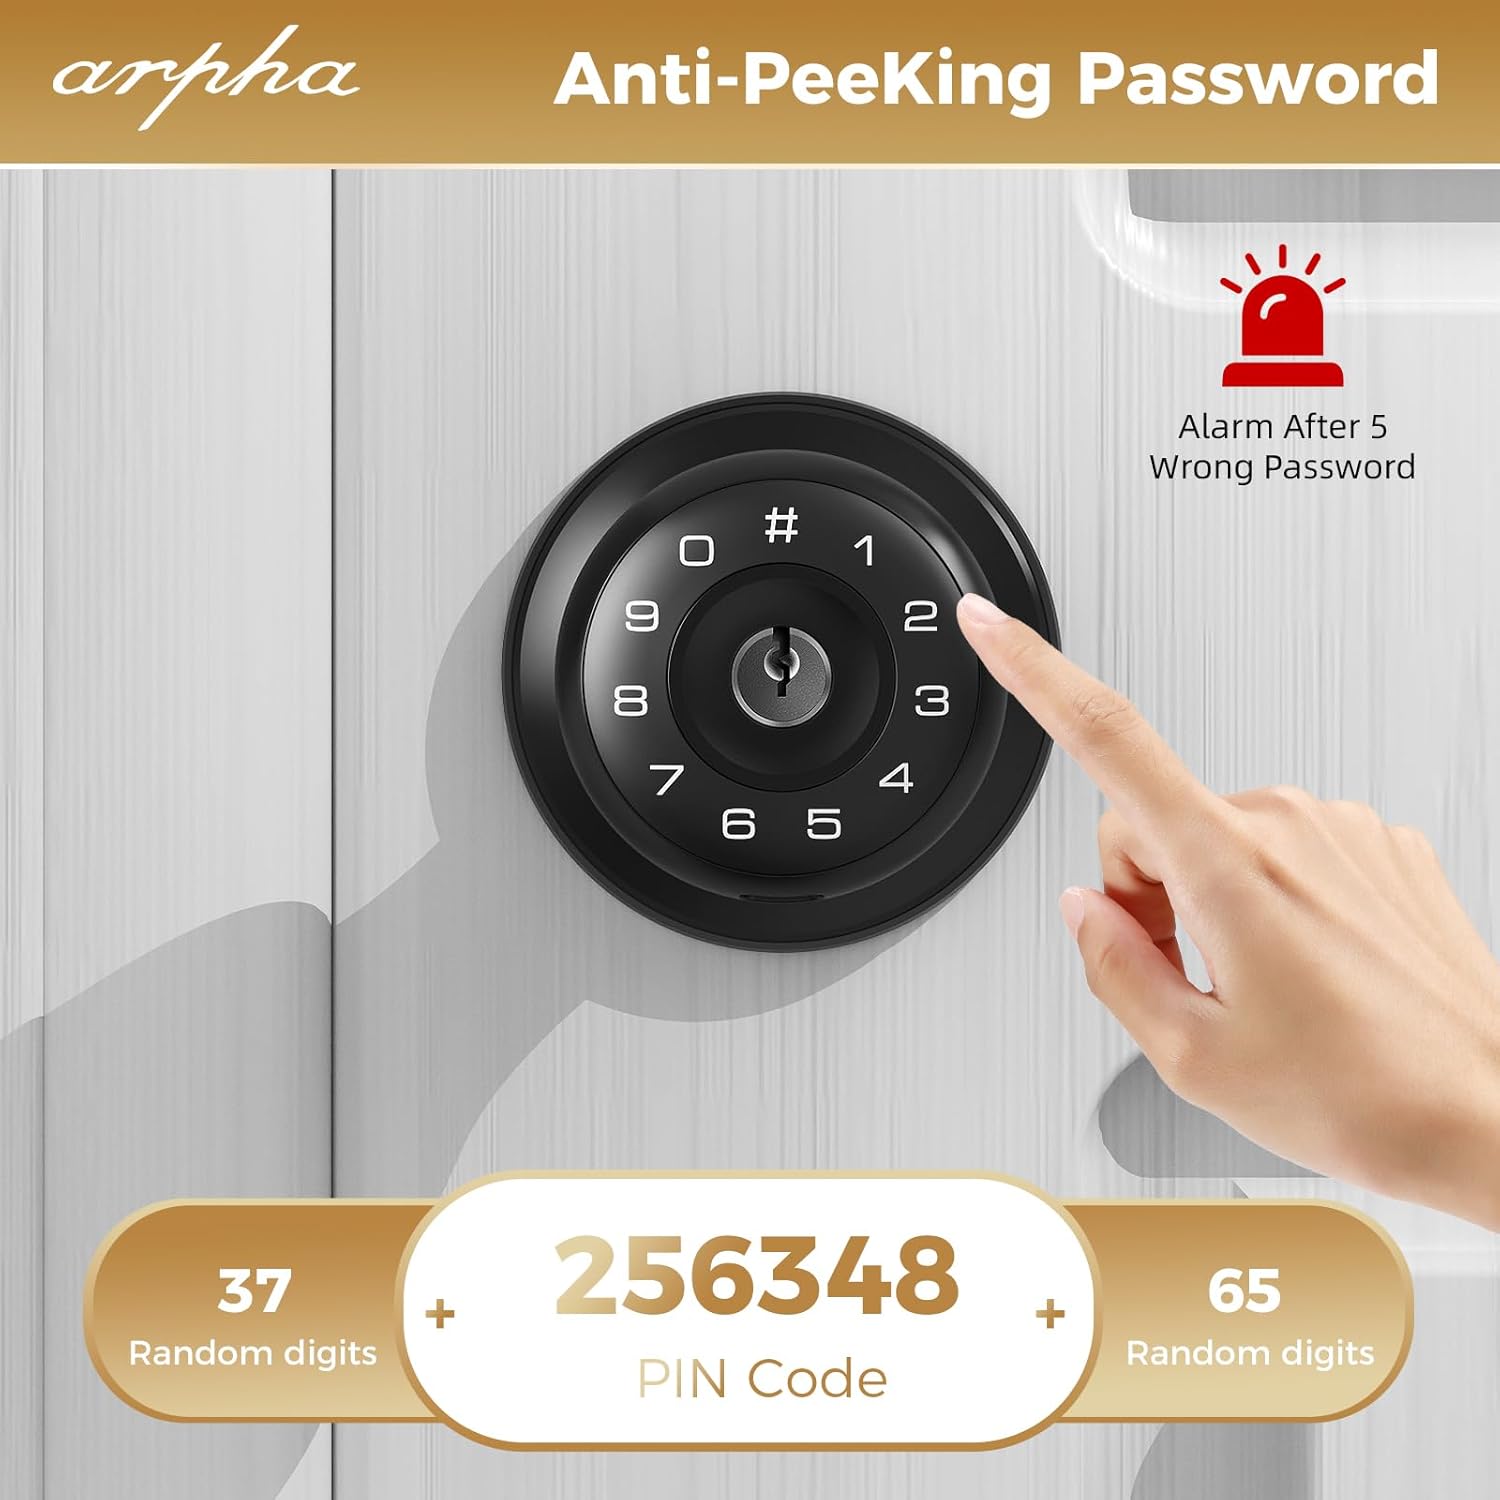
Rysunek 6.2: Example of anti-peeping password entry, where random digits surround the actual PIN code.
6.4 Silent Mode (Bass Mode)
Activate silent mode to disable keypad beeps for quiet operation, ideal for late-night entry or exit.
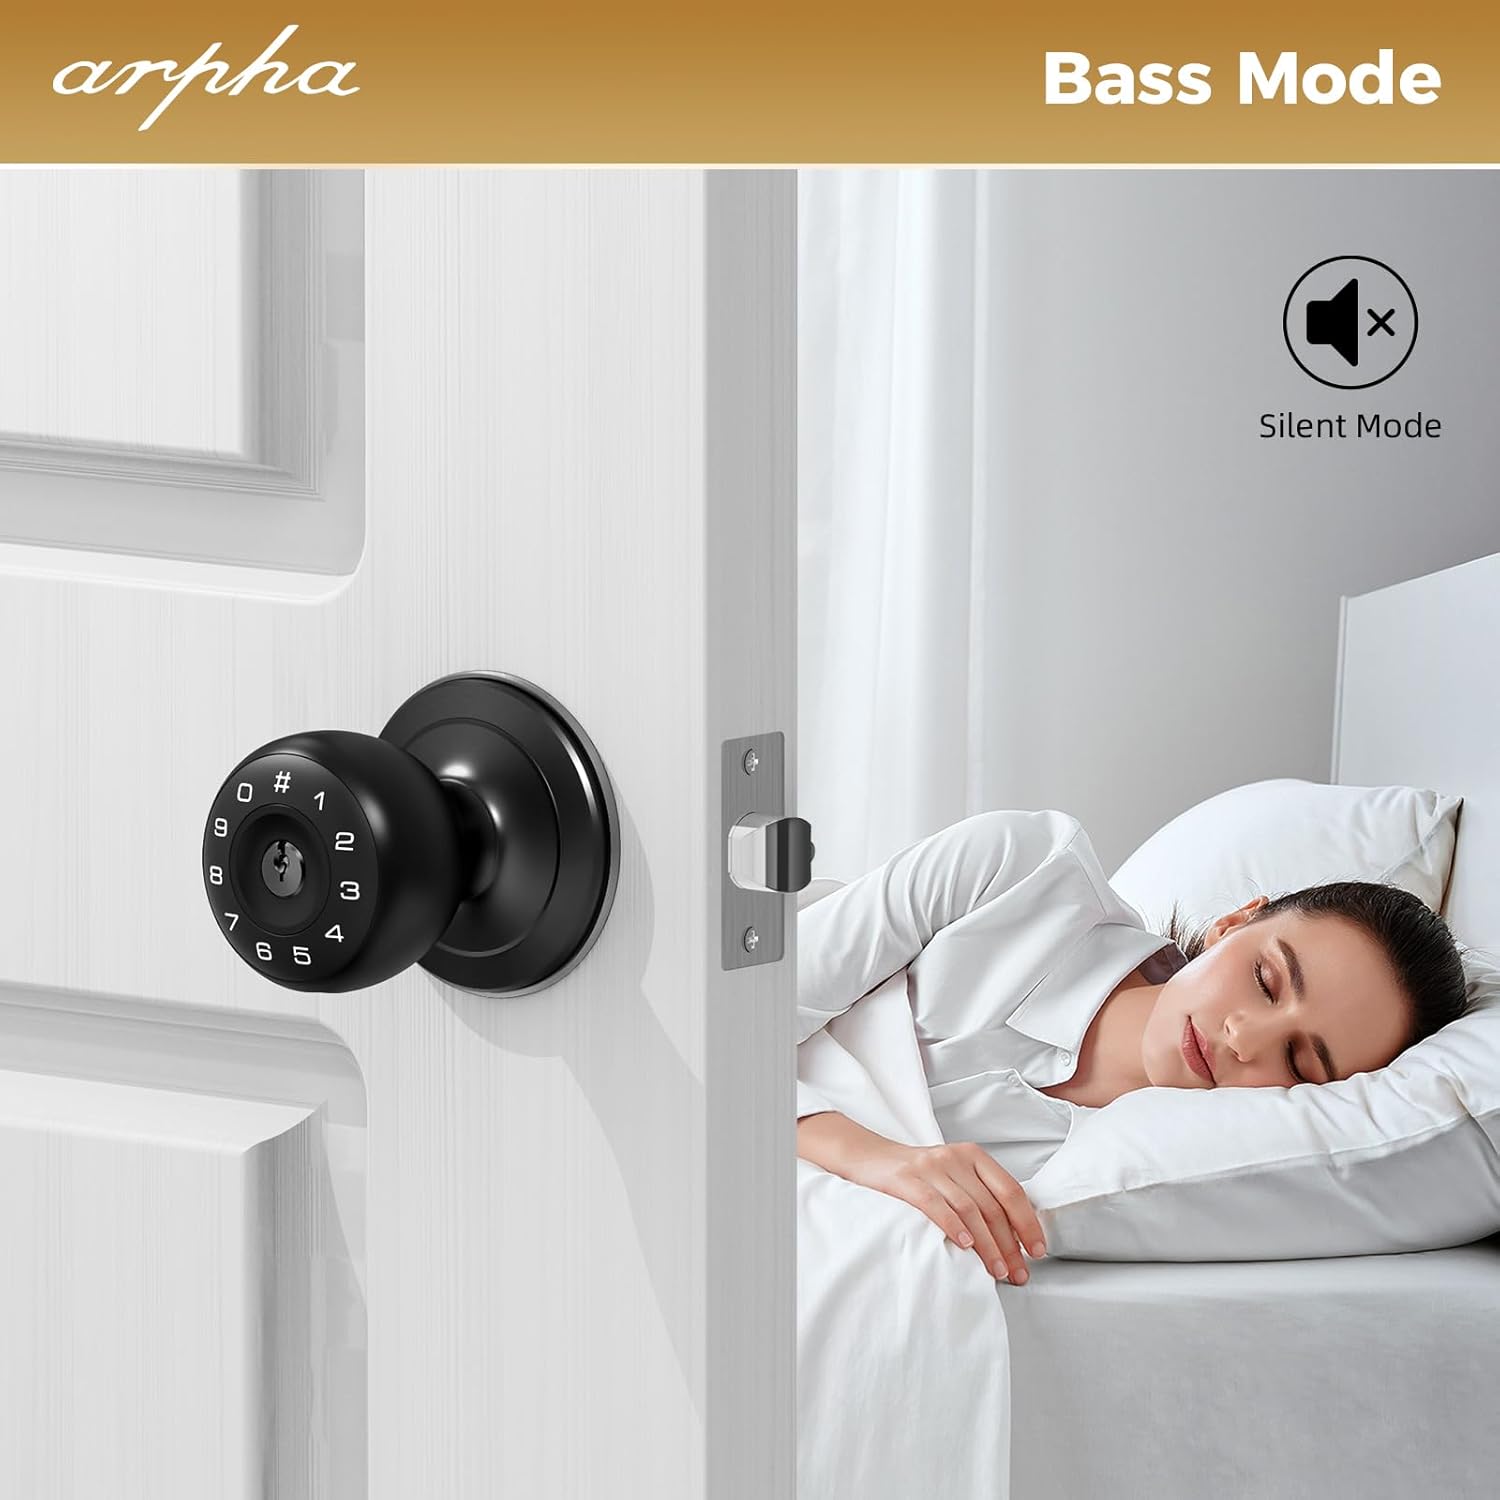
Figure 6.3: The lock operating in silent mode, indicated by a muted speaker icon.
6.5 Funkcja automatycznej blokady
The lock can be configured to automatically re-lock after a specified duration (e.g., 10-30 seconds) once unlocked. Refer to the app or quick start guide for setting this feature.
6.6 Ładowanie awaryjne
In case of complete battery depletion, the lock features a USB-C port for temporary emergency power. Connect a power bank to this port to provide enough power to enter your code and unlock the door.

Figure 6.4: The lock displaying a low battery alert and demonstrating the use of the emergency USB-C charging port.
7. Konserwacja
- Wymiana baterii: Replace all four AA batteries when the low battery alert is activated. Do not wait for complete battery depletion.
- Czyszczenie: Wipe the lock's exterior with a soft, dry cloth. Avoid abrasive cleaners or solvents that may damage the finish or electronic components.
- Pielęgnacja klawiatury: Keep the keypad free from dirt and debris.
8. Rozwiązywanie Problemów
| Problem | Możliwa przyczyna | Rozwiązanie |
|---|---|---|
| Zamek nie reaguje na wprowadzanie danych z klawiatury. | Dead batteries. Incorrect code entry. | Replace batteries. Use emergency charging. Re-enter code carefully. |
| Lock beeps continuously or alarms. | Low battery. Multiple incorrect code entries. | Replace batteries. Wait 1 minute after 5 incorrect entries before trying again. |
| Door does not lock/unlock smoothly. | Misalignment of latch bolt or strike plate. Obstruction. | Check alignment and adjust if necessary. Ensure no debris is blocking the latch. |
| Kontrola aplikacji nie działa. | Bluetooth not enabled. App not paired. | Ensure Bluetooth is active on your device. Follow app pairing instructions. |
9. Specyfikacje
- Marka: ARPHA
- Nazwa modelu: Zamek drzwi z dostępem bezkluczykowym D160
- Typ zamka: Klawiatura
- Tworzywo: Metal
- Kolor: Czarny
- Wymiary produktu: 6.2 x 3.1 x 3.1 cala
- Waga przedmiotu: 1.94 funta
- Źródło zasilania: 4 baterie AA (brak w zestawie)
- Cechy szczególne: Passcode Unlock, App Control, Anti-Peeping Password, Auto-Lock, Silent Mode, Emergency USB-C Charging
- Zalecane zastosowanie: Securing rooms and spaces in residential and office settings
10. Gwarancja i wsparcie
ARPHA products are designed for reliability and performance. For warranty information or technical support, please refer to the contact details provided with your purchase documentation or visit the official ARPHA webZachowaj paragon jako dowód zakupu na wypadek reklamacji.