1. Wprowadzenie
This manual provides detailed instructions for the installation, operation, and maintenance of your Hikvision 2-Wire Video Intercom Kit, Model 38084. This system is designed for single-family homes, offering enhanced security and convenience through its 7-inch touchscreen monitor, FullHD outdoor camera, and seamless integration with the Hik-Connect mobile application. Please read this manual thoroughly before installation and use to ensure proper functioning and safety.
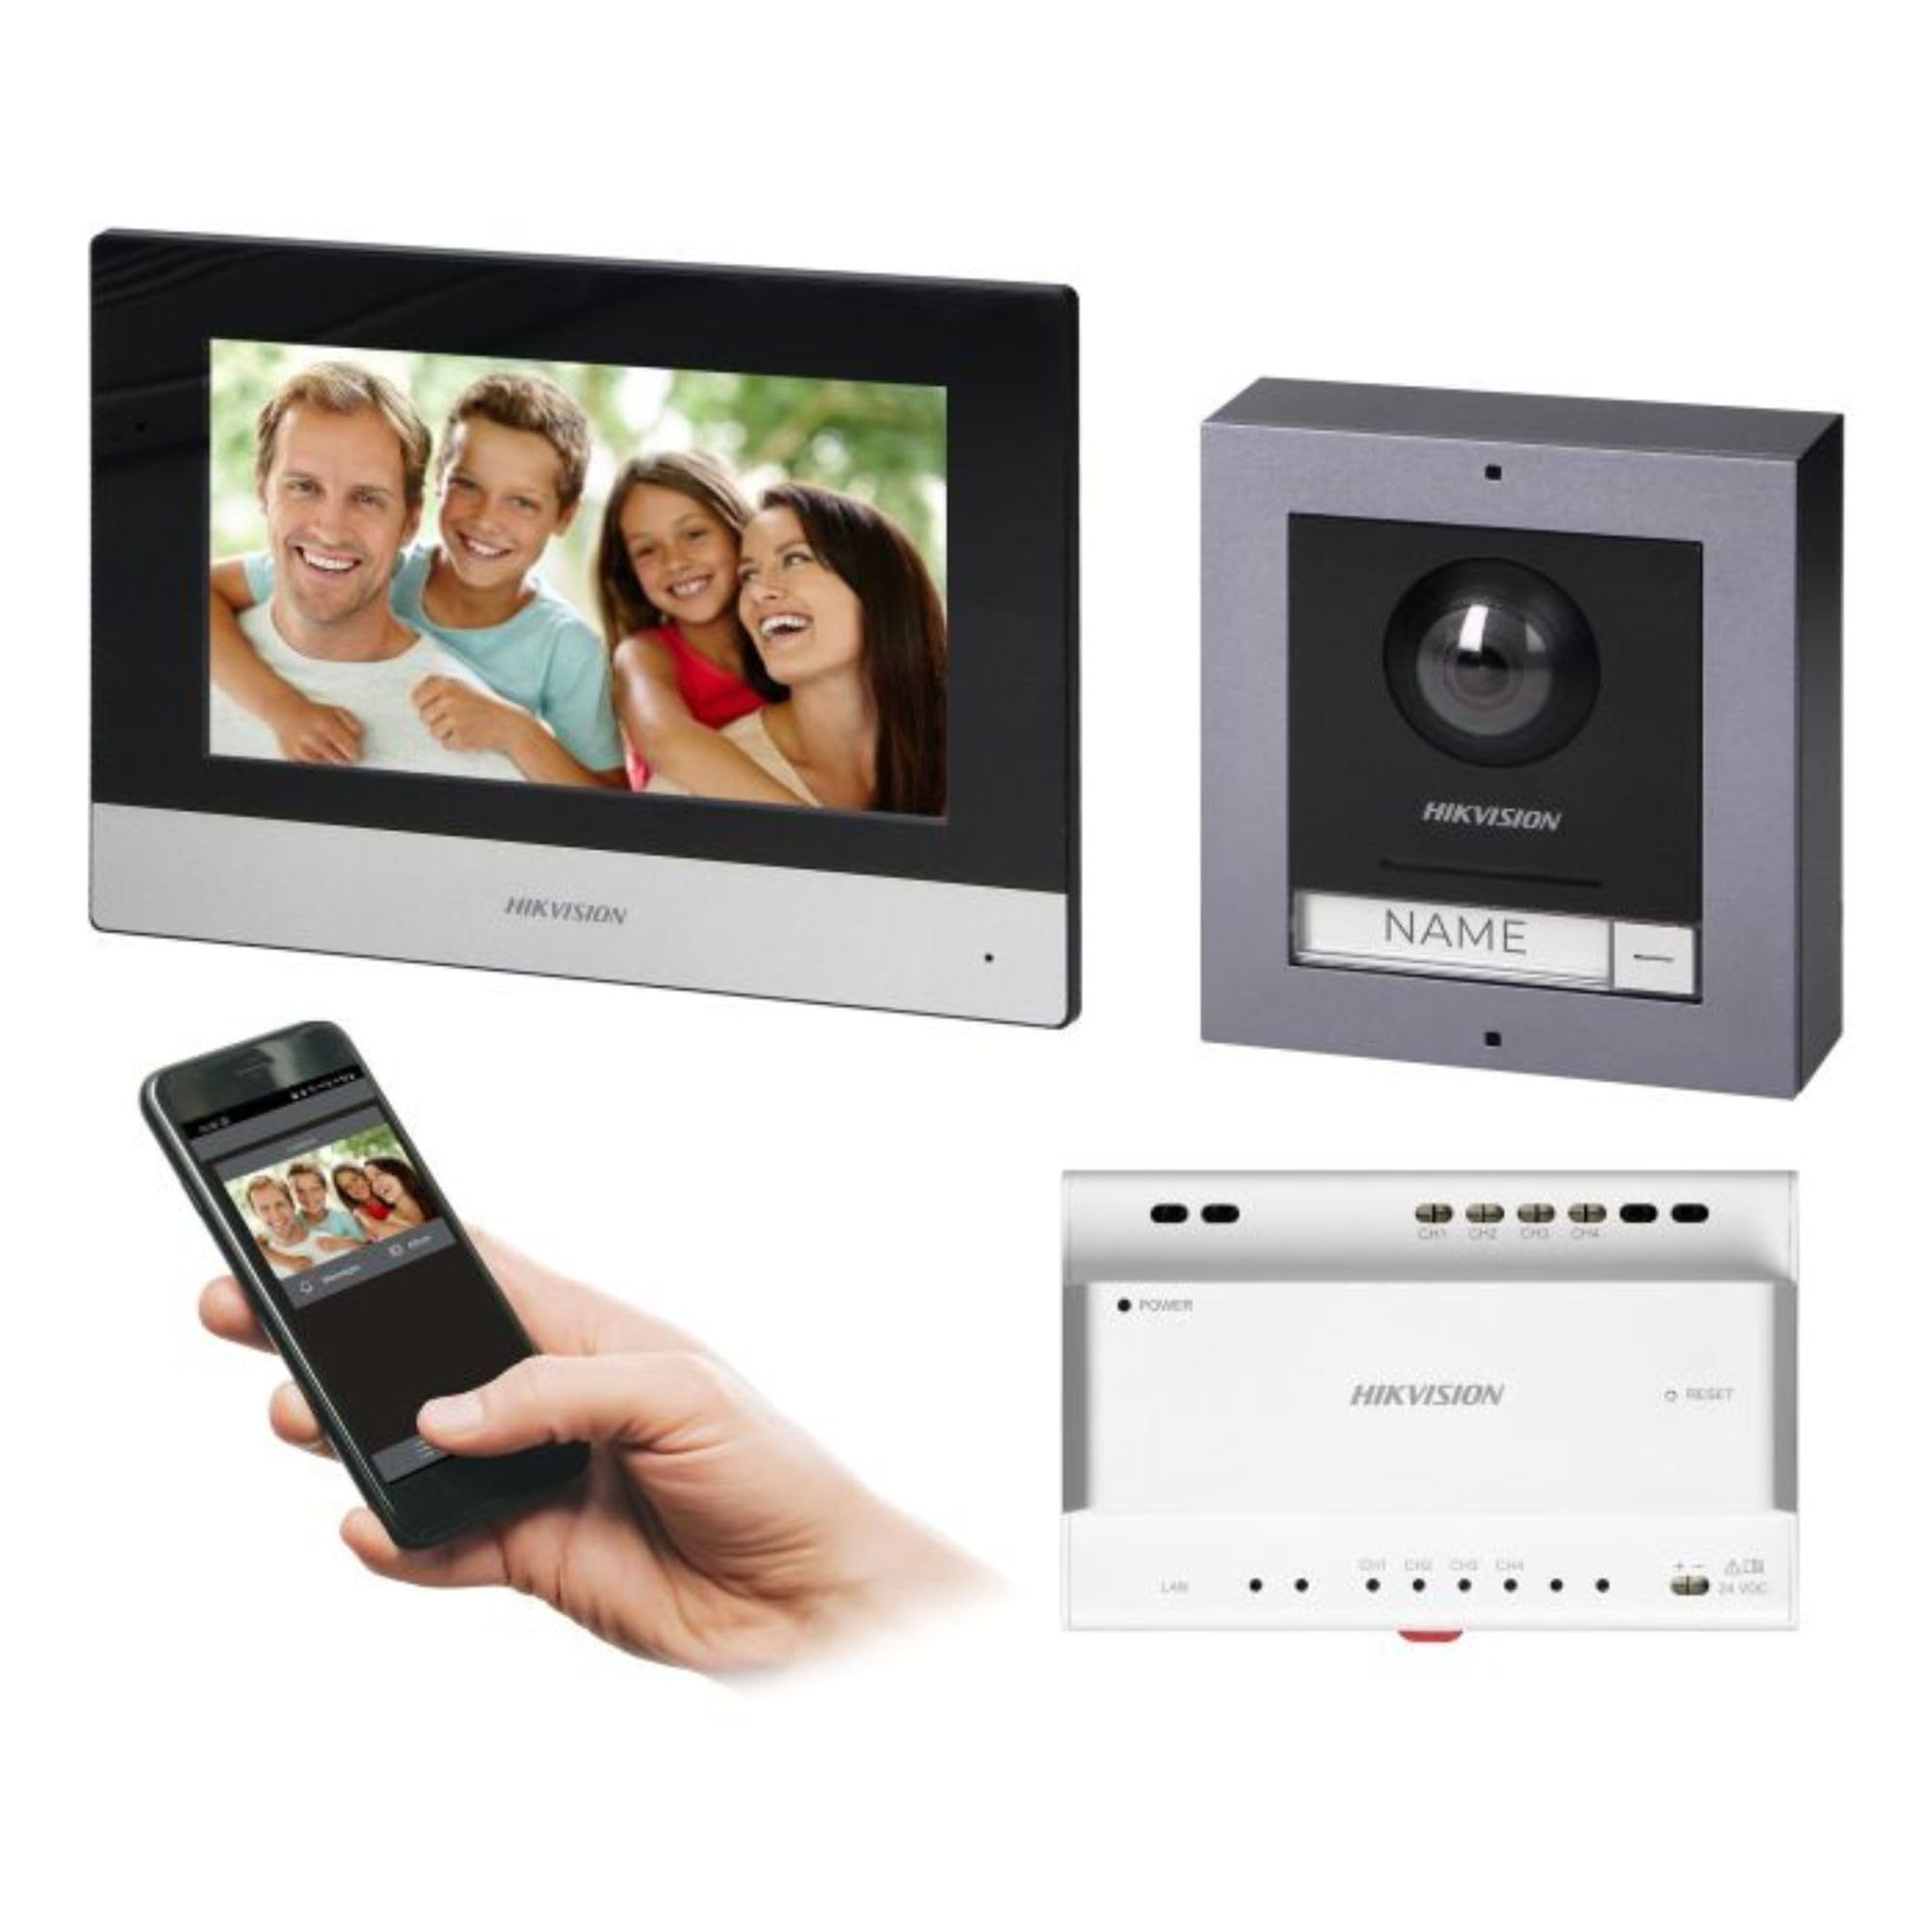
Figure 1: Hikvision 7-inch Video Intercom Monitor (Front View)
The image displays the front view of the Hikvision 7-inch video intercom monitor, featuring a large screen and the Hikvision logo at the bottom.
2. Informacje dotyczące bezpieczeństwa
Zawsze należy przestrzegać podstawowych zasad bezpieczeństwa, aby zmniejszyć ryzyko pożaru, porażenia prądem elektrycznym i obrażeń ciała.
- Bezpieczeństwo elektryczne: Installation must be performed by qualified personnel in accordance with all local electrical codes. Disconnect power before installation or servicing.
- Woda i wilgoć: Do not expose the indoor monitor to rain or moisture. The outdoor panel is IP65 rated for weather resistance but should not be submerged.
- Temperatura: Używaj urządzenia w określonym zakresie temperatur.
- Czyszczenie: Do czyszczenia należy używać miękkiej, suchej ściereczki. Nie należy używać środków czyszczących w płynie ani w aerozolu.
- Ingerencja: Avoid installing near sources of strong electromagnetic interference.
3. Zawartość opakowania
Sprawdź, czy w opakowaniu znajdują się wszystkie komponenty:
- 7-inch Indoor Monitor (with WiFi)
- FullHD Outdoor Panel (with Camera and Night Vision)
- 4-Channel Distributor
- Akcesoria montażowe (śruby, kołki rozporowe)
- Instrukcja obsługi (ten dokument)
- 16 GB MicroSD Card (pre-installed or included for video storage)

Figure 2: Hikvision Outdoor Panel and Mounting Accessories
This image shows the Hikvision outdoor panel alongside its rain shield and a flush-mount box, illustrating the various mounting options available.
4. Konfiguracja i instalacja
The Hikvision video intercom system utilizes a 2-wire installation method, simplifying wiring. Both the indoor monitor and outdoor panel are designed for surface mounting.
4.1 Montaż panelu zewnętrznego
- Wybierz lokacje: Select a suitable location near the entrance, ensuring the camera has a clear view of visitors. The panel is IP65 rated for outdoor use.
- Montowanie: Use the provided mounting bracket to mark drill holes on the wall. Drill holes, insert wall plugs, and secure the bracket.
- Okablowanie: Connect the 2-wire cable from the distributor to the outdoor panel terminals. Ensure correct polarity.
- Bezpieczny panel: Attach the outdoor panel to the mounting bracket.

Figure 3: Hikvision Outdoor Panel (Front View)
This image shows the front of the Hikvision outdoor panel, featuring the FullHD camera, speaker grille, call button, and nameplate area.
4.2 Instalacja monitora wewnętrznego
- Wybierz lokacje: Select an indoor location where the monitor is easily accessible and visible.
- Montowanie: Use the provided mounting plate to mark and drill holes. Secure the mounting plate to the wall.
- Okablowanie: Connect the 2-wire cable from the distributor to the indoor monitor terminals.
- Podłączenie zasilania: Connect the monitor to a power source (mains electricity).
- Bezpieczny monitor: Attach the indoor monitor to the mounting plate.

Figure 4: Hikvision Indoor Monitor (Back View) and Mounting Plate
The image displays the rear of the Hikvision indoor monitor, showing its connection ports and the separate mounting plate used for installation.
4.3 System Wiring Diagram (General)
The 2-wire system connects the outdoor panel, indoor monitor, and the 4-channel distributor. The distributor manages power and data communication between the devices.
- Connect the outdoor panel to the distributor using a 2-wire cable.
- Connect the indoor monitor to the distributor using a 2-wire cable.
- Ensure the distributor is powered.
- For electric lock control, additional power may be required for the lock itself, connected via the outdoor panel.
4.4 Połączenie Wi-Fi
After physical installation, power on the monitor. Navigate to the network settings on the 7-inch touchscreen to connect to your 2.4 GHz Wi-Fi network (802.11 b/g/n standard). This enables smartphone communication via the Hik-Connect app.
5. Instrukcja obsługi
5.1 Funkcje monitora wewnętrznego
- Ekran dotykowy: Navigate menus and control functions using the 7-inch touch screen.
- Funkcja interkomu: Communicate with visitors at the outdoor panel or other indoor monitors (if expanded).
- Funkcja pamięci: The monitor supports a memory function, likely for capturing images or short video clips of visitors.
- Czytnik kart SD: A 16GB MicroSD card is included for storing recorded video streams.
- Ringtone Management: Choose from 3 available ringtones. Adjust volume or mute the ringtone as needed.
- Sterowanie drzwiami: Use the monitor to remotely open an electric lock connected to the system.
- CCTV Camera Integration: The system can be expanded to integrate up to 16 CCTV cameras.
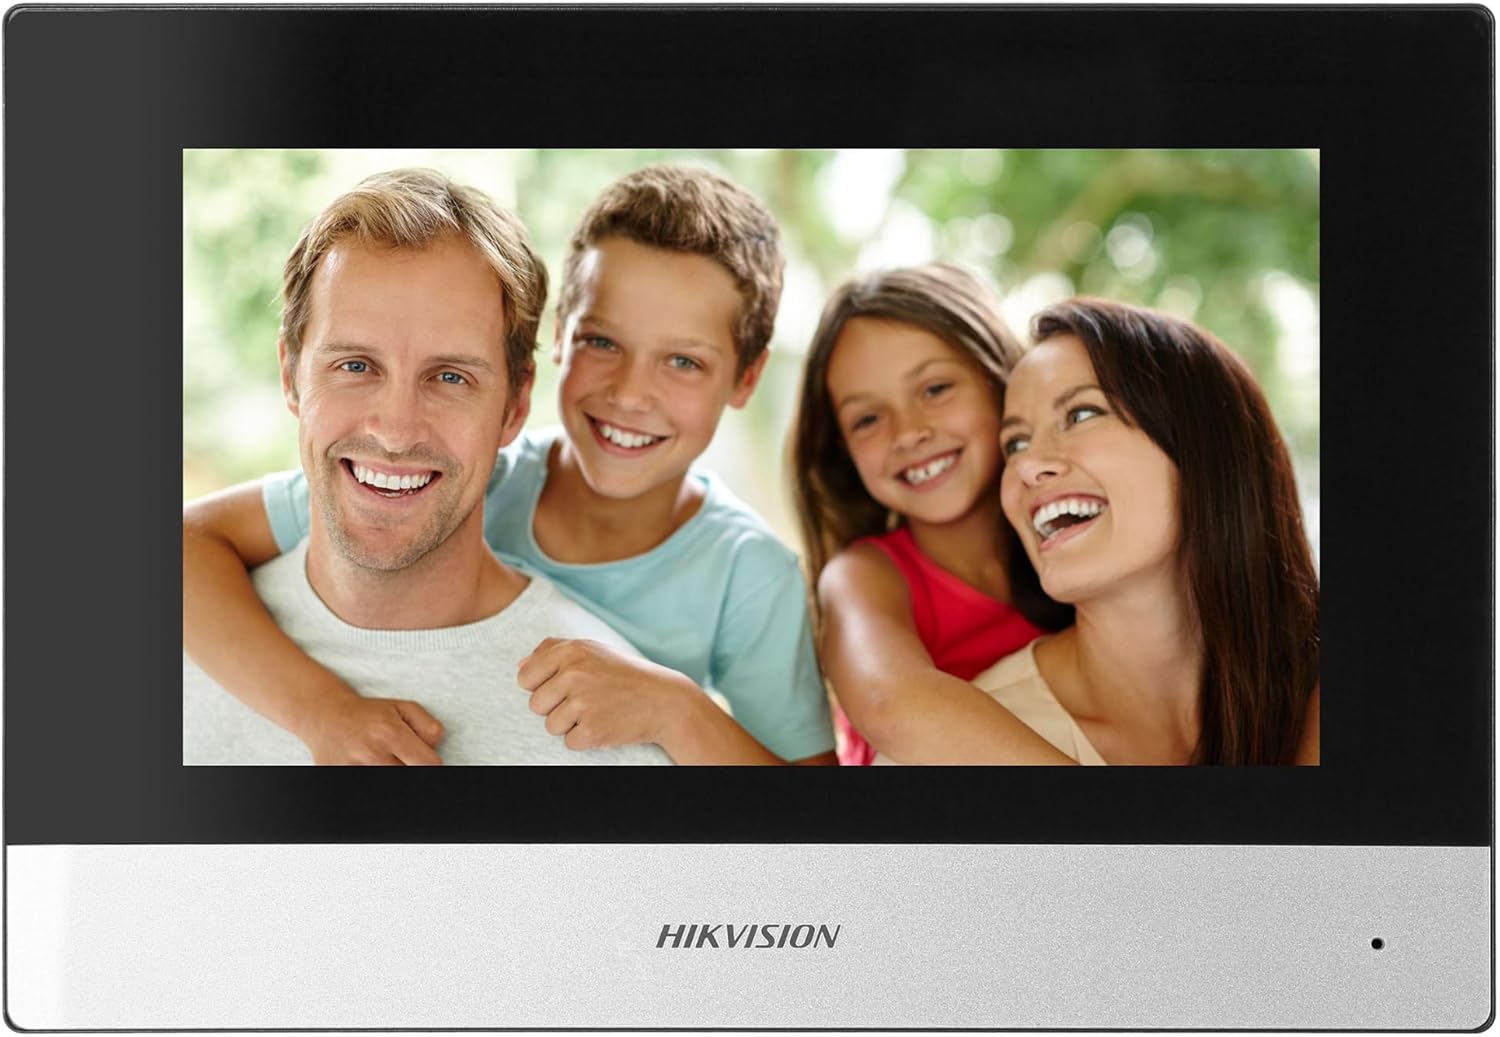
Figure 5: Hikvision Indoor Monitor (Front View)
This image shows the Hikvision 7-inch indoor monitor from the front, highlighting its sleek design and large display area.
5.2 Outdoor Panel Operation
- Przycisk dzwonienia: Visitors press the single call button to initiate a call to the indoor monitor.
- FullHD Camera: Provides a 2MP (1920x1080p) video feed with a wide viewing angle (96°/180°).
- Widzenie nocne: Integrated IR illumination ensures clear visibility even in low-light conditions.
- Tabliczka z nazwiskiem: A space is provided for a nameplate or label.

Figure 6: Hikvision Outdoor Panel (Angled View)
Kątowy view of the Hikvision outdoor panel, showcasing its robust construction and integrated camera and call button.
5.3 Hik-Connect Mobile Application
Download the Hik-Connect app from your smartphone's app store. Once installed and configured with your system, you can:
- Receive calls from the outdoor panel on your smartphone.
- View live video from the outdoor camera.
- Remotely open the door.
- Dostęp do nagranego wideo footage.
6. Konserwacja
Regularna konserwacja zapewnia długowieczność i optymalną wydajność Twojego systemu domofonowego.
- Czyszczenie: Wipe the monitor screen and outdoor panel with a soft, damp płótno. Unikaj ściernych środków czyszczących.
- Aktualizacje oprogramowania układowego: Periodically check for firmware updates via the Hik-Connect app or Hikvision's official webaby mieć pewność, że Twój system posiada najnowsze funkcje i poprawki zabezpieczeń.
- Kontrola kabla: Okresowo sprawdzaj wszystkie przewody pod kątem oznak zużycia lub uszkodzeń.
- Outdoor Panel Lens: Keep the camera lens on the outdoor panel clean for clear video quality.
7. Rozwiązywanie Problemów
Jeśli napotkasz problemy, zapoznaj się z poniższymi typowymi krokami rozwiązywania problemów:
- Brak zasilania: Check all power connections and ensure the distributor is receiving power.
- Brak obrazu/dźwięku: Verify the 2-wire connections between the outdoor panel, monitor, and distributor. Ensure correct polarity.
- Problemy z połączeniem Wi-Fi: Ensure your router is operating on 2.4 GHz. Re-enter WiFi credentials on the monitor. Check signal strength.
- Zamek w drzwiach się nie otwiera: Confirm the electric lock has its own power supply if required. Check wiring from the outdoor panel to the lock.
- Słaba widoczność w nocy: Upewnij się, że obiektyw zewnętrznej kamery jest czysty i nie ma w nim żadnych przeszkód.
8. Specyfikacje
| Typ | Single-family |
| Funkcja wideo | Tak |
| Zasilacz | Elektryczność z sieci |
| Typ skrzyni biegów | Przewodowy (2-żyłowy) |
| Smartphone Communication | Yes (via Hik-Connect app) |
| Częstotliwość Wi-Fi | 2.4 GHz |
| Wi-Fi standard | 802.11 b/g/n |
| Metoda instalacji | 2-wire, Surface Mount |
| Max. Monitors | Możliwość rozbudowy do 3 |
| Max. Outdoor Panels | Możliwość rozbudowy do 1 |
| Max. CCTV Cameras | Możliwość rozbudowy do 16 |
| Sterowanie zamkiem elektrycznym | Yes (requires additional power for lock) |
| Funkcja dzień / noc | Tak |
| Metoda montażu | Montaż powierzchniowy |
| Hands-free System | Tak |
| Przekątna ekranu | 7 cali |
| Rezolucja | 1024x600 |
| Ekran dotykowy | Tak |
| System wideo | PAL, Color |
| Funkcja pamięci | Tak |
| Czytnik kart SD | Yes (16GB card included) |
| Funkcja interkomu | Tak |
| Dzwonki | 3 |
| Tworzywo | Plastikowy |
| Kolor | Czarny |
| Wymiary (szer. x wys. x gł.) | Wymiary: 140mm x 200mm x 15mm |
| Przyciski połączeń | 1 |
| Metoda montażu | Montaż powierzchniowy |
| Rozdzielczość kamery | 2MP, 1920x1080 (FullHD) |
| Kamera Viewing kąt | 96°/180° |
| Nocne oświetlenie | IR (podczerwień) |
| Funkcja PTZ | NIE |
| Czytnik kart zbliżeniowych | NIE |
| Nameplate Space | Tak |
| Odporny na wandalizm | NIE |
| Stopień ochrony | IP65 |
| Tworzywo | Stal |
| Kolor | Srebrny |
| Wymiary (szer. x wys. x gł.) | Wymiary: 98mm x 99.8mm x 43.9mm |
| Wymiary produktu | Wymiary 20 x 15 x 10 cm |
| Waga przedmiotu | 1 kilogramów |
| Numer modelu | 38084 |
9. Gwarancja i wsparcie
Aby uzyskać informacje dotyczące gwarancji i pomocy technicznej, zapoznaj się z oficjalną stroną Hikvision webOdwiedź witrynę lub skontaktuj się z lokalnym dystrybutorem. Zachowaj paragon zakupu na wypadek reklamacji.
- Wsparcie online: Odwiedzać www.hikvision.com for product documentation, FAQs, and support resources.
- Obsługa klienta: Contact your retailer or authorized Hikvision service center for assistance.