
1. Wprowadzenie
This manual provides detailed instructions for the setup, operation, and maintenance of your Caupureye TL2000 Timelapse Camera. Designed for capturing long-term events, this camera offers versatile shooting modes, durable construction, and extended battery life, making it ideal for various outdoor and indoor projects.
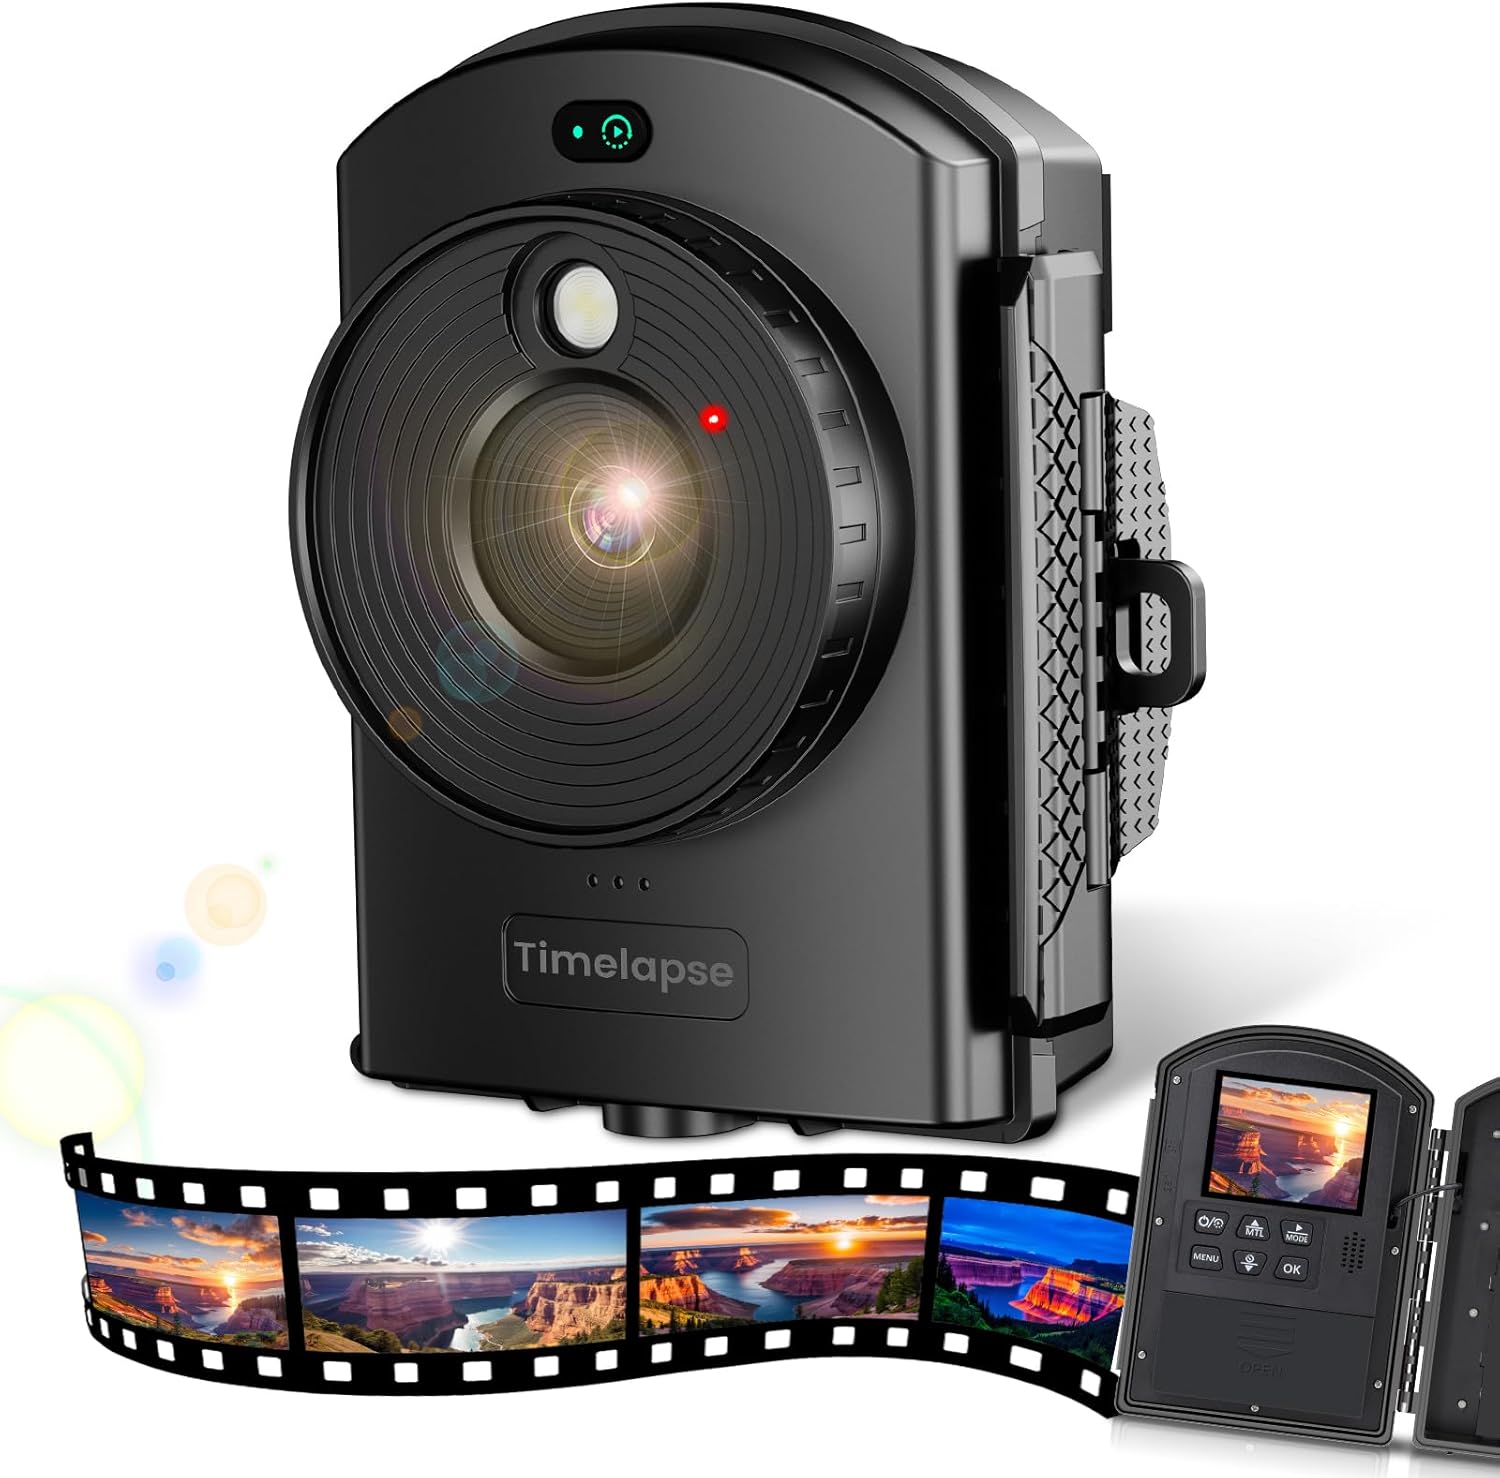
Figure 1: Caupureye TL2000 Timelapse Camera and example time-lapse footage.
2. Funkcje produktu
- Precise Framing with Infrared Positioning: The camera features an external time-lapse button and infrared positioning lights to assist in accurate subject centering, even when the back cover is closed. This simplifies framing and allows for immediate shooting.
- Wszechstronne tryby fotografowania: Offers four distinct shooting modes. In Timelapse mode, photos or videos are automatically compiled into a single video. Timing mode provides individual photos and video clips for greater flexibility.
- Przechwytywanie wysokiej jakości: Records 1080P videos and captures 2MP photos, ensuring clear documentation of outdoor projects or natural scenes.
- Flexible Power Options for Long-Term Projects: Operates on 4 AA batteries for shorter sessions or 12 AA batteries for extended use. In Time Lapse Photo mode (10 FPS, 2MP, 5-minute intervals), the camera can operate for up to 180 days, suitable for projects like outdoor construction or plant growth. (Batteries not included)
- Weather-Resistant and Adaptable: With an IP66 rating, the camera is designed to withstand harsh weather conditions. It includes two brackets, an elastic rope, and a strap for diverse mounting options. A tripod mount is also available (tripod not included). A 64GB TF card is included for immediate use.
3. Co znajduje się w pudełku
Sprawdź, czy po rozpakowaniu znajdują się wszystkie elementy:
- Caupureye TL2000 Timelapse Camera
- Karta 64GB TF
- Wspornik naścienny
- Uchwyt zatrzaskowy
- Regulowany pasek
- Kabel typu C
- Elastyczny sznurek
- Screws & Dowels (for wall mount)

Figure 2: Included accessories and camera.
4. Przewodnik konfiguracji
4.1. Instalacja baterii
- Open the camera's back cover by unlatching the side clips.
- Insert 4 or 12 AA batteries into the designated slots, ensuring correct polarity.
- Close the back cover securely until the clips latch.
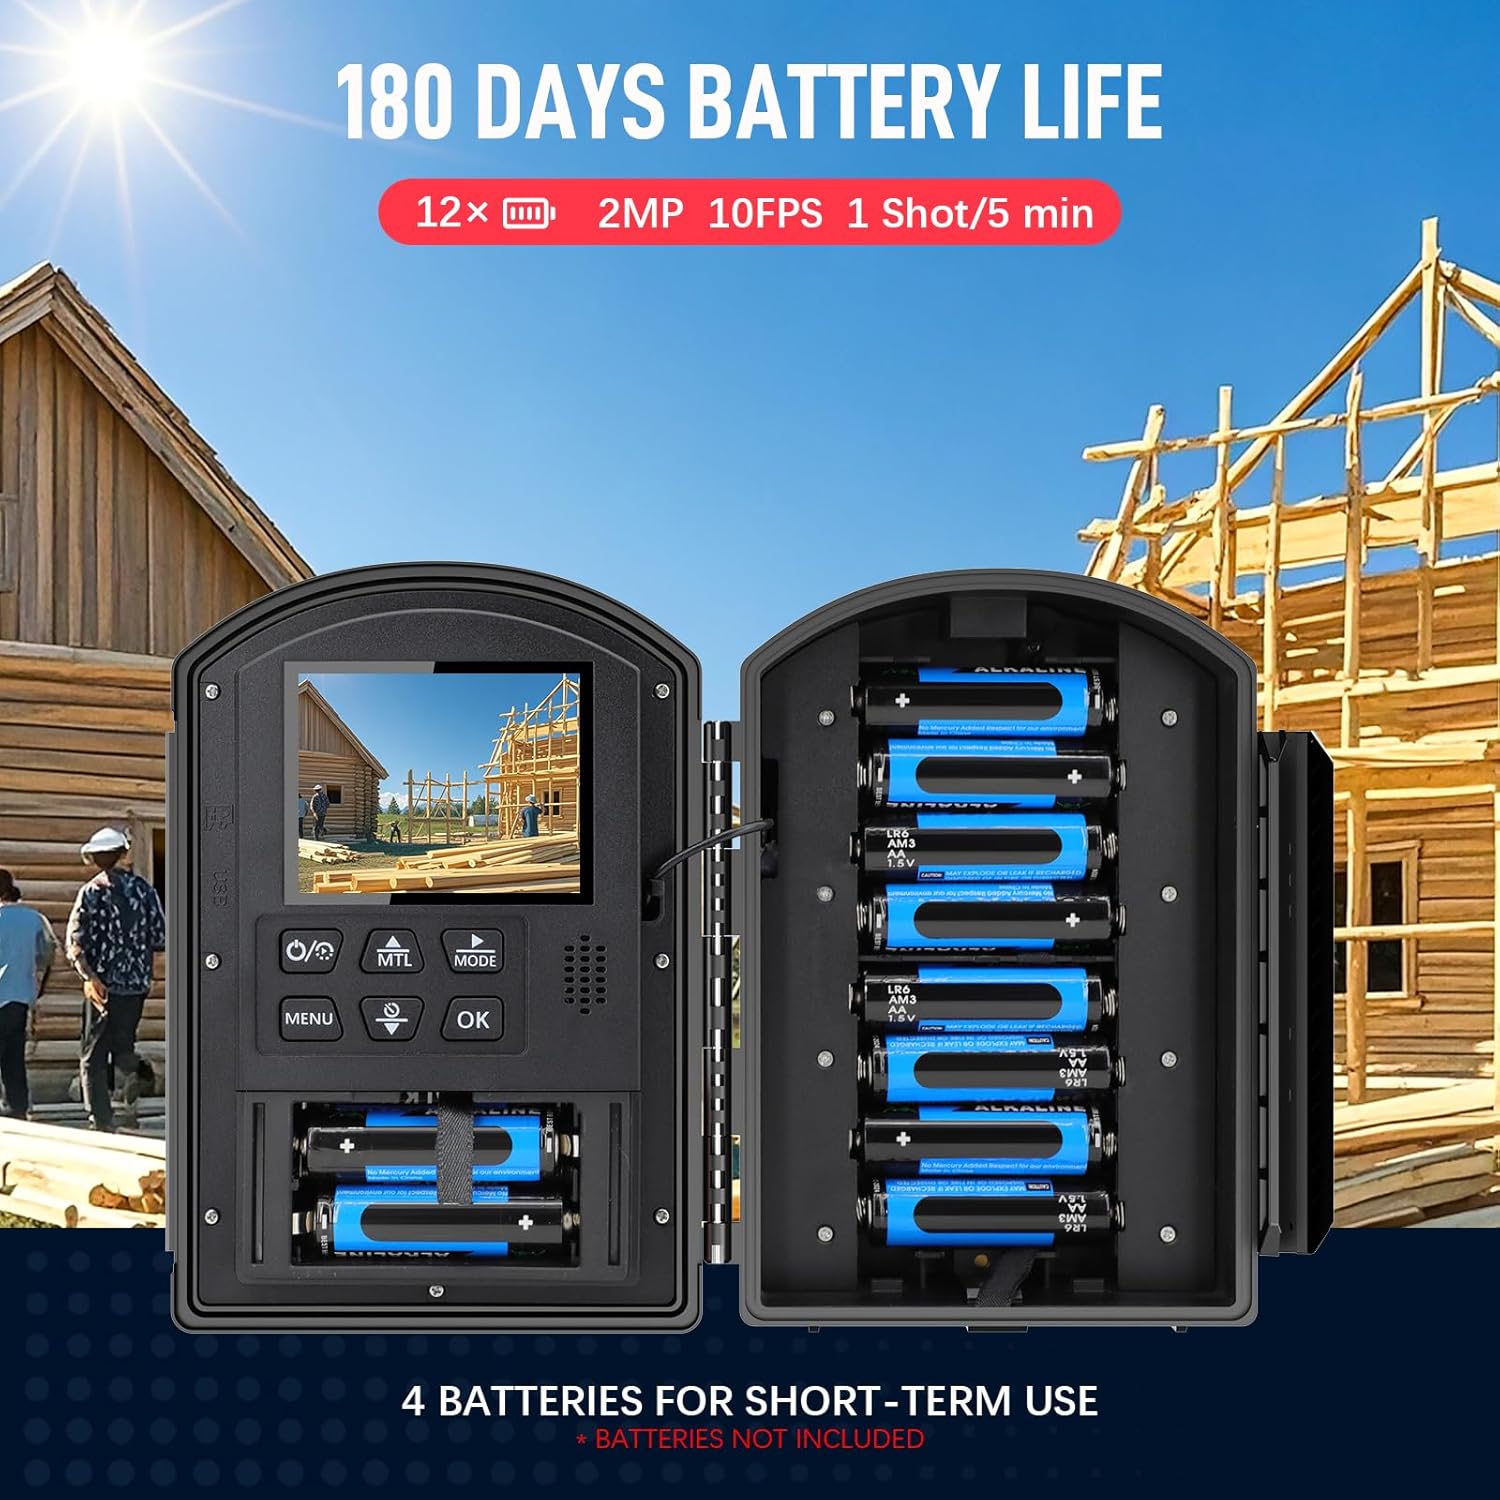
Figure 3: Battery installation for extended operation.
4.2. Wkładanie karty TF
- Znajdź gniazdo karty TF z boku aparatu.
- Insert the provided 64GB TF card until it clicks into place.
4.3. Opcje montażu
The camera comes with various accessories for flexible mounting:
- Wall-mounted bracket: Use screws and dowels to secure the bracket to a flat surface.
- Clip-on bracket: Attach to poles, fences, or other suitable objects.
- Regulowany pasek: Wrap around trees or larger structures.
- Mocowanie statywu: The camera features a standard 1/4-inch tripod thread for compatibility with most tripods (not included).

Figure 4: Diverse mounting possibilities for the camera.
4.4. Video Guide: How to Set Up Automatic Time-Lapse Shooting
Video 1: A step-by-step guide on configuring the camera for automatic time-lapse recording, demonstrating menu navigation and setting adjustments.
5. Instrukcja obsługi
5.1. Włączanie/wyłączanie zasilania
Press and hold the power button (usually marked with a circle and a vertical line) to turn the camera on or off.
5.2. Nawigacja po menu i ustawieniach
Use the MENU button to access settings. Navigate through options using the UP/DOWN arrow buttons and confirm selections with the OK button.
5.3. Tryby fotografowania
The camera supports the following modes:
- Tryb poklatkowy: Automatically captures a series of photos or video segments and compiles them into a single time-lapse video.
- Tryb pomiaru czasu: Captures individual photos or video clips at set intervals, providing raw footage for later editing.

Figure 5: Explanation of Timelapse and Timing modes.
5.4. Adjusting Focus and Positioning
The camera features manual focus. Rotate the lens ring to achieve sharp focus on your subject. Utilize the infrared positioning light to precisely aim the camera before closing the cover and starting a time-lapse sequence.

Figure 6: Steps for setting up and starting a time-lapse with infrared positioning.
5.5. Video Guide: Product Overview
Wideo 2: Krótki przeglądview of the camera's features and design, highlighting its capabilities and ease of use.
6. Specyfikacje
| Funkcja | Szczegół |
|---|---|
| Nazwa modelu | TL2000 Timelapse Camera |
| Wymiary opakowania | 9.61 x 5.67 x 3.78 cala |
| Waga przedmiotu | 1.8 funta (0.82 kilograma) |
| Funkcja specjalna | Upływ czasu |
| Maksymalna szybkość migawki | 30s |
| Typ migawki | Migawka płaszczyzny ogniskowej |
| Zawarte komponenty | 64GB TF Card, Wall-mounted bracket, Clip-on bracket, Adjustable strap |
| Stopień ochrony IP | IP66 (odporność na warunki atmosferyczne) |
| Battery Life (Time Lapse Photo Mode) | Up to 180 days (with 12 AA batteries, 10 FPS, 2MP, 5-minute intervals) |
7. Rozwiązywanie Problemów
7.1. Kamera się nie włącza
- Sprawdź, czy baterie zostały włożone prawidłowo, z zachowaniem właściwej polaryzacji.
- Sprawdź czy baterie są całkowicie naładowane lub wymień je na nowe.
- Sprawdź, czy komora baterii jest szczelnie zamknięta.
7.2. No Images/Videos Captured
- Confirm the TF card is properly inserted and not full.
- Check the selected shooting mode and interval settings.
- Ensure the camera is powered on and the time-lapse sequence has been initiated.
7.3. Słaba jakość obrazu
- Adjust the manual focus ring on the lens for sharpness.
- Wyczyść soczewkę miękką, niepozostawiającą włókien ściereczką.
- Check exposure settings and adjust if images are too dark or bright.
8. Gwarancja i wsparcie
If you encounter any issues or are not satisfied with your Caupureye TL2000 Timelapse Camera, please reach out to our after-sales support team. Contact information is typically provided in the packaging or on our official website. We are committed to providing prompt assistance and addressing your concerns.