Makerbase MKS Robin Nano V1.2
Makerbase MKS Robin Nano V1.2 32-Bit 3D Printer Control Board and TFT35 Touch Screen User Manual
Model: MKS Robin Nano V1.2, MKS Robin TFT35 V1.0
Wstęp
This manual provides comprehensive instructions for the installation, operation, and maintenance of the Makerbase MKS Robin Nano V1.2 32-bit 3D printer control board and the MKS Robin TFT35 V1.0 touch screen. This system is designed to enhance the control capabilities of your 3D printer, offering fast processing speed and support for Marlin2.0 firmware.
Zawartość opakowania
The MKS Robin Nano V1.2 control board and TFT35 touch screen are available in various configurations. Please verify your package contents against the list below:
- Control Board Only: 1x MKS Robin Nano V1.2
- Basic Driver Package: 1x MKS Robin Nano V1.2 + 5x A4988 stepper drivers
- Advanced Driver Package: 1x MKS Robin Nano V1.2 + 5x TMC2209 stepper drivers
- Screen Package: 1x MKS Robin Nano V1.2 + 1x TFT35 touch screen
- Screen & Basic Driver Package: 1x MKS Robin Nano V1.2 + 1x TFT35 touch screen + 5x A4988 stepper drivers
- Screen & Advanced Driver Package: 1x MKS Robin Nano V1.2 + 1x TFT35 touch screen + 5x TMC2209 stepper drivers
- Screen & WiFi Package: 1x MKS Robin Nano V1.2 + 1x TFT35 touch screen + 1x WiFi Module
- Screen, Basic Driver & WiFi Package: 1x MKS Robin Nano V1.2 + 1x TFT35 touch screen + 5x A4988 stepper drivers + 1x WiFi Module
- Screen, Advanced Driver & WiFi Package: 1x MKS Robin Nano V1.2 + 1x TFT35 touch screen + 5x TMC2209 stepper drivers + 1x WiFi Module

Image: MKS Robin Nano V1.2 control board, MKS Robin TFT35 V1.0 touch screen, and five A4988 stepper drivers with blue heatsinks. This image illustrates a common package configuration.
Organizować coś
1. Instalacja sprzętu
The MKS Robin Nano V1.2 board is designed for easy integration into 3D printers. Ensure all power is disconnected before proceeding with any hardware installation.
- Mounting the Control Board: Secure the MKS Robin Nano V1.2 board within your printer's electronics enclosure using appropriate standoffs and screws.
- Connecting Stepper Drivers: Insert the stepper drivers (e.g., A4988, TMC2209) into their designated sockets on the MKS Robin Nano V1.2 board. Pay close attention to the orientation of each driver to prevent damage. Ensure heatsinks are properly attached to the drivers if included.
- Łączenie silników: Connect your stepper motors to the corresponding motor ports (X, Y, Z, E0, E1) on the control board.
- Connecting Endstops: Connect your endstop switches to the designated endstop pins.
- Connecting Heaters and Thermistors: Connect the hotend and heated bed heaters, along with their respective thermistors, to the appropriate terminals.
- Podłączanie wentylatorów: Connect cooling fans to the fan headers.
- Connecting TFT35 Touch Screen: Connect the TFT35 touch screen to the dedicated TFT port on the MKS Robin Nano V1.2 board using the provided cable.
- Zasilanie: Connect your 12V/24V power supply to the main power input terminals of the MKS Robin Nano V1.2 board. Double-check polarity before applying power.

Obraz: szczegółowy view of the MKS Robin Nano V1.2 control board, highlighting the various connection points for motors, endstops, heaters, and the TFT screen.
2. Firmware Configuration and Update
The MKS Robin Nano V1.2 supports Marlin2.0 firmware. It is crucial to configure and flash the correct firmware for your specific 3D printer setup.
- Pobierz oprogramowanie układowe: Obtain the latest Marlin2.0 firmware for MKS Robin Nano from the official Makerbase GitHub repository.
- Konfiguracja: Modyfikuj
Configuration.hIConfiguration_adv.hfiles within the Marlin firmware to match your printer's kinematics, thermistors, endstops, and other settings. - Flashowanie oprogramowania układowego:
- Compile the modified Marlin firmware using a suitable IDE (e.g., PlatformIO in VS Code).
- Copy the compiled firmware file (np,
firmware.bin) to the root directory of a FAT32 formatted SD card. - Insert the SD card into the MKS Robin Nano V1.2 board's SD card slot.
- Power on the board. The firmware will automatically update. The screen may show a progress indicator.
- Once updated, remove the SD card and delete the
firmware.binfile to prevent re-flashing on subsequent power-ups.
For detailed instructions and open-source files, please refer to the official Makerbase GitHub repository: https://github.com/makerbase-mks/MKS-Robin-Nano
A video demonstrating the latest firmware V2.0.0 for Robin Nano is available here: https://www.youtube.com/watch?v=Nv3Zgs8XUt4
Instrukcja obsługi
1. Włączanie i pierwsze uruchomienie
After successfully installing the hardware and flashing the firmware, connect the power supply and turn on your 3D printer. The TFT35 touch screen should power on and display the Marlin interface.
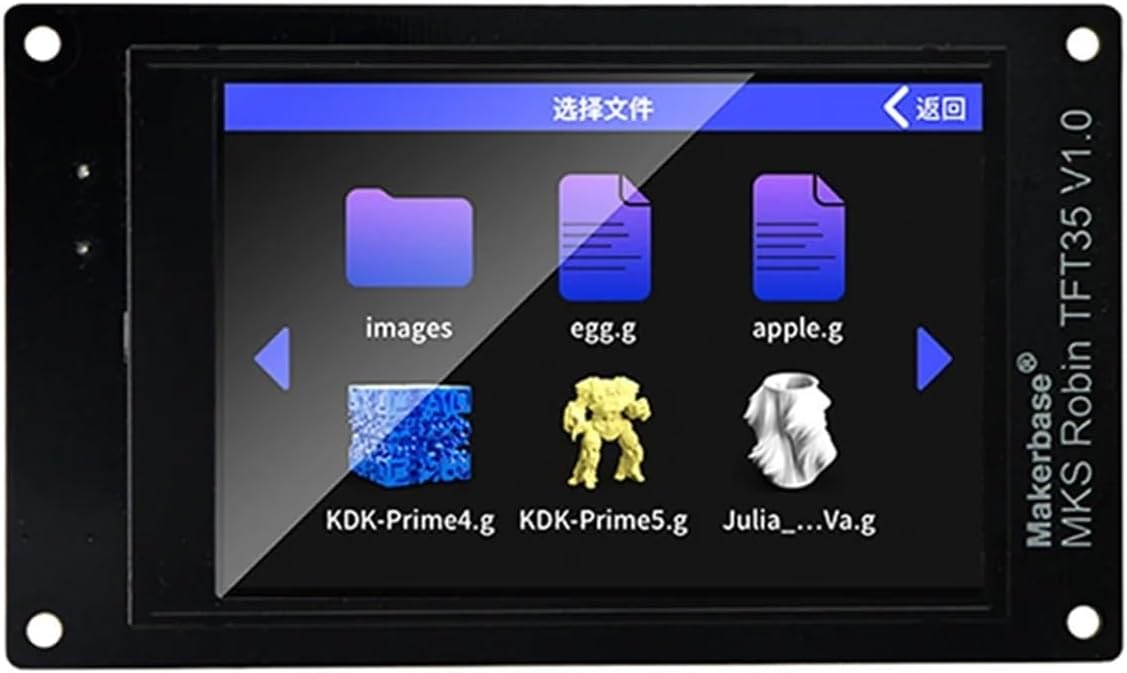
Image: The MKS Robin TFT35 V1.0 touch screen interface, showing options to select files for printing. This demonstrates the user interface for interacting with the control board.
2. Navigating the TFT35 Touch Screen
The TFT35 touch screen provides an intuitive interface for controlling your 3D printer. Common functions include:
- Menu główne: Access various printer functions such as Print, Move, Temperature, Settings, and more.
- Print from SD Card: Insert an SD card with G-code files into the TFT35 screen's slot or the MKS Robin Nano board's slot. Navigate to the "Print" menu and select your desired file.
- Sterowanie ręczne: Use the "Move" menu to manually control the X, Y, Z axes and extruders.
- Kontrola temperatury: Adjust hotend and heated bed temperatures from the "Temperature" menu.
- Ustawienia: Configure various printer parameters, display settings, and network options (if WiFi module is installed).
3. Using Marlin2.0 Features
With Marlin2.0 firmware, the MKS Robin Nano V1.2 board supports advanced features. Refer to the Marlin documentation for detailed usage of specific functionalities enabled by your firmware configuration.
Konserwacja
Proper maintenance ensures the longevity and reliable operation of your MKS Robin Nano V1.2 control board and TFT35 touch screen.
- Zachowaj czystosc: Regularly clean the board and screen with a soft, dry brush or compressed air to remove dust and debris. Avoid using liquids.
- Sprawdź połączenia: Periodically inspect all cable connections to ensure they are secure and free from corrosion.
- Aktualizacje oprogramowania układowego: Stay updated with the latest firmware releases from Makerbase to benefit from bug fixes and new features.
- Warunki środowiskowe: Operate the board within recommended temperature and humidity ranges to prevent damage.
Rozwiązywanie problemów
If you encounter issues with your MKS Robin Nano V1.2 board or TFT35 touch screen, consider the following troubleshooting steps:
- Brak zasilania:
- Verify the power supply is connected correctly and providing the correct voltagi (12 V/24 V).
- Check for any blown fuses on the control board.
- Screen Not Responding/Blank:
- Ensure the ribbon cable connecting the TFT35 screen to the MKS Robin Nano board is securely seated at both ends.
- Re-flash the TFT firmware if necessary (separate from mainboard firmware).
- Motors Not Moving/Incorrect Movement:
- Sprawdź, czy okablowanie silnika ma prawidłową biegunowość i czy połączenia są pewne.
- Verify stepper driver installation and orientation.
- Confirm stepper driver current settings are appropriate for your motors.
- Review firmware configuration for correct motor directions and steps per millimeter.
- Temperature Reading Errors:
- Check thermistor wiring and ensure they are securely connected.
- Verify thermistor type in firmware configuration.
- Problemy z drukowaniem:
- Upewnij się, że kod G files are correctly sliced and compatible with Marlin2.0.
- Check SD card for corruption or formatting issues (FAT32 recommended).
For further assistance, consult the Makerbase GitHub repository or relevant online communities for Marlin firmware and MKS Robin Nano boards.
Specyfikacje
| Funkcja | Szczegół |
|---|---|
| Model Number (Board) | MKS Robin Nano V1.2 |
| Edytor | 32-bit ARM Cortex-M3 |
| Obsługa oprogramowania układowego | Marlin2.0 |
| Wsparcie dla sterowników krokowych | A4988, TMC2209, etc. (depending on package) |
| Wsparcie wyświetlania | MKS Robin TFT35 V1.0 Touch Screen |
| Wejście Voltage | 12V / 24V DC |
| Łączność | USB, SD Card, WiFi (with optional module) |
| Waga przedmiotu | Approximately 1.76 ounces (50 grams) for the board |
| Wymiary opakowania | 1.18 x 0.79 x 0.39 inches (approximate for a single component) |
| Numer modelu producenta | 9875 |
Wsparcie i zasoby
For additional information, technical support, and the latest firmware, please refer to the following resources:
- Official Makerbase GitHub Repository: https://github.com/makerbase-mks/MKS-Robin-Nano (Contains open-source files, instructions, and firmware.)
- Marlin Firmware Documentation: Refer to the official Marlin firmware website for detailed information on configuration and features.
- Fora społecznościowe: Engage with the 3D printing community for peer support and shared knowledge regarding MKS Robin Nano boards and Marlin firmware.
Powiązane dokumenty - MKS Robin Nano V1.2
 |
MKS ROBIN NANO V3.1 User Manual: Hardware and Firmware Guide Comprehensive user manual for the MKS ROBIN NANO V3.1 3D printer controller board, covering hardware interface, firmware configuration, updates, and troubleshooting. |
 |
Instrukcja obsługi ekranu dotykowego MKS TFT35 - 3.5-calowy wyświetlacz Makerbase do drukarek 3D Kompleksowa instrukcja obsługi ekranu dotykowego Makerbase MKS TFT35, szczegółowo opisująca funkcje, instalację, aktualizacje oprogramowania sprzętowego, konfigurację i pomoc techniczną dla drukarek 3D. |
 |
Makerbase Product Manual: XRIVE, MKS ESP32, MKS Gen_L, and More Find installation instructions and setup files for Makerbase electronic components including XRIVE, MKS ESP32 FOC V1/V2, MKS Gen_L, MKS CANable, MKS VESC, and MKS SERVO42C via provided links. |
 |
MKS ROBIN Motherboard Manual - Makerbase Comprehensive manual for the MKS ROBIN motherboard, detailing features, parameters, port instructions, firmware updates, and system connection diagrams for 3D printer manufacturers. |
 |
Instrukcja obsługi MKS DLC32 - Makerbase Kompleksowa instrukcja obsługi płytki sterującej Makerbase MKS DLC32, obejmująca interfejs sprzętowy, aktualizacje oprogramowania sprzętowego i tryby sterowania dla drukarek 3D i maszyn CNC. |
 |
Ekran dotykowy LCD MKS TFT32 do drukarek 3D - Makerbase Poznaj MKS TFT32, wszechstronny 32-calowy kolorowy ekran dotykowy LCD od Makerbase, przeznaczony do drukarek 3D. Dowiedz się więcej o jego funkcjach, łączności, aktualizacjach oprogramowania układowego i innych.tagwykrywanie e i możliwości WIFI. |
Ask a question about this manual
Ask about setup, troubleshooting, compatibility, parts, safety, or missing instructions. Manuals+ will review the question and use this page’s manual context to help answer it.