1. Wprowadzenie
The VNCI MF J2534 Car Diagnostic Tool is a high-performance device designed for vehicle diagnostics and programming. It offers high-speed communication and broad compatibility with various diagnostic software, making it an efficient solution for automotive professionals and enthusiasts. This manual provides essential information for setting up, operating, maintaining, and troubleshooting your device.

Rycina 1.1: Przód view of the VNCI MF J2534 Car Diagnostic Tool. This image shows the main body of the device, which is blue, with a black OBD-II connector at one end and a USB port at the other.
2. Koniec produktuview i kluczowe cechy
The VNCI MF J2534 is a compact and lightweight diagnostic programming tool built with high-quality ABS and metal, ensuring durability and resistance to impact. Its design prioritizes ease of use and portability.
Główne cechy:
- High-Speed Programming: Supports high-speed communication, capable of programming most modules in approximately 5 minutes, significantly saving time.
- Kompaktowa i lekka konstrukcja: Constructed from premium ABS and metal, making it shock-resistant, durable, and easy to handle.
- Szeroka kompatybilność: Compatible with J2534 PassThru and ELM327 protocols. Supports various J2534-compatible software (e.g., HDS, TIS, SDD2, VI-DA, PCM Flash) and most ELM327 software (e.g., ELMConfig, For-scan).
- Precise and Stable Operation: Provides a reliable diagnostic experience with stable performance, serving as a replacement for the latest versions of IDS, offering enhanced stability and coverage.
- Efficient Diagnostic Process: High-speed communication ensures a smooth and efficient diagnostic workflow.
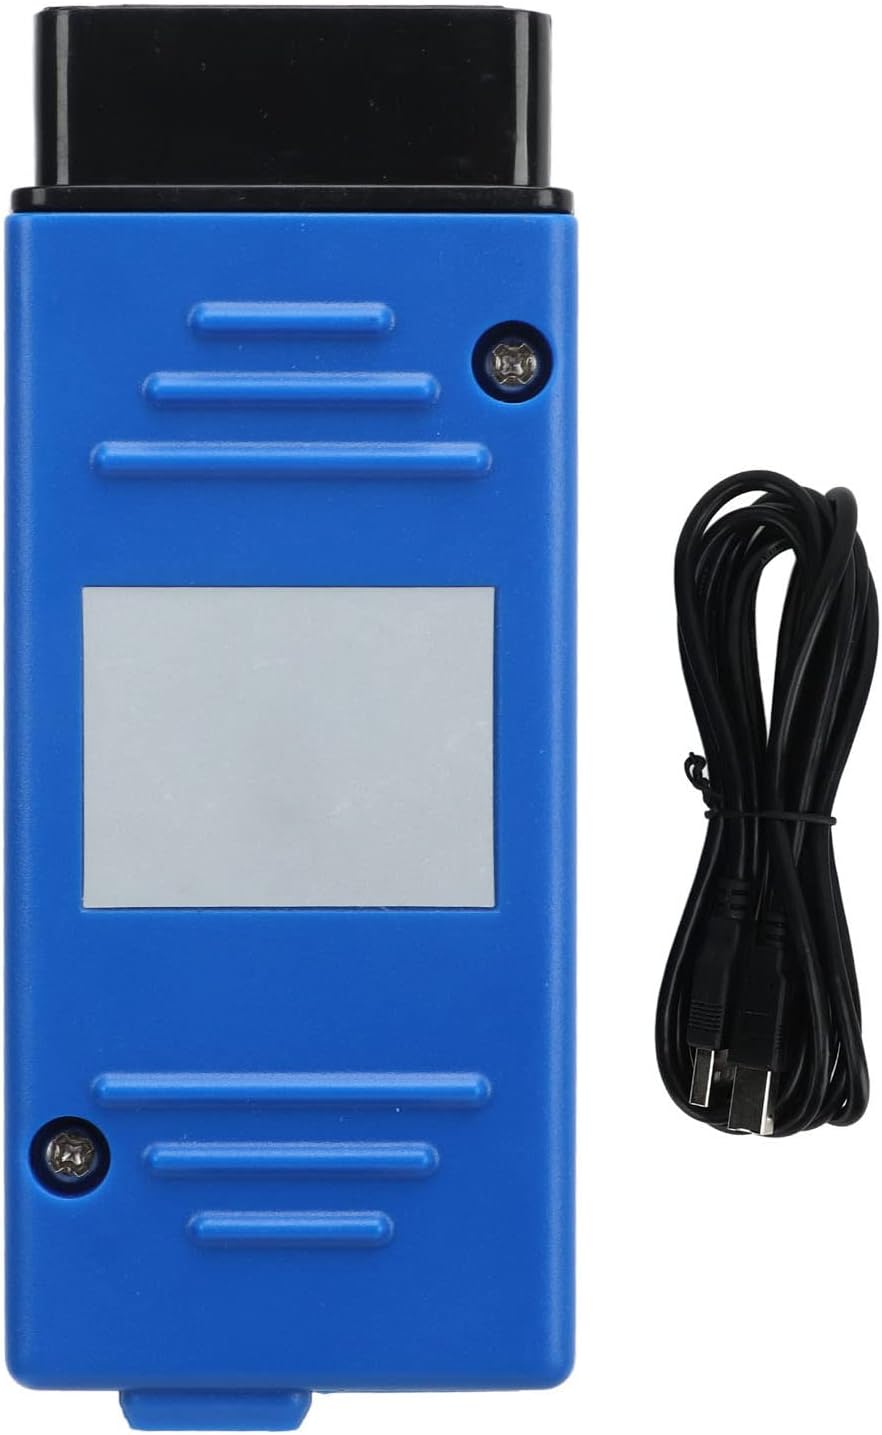
Figure 2.1: The diagnostic tool shown alongside its USB connection cable, highlighting its compact size and connectivity option.
3. Przewodnik konfiguracji
Before using the VNCI MF J2534, ensure your computer meets the minimum system requirements and follow these steps for proper setup.
3.1. Wymagania systemowe
- Operating System: Windows 7/8/10 (32-bit or 64-bit)
- Processor: Intel Core i3 or equivalent, 2.0 GHz or higher
- RAM: 4GB or more recommended
- Hard Drive Space: 10GB free space for software installation
- USB Port: Available USB 2.0 or 3.0 port
- Internet Connection: Required for software downloads and updates
3.2. Instalacja oprogramowania i sterowników
- Oprogramowanie do pobrania: Obtain the necessary diagnostic software (e.g., VNCI MF J2534 driver, compatible J2534 PassThru software, or ELM327 software) from the official Akozon webwitryny lub dostarczonego nośnika instalacyjnego.
- Zainstaluj sterowniki: Run the driver installation package. Follow the on-screen prompts to complete the driver installation. It is crucial to install the correct drivers for the device to be recognized by your computer.
- Install Diagnostic Software: Install your preferred J2534 or ELM327 compatible diagnostic software. Refer to the software's specific installation guide for detailed instructions.
3.3. Podłączenie Urządzenia
- Połącz z komputerem: Plug one end of the provided USB cable into the VNCI MF J2534 device and the other end into an available USB port on your computer.
- Połącz z pojazdem: Locate the OBD-II diagnostic port in your vehicle. This port is typically found under the dashboard on the driver's side. Plug the OBD-II connector of the VNCI MF J2534 into the vehicle's OBD-II port. Ensure a secure connection.
- Sprawdź połączenie: Once connected, the device's indicator lights (if present) should illuminate, indicating power and a successful connection. Your computer should also recognize the device.

Rysunek 3.1: Szczegółowy view of the OBD-II connector, showing the pin configuration for connecting to a vehicle's diagnostic port.
4. Instrukcja obsługi
After successful setup, you can begin using the VNCI MF J2534 for vehicle diagnostics and programming. The specific operations will depend on the diagnostic software you are using.
4.1. Basic Diagnostic Procedure
- Włącz zapłon pojazdu: Ensure the vehicle's ignition is in the "ON" position (engine off) or running, as required by your diagnostic software.
- Uruchom oprogramowanie diagnostyczne: Open the diagnostic software on your computer (e.g., HDS, TIS, SDD2, ELMConfig).
- Select Device/Interface: Within the software settings, select the VNCI MF J2534 as your communication interface.
- Nawiąż komunikację: Initiate communication with the vehicle. The software will typically detect the vehicle's VIN and model.
- Perform Diagnostics:
- Odczyt/kasowanie kodów błędów: Access and clear Diagnostic Trouble Codes (DTCs) from various vehicle modules.
- View Dane na żywo: Monitor real-time sensor data, engine parameters, and other vehicle information.
- Run Actuator Tests: Test specific components like fuel injectors, solenoids, or relays.
- Wykonuj funkcje specjalne: Depending on the software, perform functions like ABS bleeding, battery registration, or electronic parking brake service.
- Exit Software and Disconnect: Once diagnostics are complete, properly exit the software and then disconnect the VNCI MF J2534 from the vehicle and computer.
4.2. Module Programming (Reprogramming/Flasher)
The VNCI MF J2534 supports high-speed module programming. This advanced function requires careful attention to detail and adherence to the specific instructions provided by the vehicle manufacturer's programming software.
- Zapewnij stabilne zasilanie: Connect a stable power supply to the vehicle (e.g., a battery charger/maintainer) to prevent voltage drops during programming.
- Disable Unnecessary Systems: Turn off all non-essential electrical loads in the vehicle (e.g., lights, radio, HVAC).
- Postępuj zgodnie z instrukcjami oprogramowania: Use the vehicle manufacturer's programming software (e.g., IDS, TIS, SDD2) and follow its precise instructions for module selection, file loading, and programming initiation.
- Do Not Interrupt: It is critical not to interrupt the programming process (e.g., disconnect the device, turn off ignition, or close software) as this can permanently damage the module.
- Verify Programming: After programming, the software will typically confirm success. Perform a diagnostic scan to ensure no new trouble codes are present.

Rysunek 4.1: Kąt view of the diagnostic tool, showing its compact form factor and the robust casing.
5. Konserwacja
Proper maintenance ensures the longevity and reliable performance of your VNCI MF J2534 Car Diagnostic Tool.
- Czyszczenie: Use a soft, dry cloth to clean the device. Do not use abrasive cleaners, solvents, or immerse the device in water. Keep the connectors free from dust and debris.
- Składowanie: Przechowuj urządzenie w chłodnym, suchym miejscu, z dala od bezpośredniego światła słonecznego, ekstremalnych temperatur i wysokiej wilgotności. Przechowuj je w oryginalnym opakowaniu lub etui ochronnym, gdy nie jest używane.
- Aktualizacje oprogramowania: Regularly check for software and driver updates from the official Akozon website or your diagnostic software provider. Keeping your software updated ensures compatibility with newer vehicles and improved functionality.
- Pielęgnacja kabli: Inspect the USB and OBD-II cables regularly for any signs of damage (fraying, cuts). Damaged cables can lead to communication issues. Replace them if necessary.
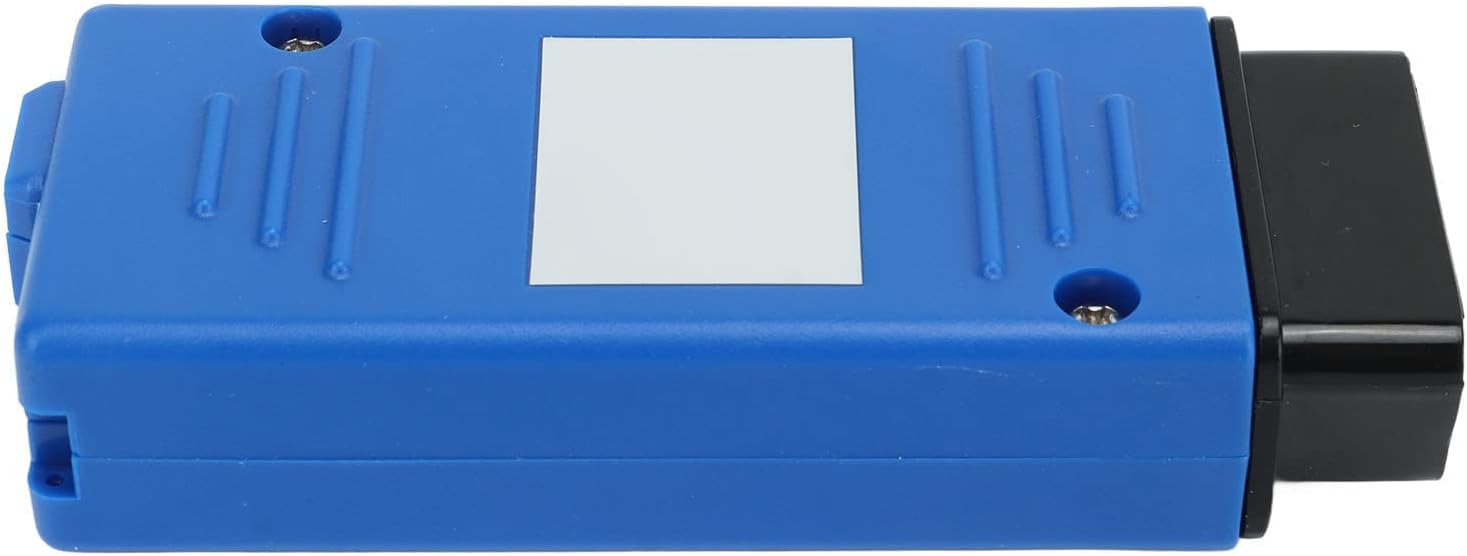
Rysunek 5.1: Profesjonalizm bocznyfile of the diagnostic tool, illustrating its slim design and robust construction.
6. Rozwiązywanie Problemów
If you encounter issues while using your VNCI MF J2534, refer to the following common troubleshooting steps.
| Problem | Możliwa przyczyna | Rozwiązanie |
|---|---|---|
| Urządzenie nie zostało rozpoznane przez komputer. |
|
|
| Cannot establish communication with vehicle. |
|
|
| Oprogramowanie ulega awarii lub zawiesza się. |
|
|
7. Specyfikacje
| Atrybut | Wartość |
|---|---|
| Typ produktu | Narzędzie diagnostyczne samochodu |
| Model | Akozonfp6steg25r |
| Marka | Akozon |
| Tworzywo | ABS i metal |
| Wymiary (pakiet) | Wymiary 16 x 13 x 4 cm |
| Zgodność | J2534 PassThru, ELM327 protocols (HDS, TIS, SDD2, VI-DA, PCM Flash, ELMConfig, For-scan) |
| Interfejs komunikacyjny | USB to OBD-II |
8. Gwarancja i wsparcie
For warranty information, please refer to the purchase documentation or contact the seller directly. Warranty terms may vary based on your region and point of purchase.
For technical support, software updates, or further assistance, please visit the official Akozon website or contact their customer service department. Keep your product model number (Akozonfp6steg25r) and purchase details ready when seeking support.
Note: Always ensure you are downloading software and drivers from official and trusted sources to prevent security risks.