
1. Wprowadzenie
The Cryfokt IR Radio Frequency Tester is a versatile handheld digital meter designed for accurate frequency testing and infrared signal detection of various remote control devices. This device helps identify issues or faults in remote controls for applications such as car keys, truck doors, electric door controllers, car burglar alarms, electric locks, and garage doors. It features a clear digital display, LED indicators, and a built-in light for convenience.
2. Koniec produktuview
The Cryfokt IR Radio Frequency Tester is designed for ease of use and portability. Below are the key components and features of the device.

Rycina 2.1: Przód view of the Cryfokt IR Radio Frequency Tester.
Kluczowe komponenty:
- Wyświetlacz cyfrowy: Shows the measured frequency in MHz.
- WEJŚCIE LED: Indicates infrared signal detection.
- Czujnik podczerwieni: Detects infrared signals from remote controls.
- Przycisk oświetlenia: Aktywuje wbudowane światło LED.
- Przycisk WŁ./WYŁ.: Włącza lub wyłącza urządzenie.
- TX Zone: Designated area for placing remote controls during testing.
- Komora baterii: Located on the back for 9V battery installation.
- Fall Proof Rope Attachment: Do zabezpieczenia urządzenia.

Rysunek 2.2: Tył view of the Cryfokt IR Radio Frequency Tester.
Cechy:
- Accurate and reliable frequency testing (100MHz to 1GHz).
- Infrared signal detection with INPUT indicator.
- Easy-to-read 4-bit digital display.
- Wbudowane światło LED umożliwiające korzystanie w warunkach słabego oświetlenia.
- Compact and handheld design.
Video 2.1: Product demonstration of the Cryfokt IR Radio Frequency Tester, showing its features and operation.
3. Konfiguracja
- Montaż baterii:
- Znajdź komorę baterii z tyłu urządzenia.
- Otwórz pokrywę komory.
- Insert a 9V battery, ensuring correct polarity.
- Dokładnie zamknij pokrywę komory baterii.
- Włączanie: Naciśnij WŁ./WYŁ. button to power on the device. The digital display should illuminate.
4. Instrukcja obsługi
4.1 Testowanie częstotliwości
- Sprawdź, czy tester jest włączony.
- Place the remote control device within the TX Zone on the tester. The effective testing range is within 5cm; closer proximity yields more accurate measurements.
- Naciśnij dowolny przycisk na pilocie.
- The digital display on the tester will show the frequency value in MHz. Common car key frequencies include 320MHz, 434MHz, and 868MHz.

Figure 4.1: Digital display showing a frequency reading.
4.2 Infrared (IR) Signal Detection
- Sprawdź, czy tester jest włączony.
- Point the infrared emitter of the remote control towards the Czujnik podczerwieni na testerze.
- Naciśnij dowolny przycisk na pilocie.
- If the infrared output is functioning correctly, the WEJŚCIE LED will flash red. If the LED does not illuminate, it indicates a potential malfunction or damage to the infrared transmitter of the remote control.
4.3 Korzystanie ze światła LED
- Naciśnij Oświetlenie button to activate the built-in LED light.
- This feature is useful for working in low-light conditions, ensuring visibility and accuracy during testing.
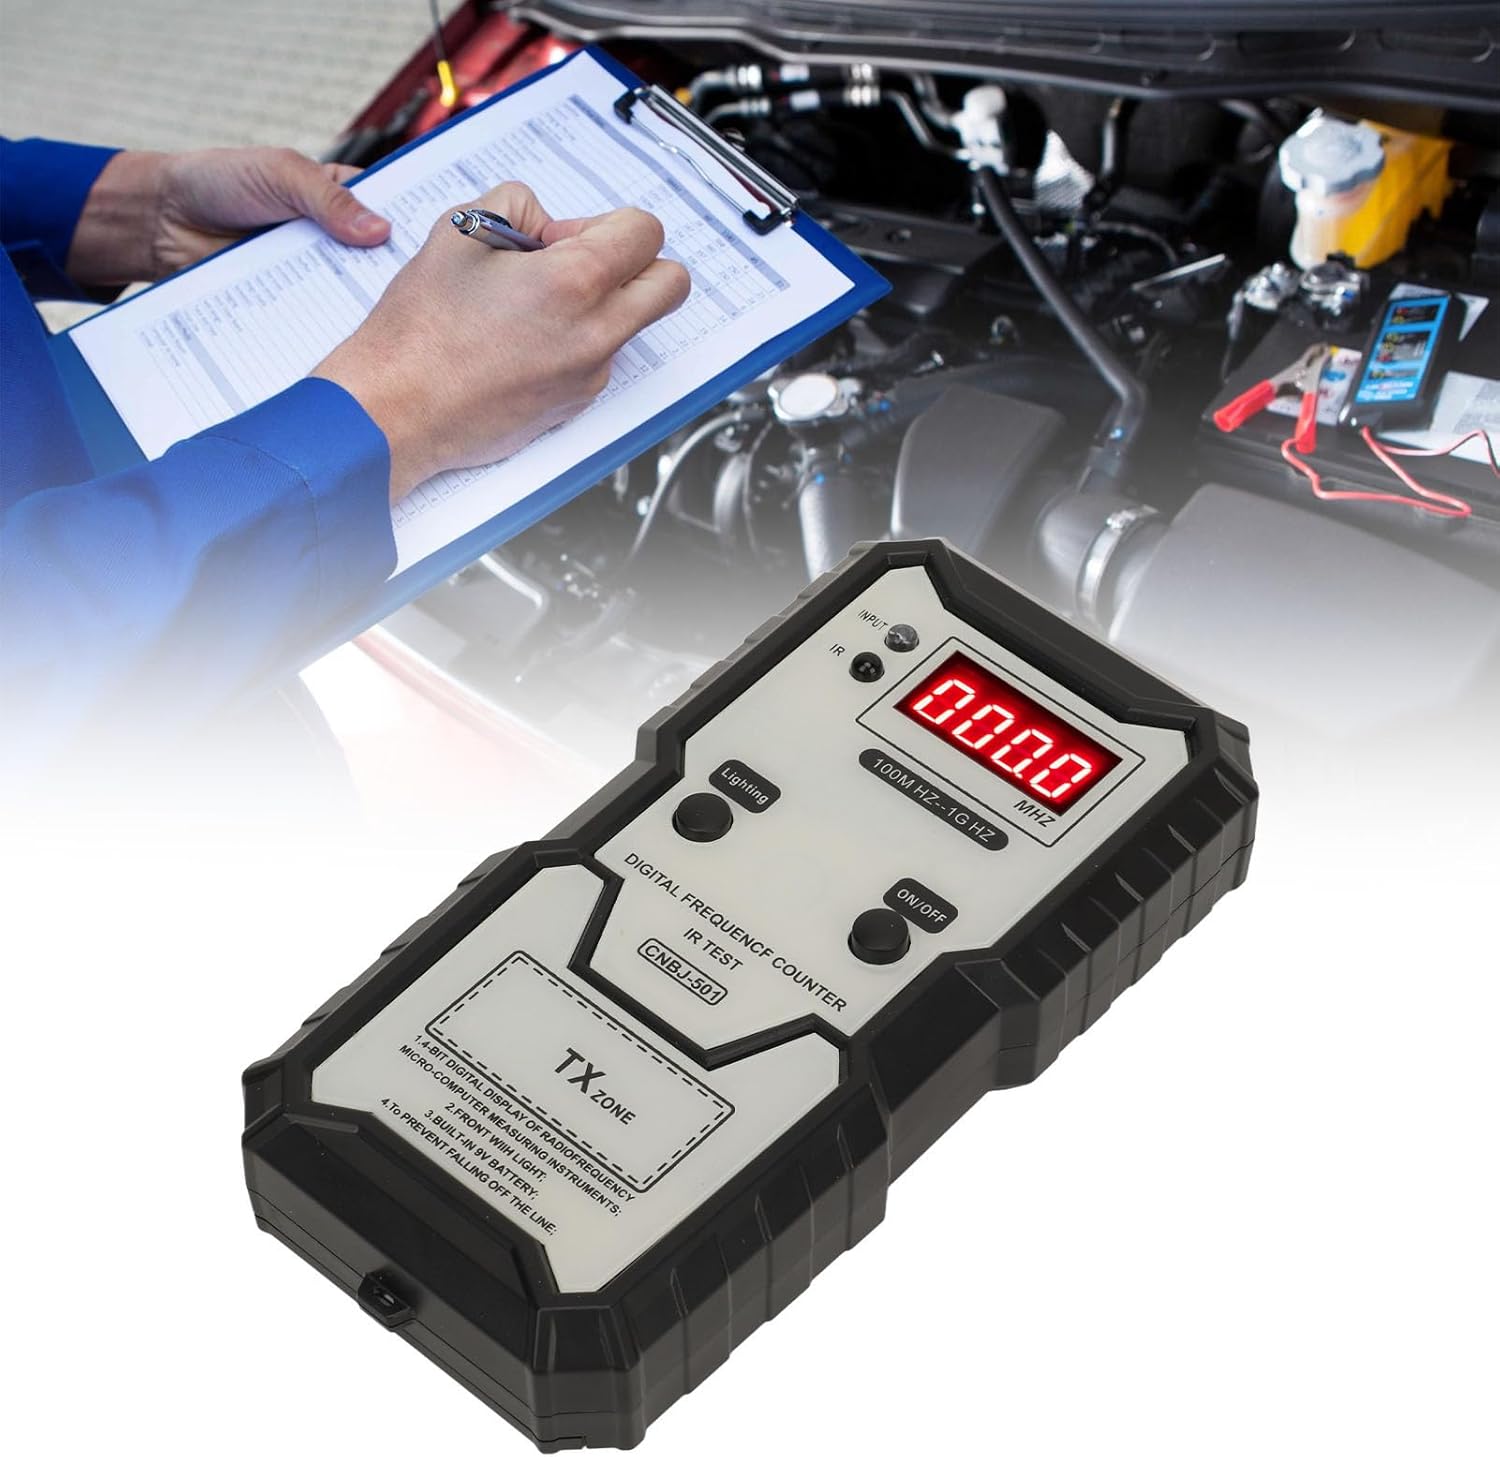
Figure 4.2: Tester in use, demonstrating its application in automotive diagnostics.
5. Konserwacja
- Czyszczenie: Przetrzyj urządzenie miękką, suchą ściereczką. Unikaj stosowania środków czyszczących o właściwościach ściernych i rozpuszczalników.
- Wymiana baterii: Replace the 9V battery when the display dims or the device fails to power on. Refer to Section 3.1 for battery installation instructions.
- Składowanie: Przechowuj urządzenie w suchym miejscu, z dala od bezpośredniego światła słonecznego i ekstremalnych temperatur.
6. Rozwiązywanie Problemów
| Problem | Możliwa przyczyna | Rozwiązanie |
|---|---|---|
| Device does not power on or display is dim. | Niski poziom naładowania akumulatora lub jego rozładowanie. | Wymień baterię 9V. |
| No frequency reading on display. | Remote control not within TX Zone or not transmitting. | Ensure remote is close to the TX Zone (within 5cm) and a button is pressed. Check remote control battery. |
| INPUT LED does not flash during IR test. | Remote control IR emitter faulty or not pointed correctly. | Ensure remote IR emitter is pointed directly at the IR sensor. Check remote control battery. Remote control IR emitter may be damaged. |
7. Specyfikacje
- Numer modelu: Cryfoktowbt9gghu3
- Tworzywo: ABS
- Zakres częstotliwości testowej: 100MHz - 1GHz
- Effective Testing Range: W promieniu 5 cm
- Źródło zasilania: Bateria 9V (brak w zestawie)
- Minimalna objętość roboczatage: 6 wolty
- Working Conditions Temperature: -10 ℃ - 40 ℃
- Robocza wilgotność względna: ≤ 80%
- Warunki przechowywania Temperatura: -20 ℃ - 50 ℃
- Wilgotność względna przechowywania: ≤ 85%
- Wymiary przesyłki: Wymiary 30.8 x 23.9 x 3.5 cm
- Waga przedmiotu: 230 gramów
- Kraj pochodzenia: Chiny
8. Gwarancja i wsparcie
For warranty information or technical support, please refer to the documentation provided with your purchase or contact the Cryfokt customer service department. Keep your purchase receipt as proof of purchase for any warranty claims.