
1. Wprowadzenie
The Adiding TBD-56 Solar Outdoor LED Flood Light is a high-performance, solar-powered lighting solution designed for various outdoor applications. Featuring a motion sensor, remote control, and multiple lighting modes, it provides efficient and reliable illumination for areas such as patios, yards, garages, and fences. This manual will guide you through the proper setup, operation, and maintenance of your new solar flood light.
2. Informacje dotyczące bezpieczeństwa
- Upewnij się, że produkt jest solidnie zamontowany, aby zapobiec jego upadkowi.
- Do not submerge the light or solar panel in water. While water-resistant, prolonged submersion can cause damage.
- Keep the solar panel clean from dust, dirt, and debris to ensure optimal charging efficiency.
- Avoid installing the light near other strong light sources, as this may interfere with the motion sensor's functionality.
- Install the light with the vent holes facing downwards to allow for proper water drainage and prevent internal fogging. Do not install upside down or at an angle that traps water.
3. Zawartość opakowania
Sprawdź przesyłkę, aby upewnić się, że znajdują się w niej wszystkie elementy:
- Panel słoneczny (4 jednostki)
- Motion Sensor Light (4 units)
- Pilot zdalnego sterowania (2 sztuki)
- Installation Accessories (4 sets)

Image: Contents of the Adiding Solar Outdoor LED Flood Light 4-pack, showing the lights, solar panels, and remote controls.
4. Funkcje produktu
- Super jasne oświetlenie: Equipped with 202 high-quality LED beads, providing approximately 2800 lumens of brightness and 6500K daylight white light. Offers up to a 180° lighting angle for wide illumination.
- Panel słoneczny o wysokiej konwersji: Efficiently converts solar energy into electricity, ensuring long working times.
- Remote Control & 3 Lighting Modes: Easily switch between lighting modes using the included remote control.
- Wrażliwy czujnik ruchu: Detects motion to activate high brightness, enhancing security and convenience.
- Trwałe i odporne na warunki atmosferyczne: IP65 waterproof rating, frost-resistant, and heat-resistant, suitable for various weather conditions.
- Elastyczna instalacja: Features a 16.5 ft detachable cable for separate mounting of the solar panel and light, or can be installed as an integrated unit.

Image: Illustration of the upgraded solar panel's 20% high conversion rate, indicating a 4-hour charging time for 400-500 detection cycles.
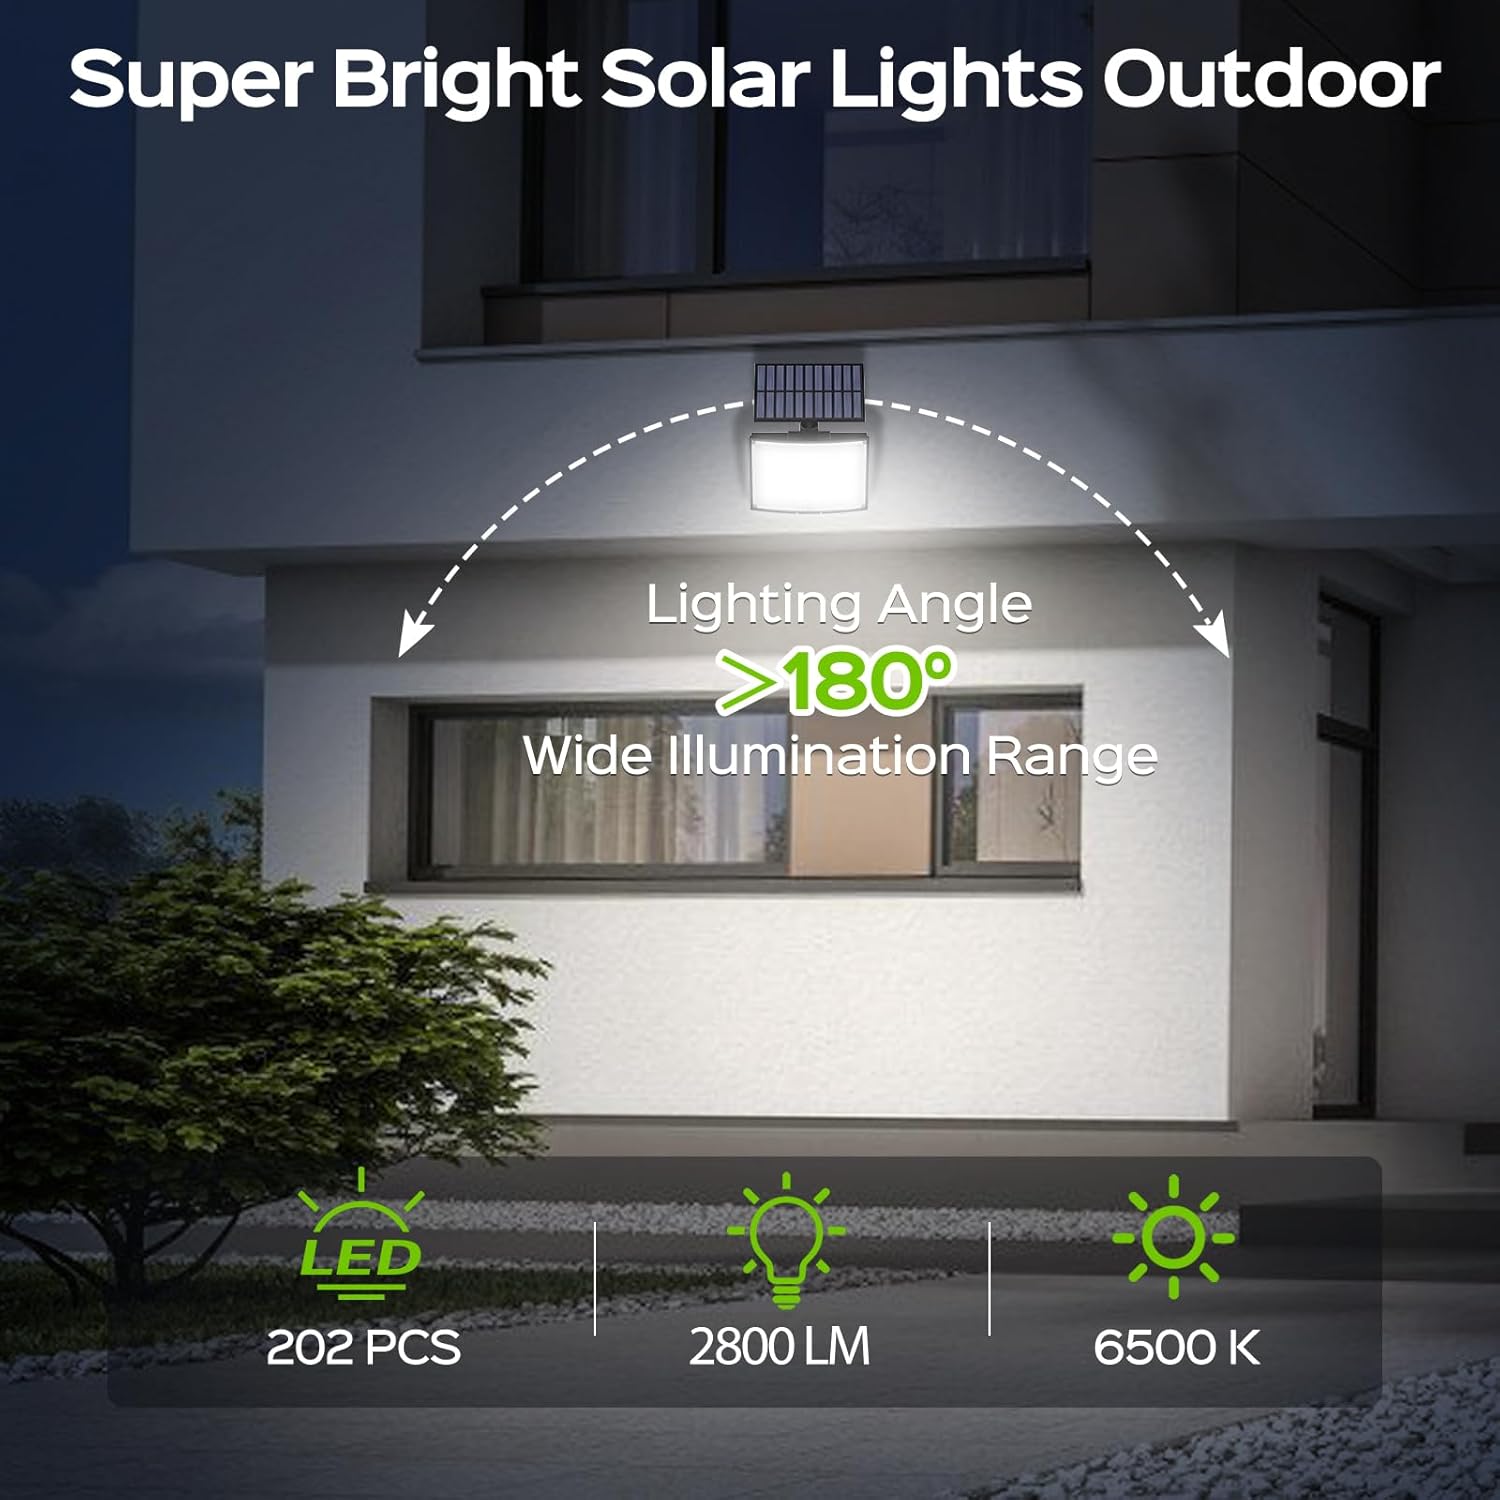
Image: Visual representation of the super bright outdoor solar lights, highlighting 202 LED beads, 2800 lumens, 6500K daylight, and a wide 180-degree lighting angle.

Image: Depiction of the upgraded motion sensor's 120-degree detection angle, illustrating its effectiveness as a car approaches a garage.
5. Konfiguracja i instalacja
5.1 Konfiguracja początkowa
- Opłata początkowa: Upon receiving the solar light, connect the solar panel to the light unit. Place the solar panel in direct sunlight for 1-2 days to ensure a full initial charge.
- Activate Light Unit: The light is initially in an OFF state. Press the button on the back of the light body to activate it. This enables the light modes and remote control functionality.
- Aktywuj zdalne sterowanie: Pull out the transparent isolation tab from the bottom of the remote controller to activate its battery.
5.2 Metody instalacji
The Adiding Solar Flood Light offers two installation options:
- Separated Installation: Use the 16.5 ft cable to mount the solar panel in a location with optimal direct sunlight, and the light unit in your desired area, even if it's shaded.
- Instalacja zintegrowana: Attach the solar panel directly to the top of the light unit for a compact, all-in-one setup. This is suitable when the light's desired location also receives ample bezpośrednie światło słoneczne.

Image: A diagram illustrating the two installation types: integrated, where the solar panel is attached directly to the light, and separated, where the solar panel is connected via a cable.
5.3 Kroki montażu
- Choose a suitable installation location for the light unit and, if using separated installation, for the solar panel. Ensure the solar panel receives maximum direct sunlight throughout the day.
- Zaznacz punkty wiercenia uchwytu montażowego.
- Drill holes at the marked positions and insert the provided plastic anchors.
- Secure the mounting bracket(s) to the wall using the screws.
- Attach the light unit and/or solar panel to the secured bracket(s). Adjust the angle as needed.
- If using separated installation, connect the solar panel cable to the light unit.
5.4 Ważne uwagi dotyczące instalacji
- Orientacja: The light unit has two small vent holes at the bottom to prevent internal fogging and allow water to drain. Ensure the light is installed in an upright position, with the vent holes facing downwards. Do not install the solar light upside down or at an angle that would trap water.
- Avoid Light Interference: Install the light away from other strong light sources (e.g., streetlights) to ensure the motion sensor functions correctly at night.

Image: A diagram illustrating the correct installation direction for the solar light to allow water drainage from its vent holes, and incorrect orientations that could trap water.
5.5 Film instruktażowy dotyczący instalacji
Video: Official Adiding video demonstrating the installation process for the solar motion sensor outdoor flood lights, including mounting and connecting the solar panel.
6. Instrukcja obsługi
The Adiding Solar Flood Light is operated using the included remote control. Ensure the remote control's isolation tab has been removed before use.
6.1 Funkcje zdalnego sterowania
- WŁ./WYŁ.: Włącza i wyłącza moduł świetlny.
- TRYB 1: Activates Mode 1.
- TRYB 2: Activates Mode 2.
- TRYB 3: Activates Mode 3.
6.2 tryby oświetlenia
The light features three distinct operating modes:
- Tryb 1 (tylko czujnik ruchu): The light remains OFF until motion is detected. Upon detection, it illuminates at Jasne światło for approximately 20 seconds, then turns OFF again.
- Mode 2 (Dim + Motion Sensor): The light stays on at a Słabe światło level. When motion is detected, it switches to Jasne światło for approximately 20 seconds, then returns to Słabe światło.
- Mode 3 (Constant Dim Light): The light remains on at a Słabe światło level throughout the night, regardless of motion detection.

Image: A visual guide to Mode 1, showing the light remaining off until motion is detected, then activating to high brightness for 20 seconds before turning off again.

Image: A visual guide to Mode 2, showing the light staying dim, then activating to high brightness for 20 seconds upon motion detection, and finally returning to dim.

Image: A visual guide to Mode 3, showing the light remaining at a low brightness throughout the entire night.
6.3 Operating Modes Video
Video: Official Adiding video demonstrating the different motion sensor lighting modes of the solar outdoor light.
7. Konserwacja
- Czyszczenie panelu słonecznego: Regularnie przecieraj panel słoneczny miękką, miękką szmatką.amp cloth to remove any accumulated dust, dirt, or snow. A clean panel ensures maximum sunlight absorption and charging efficiency.
- Sprawdzanie połączeń: Periodically inspect the cable connection between the solar panel and the light unit to ensure it is secure and free from damage.
- Ogólne sprzątanie: Clean the light unit's surface as needed to maintain optimal light output.
8. Rozwiązywanie Problemów
| Problem | Możliwa przyczyna | Rozwiązanie |
|---|---|---|
| Światło nie włącza się w nocy. | Niewystarczające ładowanie słoneczne. | Upewnij się, że panel słoneczny jest wystawiony na bezpośrednie działanie promieni słonecznych przez 6-8 godzin dziennie. Wyczyść panel słoneczny. |
| Jednostka świetlna nie została aktywowana. | Press the activation button on the back of the light unit. | |
| Pilot nie działa. | Remove the transparent isolation tab from the remote. Ensure remote is pointed at the light. | |
| Czujnik ruchu nie wykrywa. | Obstructions or incorrect installation height. | Clear any obstructions. Ensure installation height is within recommended range (6-10 ft). |
| Światło jest słabe lub migocze. | Niski poziom naładowania baterii. | Allow the solar panel to charge for a full 1-2 days in direct sunlight. Clean the solar panel. |
| Water accumulation inside the light. | Incorrect installation direction. | Re-install the light ensuring the vent holes are facing downwards and the unit is not upside down or at an angle that traps water. |
9. Specyfikacje
| Funkcja | Szczegół |
|---|---|
| Marka | Dodatek |
| Numer modelu | DO USTALENIA-56 |
| Jasność | 2800 lumenów (maks.) |
| Temperatura barwowa | 6500 Kelwinów (białe światło dzienne) |
| Liczba koralików LED | 202 |
| Źródło zasilania | Zasilany energią słoneczną |
| Metoda kontroli | Zdalne sterowanie |
| Kąt czujnika ruchu | 120° |
| Kąt oświetlenia | Do 180° |
| Długość kabla (panel słoneczny) | 16.5 stóp |
| Poziom wodoodporności | Wodoodporność IP65 |
| Tworzywo | Akrylonitryl-butadien-styren, poliwęglan |
| Wymiary produktu | 6.1" dł. x 3.74" szer. x 7.68" wys. |
| Cechy specjalne | Angle Adjustable, Motion Sensor, Solar Powered, Waterproof |
10. Gwarancja i pomoc techniczna
Adiding offers 2 years replacement support for this solar outdoor flood light. If you encounter any issues or have questions regarding your product, please contact Adiding US customer service through your order platform. Our professional service team is available 24 hours a day to provide you with the best lighting solutions and support.