
MELCAM Digital Picture Frame
MELCAM 10.5-Inch 1080p Digital Picture Frame User Manual
Model: 10.5-Inch 1080p Digital Picture Frame (ASIN: B0CHRTWHLM)
1. Wprowadzenie
Dziękujemy za zakupasing the MELCAM 10.5-Inch 1080p Digital Picture Frame. This device allows you to display your favorite photos and videos with clarity and ease. This manual provides detailed instructions for setting up, operating, and maintaining your digital picture frame to ensure optimal performance and longevity.
2. Ważne informacje dotyczące bezpieczeństwa
- Przed użyciem należy uważnie przeczytać wszystkie instrukcje.
- Trzymaj urządzenie z dala od wody, wilgoci i wysokiej wilgotności powietrza.
- Nie wystawiaj urządzenia na bezpośrednie działanie promieni słonecznych ani ekstremalnych temperatur.
- Używaj wyłącznie dołączonego zasilacza. Używanie nieautoryzowanego zasilacza może spowodować uszkodzenie urządzenia i unieważnienie gwarancji.
- Nie próbuj samodzielnie demontować ani naprawiać urządzenia. Wszelkie czynności serwisowe zlecaj wykwalifikowanemu personelowi.
- Przechowywać w miejscu niedostępnym dla dzieci.
- Odłącz urządzenie od zasilania podczas burzy z piorunami lub gdy nie jest używane przez dłuższy czas.
3. Zawartość opakowania
Proszę sprawdzić, czy w paczce znajdują się następujące elementy:
- MELCAM 10.5-Inch Digital Picture Frame
- Zasilacz
- Zdalne sterowanie
- Instrukcja obsługi (ten dokument)
4. Koniec produktuview
Zapoznaj się z elementami swojej cyfrowej ramki do zdjęć.
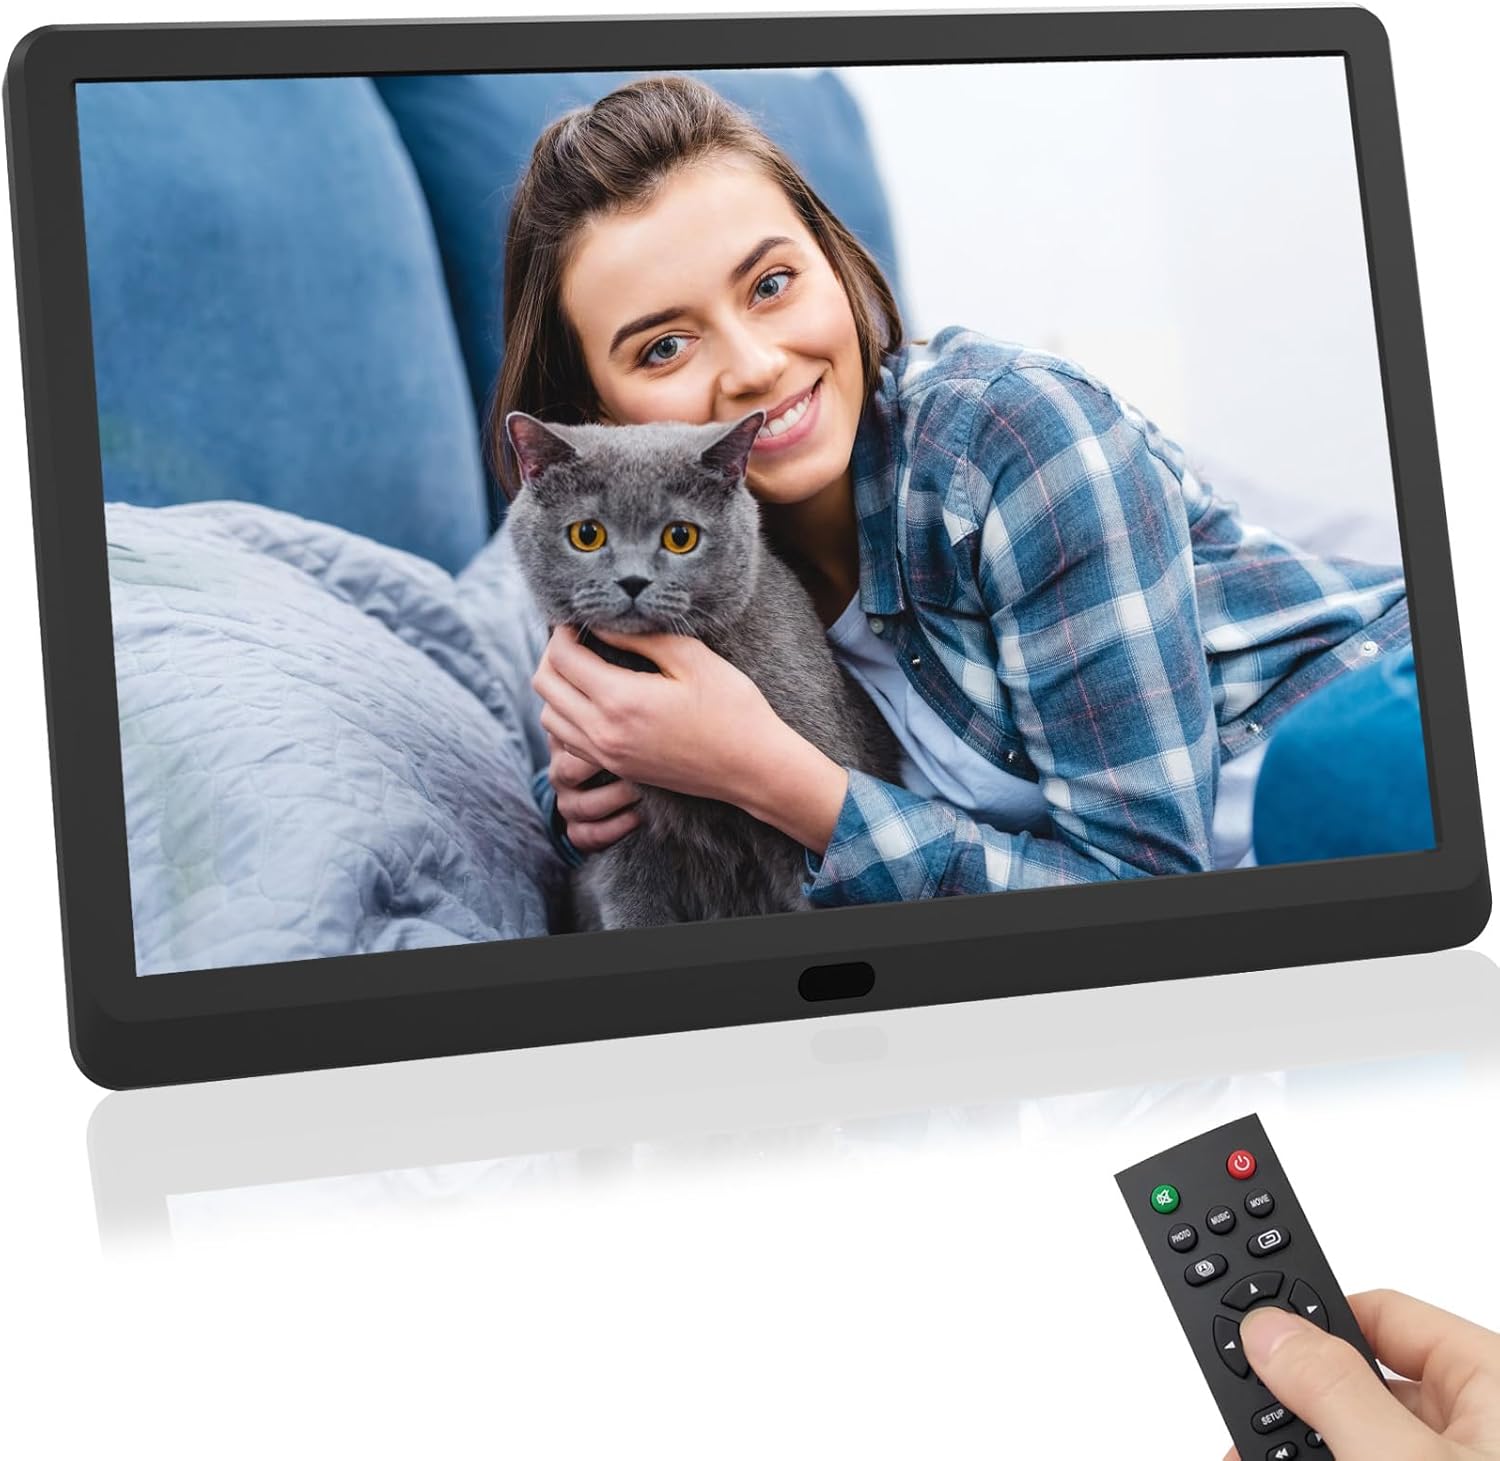
Rysunek 1: Przód view of the MELCAM 10.5-Inch Digital Picture Frame, displaying an image of a woman holding a cat. A remote control is shown in the foreground, held by a hand.
4.1. Elementy ramy
- Ekran wyświetlacza: 10.5-inch 1080p HD display for photos and videos.
- Port zasilania: Łączy się z zasilaczem.
- Port USB: Do podłączania dysków flash USB.
- Gniazdo karty SD: Do wkładania kart pamięci SD/MMC.
- Przyciski sterujące: Basic navigation buttons on the back or side.
4.2. Pilot zdalnego sterowania
The remote control provides convenient access to all functions. It typically includes buttons for power, menu, navigation (up, down, left, right, OK), exit, volume, and media type selection (photo, music, movie).
5. Konfiguracja
- Rozpakować: Ostrożnie wyjąć wszystkie elementy z opakowania.
- Pozycja: Place the digital picture frame on a stable, flat surface.
- Podłączenie zasilania: Connect the power adapter to the DC IN port on the frame, then plug the adapter into a wall outlet. The frame should power on automatically or can be turned on using the power button on the frame or remote.
- Włóż media: Insert a USB flash drive into the USB port or an SD/MMC card into the SD card slot. Ensure the media contains compatible photo (JPEG, BMP, PNG) or video (MP4, AVI, MOV) files.
- Bateria pilota zdalnego sterowania: If the remote control is not working, check if the battery is correctly inserted or needs replacement.
6. Instrukcja obsługi
6.1. Podstawowa nawigacja
- Użyj Strzałka buttons on the remote or frame to navigate through menus and options.
- Naciśnij OK przycisk, aby potwierdzić wybór.
- Naciśnij EXIT or POWRÓT button to go back to the previous menu or exit the current function.
6.2. Odtwarzanie multimediów
- Z menu głównego wybierz Zdjęcie, Muzyka, Lub Film za pomocą pilota.
- Przejdź do żądanego file or folder on your inserted USB drive or SD card.
- Naciskać OK to start playback or slideshow.
- During photo slideshow, you can adjust transition speed and effects via the settings menu.
6.3. Ustawienia systemowe
Uzyskaj dostęp do ORGANIZOWAĆ COŚ menu to customize various frame settings:
- Ustawienia wyświetlania: Adjust brightness, contrast, and aspect ratio.
- Ustawienia pokazu slajdów: Configure slideshow interval, transition effects, and repeat mode.
- Data i godzina: Ustaw aktualną godzinę i datę.
- Język: Wybierz preferowany język interfejsu menu.
- Alarm/Calendar: Utilize built-in alarm clock and calendar functions.
- Automatyczne odtwarzanie: Set the frame to automatically play photos, music, or videos upon startup.
7. Konserwacja
- Czyszczenie ekranu: Delikatnie przetrzyj ekran miękką, niepozostawiającą włókien ściereczką. W przypadku uporczywych zabrudzeń delikatnie przetrzyjampen the cloth with water or a screen cleaner designed for electronics. Do not spray liquid directly onto the screen.
- Czyszczenie ramy: Use a soft, dry cloth to wipe the frame's exterior.
- Składowanie: When not in use for extended periods, unplug the frame and store it in a cool, dry place, away from direct sunlight.
8. Rozwiązywanie Problemów
| Problem | Możliwe rozwiązanie |
|---|---|
| Ramka się nie włącza. |
|
| Brak wyświetlonego obrazu lub filmu. |
|
| Pilot zdalnego sterowania nie działa. |
|
| Images appear rotated or distorted. |
|
9. Specyfikacje
| Funkcja | Szczegół |
|---|---|
| Marka | MELCAM |
| Model | Cyfrowa ramka na zdjęcia |
| Rozmiar ekranu | 10.5 cali |
| Rezolucja | 1080p (1920x1080) |
| Kompatybilne urządzenia | USB, SD/MMC Cards |
| Wymiary produktu | 11 x 6 x 0.99 cala |
| Waga przedmiotu | 1.98 funta |
| Wymagane baterie | No (for frame); Yes (for remote, typically CR2025) |
10. Gwarancja i wsparcie
For warranty information or technical support, please refer to the documentation included with your purchase or contact MELCAM customer service. Keep your purchase receipt as proof of purchase.
For further assistance, you may visit the official MELCAM store page: MELCAM Store
Ask a question about this manual
Ask about setup, troubleshooting, compatibility, parts, safety, or missing instructions. Manuals+ will review the question and use this page’s manual context to help answer it.