1. Wprowadzenie
Thank you for choosing the KBICE 3.0 Countertop Nugget Ice Maker. This appliance is designed to provide you with soft, chewable nugget ice quickly and conveniently. Please read this manual thoroughly before operation to ensure safe and efficient use of your ice maker.
2. Informacje dotyczące bezpieczeństwa
Aby zminimalizować ryzyko pożaru, porażenia prądem i obrażeń ciała, należy zawsze przestrzegać podstawowych zasad bezpieczeństwa podczas korzystania z urządzeń elektrycznych.
- Przed użyciem urządzenia należy przeczytać całą instrukcję.
- Upewnij się, że objętośćtagodpowiada tabliczce znamionowej umieszczonej na urządzeniu.
- Nie zanurzaj przewodu zasilającego, wtyczki ani żadnej części urządzenia w wodzie ani innych płynach.
- Odłączaj urządzenie od gniazdka, gdy nie jest używane oraz przed czyszczeniem.
- Nie używaj żadnego urządzenia, jeśli przewód lub wtyczka są uszkodzone, ani po awarii urządzenia lub po jego uszkodzeniu w jakikolwiek sposób.
- Keep adequate ventilation space around the ice maker (at least 6 inches on all sides).
- To urządzenie jest przeznaczone wyłącznie do użytku domowego.
3. Co znajduje się w pudełku
- KBICE 3.0 Nugget Ice Maker Unit
- Side Water Tank
- Instrukcja obsługi
- Szybki przewodnik
- Citric Acid Cleaning Packets
- Lejek wodny
4. Koniec produktuview
The KBICE 3.0 is a compact countertop ice maker designed for convenience and efficiency. It produces soft, chewable nugget ice, perfect for various beverages.

Rysunek 4.1: KBICE 3.0 Nugget Ice Maker. This image shows the compact design of the ice maker with its integrated side water tank and a glass filled with nugget ice.

Rysunek 4.2: Self-Dispensing Feature. The ice maker features automatic dispensing, eliminating the need for an ice scoop.
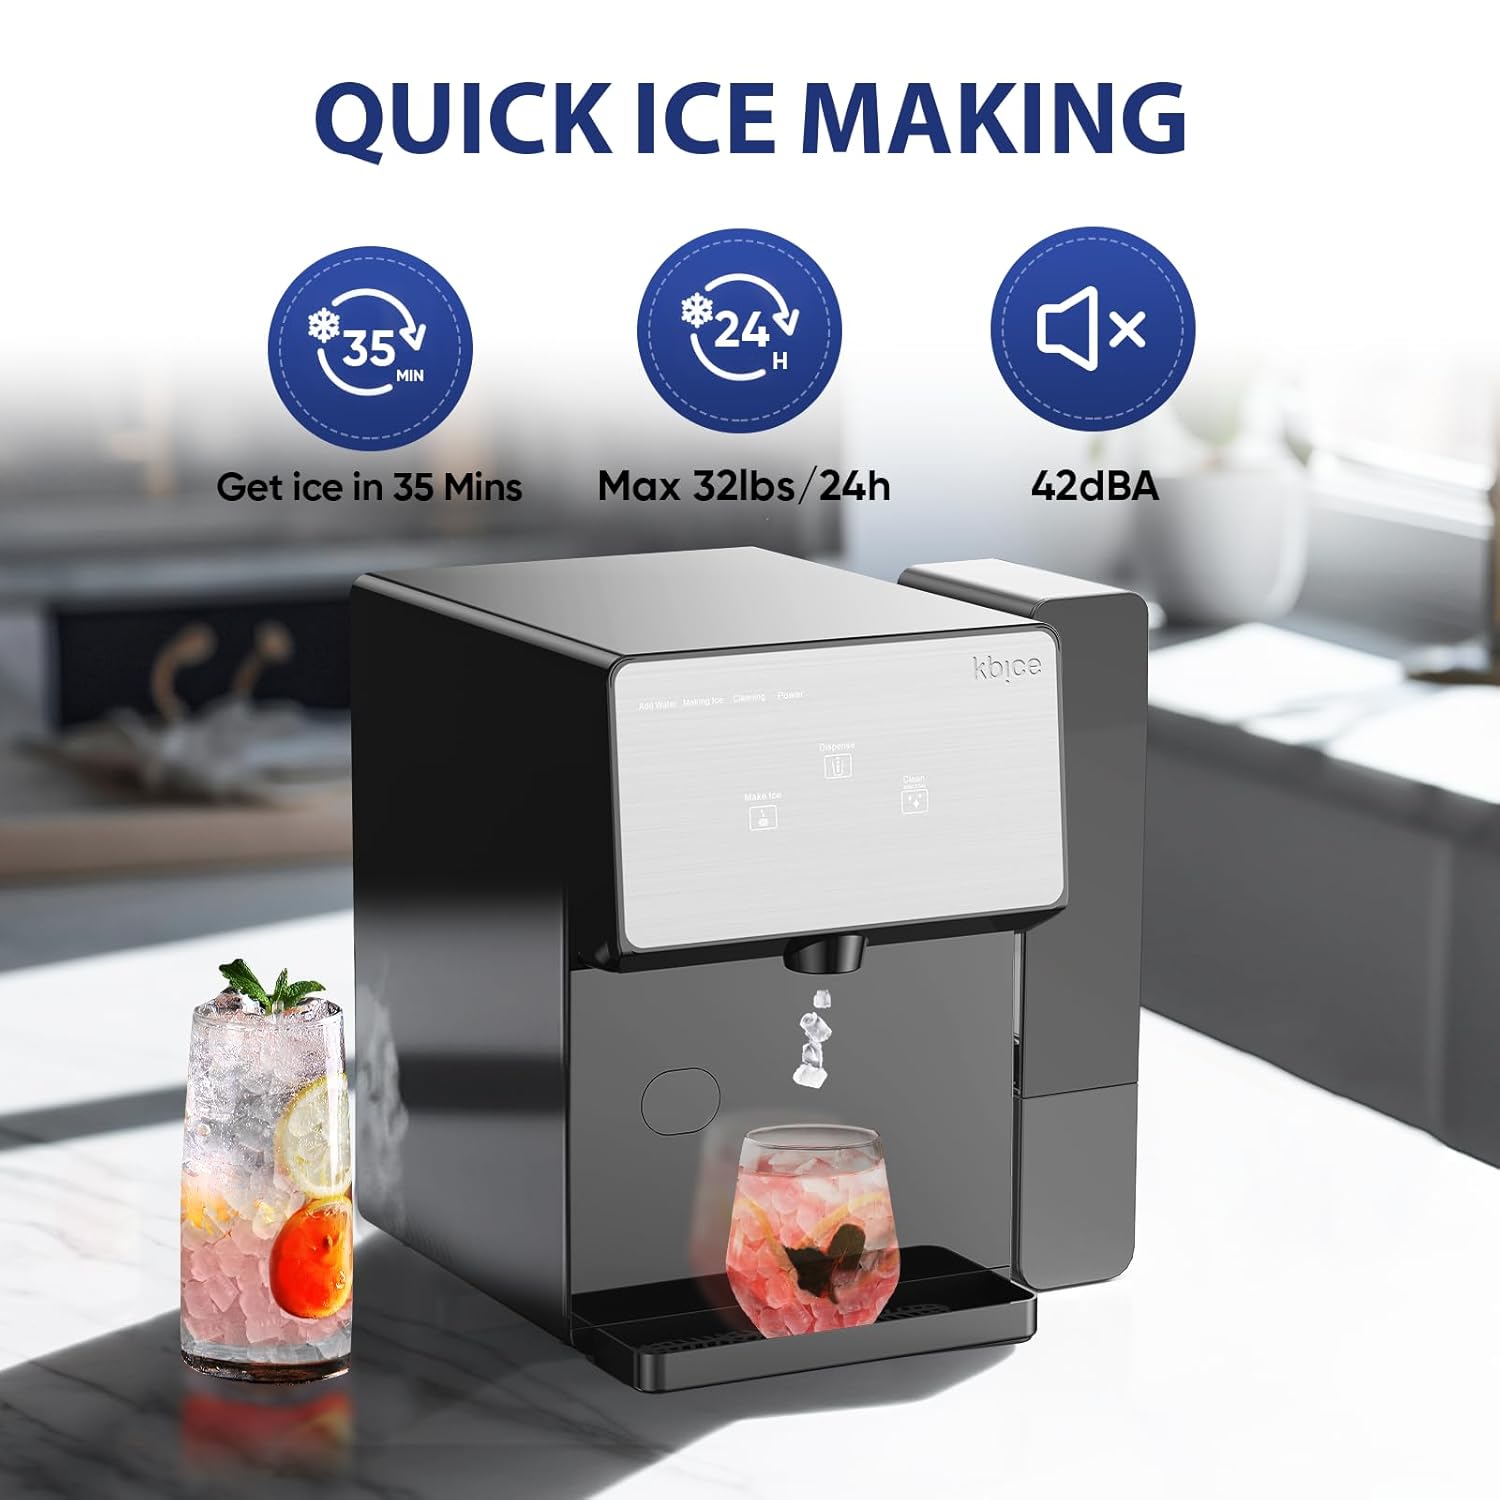
Rysunek 4.3: Quick Ice Making. Produces ice in as little as 35 minutes, with a maximum capacity of 32 lbs in 24 hours, and operates quietly at 42dBA.

Rysunek 4.4: 2 lbs Storage Capacity. The internal bin can store up to 2 pounds of nugget ice.

Rysunek 4.5: Self-Cleaning Function. The ice maker features a self-cleaning mode activated by holding the 'Clean' button for 3 seconds.

Rysunek 4.6: Convenient Side Water Tank. The external water tank holds up to 125 fluid ounces and automatically replenishes the internal tank.
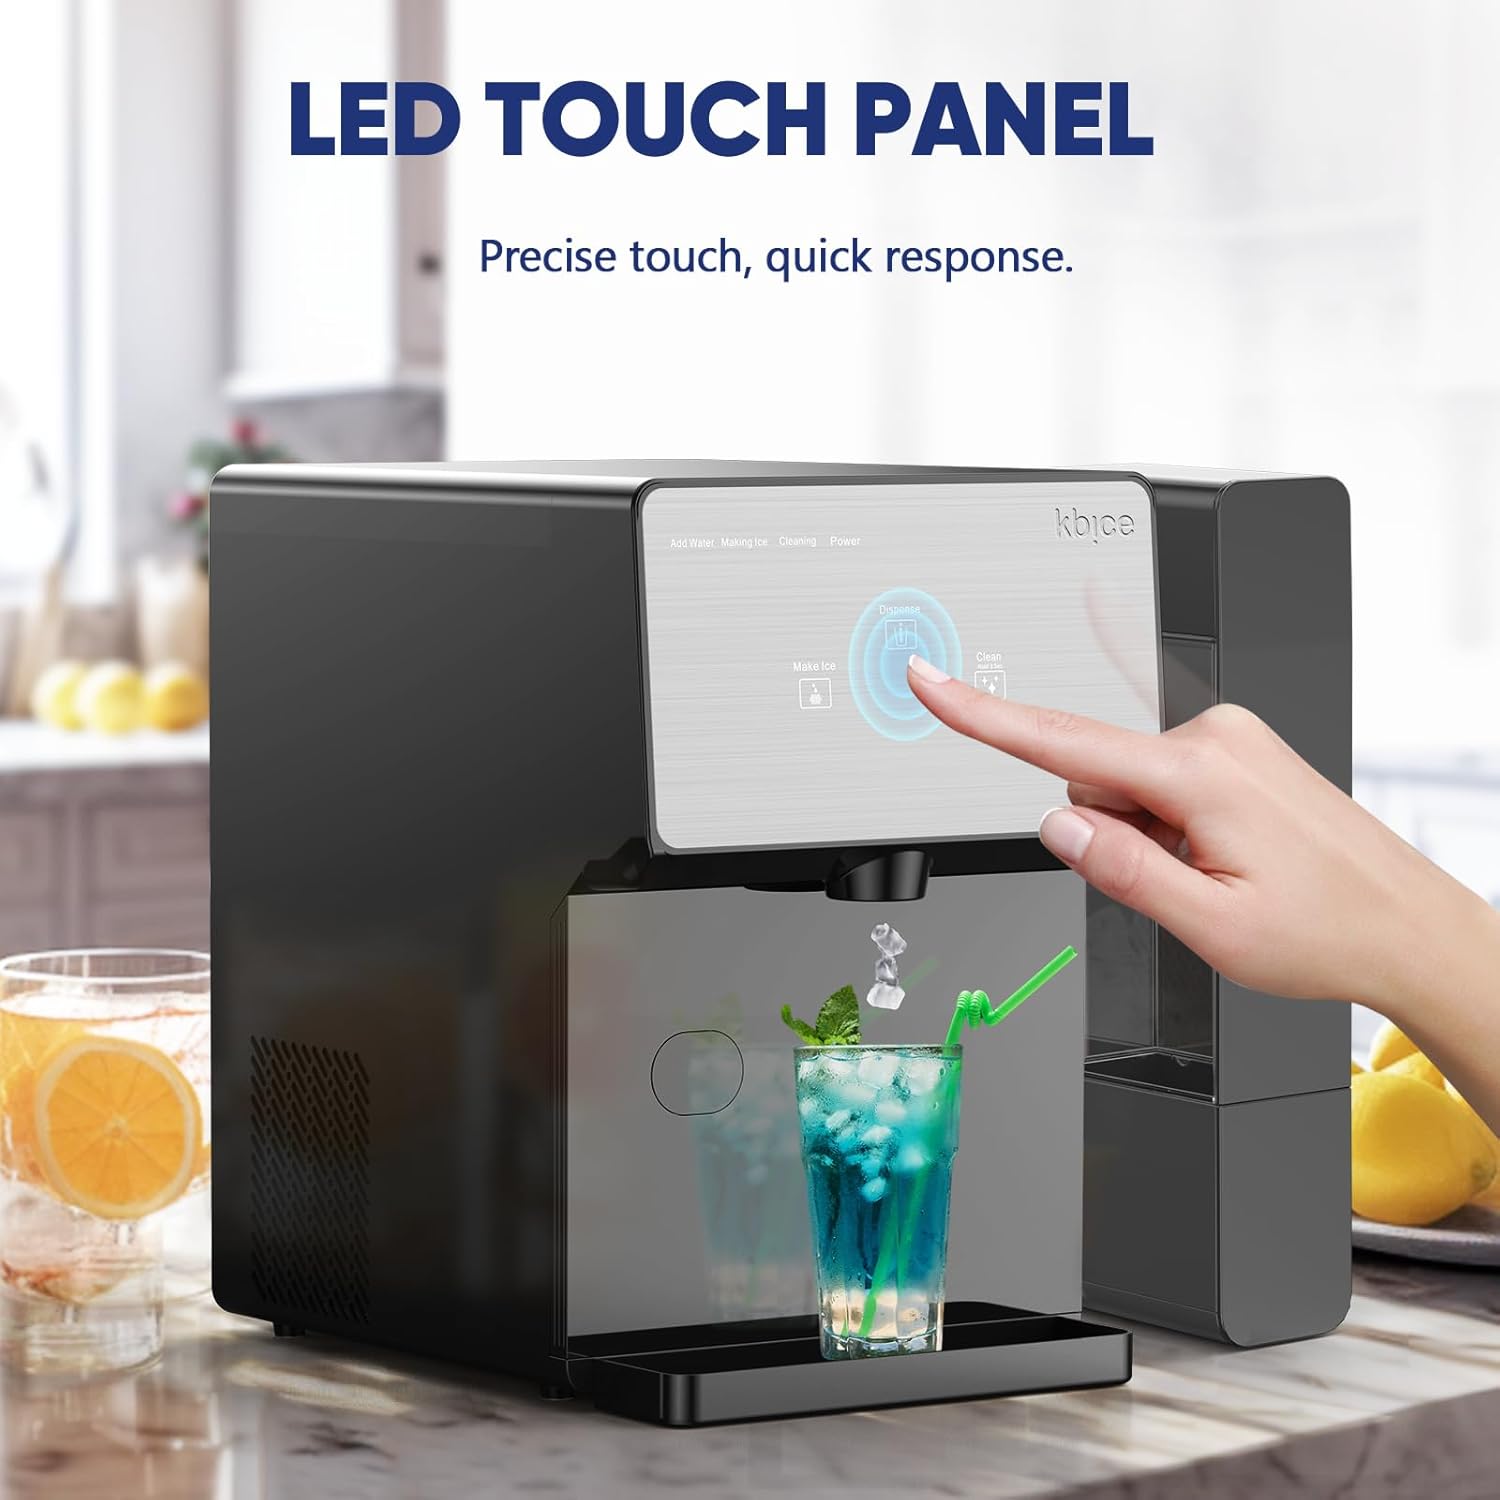
Rysunek 4.7: LED Touch Panel. Simple and straightforward controls for easy operation.
5. Konfiguracja
- Rozpakowywanie: Ostrożnie wyjmij kostkarkę do lodu i wszystkie akcesoria z opakowania.
- Umieszczenie: Place the ice maker on a flat, stable surface away from direct sunlight and heat sources. Ensure there is at least 6 inches of clearance on all sides for proper ventilation.
- Czyszczenie wstępne: Before first use, perform a self-cleaning cycle. Refer to the 'Maintenance' section for detailed cleaning instructions.
- Napełnij zbiornik na wodę: The ice maker comes with a detachable side water tank. You can either detach the tank and fill it directly or use the provided funnel to pour water into the main unit's reservoir. The main internal water tank holds 88 ounces, and the side tank holds 125 fluid ounces.

Rysunek 5.1: Water Port for Funnel. Use the provided funnel to easily add water to the main reservoir.

Rysunek 5.2: Side Tank Attachment. The side tank attaches magnetically and automatically replenishes the main reservoir.
6. Instrukcja obsługi
- Włączanie: Plug the ice maker into a grounded electrical outlet. The LED touch panel will illuminate.
- Robienie lodu: Press the 'Make Ice' button on the LED touch panel. The machine will begin the ice-making cycle. The first batch of ice typically takes about 40 minutes. The machine will continuously make ice until the ice bin is full or the water tank is empty.
- Dozowanie lodu: Place your glass or container under the ice dispenser outlet. Press and hold the 'Dispense' button on the LED touch panel to release nugget ice. Release the button to stop dispensing.
- Wskaźnik uzupełniania wody: If the 'Add Water' indicator light illuminates, it means the water reservoir is low. Refill the side tank or the main reservoir as described in the 'Setup' section.
Rysunek 6.1: Automatic Ice Dispensing. Simply press the 'Dispense' button to get ice directly into your cup.
Rysunek 6.2: Intuitive LED Touch Panel. Easily control ice making and dispensing with clear indicators.
7. Konserwacja
Regular cleaning and maintenance will ensure the longevity and optimal performance of your KBICE 3.0 Nugget Ice Maker.
- Cykl samooczyszczania: The ice maker features a convenient self-cleaning function. To activate, ensure the water tank is full, then press and hold the 'Clean' button for 3 seconds. The cleaning cycle will run for approximately 30 minutes.
- Czyszczenie tacki ociekowej: The drip tray should be emptied and cleaned regularly to prevent water overflow and maintain hygiene. Simply pull out the tray, empty any water, wash with mild soap and water, rinse, and dry thoroughly before replacing.
- Czyszczenie zewnętrzne: Przetrzyj zewnętrzną część kostkarki do lodu miękką ściereczką.amp płótno. Nie używaj ostrych środków chemicznych ani ściernych środków czyszczących.
- Przechowywanie długoterminowe: If the ice maker will not be used for an extended period, perform a self-cleaning cycle, drain all water from the unit and tanks, and dry thoroughly. Store in a cool, dry place.
Rysunek 7.1: Initiating Self-Cleaning. Hold the 'Clean' button for 3 seconds to start the automatic cleaning process.
8. Rozwiązywanie Problemów
If you encounter any issues with your ice maker, please refer to the following common problems and solutions. For more detailed troubleshooting, consult the Quick Start Guide or contact customer support.
| Problem | Możliwa przyczyna | Rozwiązanie |
|---|---|---|
| Kostkarka do lodu nie produkuje lodu. | No water in reservoir; water line blocked; machine not powered on. | Fill water tank; check for kinks in water line; ensure power cord is securely plugged in. |
| Lód nie jest wydawany. | Ice bin is empty; dispense button not held down. | Wait for ice production; press and hold the 'Dispense' button. |
| Nietypowy dźwięk podczas pracy. | Lack of water; machine needs cleaning; ventilation blocked. | Refill water; run self-cleaning cycle; ensure proper clearance around the unit. |
| Wskaźnik „Dodaj wodę” jest włączony. | Niski poziom wody. | Napełnij zbiornik na wodę. |
9. Specyfikacje
| Funkcja | Specyfikacja |
|---|---|
| Wymiary produktu | 16" gł. x 16" szer. x 17.5" wys. |
| Waga | 55 funtów |
| Zdolność produkcji lodu | Up to 32 lbs in 24 hours |
| Pojemność przechowywania lodu | 2 funtów |
| Water Tank Capacity (External) | 125 uncji płynu |
| Water Tank Capacity (Internal) | 88 uncji płynu |
| Poziom hałasu | 48dBA |
| Cotage | 20 kWh |
| Producent | FLURIDA |
10. Gwarancja i wsparcie
KBICE offers a 1-roczna ochrona jakości for this product. Additionally, you are eligible for 30-dniowy łatwy zwrot. For any questions, troubleshooting assistance, or warranty claims, please contact KBICE customer support. Information can typically be found on the product packaging or the official KBICE webstrona.
This product is from a small business brand. Support small businesses.