1. Wprowadzenie
Thank you for choosing the Nania Start I FIX i-Size Booster Car Seat. This manual provides essential information for the correct installation, safe use, and maintenance of your car seat. Please read it thoroughly before first use and keep it for future reference.
This car seat is designed for children from 106 to 140 cm in height, typically aged 5 to 10 years, and is approved according to the new i-Size R129 standard.
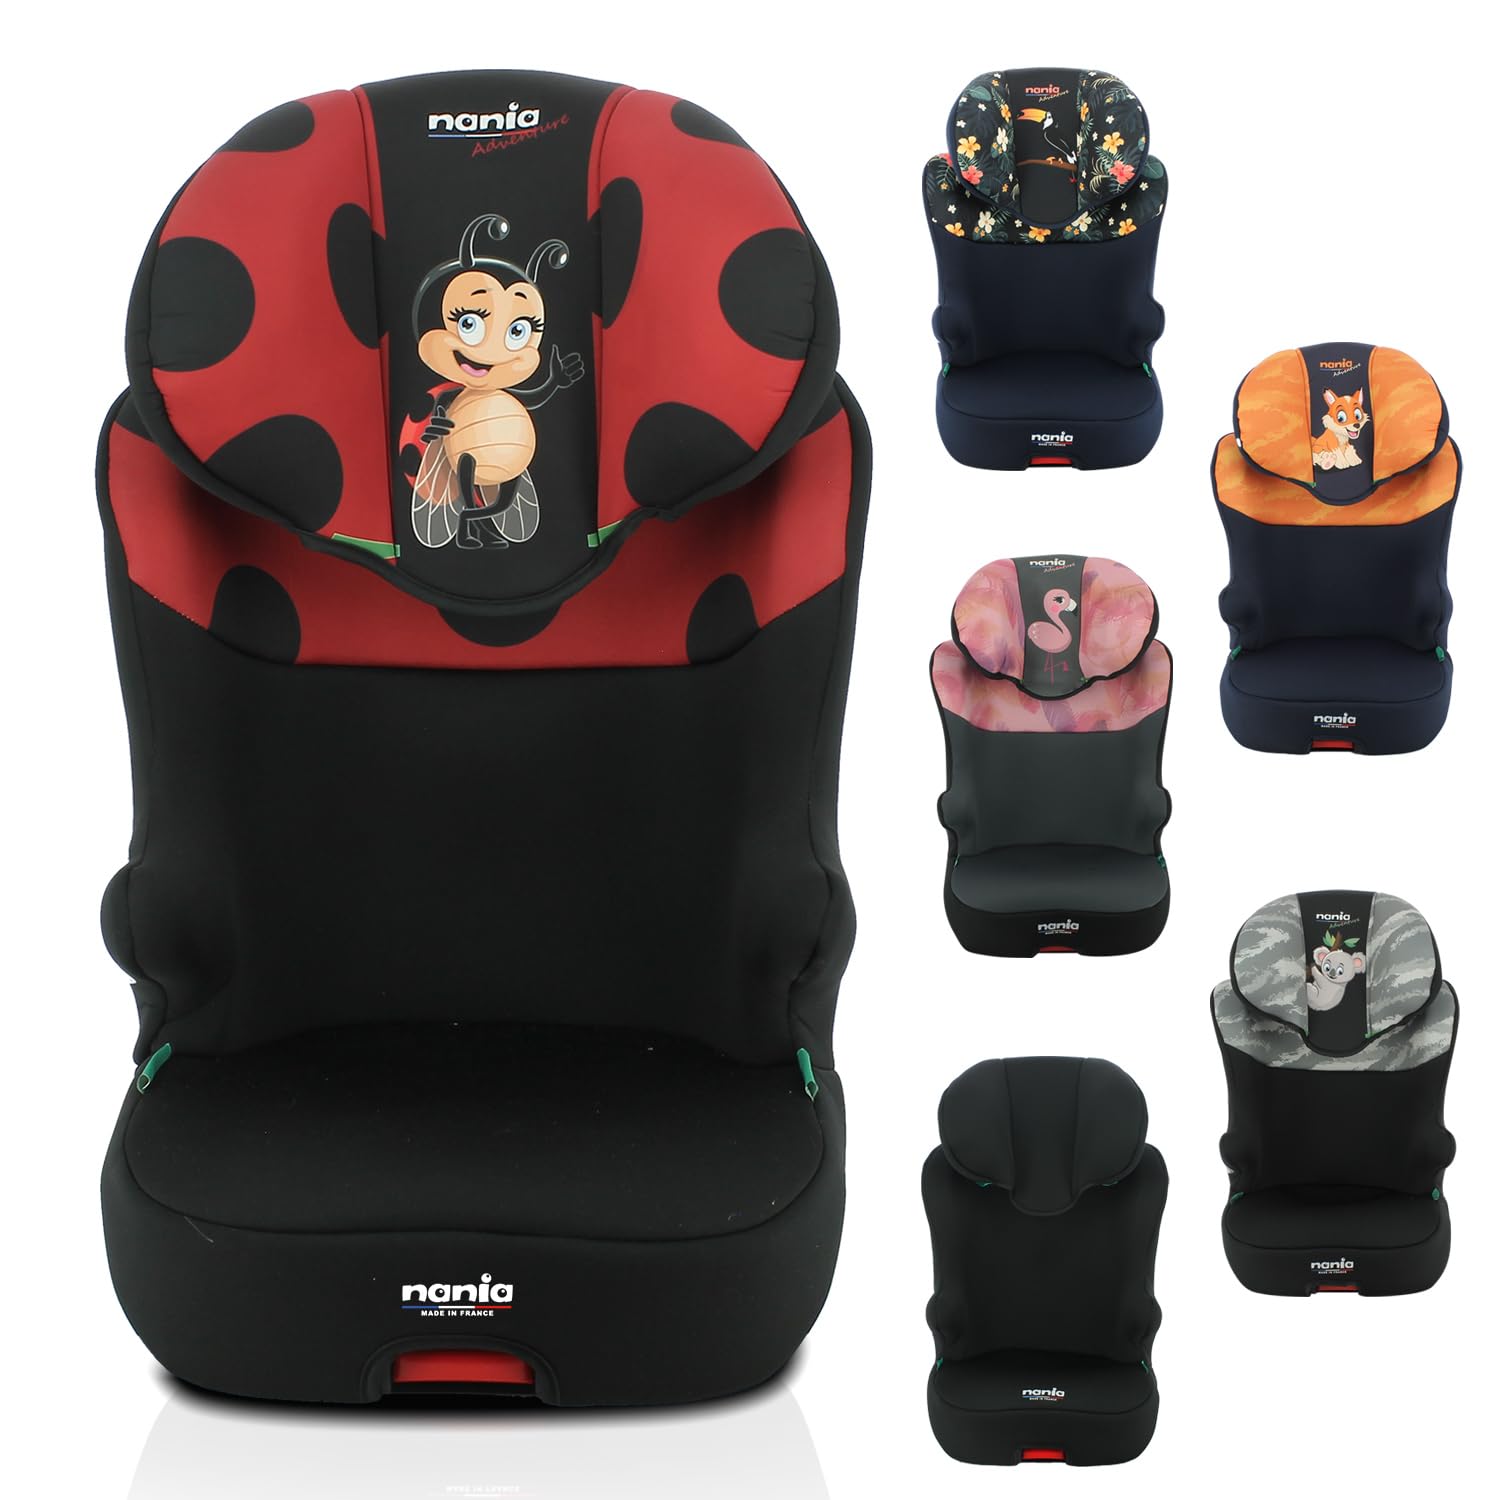
Przód view of the Nania Start I FIX i-Size Booster Car Seat in ladybug design.
2. Informacje dotyczące bezpieczeństwa
- The car seat is approved according to the i-Size R129 standard, ensuring high safety performance.
- Equipped with lateral protection for enhanced safety in case of side impact.
- Always secure the child using the vehicle's 3-point safety belt.
- Ensure the car seat is correctly installed using the ISOFIX anchors.
- Nigdy nie zostawiaj dziecka bez opieki w foteliku samochodowym.
- Do not modify the car seat in any way.
- In case of an accident, even a minor one, the car seat should be replaced.
3. Konfiguracja i instalacja
3.1 ISOFIX Installation
The Start I FIX car seat features ISOFIX attachments for quick and secure installation in your vehicle. Ensure your vehicle is equipped with ISOFIX anchor points.
- Locate the ISOFIX anchor points in your vehicle's rear seat.
- Wysuń łączniki ISOFIX z podstawy fotelika samochodowego.
- Align the ISOFIX connectors with the vehicle's anchor points and push firmly until they click into place. A green indicator will confirm correct attachment.
- Dociśnij fotelik samochodowy mocno do oparcia siedzenia pojazdu, aby upewnić się, że ściśle przylega.

Illustration showing the ISOFIX bars extended for installation.

Z bliska view of the ISOFIX connector mechanism.
3.2 Regulacja zagłówka
The headrest is adjustable in height to accommodate your child's growth and ensure optimal safety and comfort.
- Locate the adjustment lever or button at the back or top of the headrest.
- Press the lever/button and simultaneously pull up or push down the headrest to the desired height.
- Ensure the headrest is positioned so that the child's head is fully supported and their shoulders are below the highest point of the headrest.
- Release the lever/button to lock the headrest in place.

Illustration demonstrating the adjustable headrest feature.

Z bliska view of the headrest adjustment mechanism.
4. Instrukcja obsługi
4.1 Securing the Child
Once the car seat is installed, secure your child using the vehicle's 3-point safety belt.
- Umieść dziecko w foteliku samochodowym.
- Guide the vehicle's 3-point safety belt through the designated belt guides on the car seat. Ensure the lap belt is low across the child's hips and the shoulder belt rests across the center of their shoulder and chest, not on their neck.
- Buckle the safety belt and pull it taut to remove any slack.
4.2 Reclining Base
The car seat features a reclining base for added comfort during travel.
- Locate the recline adjustment lever, typically at the front or side of the base.
- Press the lever and gently push or pull the seat to the desired recline position.
- Ensure the seat locks securely into the chosen position before driving.

Illustration showing the car seat's reclining base in one position.

Z bliska view of the reclining base adjustment mechanism.
5. Konserwacja
- Czyszczenie pokrowca materiałowego: The fabric cover can typically be removed for cleaning. Refer to the care label for specific washing instructions. Usually, a gentle machine wash at 30°C is recommended. Do not tumble dry or iron.
- Cleaning the Plastic Parts: Wytrzyj plastikowe części reklamąamp ściereczką i łagodnym mydłem. Nie używaj ściernych środków czyszczących ani rozpuszczalników.
- Kontrola: Regularly inspect the car seat for any signs of wear, damage, or loose parts. Pay close attention to the ISOFIX connectors, belt guides, and fabric. If any damage is found, discontinue use and contact customer support.
- Składowanie: Gdy fotelik samochodowy nie jest używany, należy go przechowywać w chłodnym i suchym miejscu, z dala od bezpośredniego światła słonecznego.
6. Rozwiązywanie Problemów
- Problem: Car seat does not feel secure after ISOFIX installation.
- Rozwiązanie: Ensure the ISOFIX connectors are fully engaged and the green indicators are visible. Push the car seat firmly against the vehicle's seat back. Check for any obstructions preventing a tight fit.
- Problem: Vehicle's 3-point belt is difficult to tighten or is slack.
- Rozwiązanie: Ensure the belt is routed correctly through all designated belt guides. Pull the shoulder belt firmly while pushing down on the car seat to remove slack. Check that the belt is not twisted.
- Problem: Headrest adjustment is stiff or not locking.
- Rozwiązanie: Ensure the adjustment lever/button is fully pressed during adjustment. Check for any debris obstructing the mechanism. If the issue persists, contact customer support.
7. Specyfikacje
| Funkcja | Szczegół |
|---|---|
| Numer modelu | 7259110114A |
| Marka | Nania |
| Approval Standard | i-Rozmiar R129 |
| Zakres wzrostu dziecka | 106 - 140 cm |
| Zalecany wiek | Approximately 5 - 10 years |
| Maksymalna obsługiwana waga | 40 kilograma |
| Typ instalacji | ISOFIX and Vehicle 3-point Safety Belt |
| Orientacja | przodem do kierunku jazdy |
| Materiał główny | Foam, Plastic, Polyester |
| Wymiary produktu (dł. x szer. x wys.) | Wymiary 44 x 44 x 68 cm |
| Waga przedmiotu | 5.6 kilograma |
| Producent | TEKST ZESPOŁU |
| Kraj produkcji | Francja |

Diagram illustrating the dimensions of the Nania Start I FIX car seat.
8. Gwarancja i wsparcie
For warranty information, please refer to the documentation provided with your purchase or contact your retailer. Nania products are manufactured with high-quality standards.
If you have any questions, require technical assistance, or need to report an issue, please contact Nania customer support or your local distributor. Contact details can usually be found on the manufacturer's official webstronie lub na paragonie za zakup.