
1. Wprowadzenie
The YoLink Water Leak Starter Kit provides a comprehensive solution for detecting water leaks and preventing potential damage in your home or property. This kit includes a YoLink Hub and four (4) Leak Sensor 4 units, each equipped with a built-in 105 dB audible alarm. Utilizing LoRa (Long-Range) technology, the system offers reliable coverage and extended battery life, ensuring you receive timely alerts via app, email, or SMS/text messages. The system also supports Device-to-Device (D2D) communication, allowing sensors to trigger local alarms or shut-off valves even without an internet connection.
2. Zawartość zestawu
Your YoLink Water Leak Starter Kit includes the following components:
- 1 x YoLink Hub (Model: YS1603)
- 4 x YoLink Leak Sensor 4 (Model: YS7906)
- Kabel Ethernet 1 x
- Kabel zasilający 1 x USB
- Zasilacz 1 x USB
- 8 x AAA Batteries (2 per sensor, pre-installed)

Figure 1: YoLink Water Leak Starter Kit components.
3. Instrukcje konfiguracji
3.1. YoLink App Installation
- Pobierz YoLink App ze sklepu App Store (iOS) lub Google Play Store (Android).
- Otwórz aplikację i utwórz nowe konto lub zaloguj się, jeśli już je posiadasz.
3.2. Hub Setup
- Connect the YoLink Hub to power using the provided USB cable and power adapter.
- Connect the Hub to your internet router using the provided Ethernet cable. Ensure the internet indicator light on the Hub turns solid blue.
- In the YoLink App, tap the "+" icon or "Add Device" to add the Hub. The app should automatically detect the Hub. Follow the on-screen prompts to complete the setup.
3.3. Leak Sensor 4 Setup
- Ensure the AAA batteries are correctly installed in each Leak Sensor 4.
- In the YoLink App, tap the "+" icon or "Add Device".
- Scan the QR code located on the back of each Leak Sensor 4.
- Follow the app's instructions to name each sensor and assign it to a specific room or location (e.g., "Kitchen Sink", "Water Heater", "Laundry Room"). This helps in identifying the leak source quickly.
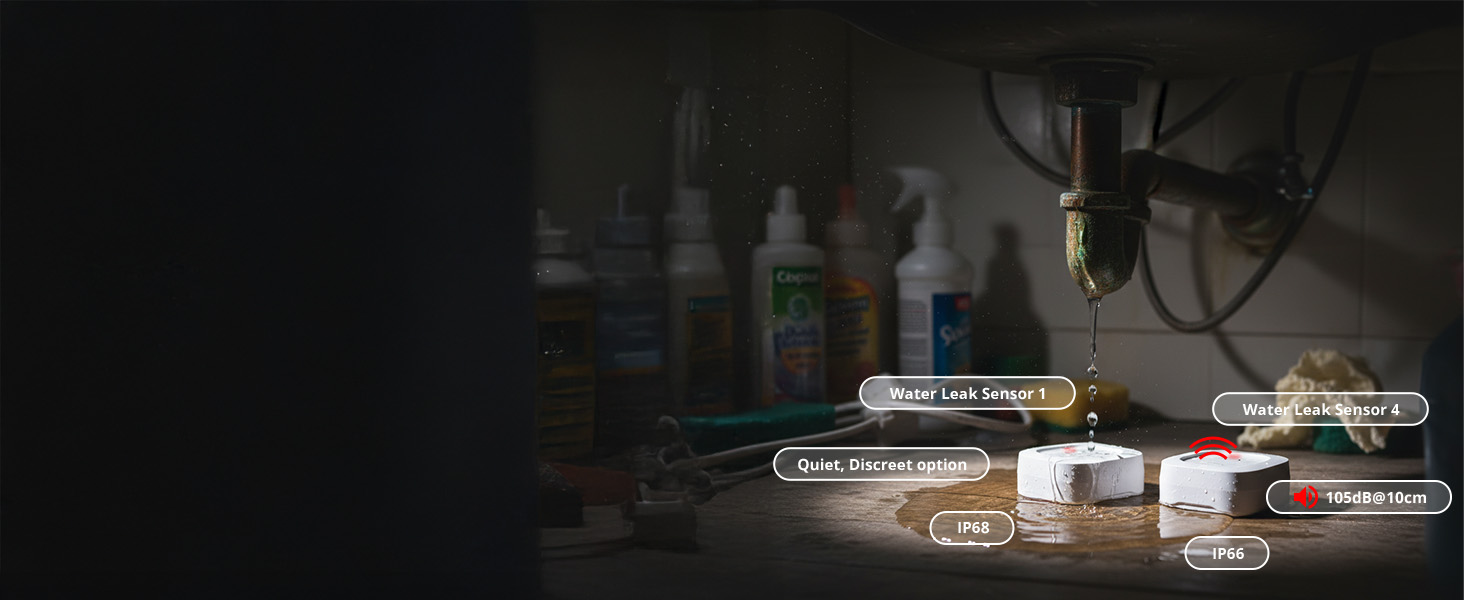
Figure 2: Easy setup process for YoLink devices.
3.4. Testowanie wstępne
After setting up each sensor, it is recommended to perform an initial test:
- Place a small amount of water (e.g., a damp paper towel) on the two metal prongs located on the bottom of the Leak Sensor 4.
- The sensor should emit a 105 dB audible alarm, and you should receive an alert notification on your YoLink App, email, and/or SMS/text message.
- Remove the water to silence the alarm.
Wideo 1: Ponadview of building your smart home with YoLink, demonstrating various devices and their integration.
4. Instrukcja obsługi
4.1. Umieszczenie czujnika
Strategically place your Leak Sensor 4 units in areas prone to water leaks, such as:
- Pod zlewem (kuchnia, łazienka)
- W pobliżu podgrzewaczy wody
- Za toaletami
- W pobliżu pralek i zmywarek
- W piwnicach lub pomieszczeniach gospodarczych
- W pobliżu lodówek z kostkarkami do lodu
Ensure the metal prongs on the bottom of the sensor are in direct contact with the surface where water might accumulate. The sensor can also detect drips from above if water collects on its top surface.

Figure 3: Recommended placement areas for Leak Sensors.
4.2. Alert System
Upon detecting water, the Leak Sensor 4 will:
- Activate its built-in 105 dB audible siren for immediate local notification.
- Send instant notifications to your YoLink App.
- Send email and/or SMS/text alerts to your registered contacts.

Rysunek 4: Example of instant leak alerts received on a smartphone.
4.3. LoRa Long-Range Technology
YoLink devices utilize LoRa technology, providing extended communication range (up to 1/4-mile open air) and reliable signal penetration through walls and floors, even in large homes or multi-story buildings. This ensures consistent connectivity where standard Wi-Fi might struggle.

Figure 5: YoLink's long-range coverage in a typical home environment.
4.4. Device-to-Device (D2D) Communication
YoLink's D2D technology allows sensors to communicate directly with other YoLink devices, such as sirens or automatic shut-off valves, even if your internet or power is out. This provides an essential layer of local protection during outagt.j.

Figure 6: D2D functionality: Leak sensor triggering a shut-off valve.
Video 2: Explanation of YoLink's water leak detection and auto shut-off capabilities, highlighting offline functionality.
4.5. Integracja inteligentnego domu
The YoLink system is compatible with popular smart home platforms, including Amazon Alexa, IFTTT, and Home Assistant, allowing for advanced automation and voice control.

Figure 7: YoLink's compatibility with various smart home platforms.
5. Konserwacja
5.1. Wymiana baterii
Each Leak Sensor 4 is powered by two (2) AAA alkaline batteries, offering up to 5 years of typical battery life. The YoLink App will display the battery level for each sensor, allowing you to replace them proactively when low.

Figure 8: Leak Sensor 4 with its AAA batteries, highlighting the 5-year battery life.
5.2. Czyszczenie czujnika
Periodically inspect the metal prongs on the bottom of the Leak Sensor 4 for any dirt or debris that might interfere with detection. Clean with a dry cloth if necessary.
6. Rozwiązywanie Problemów
6.1. No Alerts Received
- Check Hub Connectivity: Ensure your YoLink Hub is powered on and connected to the internet (solid blue indicator light).
- Check Sensor Battery: Verify the battery level of the sensor in the YoLink App. Replace batteries if low.
- Check Sensor Placement: Ensure the sensor's metal prongs are making proper contact with the surface.
- Powiadomienia aplikacji: Confirm that app notifications are enabled for YoLink in your phone's settings.
- Email/SMS Settings: Verify your email and SMS settings within the YoLink App are correct and up-to-date.
6.2. Fałszywe alarmy
- Czynniki środowiskowe: High humidity or condensation in certain areas might trigger false alarms. Relocate the sensor if this is a persistent issue.
- Zanieczyszczenie czujnika: Clean the metal prongs on the sensor to ensure no residue is causing a false positive.
6.3. Urządzenie nie łączy się
- Hub Online: Ensure the Hub is online and functioning correctly before attempting to pair sensors.
- Resetowanie czujnika: If a sensor fails to pair, try resetting it (refer to the individual sensor manual for specific reset instructions, usually involving pressing the SET button).
- Wersja aplikacji: Ensure your YoLink App is updated to the latest version.
7. Specyfikacje
| Funkcja | Specyfikacja |
|---|---|
| Numer modelu | YS1603+4YS7906 |
| Marka | YoLink |
| Technologia czujników | Lora |
| Maksymalny zasięg | 1000 Feet (open air) |
| Poziom hałasu (syrena) | 105 decybeli |
| Typ baterii czujnika | 2 x AAA Alkaline (per sensor) |
| Typowa żywotność baterii | Do 5 lat |
| Metoda kontroli | Aplikacja |
| Kompatybilne urządzenia | Smartphone, Alexa, IFTTT, Home Assistant |
| Wymiary produktu | 7"L x 5"W x 2.5"H (Kit) |
| Waga przedmiotu | 0.317 ounces (Sensor) |
8. YoLink Ecosystem & Advanced Features
The YoLink Hub supports over 300 YoLink devices, allowing you to expand your smart home system with various sensors (motion, contact, temperature), smart plugs, and controllers. The ecosystem is designed for scalability and robust performance.
Wideo 3: Ponadview of YoLink's smart home ecosystem, including motorized valves and various sensors.
9. Gwarancja i pomoc techniczna
For warranty information and technical support, please refer to the official YoLink website or contact YoLink customer service. Protection plans may also be available for extended coverage.