
1. Ważne informacje dotyczące bezpieczeństwa
Please read these instructions carefully before installation. If you do not understand these instructions or have doubts about the safety of the installation, please contact a qualified installer. The manufacturer is not responsible for damage or injury caused by incorrect mounting or operation.
- Nośność: This TV wall mount is designed for TVs weighing up to 110 funta (50 kg)Nie przekraczaj tego limitu wagowego.
- Zgodność rozmiaru telewizora: Kompatybilny z większością 40-82 cali flat or curved TVs.
- Zgodność z VESA: Supports VESA mounting patterns from 200x100mm do 600x400mm. Verify your TV's VESA pattern before installation.
- Typ ściany: Ten uchwyt jest przeznaczony do montażu na ćwieki do drewna or solid concrete/brick walls. NIE montuj wyłącznie na płycie gipsowo-kartonowej.
- Na liście UL: This product is UL Listed, indicating it meets specific safety standards.
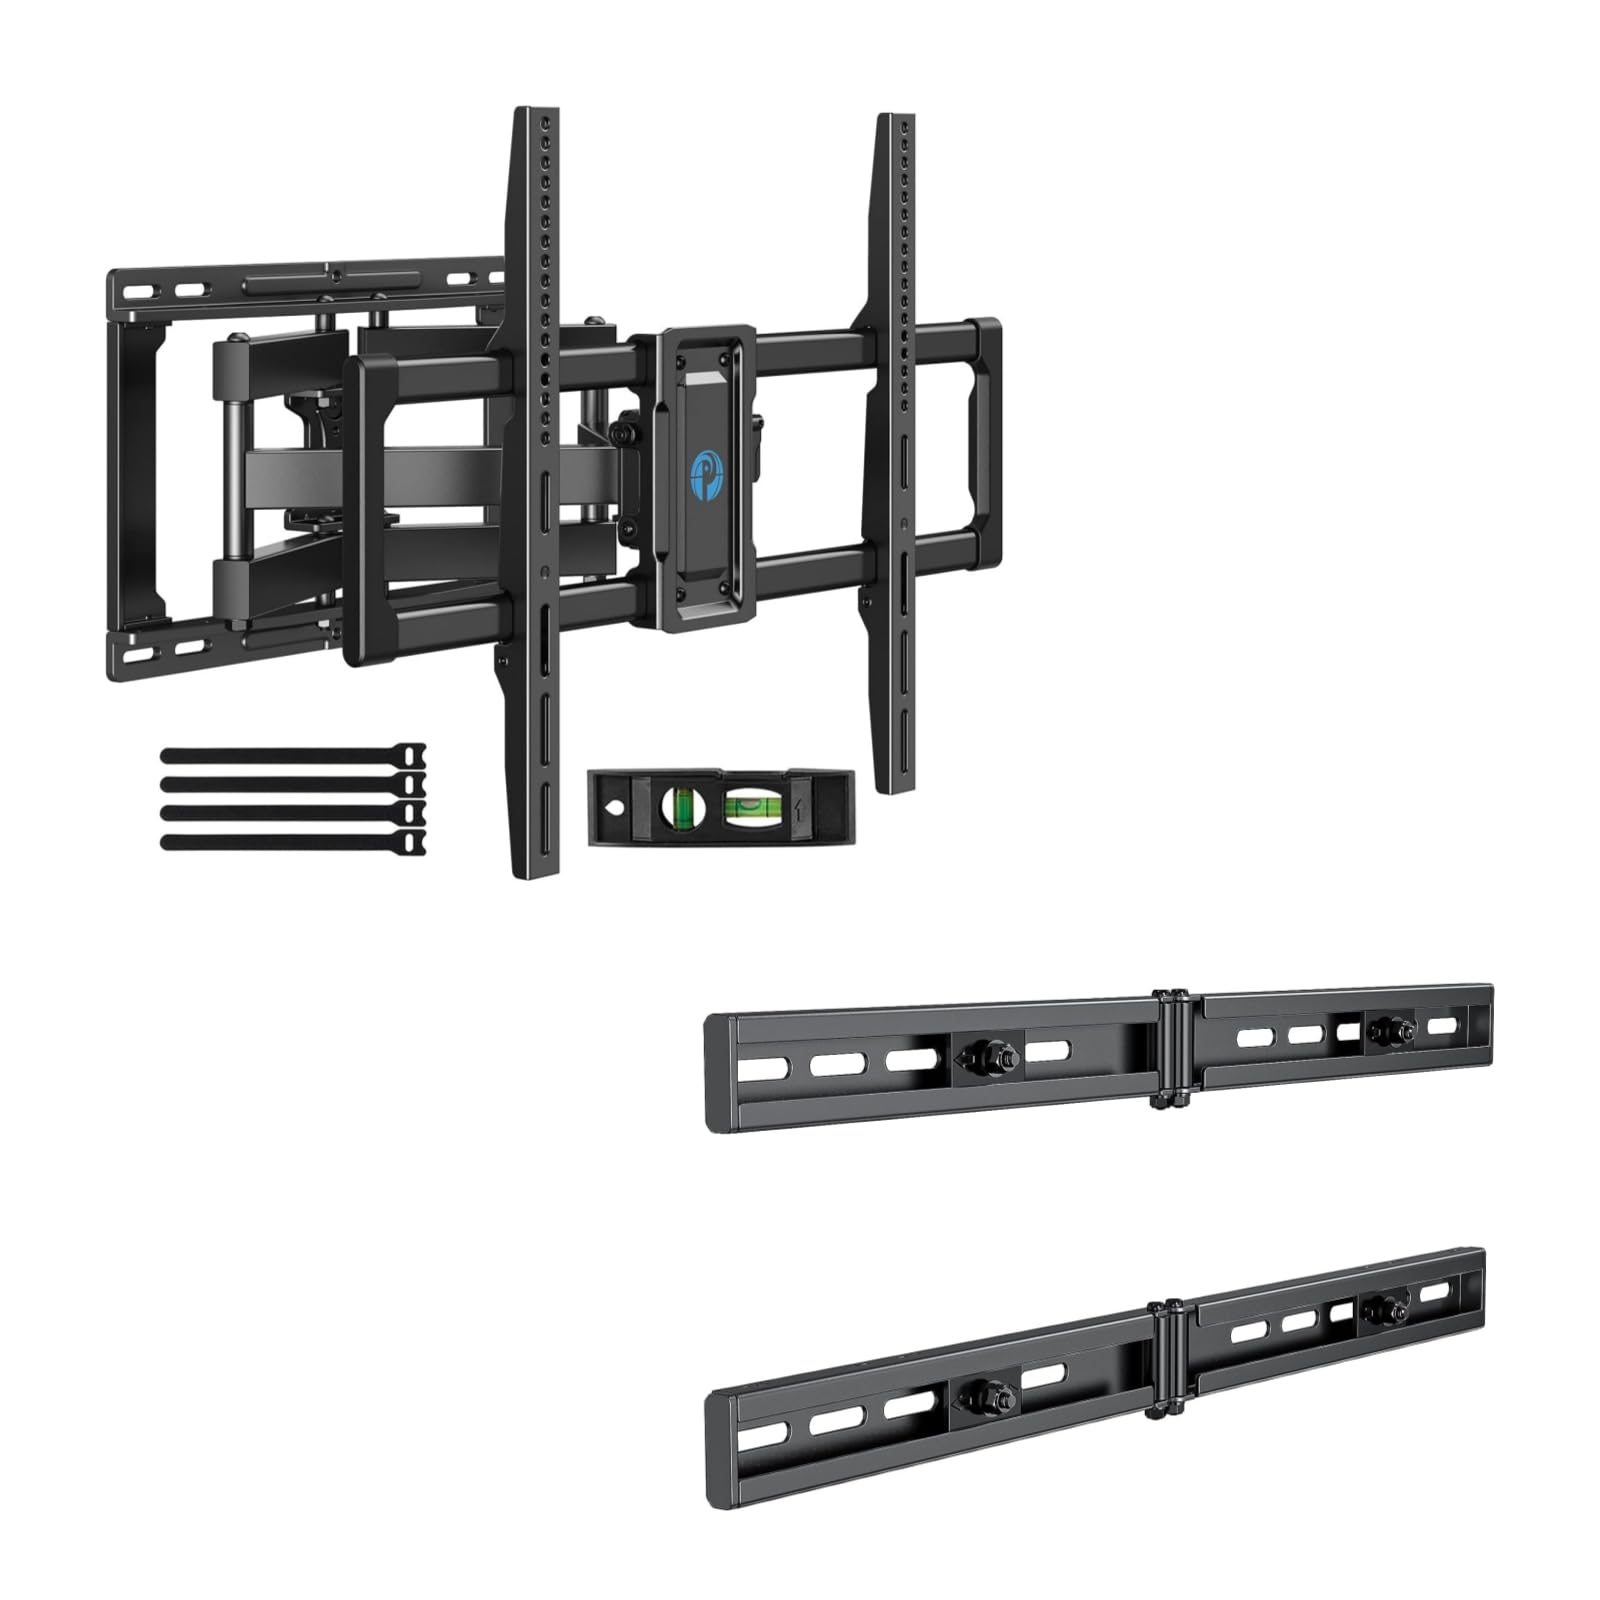
Image 1.1: Reinforced stability of the mount, highlighting heavy-duty steel arms and UL certification for safety and durability.
2. Zawartość opakowania
Please check to ensure all components are present and undamaged before beginning installation. If any parts are missing or defective, contact Pipishell customer service.
2.1 Wymagane narzędzia (nie dołączone)
- Ołówek
- Wyszukiwarka Stud
- Drill with appropriate drill bits (e.g., 5/32" (4mm) for wood studs, 3/8" (10mm) for concrete)
- Poziom
- Taśma miernicza
- Klucz nasadowy lub klucz nastawny
- Śrubokręt krzyżakowy
2.2 Hardware and Components (Included)
- Montaż płyty ściennej
- Uchwyty TV (2)
- Extension Brackets (2)
- Various TV Screws, Washers, and Spacers (M4, M6, M8)
- Lag Bolts and Concrete Anchors
- Bubble poziomu
- Opaski kablowe
3. Konfiguracja i instalacja
3.1 Kontrole przed instalacją
- Verify your TV's weight, size, and VESA pattern are within the mount's specifications.
- Określ pożądane viewing height for your TV.
- Locate the wall studs using a stud finder. Mark the center of the studs.
3.2 Montaż płyty ściennej
The extension bracket feature allows for installation on wood studs with spacing between 16 and 24 inches.
- Position the wall plate assembly on the wall at your desired height, ensuring it is level. Mark the drill holes.
- For wood stud installation, drill pilot holes (e.g., 5/32" or 4mm) into the center of the studs. For concrete/brick, drill pilot holes (e.g., 3/8" or 10mm) and insert concrete anchors.
- Attach the wall plate to the wall using the provided lag bolts. Tighten securely.

Image 3.1: The extended wall plate design provides a flexible solution for mounting on walls with stud spacing between 16 and 24 inches.

Image 3.2: This feature helps center your TV for optimal viewing, even when wall studs are not perfectly centered.
3.3 Mocowanie uchwytów TV do telewizora
- Ostrożnie połóż telewizor ekranem do dołu na miękkiej i czystej powierzchni.
- Select the appropriate screws, washers, and spacers for your TV's VESA mounting holes.
- Attach the two TV brackets to the back of your TV. Ensure they are securely fastened and evenly spaced.
3.4 Montaż telewizora na płycie ściennej
- Korzystając z pomocy innych, ostrożnie podnieś telewizor i zamontuj uchwyty telewizora na płycie ściennej.
- Upewnij się, że telewizor jest pewnie zamocowany na płycie ściennej.
- Tighten the safety screws or locking mechanisms on the TV brackets to prevent accidental dislodgement.
4. Obsługa uchwytu telewizora
This full motion mount allows for flexible adjustment to achieve the best viewkąt.
4.1 Regulacja obrotu
The mount allows for a swivel range of +/-45°. Gently push or pull the TV to the desired left or right angle.

Image 4.1: The mount offers a smooth swivel motion of up to 45 degrees in either direction for flexible viewing.
4.2 Regulacja nachylenia
Adjust the tilt angle from +5° do -15° to reduce glare and optimize viewing. This adjustment is tool-free.

Image 4.2: Easily adjust the TV's vertical angle from +5° to -15° without tools to minimize glare and improve comfort.
4.3 Wysuwanie i cofanie
The mount allows the TV to extend from the wall by 2.89 cala do 16.3 cala. Gently pull the TV forward or push it back towards the wall to adjust the distance.

Image 4.3: Adjust the TV's distance from the wall, extending up to 16.3 inches or retracting to 2.89 inches for optimal viewprzestrzeń.
5. Konserwacja
- Regularne kontrole: Okresowo sprawdzaj wszystkie śruby i połączenia, aby mieć pewność, że są dobrze dokręcone i bezpieczne.
- Czyszczenie: Czyść uchwyt miękką, suchą ściereczką. Unikaj środków czyszczących o właściwościach ściernych i rozpuszczalników.
- Smarowanie: The moving parts are designed for smooth operation. No lubrication is typically required. If movement becomes stiff, check for debris or loose components.
6. Rozwiązywanie Problemów
- Telewizor nie jest wypoziomowany: Check the level of the wall plate during installation. Most mounts have a post-installation leveling adjustment. Refer to the specific mechanism on your mount.
- Difficulty adjusting swivel/tilt/extension: Ensure no cables are snagged or obstructing movement. Check if any adjustment knobs or screws are overtightened. The mount features improved torque accuracy for smoother movement.
- Mocowanie wydaje się luźne na ścianie: Immediately remove the TV from the mount. Re-check all wall plate fasteners and ensure they are securely anchored into the studs or concrete. If issues persist, consult a professional installer.
- TV brackets do not fit TV: Verify your TV's VESA pattern matches the mount's compatibility (200x100mm to 600x400mm). Ensure you are using the correct screws and spacers for your TV model.
7. Specyfikacje
| Funkcja | Specyfikacja |
|---|---|
| Typ montażu | Montaż ścienny |
| Typ ruchu | Artykulacja (pełny ruch) |
| Marka | Muszla Pipi |
| Tworzywo | Stal stopowa |
| Kompatybilne urządzenia | Telewizja |
| Minimum Supported Screen Size | 40 cali |
| Maximum Supported Screen Size | 82 cali |
| Maksymalna nośność | 110 funta (50 kg) |
| Zgodność ze standardem VESA | 200x100mm do 600x400mm |
| Zakres obrotu | +/-45 stopni |
| Zakres pochylenia | +5 / -15 Degrees (Tool-Free) |
| Przedłużenie od ściany | 2.89 - 16.3 cala |
8. Gwarancja i obsługa klienta
Pipishell products are designed for durability and performance. For warranty information or technical assistance, please contact Pipishell customer support through their official webwitrynę lub sprzedawcę, u którego zakupiono produkt.
Kontaktując się z pomocą techniczną, przygotuj model produktu i datę zakupu.