
SAMOOGIEŃ X23
ALONEFIRE X23 Mini LED Flashlight User Manual
Model: X23
1. Wprowadzenie
Thank you for choosing the ALONEFIRE X23 Mini LED Flashlight. This compact and versatile flashlight is designed for various applications, from everyday carry (EDC) to outdoor activities like hiking and camping. Its robust construction, multiple lighting modes, and convenient features ensure reliable performance when you need it most. Please read this manual thoroughly to understand the product's features and ensure proper use and maintenance.
2. Koniec produktuview
2.1 Główne cechy
- Super jasne oświetlenie: Features five distinct light modes (High, Medium, Low, Bright, Strobe) to adapt to various lighting requirements.
- Kompaktowy i przenośny: Lightweight and small design allows for easy carrying in pockets, purses, or backpacks.
- Klips wielofunkcyjny: Equipped with a durable clip for attachment to hats, clothing, or backpacks, enabling hands-free operation.
- Akumulator USB-C: Convenient Type-C charging port with a charging indicator for easy and efficient power replenishment.
- Strong Tail Magnet: Integrated powerful magnet at the tail end for secure attachment to iron-containing surfaces, providing hands-free lighting.
- Trwała konstrukcja: Made from aluminum alloy, ensuring robustness and durability.
- Wodoodporna konstrukcja: Engineered to withstand water exposure, making it suitable for use in various weather conditions.
2.2 Składniki
The ALONEFIRE X23 flashlight consists of several key components designed for optimal performance and user convenience:
- Lekka głowa: Contains the 3xP35 LED emitters and planar lens for powerful illumination.
- Wciśnij przycisk przełącznika: Located on the body for easy power control and mode switching.
- Port ładowania USB-C: For convenient recharging of the internal battery.
- Klip kieszonkowy: A removable clip for attaching the flashlight to various items.
- Uchwyt antypoślizgowy: Textured body for a secure grip.
- Tail Magnet: Strong magnet at the base for hands-free mounting.

Rysunek 2.2.1: Eksplodowany view showing the flashlight's components including the strong magnet, pocket clip, push button switch, 3xP35 LEDs, planar lens, and Type-C USB charging port.
3. Konfiguracja
3.1 Instalacja baterii
The ALONEFIRE X23 comes with a pre-installed Lithium Ion battery. To access the battery compartment, unscrew the tail cap of the flashlight. Ensure the battery is inserted with the correct polarity (+/-) as indicated inside the compartment. Screw the tail cap back on securely.

Figure 3.1.1: The ALONEFIRE X23 flashlight, showing its compact design and the included USB-C charging cable.
3.2 Pierwsze ładowanie
Before first use, it is recommended to fully charge the flashlight. Connect the provided USB-C cable to the charging port on the flashlight and plug the other end into a compatible USB power source (e.g., wall adapter, computer USB port). The charging indicator light will show the charging status:
- Czerwone światło: Oznacza, że bateria jest aktualnie ładowana.
- Zielone światło: Wskazuje, że bateria jest w pełni naładowana.

Figure 3.2.1: The flashlight connected via USB-C, illustrating the red light for charging and green light for fully charged status.
4. Instrukcja obsługi
4.1 Włączanie/wyłączanie zasilania i przełączanie trybów
The ALONEFIRE X23 features a single push-button switch for all operations:
- Włączanie/wyłączanie: Press the button once to turn the flashlight on. Press it again to turn it off.
- Tryby cyklu: When the flashlight is on, press the button repeatedly to cycle through the standard modes: High → Medium → Low.
- Tryb jasny: Double-click the button from any state (on or off) to activate the Bright mode.
- Tryb stroboskopowy: Press and hold the button for 3 seconds from any state (on or off) to activate the Strobe mode.

Figure 4.1.1: Visual guide to switching between different light modes: Medium, Low, Bright (double click), and Strobe (press and hold).
4.2 Using the Tail Magnet
The powerful magnet located at the tail of the flashlight allows for convenient hands-free operation. Simply attach the flashlight to any ferrous metal surface, such as a car hood, metal beam, or refrigerator, to illuminate your workspace.

Figure 4.2.1: The flashlight demonstrating its strong tail magnet by adhering to a metal surface, providing hands-free illumination.
4.3 Korzystanie z klipsa kieszonkowego
The integrated pocket clip provides versatile carrying options. You can clip the flashlight to your hat brim to convert it into a headlamp, attach it to your belt, backpack strap, or pocket for easy access and portability.

Figure 4.3.1: The flashlight clipped to a hat, illustrating its use as a hands-free light source.
4.4 Film demonstracyjny produktu
Video 4.4.1: An official product video demonstrating the features and usage of the ALONEFIRE X23 LED Flashlight, including its magnetic tail, clip, and various light modes.
5. Konserwacja
5.1 Czyszczenie
Aby zachować optymalną wydajność, utrzymuj latarkę w czystości. Przecieraj korpus miękką, miękką szmatką.amp Ściereczką. Nie używaj środków czyszczących o działaniu ściernym ani rozpuszczalników. Upewnij się, że port ładowania jest wolny od kurzu i zanieczyszczeń.
5.2 Wodoodporność
The ALONEFIRE X23 is designed to be waterproof. However, to ensure its longevity, avoid prolonged submersion in water. After exposure to water, wipe the flashlight dry, especially around the charging port and tail cap threads, to prevent corrosion.
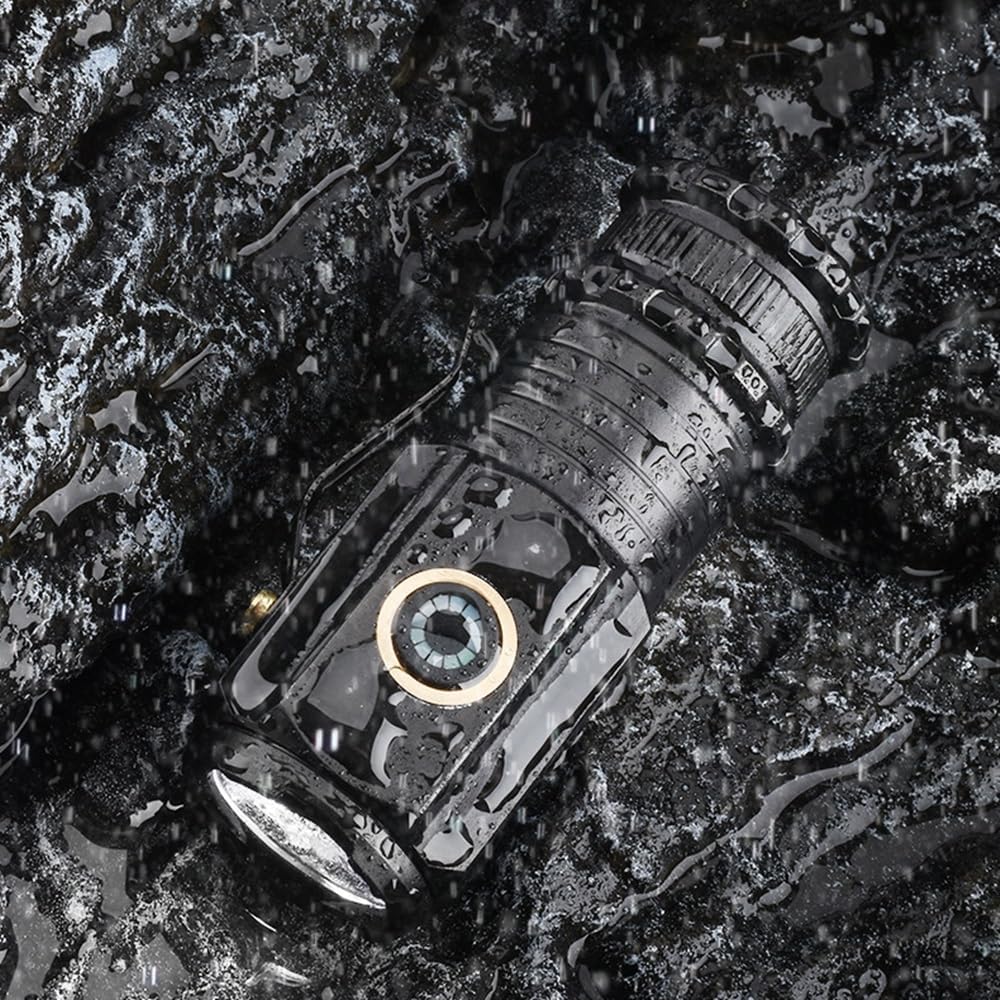
Figure 5.2.1: The flashlight shown in a wet environment, highlighting its waterproof design suitable for outdoor use.
5.3 Przechowywanie
Store the flashlight in a cool, dry place away from direct sunlight and extreme temperatures. If storing for an extended period, it is advisable to charge the battery periodically to maintain its health.
6. Rozwiązywanie Problemów
| Problem | Możliwa przyczyna | Rozwiązanie |
|---|---|---|
| Latarka się nie włącza. | Bateria jest rozładowana. | Charge the flashlight using the USB-C cable until the indicator turns green. |
| Latarka się nie włącza. | Tail cap is loose or battery is incorrectly inserted. | Ensure the tail cap is screwed on tightly and the battery is inserted with correct polarity. |
| Charging indicator remains red after extended charging. | Wadliwy kabel ładujący lub źródło zasilania. | Try a different USB-C cable and/or a different USB power source. |
| Moc światła jest słaba lub migocze. | Low battery or dirty contacts. | Recharge the battery. Clean the battery contacts and the flashlight's internal contacts with a clean, dry cloth. |
7. Specyfikacje
| Funkcja | Szczegół |
|---|---|
| Marka | SAMODZIELNY OGIEŃ |
| Numer modelu | X23 |
| Typ źródła światła | LED (3xP35) |
| Jasność | Do 200 lumenów |
| Źródło zasilania | Zasilany bateryjnie |
| Typ baterii | 1 bateria litowo-jonowa (w zestawie) |
| Port ładowania | USB typu C |
| Tworzywo | Aluminium |
| Kolor | Czarny |
| Waga przedmiotu | 1.6 uncji (około 45 g) |
| Poziom wodoodporności | Wodoodporny |
| Czas wykonania | Do 4 godzin (w zależności od trybu) |
| Cechy specjalne | Lightweight, High Power, Adjustable Light Modes, Durable, Rechargeable, Tail Magnet, Clip |
8. Gwarancja i wsparcie
ALONEFIRE products are manufactured with high standards of quality and durability. For specific warranty information, returns, or technical support, please refer to the product's packaging or contact the seller directly through the platform where the purchase was made. Keep your purchase receipt as proof of purchase.
For more information about ALONEFIRE and their product range, you may visit the official ALONEFIRE Store: ALONEFIRE Store on Amazon.
Powiązane dokumentyX23

Ask a question about this manual
Ask about setup, troubleshooting, compatibility, parts, safety, or missing instructions. Manuals+ will review the question and use this page’s manual context to help answer it.