
Wstęp
This manual provides instructions for the setup, operation, maintenance, and troubleshooting of your CHARGEWORX CX5278 4-in-1 Wireless Charging Alarm Clock. This device is designed to charge up to three devices simultaneously, including a smartphone, smartwatch, and earbuds, while also functioning as a digital alarm clock with a reflective display.
Główne cechy obejmują:
- Simultaneous charging for smartwatch, smartphone, and earbuds.
- Fast 15W wireless charging capability.
- Three customizable alarm settings.
- Built-in charging indicator.
- Reflective screen that also functions as a mirror.
1. Konfiguracja
1.1 Rozpakowanie i wstępna inspekcja
Ostrożnie wyjmij wszystkie elementy z opakowania. Sprawdź, czy znajdują się w nim następujące elementy:
- CHARGEWORX CX5278 4-in-1 Wireless Charging Alarm Clock unit
- Kabel ładujący USB-C
- Instrukcja obsługi (ten dokument)
Inspect the unit for any visible damage. If any components are missing or damaged, contact customer support.
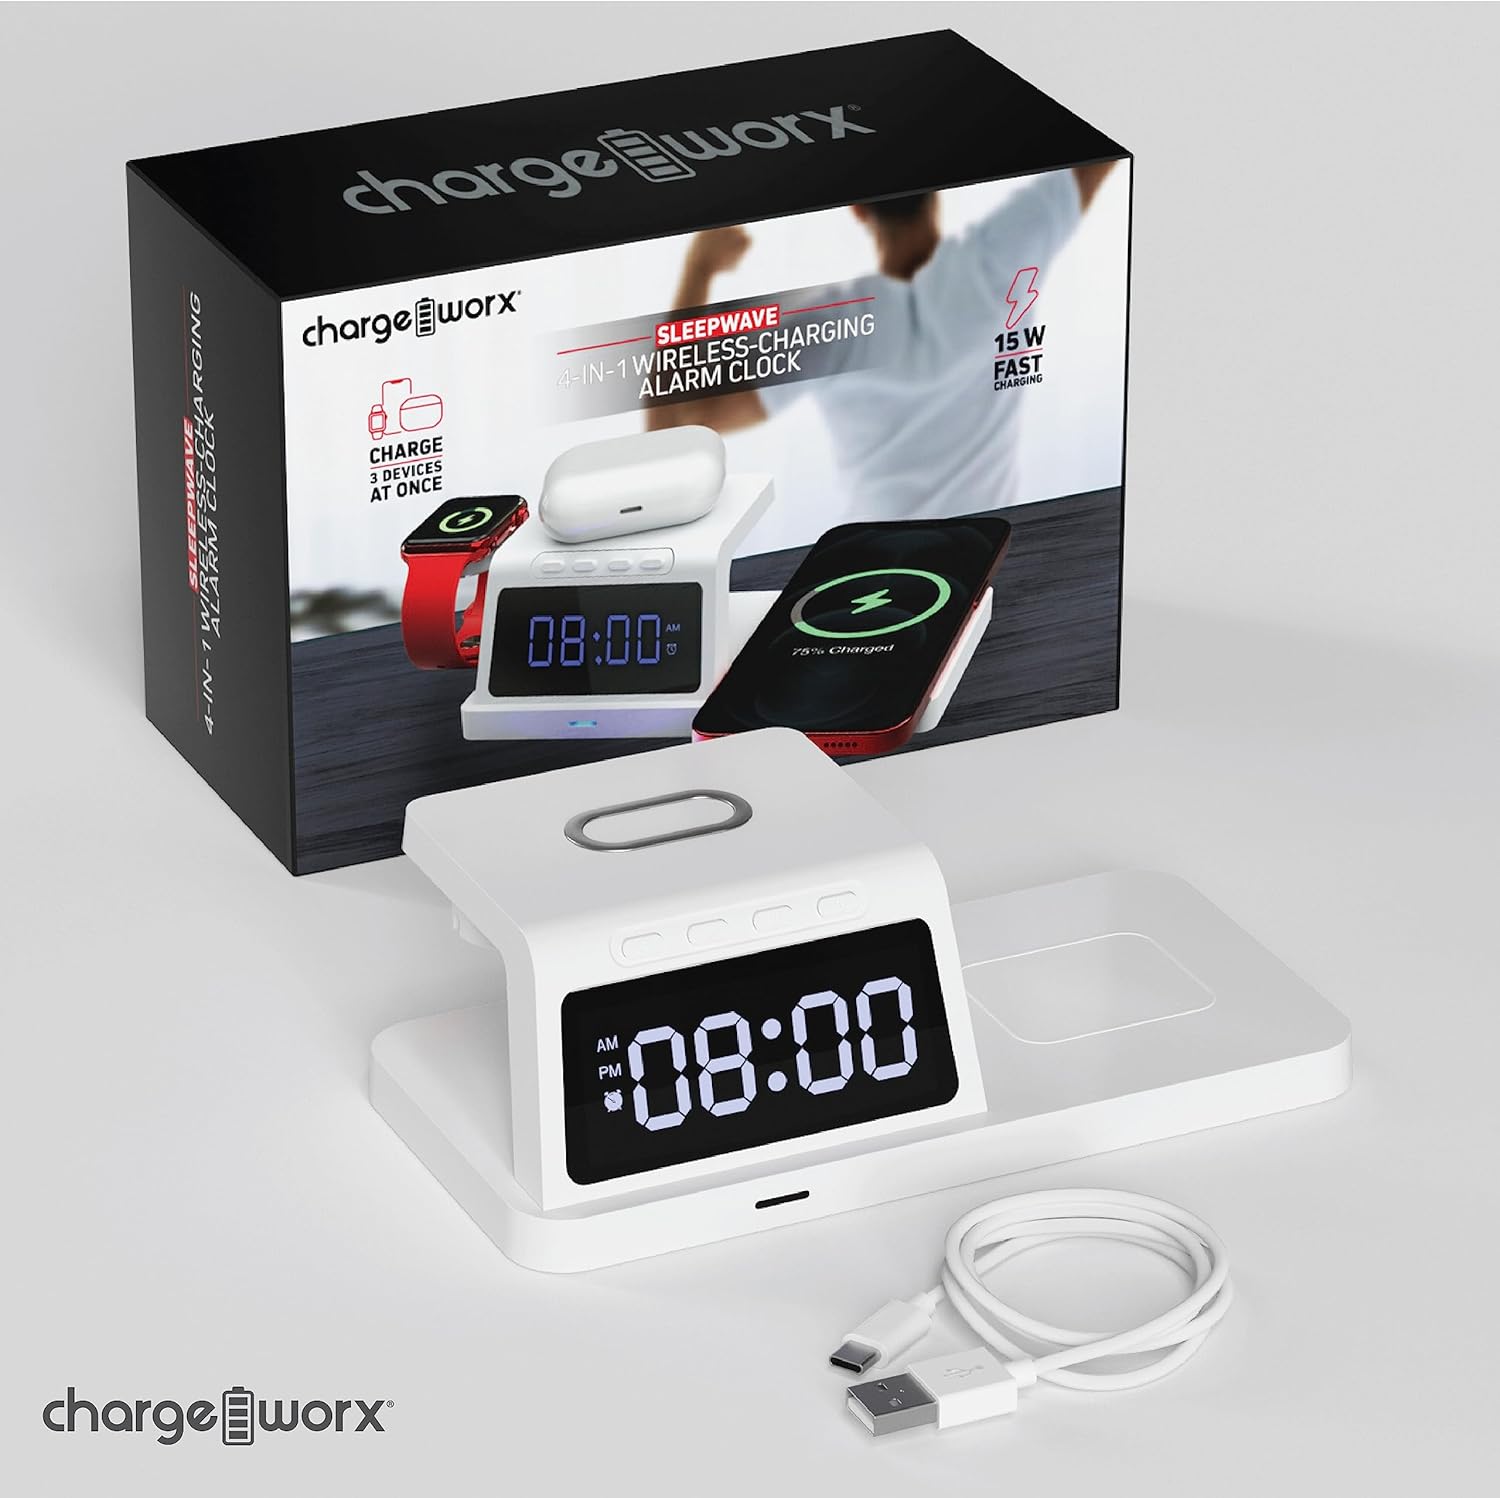
Image: The CHARGEWORX CX5278 unit shown with its retail packaging and included USB-C charging cable.
1.2 Połączenie zasilania
- Connect the provided USB-C cable to the power input port on the back of the alarm clock.
- Connect the other end of the USB-C cable to a compatible USB power adapter (not included). A 15W or higher power adapter is recommended for optimal charging performance.
- Plug the power adapter into a wall outlet. The digital display will illuminate, indicating the device is powered on.

Image: The charging alarm clock placed on a nightstand, connected to a wall outlet via its power adapter and cable.
1.3 Ustawianie czasu
Refer to the control buttons located on the top of the unit.
- Naciśnij i przytrzymaj Ustawiono czas button (often indicated by a clock icon) until the hour digits begin to flash.
- Użyj + I - Użyj przycisków, aby ustawić godzinę. Zwróć uwagę na wskaźnik AM/PM.
- Naciśnij Ustawiono czas naciśnij przycisk ponownie, aby przejść do cyfr oznaczających minuty.
- Użyj + I - przyciski, aby ustawić minuty.
- Naciśnij Ustawiono czas button one more time to confirm the time and exit time setting mode.
2. Instrukcja obsługi
2.1 Ustawianie alarmów
The device supports up to three independent alarms (Alarm 1, Alarm 2, Alarm 3).
- Naciśnij Ustawiony alarm button (often indicated by an alarm clock icon) once to select Alarm 1. The alarm icon and hour digits for Alarm 1 will flash.
- Użyj + I - przyciski umożliwiające ustawienie godziny Alarmu 1.
- Naciśnij Ustawiony alarm button again to move to the minute digits for Alarm 1.
- Użyj + I - przyciski do ustawienia minut dla Alarmu 1.
- Naciśnij Ustawiony alarm button a third time to confirm Alarm 1 and move to Alarm 2 setting, or press the Ustawiono czas przycisk, aby wyjść.
- Repeat steps 1-5 for Alarm 2 and Alarm 3 as needed.
- Aby aktywować lub dezaktywować alarm, naciśnij przycisk Alarm wł./wył. przycisk (lub Ustawiony alarm button briefly after setting) until the corresponding alarm indicator appears or disappears on the display.
When an alarm sounds, press any button to snooze for 9 minutes, or press and hold the Alarm wł./wył. przycisk, aby wyłączyć alarm na dany dzień.
2.2 Bezprzewodowe ładowanie
The CX5278 features dedicated wireless charging areas for your smartphone, smartwatch, and earbuds.
- Ładowanie smartfona: Place your Qi-compatible smartphone horizontally on the elevated charging pad. Ensure the phone is centered on the pad for optimal charging. The charging indicator on the device will illuminate to confirm charging.
- Smartwatch Charging: Place your compatible smartwatch on the dedicated magnetic charging stand on the left side of the unit. The watch should snap into place and begin charging.
- Ładowanie słuchawek: Place your wireless charging compatible earbuds case on the flat charging area on the right side of the unit. Ensure the case is centered.
The device provides up to 15W fast charging for compatible smartphones. Charging indicators will confirm when a device is actively charging.

Image: The charging station actively charging a smartphone on the main pad, a smartwatch on the side stand, and wireless earbuds on the flat pad.
2.3 Reflective Display
The digital display features a reflective surface. In addition to showing the time and alarm status, it can be used as a mirror for quick checks.
3. Konserwacja
3.1 Czyszczenie
To clean the device, ensure it is unplugged from the power source. Use a soft, dry, lint-free cloth to wipe the surfaces. For stubborn marks, a slightly damp cloth can be used, followed by a dry cloth. Avoid using abrasive cleaners, solvents, or aerosol sprays, as these can damage the finish or internal components.
3.2 Przechowywanie
When not in use for extended periods, store the device in a cool, dry place away from direct sunlight and extreme temperatures. It is recommended to keep the original packaging for storage.
4. Rozwiązywanie Problemów
| Problem | Możliwa przyczyna | Rozwiązanie |
|---|---|---|
| Device not powering on / Display is off. | Brak połączenia z zasilaniem lub uszkodzony adapter/kabel. | Ensure the USB-C cable is securely connected to both the unit and a working power adapter. Try a different power outlet or adapter. |
| Wireless charging not working for a device. | Device not Qi-compatible, not properly aligned, or foreign objects present. |
|
| Smartwatch not charging. | Smartwatch not properly seated or incompatible. | Ensure the smartwatch is correctly placed on the magnetic stand. Some smartwatches may require specific charging modules not integrated into this unit. |
| Alarm not sounding or difficult to set. | Alarm not activated or incorrect setting procedure. | Review Section 2.1 "Setting Alarms" to ensure the alarm is correctly set and activated (alarm icon visible on display). |
| Wyświetlacz jest słaby lub trudny do odczytania. | Brightness setting or environmental lighting. | Check if there's a brightness adjustment button (refer to device controls). Ensure the room lighting is not too bright, overpowering the display. |
5. Specyfikacje
| Funkcja | Szczegół |
|---|---|
| Numer modelu | CX5278 |
| Marka | CHARGEWORX |
| Kolor | Biały |
| Typ wyświetlacza | Cyfrowy |
| Cechy specjalne | Alarm, Charging Indicator, Wireless Charging |
| Wymiary produktu | 7.37" szer. x 2.44" wys. |
| Źródło zasilania | Electrical (via USB-C) |
| Tworzywo | Akrylonitryl-butadien-styren (tworzywo sztuczne) |
| Waga przedmiotu | 6.9 uncji |
| Wyjście ładowania bezprzewodowego | Up to 15W (for compatible devices) |
6. Informacje o gwarancji
CHARGEWORX products are designed and manufactured to the highest quality standards. This product is covered by a limited warranty from the date of purchase. For specific warranty terms and conditions, please refer to the warranty card included with your product or visit the official CHARGEWORX webZachowaj dowód zakupu na wypadek roszczeń gwarancyjnych.
7. Obsługa klienta
If you encounter any issues or have questions regarding your CHARGEWORX CX5278 4-in-1 Wireless Charging Alarm Clock that are not addressed in this manual, please contact CHARGEWORX customer support. You can typically find contact information on the product packaging, the official CHARGEWORX webna stronie internetowej lub u sprzedawcy.
Więcej informacji znajdziesz na stronie CHARGEWORX Store on Amazon.


