1. Wprowadzenie
Thank you for choosing the PARKSIDE PAGS 20-Li Cordless Grass and Shrub Shears. This 2-in-1 tool is designed for precise trimming of grass edges and shaping of shrubs. It features a robust design and a tool-free blade change system for convenience. Please read this manual carefully before first use to ensure safe and efficient operation.
Note: This product is supplied without a battery or charger. It is compatible with all batteries from the Parkside X 20 V Team series.
2. Instrukcje bezpieczeństwa
Aby zminimalizować ryzyko pożaru, porażenia prądem i obrażeń ciała, należy zawsze przestrzegać podstawowych zasad bezpieczeństwa podczas korzystania z elektronarzędzi.
Bezpieczeństwo ogólne
- Przeczytaj wszystkie instrukcje: Zapoznaj się z elementami sterującymi i prawidłowym użytkowaniem narzędzia.
- Utrzymuj miejsce pracy w czystości: Zagracone obszary sprzyjają wypadkom.
- Unikaj niebezpiecznych środowisk: Nie używaj elektronarzędzi wamp lub wilgotnych miejscach lub wystawiać je na deszcz.
- Wear appropriate clothing: Nie noś luźnej odzieży ani biżuterii. Noś obuwie antypoślizgowe. Noś ochronne nakrycie głowy, aby zabezpieczyć długie włosy.
- Używaj sprzętu zabezpieczającego: Always wear eye protection. A dust mask, non-skid safety shoes, hard hat, or hearing protection must be used for appropriate conditions.
- Bądź czujny: Uważaj, co robisz, kieruj się zdrowym rozsądkiem. Nie obsługuj narzędzia, gdy jesteś zmęczony.
- Przechowuj nieużywane narzędzia: Gdy narzędzia nie są używane, należy je przechowywać w suchym, wysoko położonym lub zamkniętym miejscu, poza zasięgiem dzieci.
- Ostrożnie konserwuj narzędzia: Utrzymuj narzędzia tnące ostre i czyste, aby zapewnić lepszą i bezpieczniejszą pracę. Postępuj zgodnie z instrukcjami dotyczącymi smarowania i wymiany akcesoriów.
- Sprawdź, czy nie ma uszkodzonych części: Przed dalszym użyciem narzędzia należy dokładnie sprawdzić osłonę lub inną uszkodzoną część, aby określić, czy będzie działać prawidłowo i spełniać swoją funkcję.
- Odłącz narzędzia: Wyjmij akumulator, gdy nie używasz urządzenia, przed serwisowaniem lub wymianą akcesoriów.
Specific Safety for Shears
- Trzymaj ręce z dala od ostrzy.
- Ensure the tool is switched off before attaching or removing blades.
- Do not attempt to cut branches thicker than the maximum specified diameter (8 mm).
- Always use the protective blade covers when storing or transporting the tool.
3. Koniec produktuview i funkcje
The PARKSIDE PAGS 20-Li is a versatile cordless tool designed for garden maintenance. Its key features include:
- Funkcja 2 w 1: Easily switch between grass shear and shrub shear blades for various tasks.
- Robust Gears: High-quality gears ensure durability and a long service life.
- Low-Vibration Design: Provides comfortable handling during extended use.
- Uchwyt ergonomiczny: Features a soft grip for enhanced user comfort and control.
- Wymiana ostrza bez użycia narzędzi: A convenient click system allows for quick and easy blade replacement.
- Zgodność: Part of the Parkside X 20 V Team series, using the same 20V battery system (battery and charger sold separately).

Image 1: The PARKSIDE PAGS 20-Li Cordless Grass and Shrub Shears with the grass shear blade installed. The tool features a green and black body with an ergonomic handle and a visible battery slot at the rear (battery not included).

Image 2: The PARKSIDE PAGS 20-Li Cordless Grass and Shrub Shears with the longer shrub shear blade installed, ready for trimming hedges and bushes.
4. Konfiguracja
4.1 Montaż akumulatora (akumulator i ładowarka nie są dołączone)
- Upewnij się, że narzędzie jest wyłączone.
- Insert a fully charged Parkside X 20 V Team battery pack into the battery slot at the rear of the tool until it clicks securely into place.
- Aby wyjąć baterię, naciśnij przycisk zwalniający na akumulatorze i wyciągnij go.
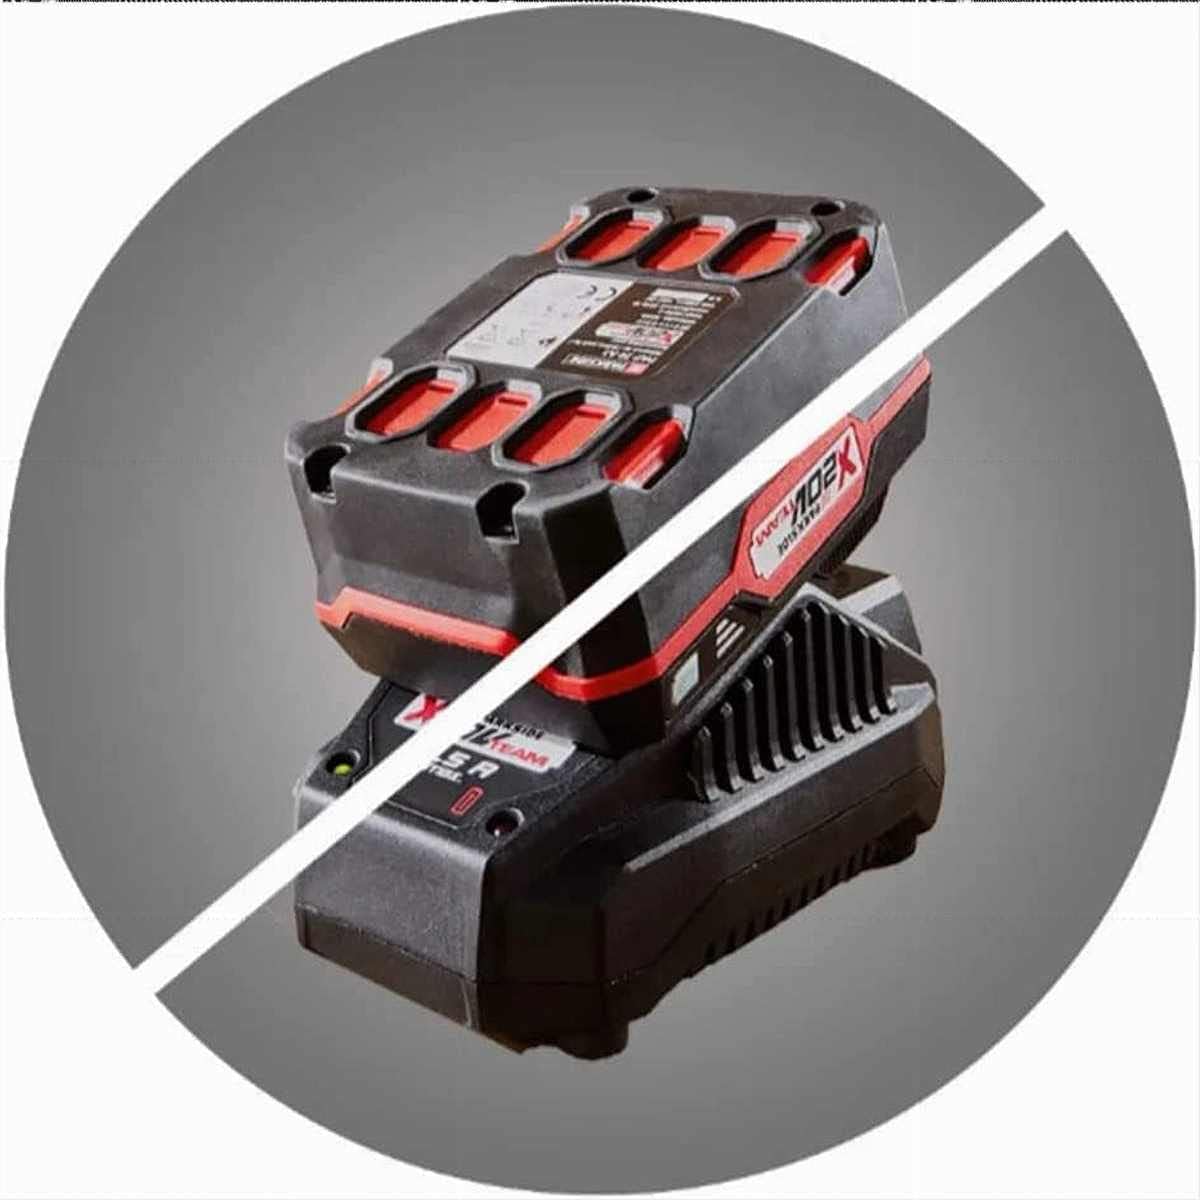
Image 3: This image illustrates that the battery and charger are not included with the PARKSIDE PAGS 20-Li shears. Users must purchase them separately from the Parkside X 20 V Team series.
4.2 Montaż i wymiana ostrza
The tool features a tool-free click system for quick blade changes.
- Aby zapewnić bezpieczeństwo, należy wyłączyć narzędzie i wyjąć akumulator.
- To remove an installed blade, locate the red release buttons/levers on the blade housing. Press or slide them to unlock the blade.
- Carefully pull the blade assembly away from the main unit.
- To install a new blade (either grass shear or shrub shear), align the blade assembly with the tool's mounting mechanism.
- Push the blade assembly firmly into place until you hear a click, indicating it is securely locked. Gently tug on the blade to ensure it is properly seated before use.

Obraz 4: Zbliżenie view of the grass shear blade assembly, highlighting the red release buttons for the tool-free blade change system.

Obraz 5: Zbliżenie view of the shrub shear blade assembly, showing the mechanism and red release buttons for easy attachment and detachment.

Image 6: A user demonstrating the tool-free blade change. One hand holds the main unit while the other detaches or attaches a blade assembly, illustrating the ease of the click system.
5. Działanie
5.1 Włączanie/wyłączanie
- To switch on: Press and hold the safety lock button, then press the ON/OFF trigger.
- To switch off: Release the ON/OFF trigger.
5.2 Używanie ostrza do przycinania trawy
The 12 cm wide grass shear blade is ideal for precise trimming of lawn edges and small areas where a lawnmower cannot reach.
- Ensure the grass shear blade is securely installed.
- Hold the tool firmly with both hands if necessary, maintaining a comfortable grip.
- Włącz narzędzie.
- Guide the blade along the grass edge, keeping it slightly above the ground. Move steadily for an even cut.

Image 7: A user demonstrating the PARKSIDE PAGS 20-Li being used to trim grass edges along a paved path, showcasing its precision for lawn maintenance.
5.3 Używanie ostrza do nożyc do krzewów
The 18 cm cutting length shrub shear blade is suitable for shaping and trimming small shrubs and bushes, with a maximum cutting thickness of 8 mm.
- Ensure the shrub shear blade is securely installed.
- Hold the tool firmly, ensuring good balance.
- Włącz narzędzie.
- Guide the blade through the shrub branches, making smooth, even passes. Avoid forcing the blade through thick branches.
- For best results, trim small amounts at a time, working from the top downwards.
6. Konserwacja
6.1 Czyszczenie
- Przed czyszczeniem należy zawsze wyjąć baterię.
- Wyczyść obudowę narzędzia miękką,amp ściereczką. Nie używaj silnych detergentów ani rozpuszczalników.
- Remove any grass clippings, leaves, or debris from the blades and ventilation slots using a brush or compressed air.
6.2 Pielęgnacja ostrzy
- After each use, clean the blades thoroughly.
- Nanieś na ostrza cienką warstwę oleju maszynowego lub smaru, aby zapobiec rdzewieniu i zapewnić płynną pracę.
- Always store the blades with their protective covers installed to prevent accidental injury and protect the blades from damage.
6.3 Przechowywanie
- Przechowuj narzędzie w suchym i dobrze wentylowanym miejscu, poza zasięgiem dzieci.
- Ensure the battery is removed and blades are covered before storage.
- The tool can be stored in its included protective case for added safety and organization.
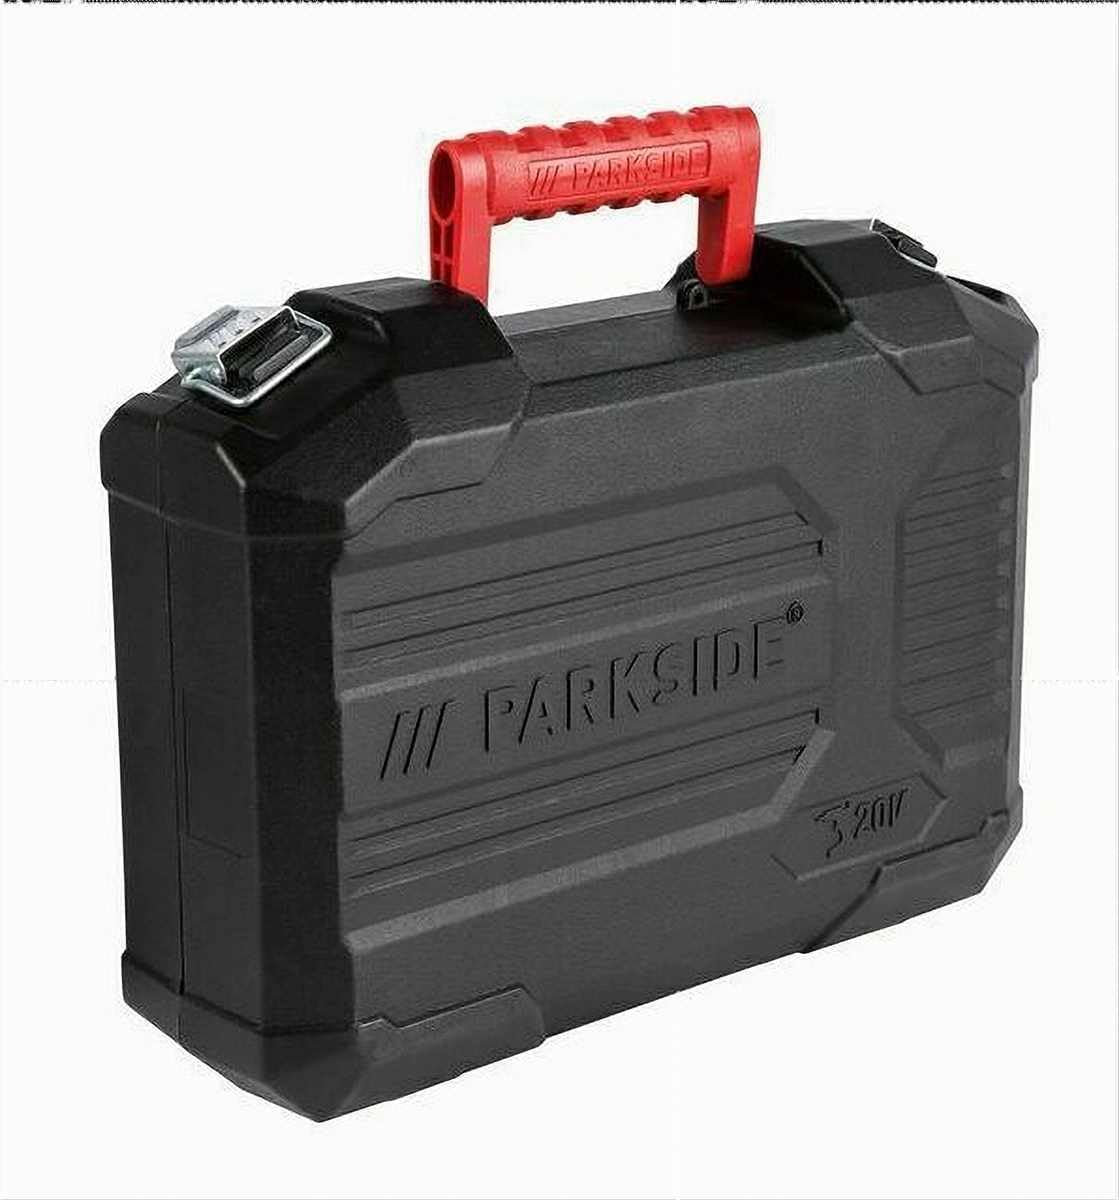
Image 8: The black protective case included with the PARKSIDE PAGS 20-Li shears, designed for safe storage and transport of the tool and its blades.
7. Rozwiązywanie Problemów
If you encounter issues with your PARKSIDE PAGS 20-Li, refer to the following common problems and solutions:
| Problem | Możliwa przyczyna | Rozwiązanie |
|---|---|---|
| Narzędzie nie uruchamia się | Battery not inserted correctly or discharged. Safety lock not engaged. | Ensure battery is fully charged and correctly inserted. Press safety lock button before pressing trigger. |
| Ostrza nie tną skutecznie | Ostrza są tępe lub brudne. Materiał tnący jest zbyt gruby. | Clean and lubricate blades. Sharpen or replace blades if necessary. Do not attempt to cut material exceeding 8 mm diameter. |
| Nadmierne wibracje lub hałas | Blade not properly installed. Damaged blade. | Check blade installation and ensure it is securely clicked into place. Inspect blades for damage and replace if needed. |
| Blade change mechanism is stiff | Debris or dirt in the mechanism. | Clean the blade change area thoroughly. Apply a small amount of lubricant if necessary. |
Jeśli po wypróbowaniu tych rozwiązań problem nadal występuje, skontaktuj się z obsługą klienta.
8. Specyfikacje
| Specyfikacja | Wartość |
|---|---|
| Numer modelu | IAN-100386711 |
| Źródło zasilania | Battery-powered (20V Parkside X 20 V Team) |
| Prędkość bez obciążenia | 1200 min-¹ |
| Szerokość ostrza nożyc do trawy | 12 cm |
| Shrub Shear Blade Length | 18 cm |
| Max. Branch Diameter (Shrub) | 8 mm |
| Tworzywo | Plastic, Fiberglass, Steel |
| Wymiary (dł. x szer. x wys.) | Około. 34.3 x 13 x 11.7 cm |
| Waga urządzenia | Około 531 g |
| Grass Shear Blade Weight | Około 210 g |
| Shrub Shear Blade Weight | Około 256 g |
| Zawarte komponenty | 2 protective blade covers, carrying case |
9. Gwarancja i wsparcie
This product comes with a standard manufacturer's warranty. Please refer to the warranty card included with your purchase for specific terms and conditions. For technical support, spare parts, or warranty claims, please contact Parkside customer service through their official webwitrynę lub sprzedawcę, u którego zakupiono produkt.
Zachowaj paragon jako dowód zakupu na wypadek ewentualnych roszczeń gwarancyjnych.